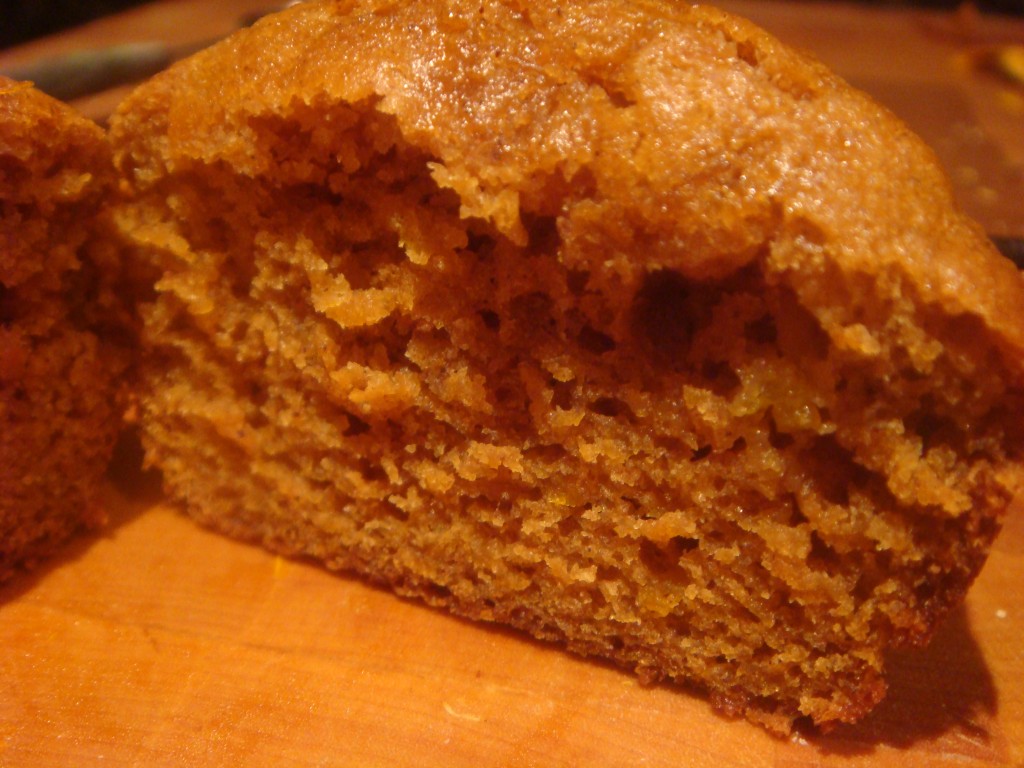
Better Bites: Bacon Egg and Cheese on a Bagel

Growing up in New York City, an egg sandwich on a perfectly toasted bagel is a staple of most weekends. The gooey cheese spilling out, the delicate crunch of the bagel, the fluffy eggs… it doesn’t get much better than that. The most classic of these sandwiches is a bacon egg and cheese on an everything bagel. My sources tell me that the bacon adds a saltiness that brings the sandwich to a whole new level.

The only problem with this perfect breakfast sandwich is that if you really did eat it every weekend… well, that’d be a lot of calories. So my mission for today was to recreate the experience of eating a bacon egg and cheese on an everything bagel without the guilt. I think it went remarkably well.

The Mich Dish has about 275 calories (saving you about 400 calories). You can make it at home quickly and easily, and it really feels like an indulgence. The key to this dish is substitution without deprivation. You still get the gooey cheese, the fluffy eggs, the crunch of the bagel and the saltiness of the bacon. Only this time you get it from:
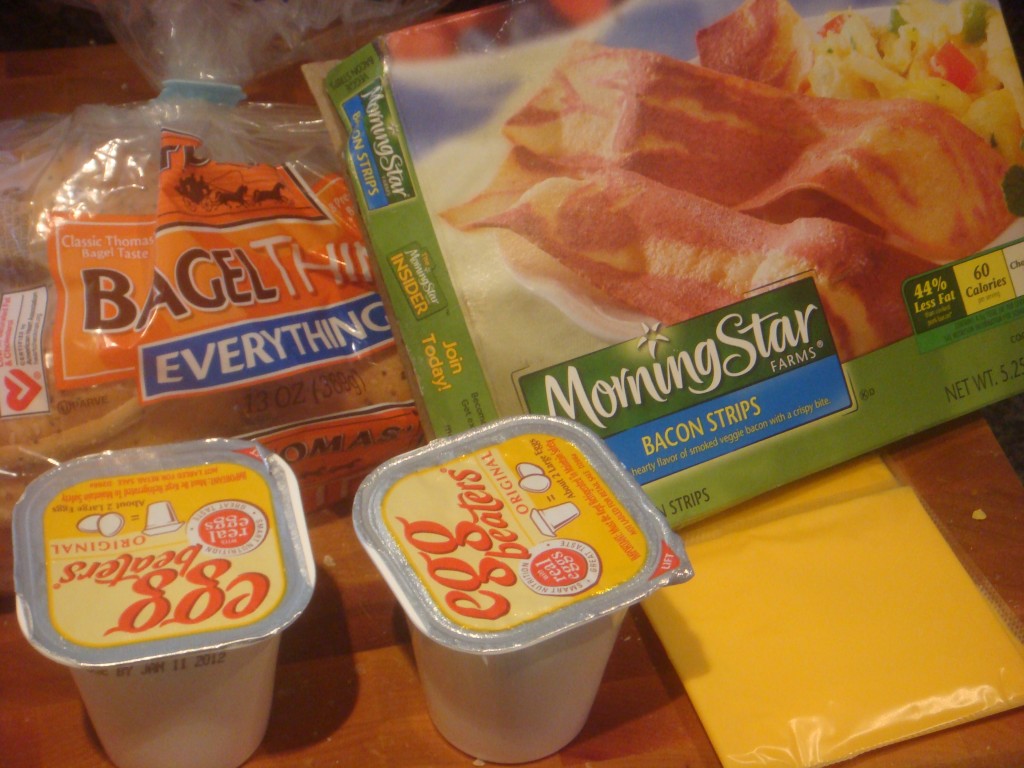
This morning I made 2 sandwiches, but for one you will need:

Let me give a quick overview of each of these ingredients and why I love them. First of all the idea of a 110 calorie bagel is amazing. What’s even better is that when this bagel is toasting the smell reminds you of why bagels are so delicious, especially everything bagels. Egg beaters have basically replaced eggs in my life (except in baking). They are made from egg whites plus they’re super easy (who wants to separate eggs) and you don’t have to figure out what to do with the yolk.

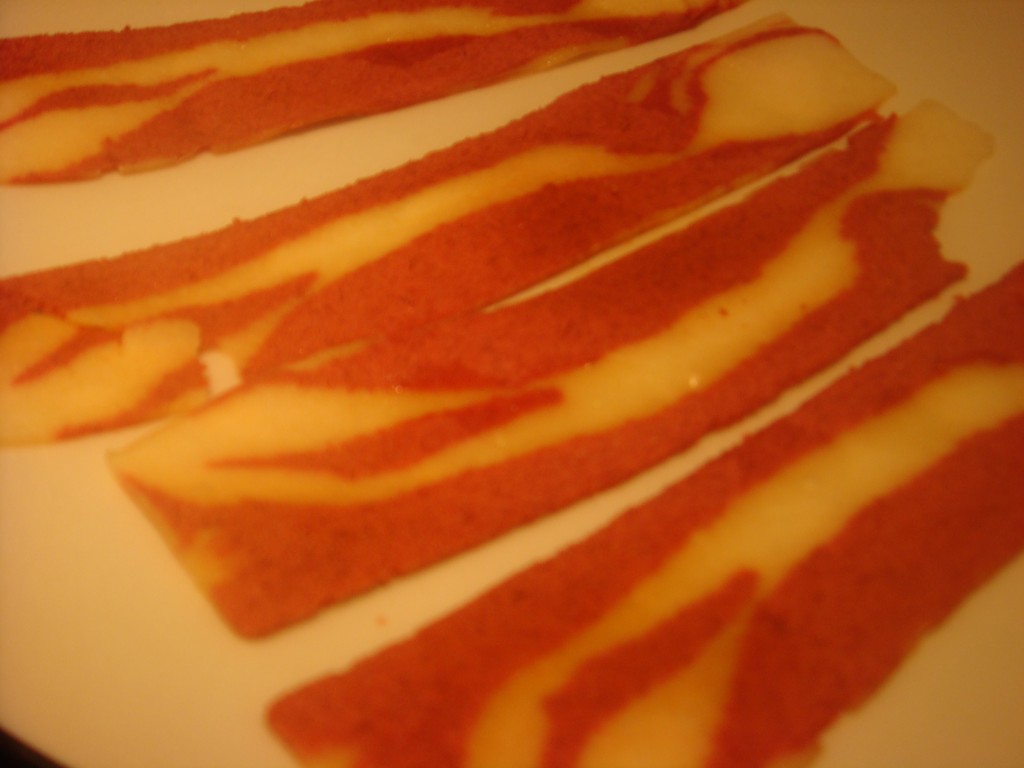
Ok, full confession- I have never had bacon. It’s not very appealing to me which I know makes even my vegetarian friends look at me strangely, but that’s just the way it is. I do love turkey bacon and veggie bacon though. And even Geoff likes veggie bacon in any form except on the side of eggs, so I feel confident in this swap. Lastly, the weight watchers brand American cheese. There is so much to say about this cheese. I normally hate reduced fat cheese and I would rather have a little bit of real cheese than a lot of it’s reduced fat or fat free counterparts. This cheese, though, is wonderful. It tastes great on its own and it melts beautifully for only 45 calories per slice. I’ve seen it in most every grocery store, so you should definitely pick some up.

The prep of this dish is super simple: Toast the bagel. Microwave the bacon according to package instructions. Scramble the egg beaters and reduce the heat to low. Break the bacon into smaller pieces and lay it on top of the eggs,Place the slice of cheese on top and cover with a lid so the cheese melts without drying out the eggs. Use a spatula to move the bacon egg and cheese onto the bagel. 
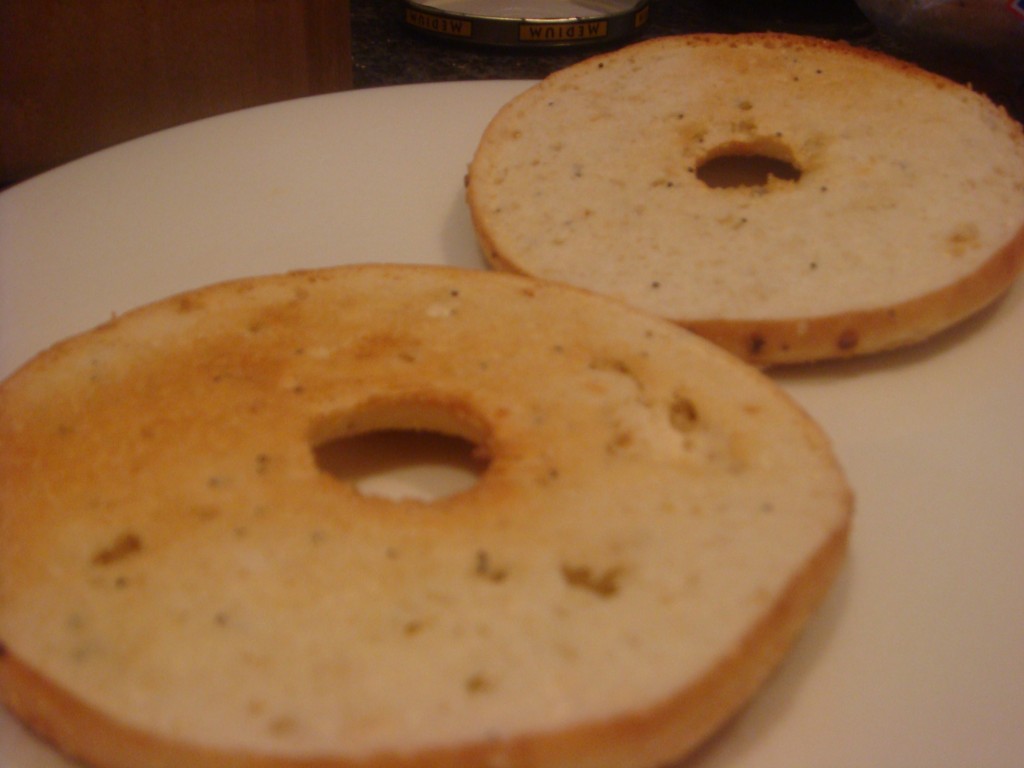
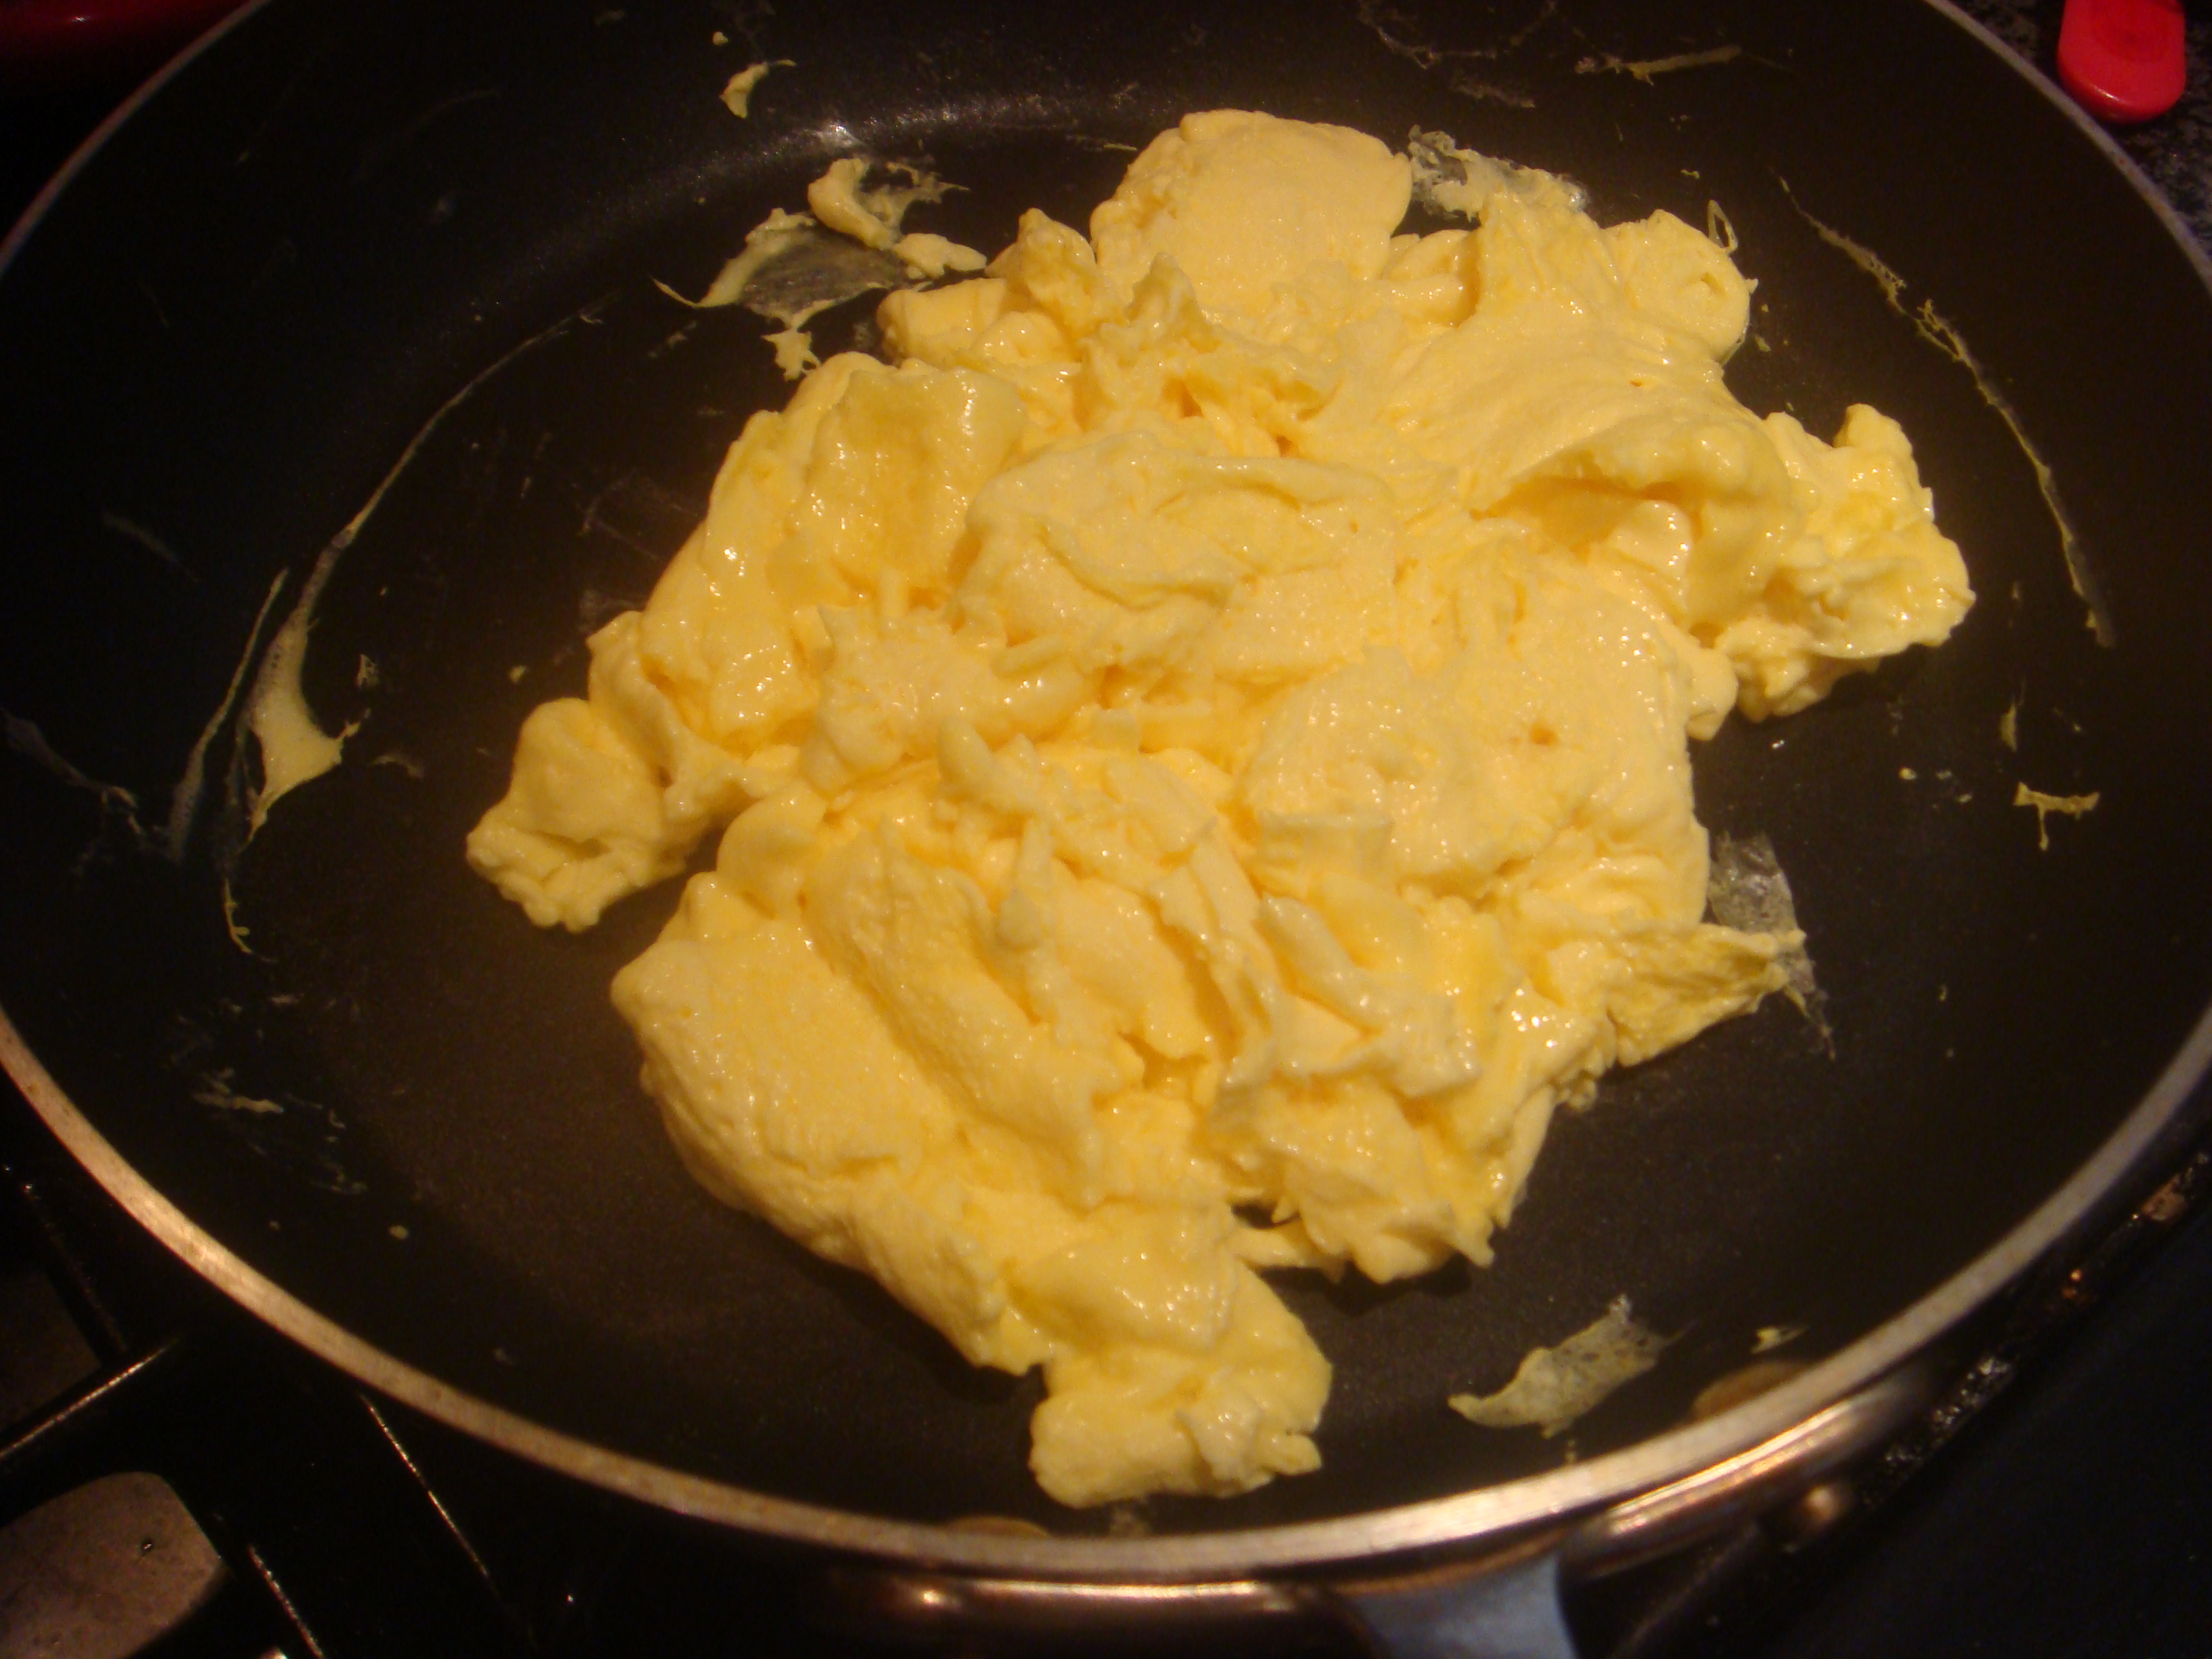
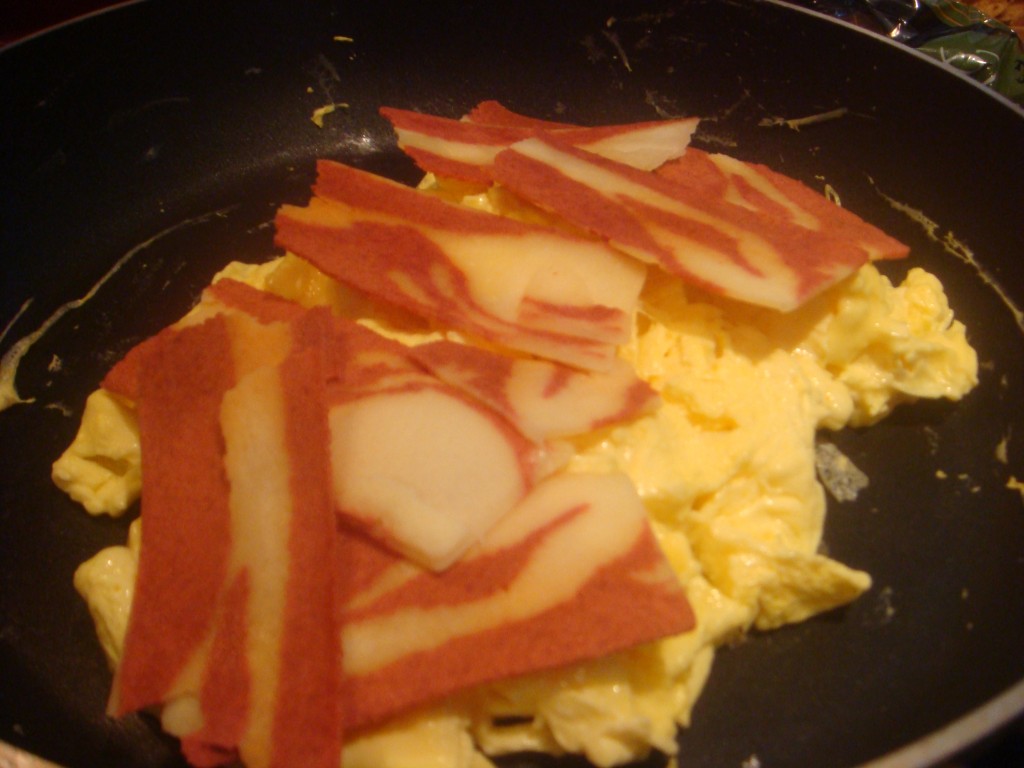
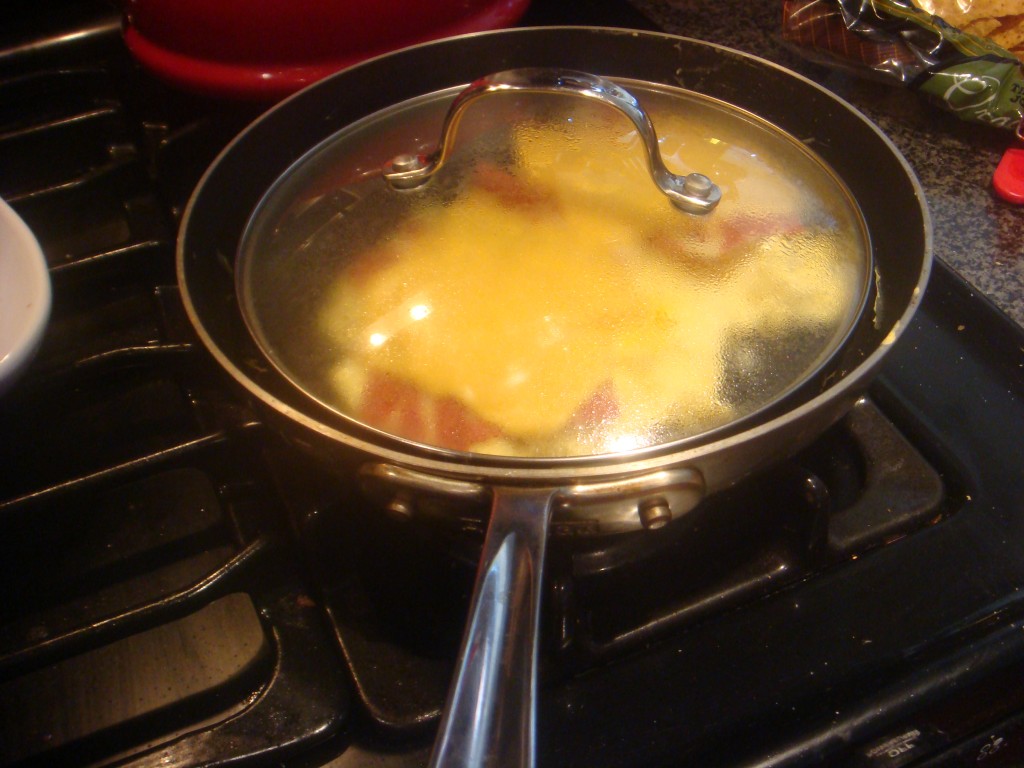

Warning: the cheese will be gooey and the smells will be heavenly. Have a great brunch!


Pumpkin Apple Scones

I’m happy to say that tonight I FINALLY finished the last of that pumpkin! (You know, the one that has been in my fridge since Halloween and the star of 2 recent mich dishes) I think it was on its last few days in my fridge, so now I don’t feel wasteful.

Another thing that happened tonight– I “healtified” a baking recipe. This was a first for me. I healtify (yeah, I made it up, but I kind of like it!) lots of savory recipes because frankly, there’s not as much science involved. I’ve also changed the flavor profiles of some sweet recipes but again, never altering the science. So yeah, I’m pretty proud of this accomplishment. I’ve deemed the recipe a “good breakfast or tea cake” but since it’s not overly sweet, my husband deemed it “interesting.”

Some things to know about this recipe. It’s messy and it’s not the most beautiful dough… but it is tasty, healthy, and pretty simple. OK, let’s jump right in!

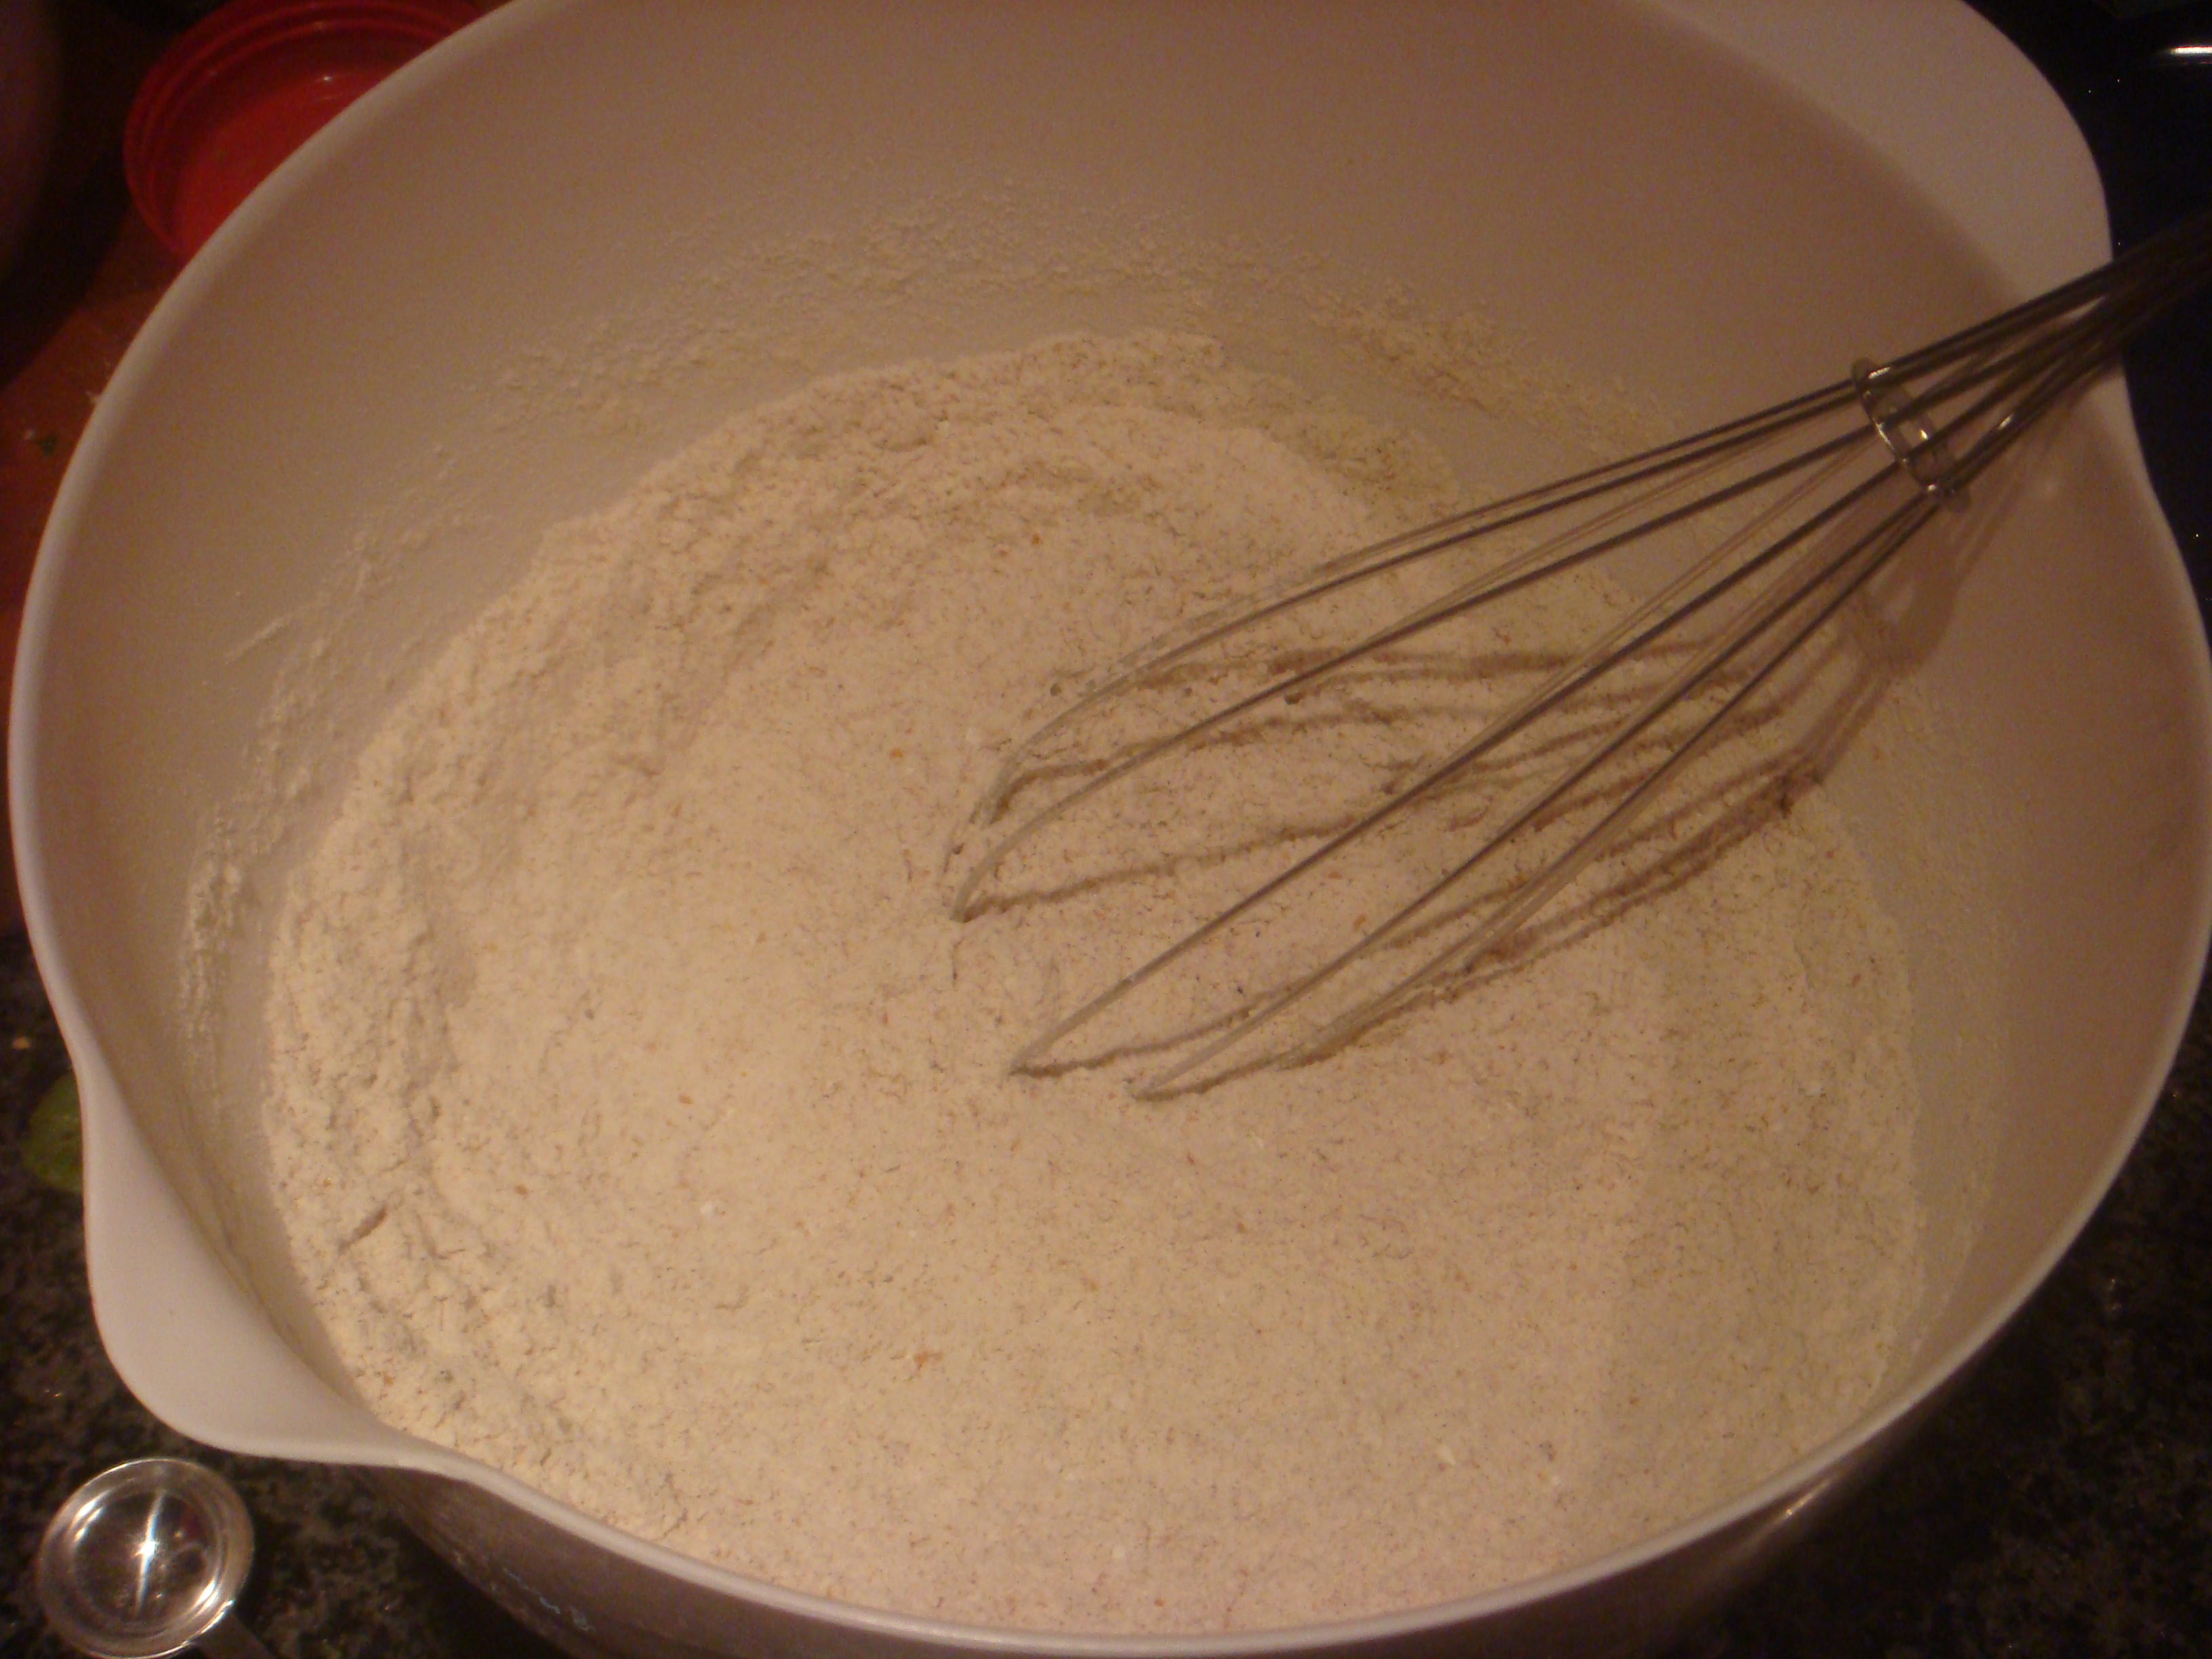
First, combine the following ingredients in a medium bowl:

  • 2 1/2 cups of flour (I used 1/2 cup wheat and 2 cups all purpose… but only because I ran out of wheat– if I had more, I would do 1 1/2 cups wheat and 1 cup AP)
  • 1/4 cup light brown sugar, packed
  • 3/4 Tbsp cinnamon
  • 1/2 tsp nutmeg
  • 1/2 tsp allspice
  • 1/2 tsp salt
  • 1/2 tsp ginger
  • 1 Tbsp baking powder
Next, cut up 1/4 cup (4 Tbsp) cold butter into small chunks and add that to the flour with 1/4 cup fat free Greek yogurt. Cold butter is important, as is cold yogurt because you want to use your hands to mix these ingredients into the flour mixture until it has the consistency of little peas. I know recipes always say that… essentially, you want to break the butter up but not melt it  or soften it too much. You can use a pastry cutter but I don’t have one, so I just use my hands to do this. 
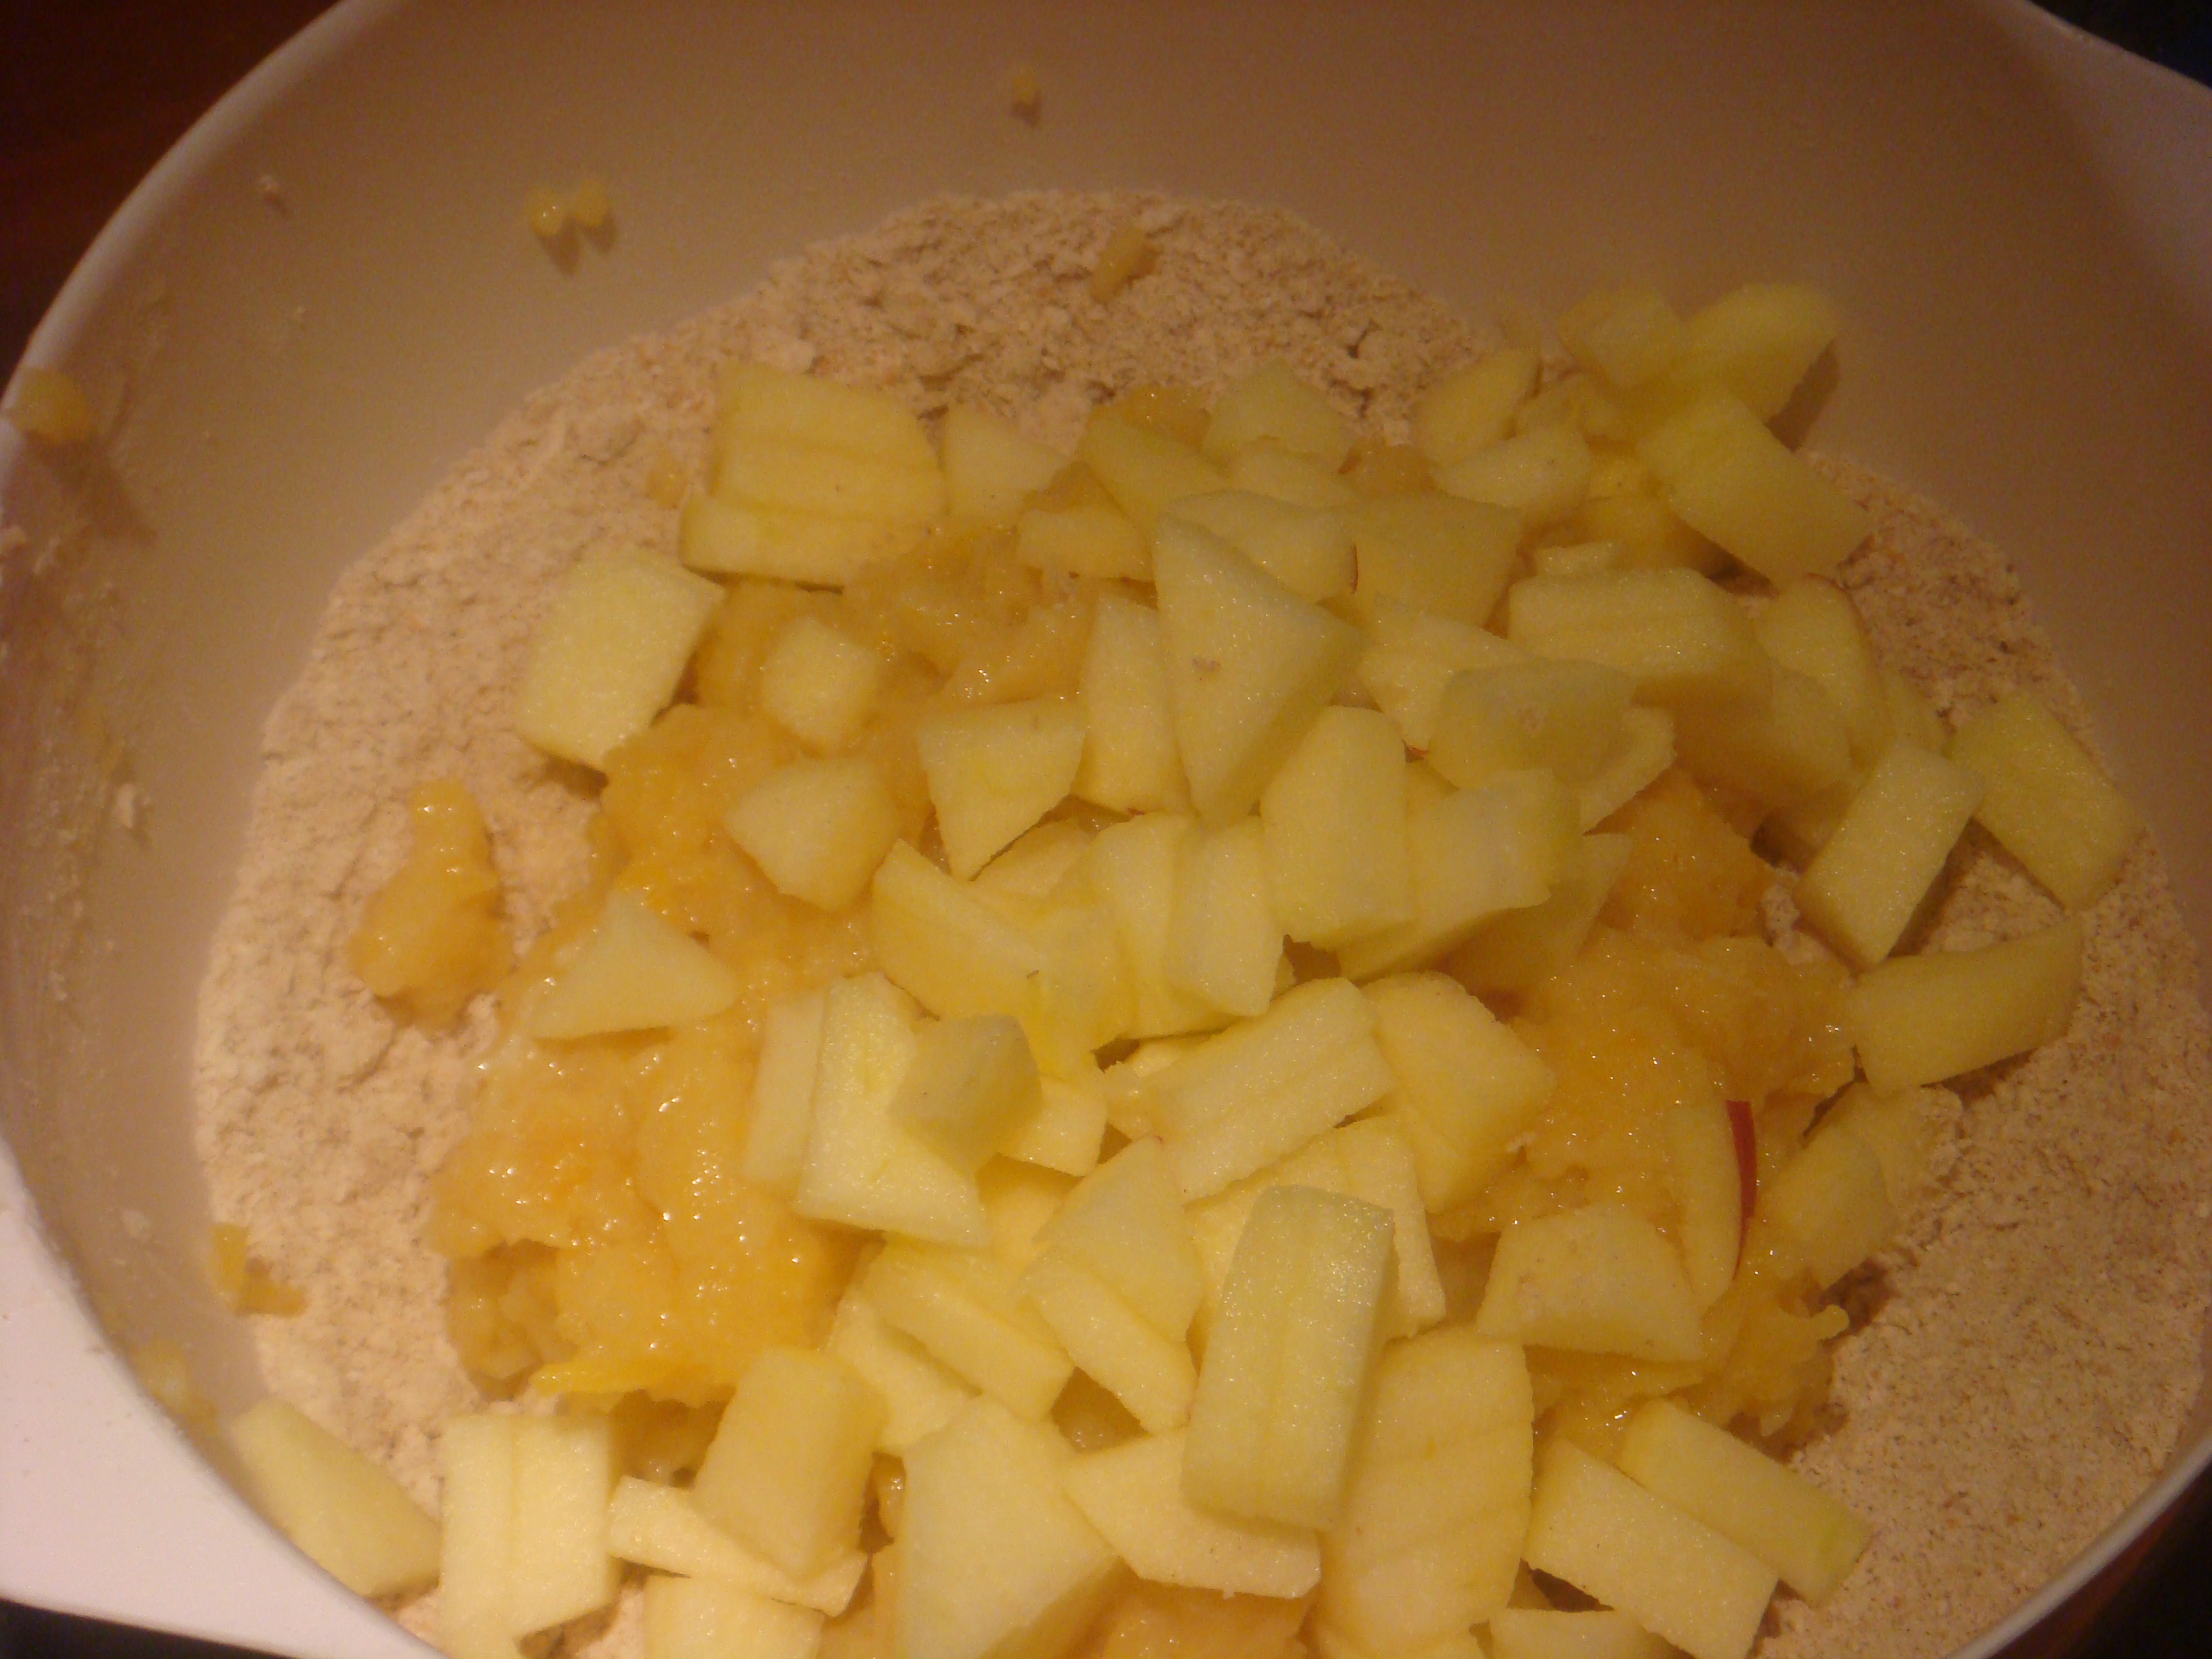
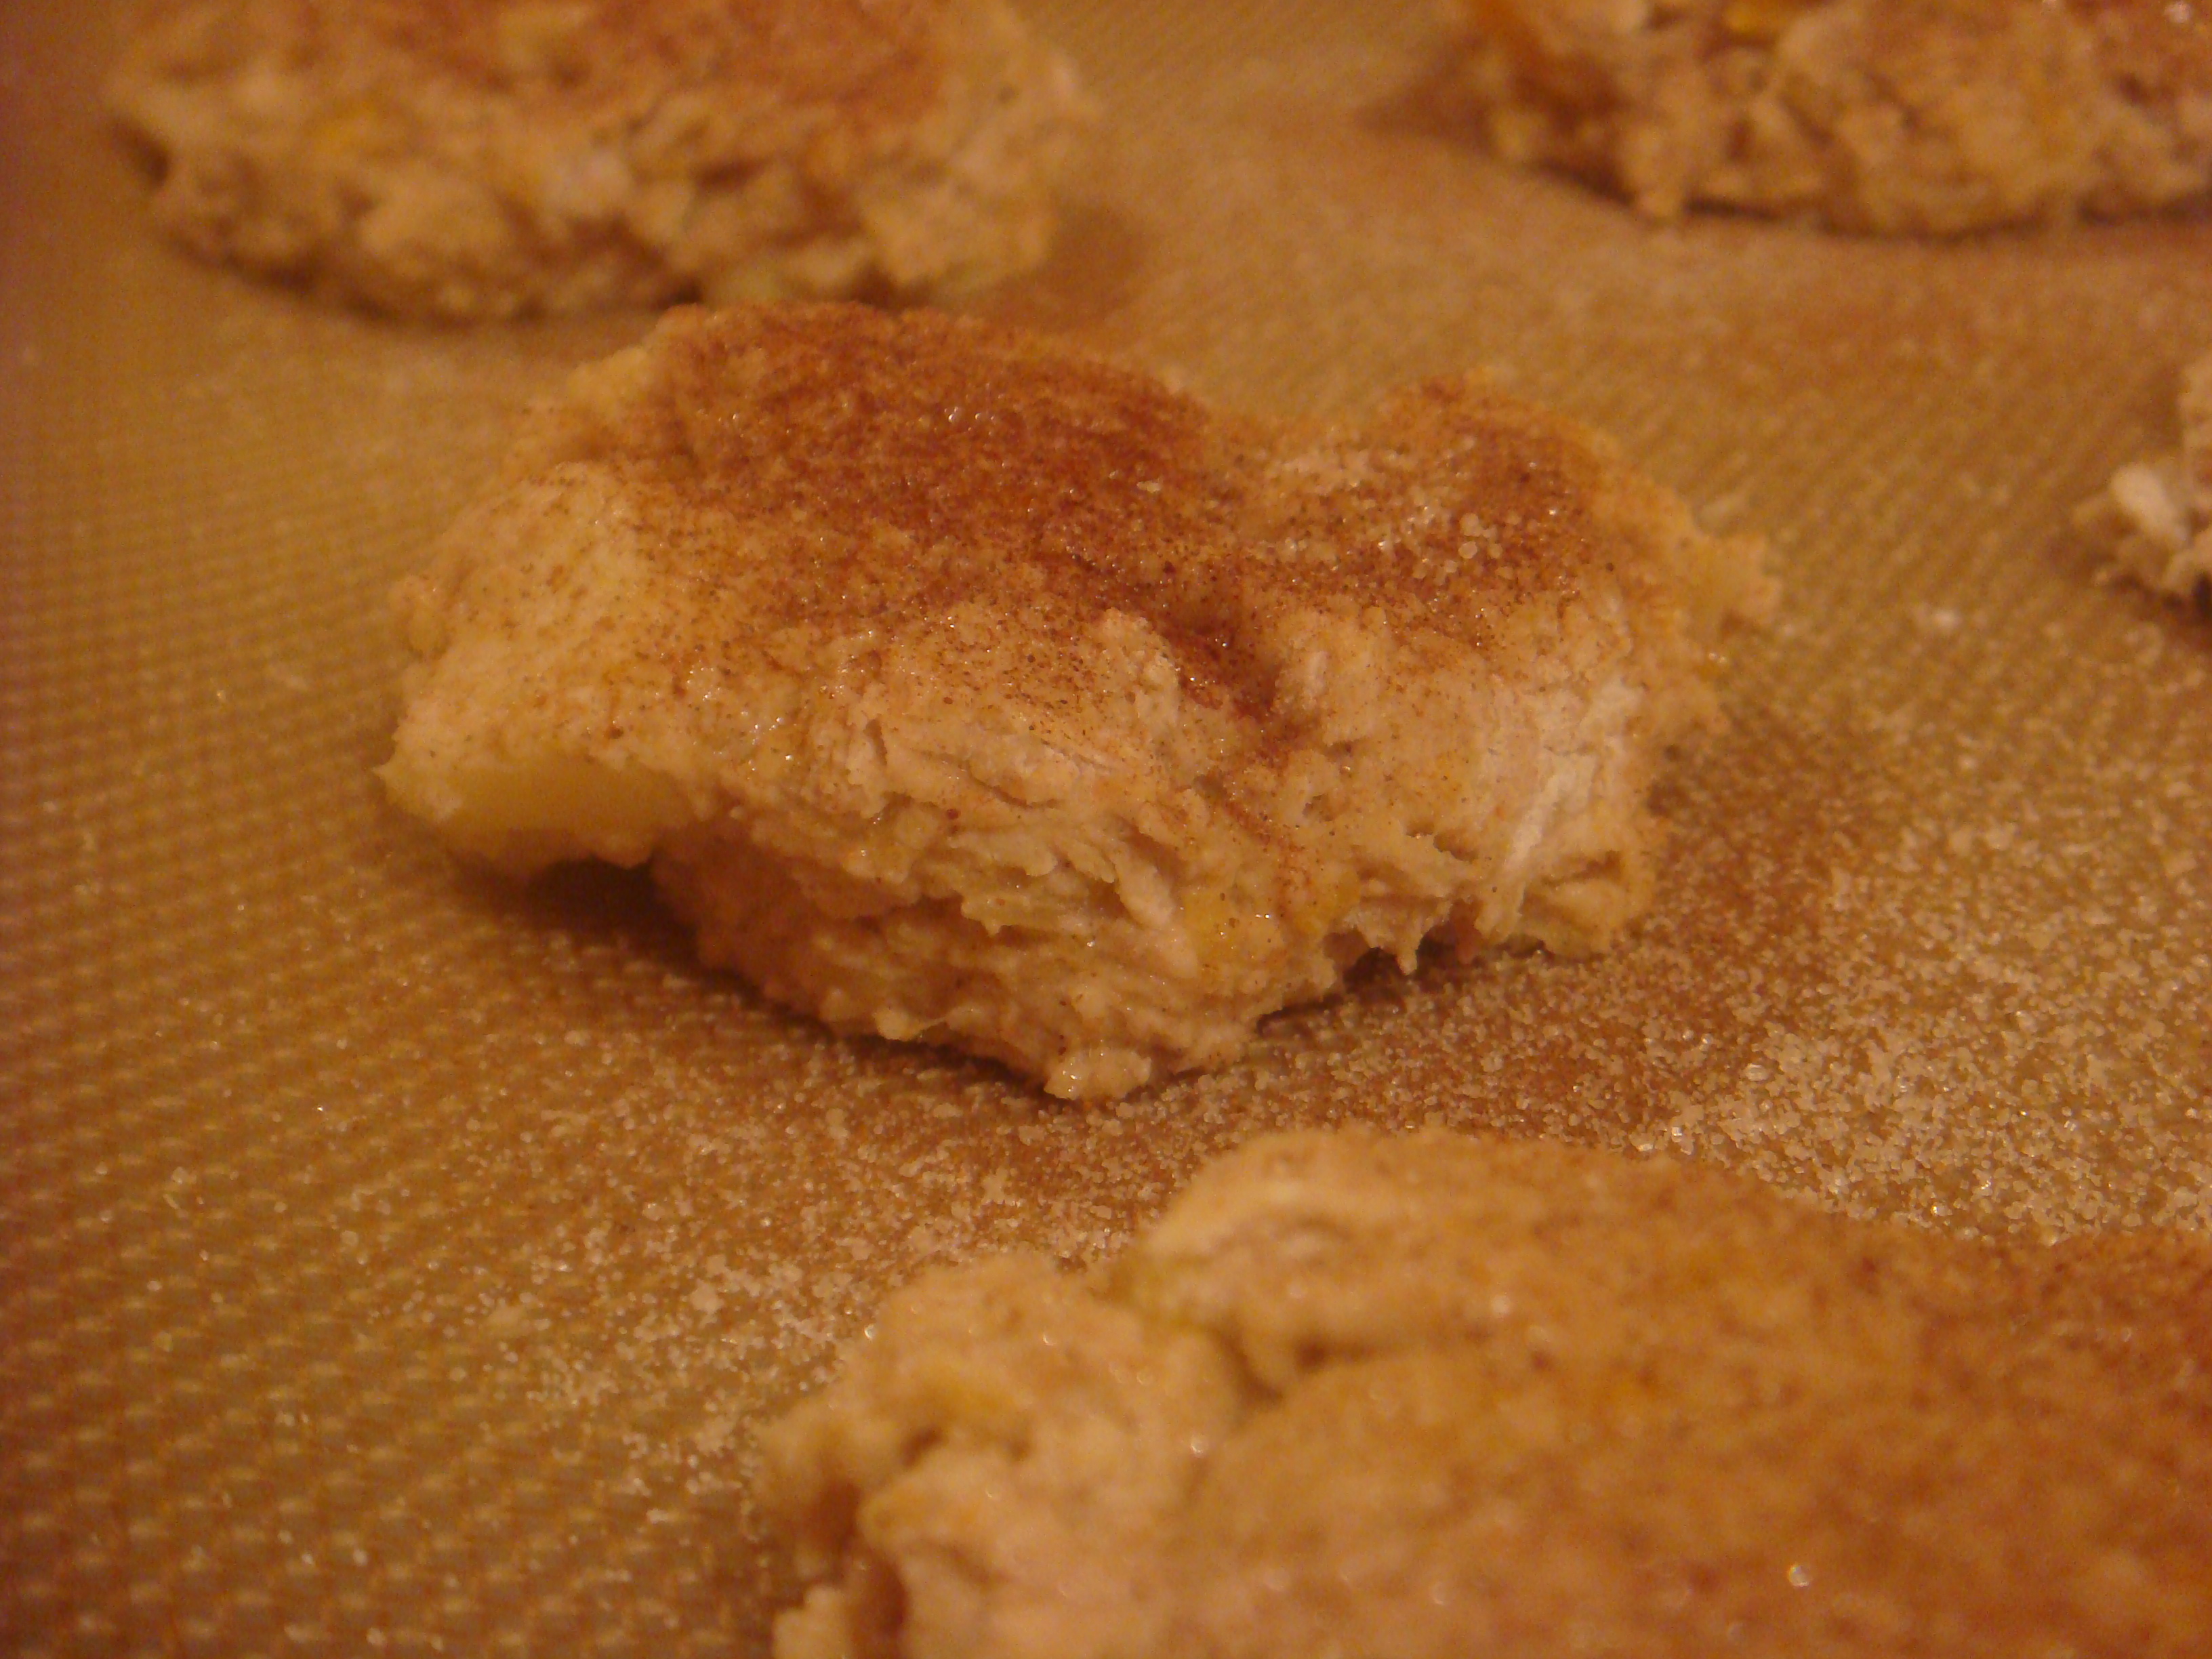
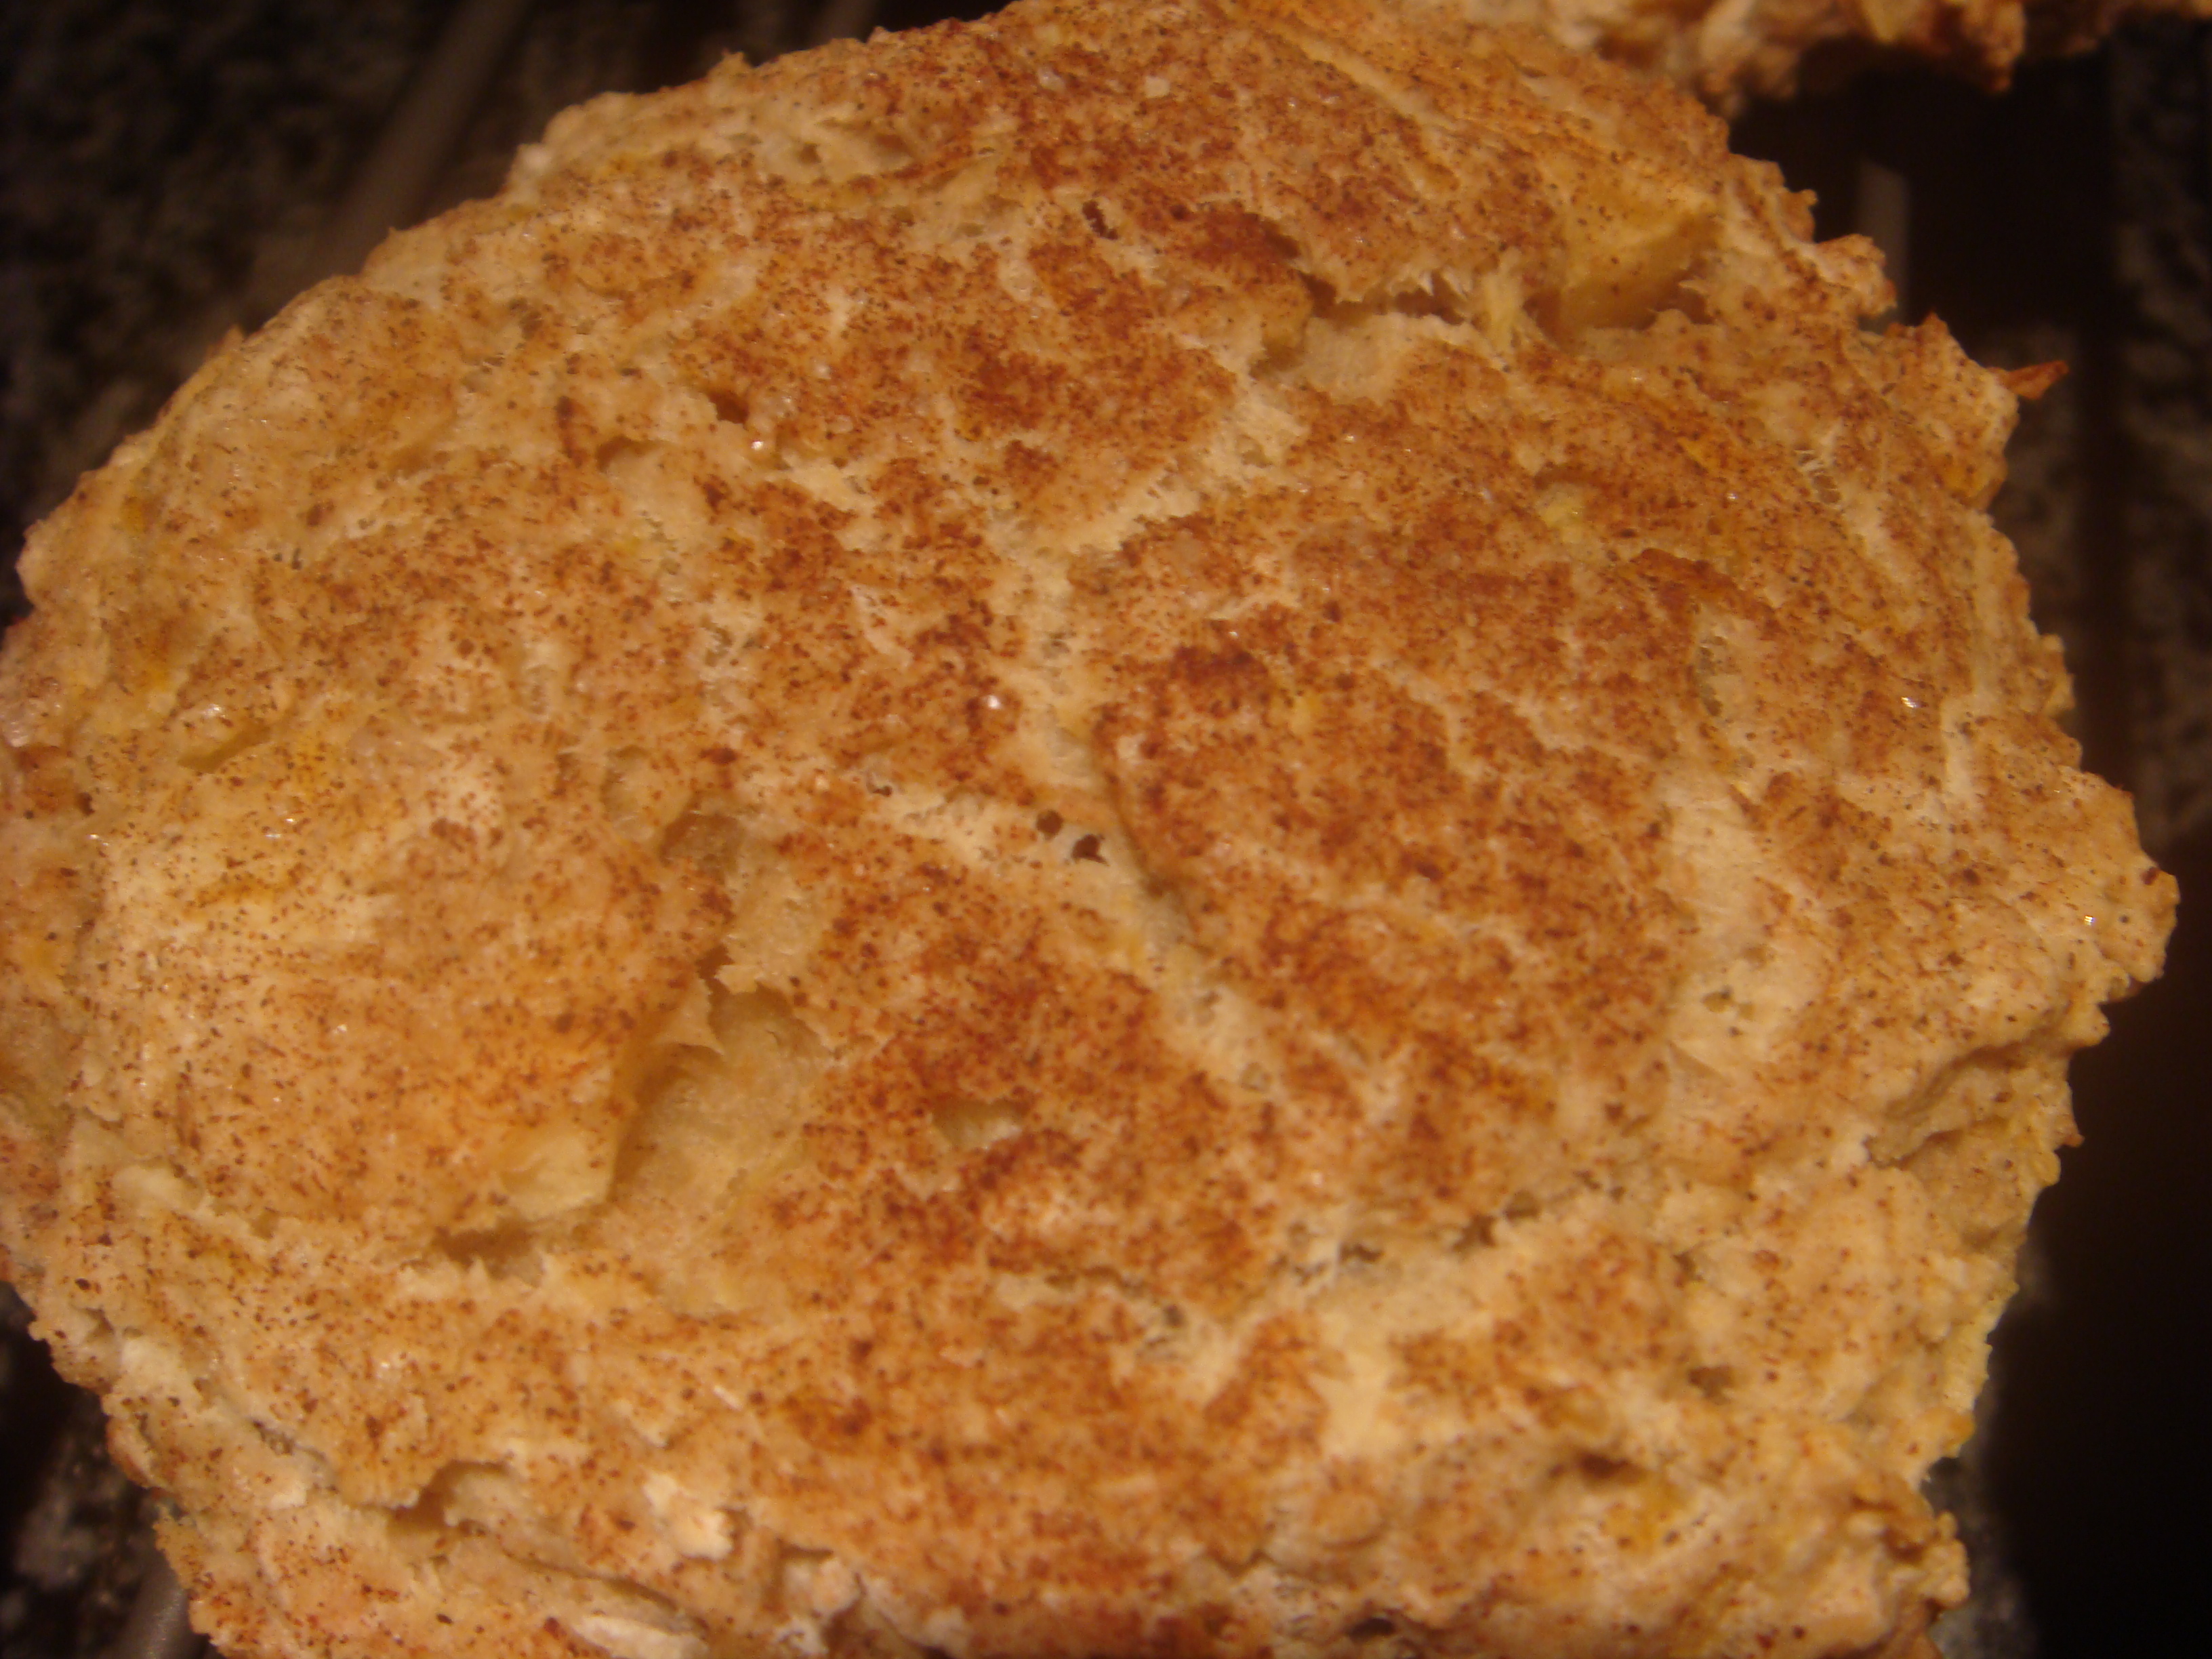
In a separate bowl, mix 1 cup pumpkin puree (again, you can use canned pumpkin) and 1/2 cup light soy milk (of course, you can use skim milk or almond milk or any milk, really. I always use soy milk in baking because my husband is protective of his milk supply and honestly, you can’t tell the difference in taste). Peel and dice a medium apple (I love Honeycrisp apples, but really any sweet and crunchy apple will do– there’s not a lot of sugar in this recipe, so I’d go for a sweet rather than a tart apple). Add pumpkin and milk mixture as well as apples to the flour and butter mixture. Mix until well combined. Roll up your sleeves, it’s about to get messy! In preparation, flour a non wood cutting board and wet your hands or spray them with non stick spray. What you want to do is incorporate another 1/2 cup of flour and knead the entire mixture. It will be thick and sticky, but not as dry as most scone dough. In fact, it’s more like a wet cookie dough. Use a scoop or your hands to create 12 scones. Flatten slightly. Fill a small sieve with 1 Tbsp of granulated sugar and 1 1/2 tsp cinnamon and evenly sprinkle over the top of the scones. 
Bake on a greased or lined cookie sheet at 375 for 30-35 minutes. Because of the apples the scones will always seem a little wet. Cool on a wire rack and enjoy with a hot cup of tea!

Ginger Pumpkin Muffins

So if you read the last post you probably know that I have an abundance of pumpkin in my fridge. I used half of it to create a spiced pumpkin and tahini soup, which was delicious fresh and and days after. Last night, I used most of the other half (apparently roasting 1 pumpkin makes A LOT of pumpkin puree) to make ginger pumpkin muffins. I adapted this recipe from a weight watchers one that called for butternut squash and though I have never tried the original, I really think pumpkin is the way to go on these– they don’t call it pumpkin pie spice because it should be used with butternut squash…

Now, before you think “oh no, healthy pumpkin muffins,” rest assured that I would never post a Mich Dish that wasn’t delicious. Also, I can honestly say that I have very rarely found a weight watchers recipe that wasn’t a crowd pleaser. So bottom line– you’re in good hands!

This recipe has a lot of ingredients, but overall it is pretty simple and straightforward.

First, whisk together the dry ingredients and set aside:

  • 1 1/2 cups flour
  • 2 tsp pumpkin pie spice (or a combination of nutmeg, allspice, and ginger)
  • 1 tsp ground ginger
  • 1 tsp baking soda
  • 1/4 tsp salt

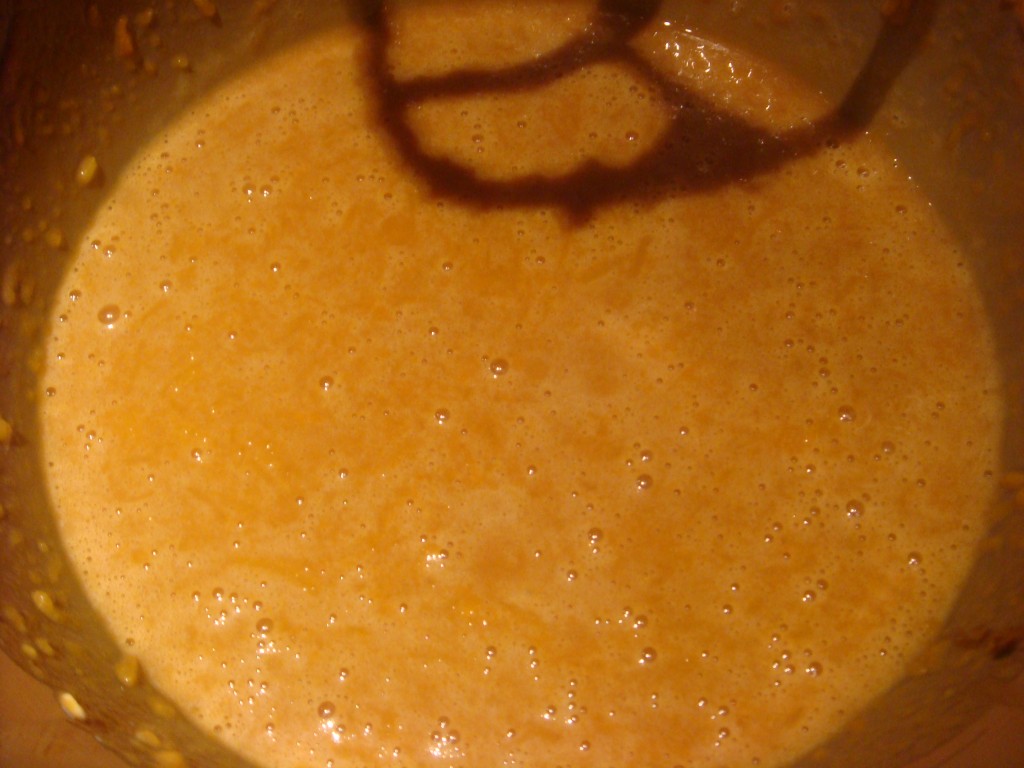
Then, combine wet ingredients and mix for 2-3 minutes:
  • 1/2 cup packed brown sugar (I used light, because that’s what I had on hand, but the recipe asks for dark)
  • 1 cup pumpkin puree
  • 3 Tbsp canola oil
  • 1/3 cup fat free yogurt (I used Greek yogurt, but you can use any kind)
  • 3 Tbsp molasses
  • 1 egg

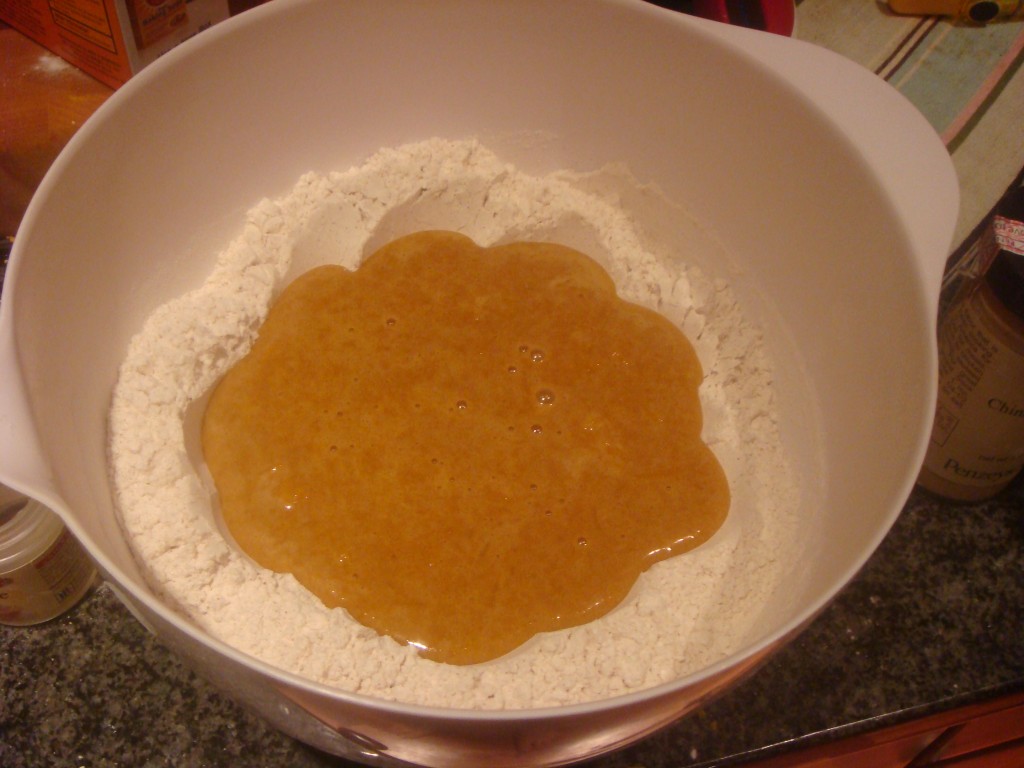
Make a well in the middle of the dry ingredients and pour the wet mixture into the center. Stir until just combined (meaning until you don’t see any more flour).
Depending on the size of your bowl, you may not be able to fit all the wet ingredients in one batch, so just pour half and then pour the rest in while stirring. If you are like me and you find that you have flour that hides on the bottom of the bowl and refuses to mix in no matter what, you might want to pour the mixture back into the wet ingredient bowl, putting the rogue flour at the top and making it easier to mix in. If you have no idea what I’m talking about… ignore that!
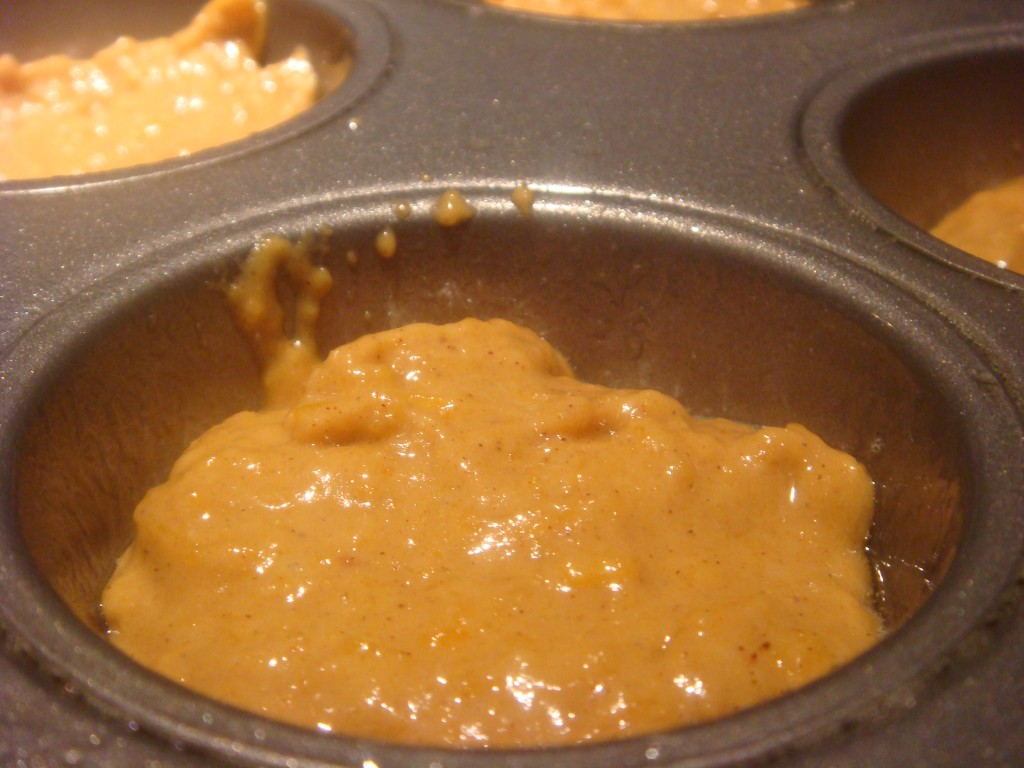
Grease or line a muffin pan and fill each cup 2/3 full.
Bake at 350 for 22 minutes or until a knife or toothpick comes out clean. As is, these muffins great for breakfast with a hot cup of tea. They’re nice and spiced without being overwhelming or overly sweet. If you are more of a dessert/sweets lover, you can easily put a cream cheese frosting on these and they’d be delicious too.  This recipe makes 12 muffins. I doubled the recipe since I was planning to bring them into the office (and because I wanted to use more pumpkin puree).
Post baking thoughts:
  • Though these muffins are called ginger pumpkin, the ginger flavor can easily be confused for pumpkin pie spice. I love ginger, so next time I make these, I will chop up about 1/2 cup crystallized ginger and mix it into the batter right before baking. I think that will help these muffins be more accurately named.
  • I was reading some other food blogs, and I saw someone who sprinkled cinnamon and sugar on top of the muffins before baking them to give a nice sweet crunch on top. I might try this next time as well.