Celebrating Fall: Maple Cinnamon Apple Sauce

Apple sauce is really one of those under-appreciated foods. It’s so delicious, it’s quite healthy, and as I learned tonight it’s really quite simple to make. Today was my one year wedding anniversary so I wanted to make a special dinner. If you recall from the last post, I have a ton of apples in my house and they’ve been sitting in the fridge for a while, so I wanted to find a good way to use them. I also had a pork loin so I thought what goes better with pork than apples!

After scouring the internet for recipes, I found one from cooking light that seemed perfect: Cinnamon-Maple Apple Sauce. Because of a certain friend of mine who gives me easy access to amazing maple syrup, I am always drawn to recipes involving that specific sweetener.

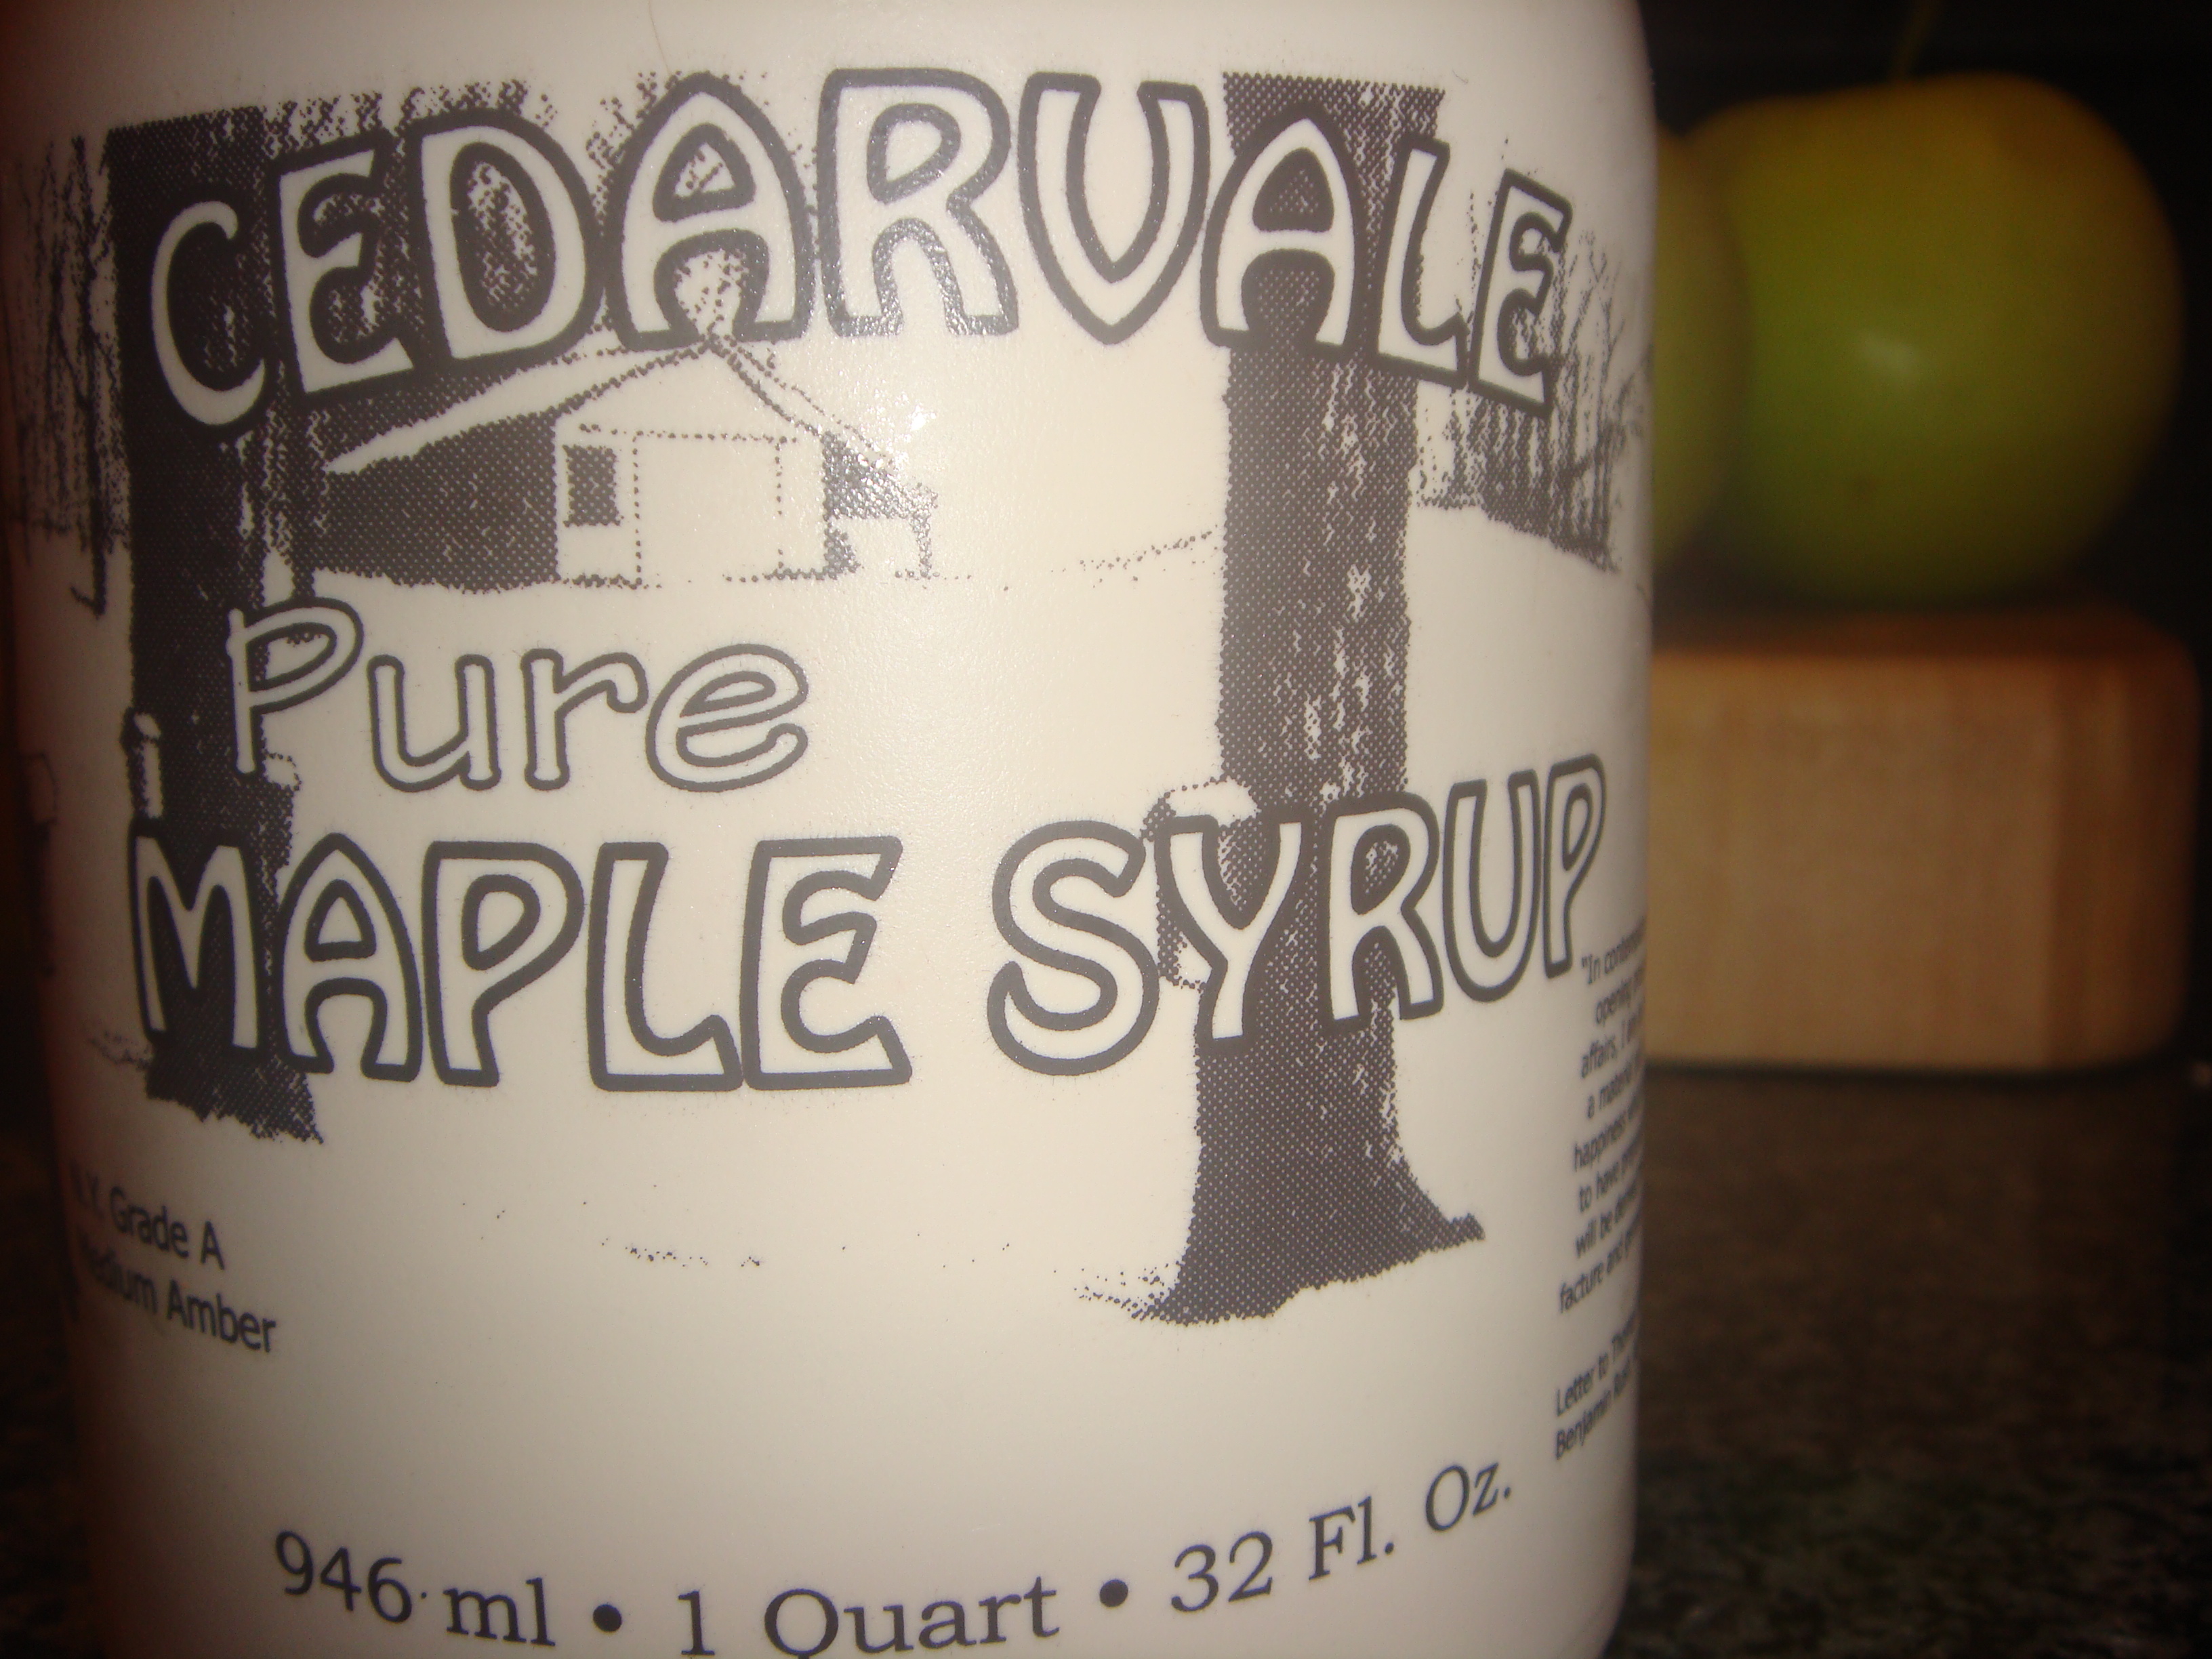
That brings me to my first ingredient. Channeling Ina Garten for a moment, the key to this recipe is good maple syrup. My choice, of course is Cedarvale Maple Syrup. It is wonderful. I highly recommend the dark amber variety.

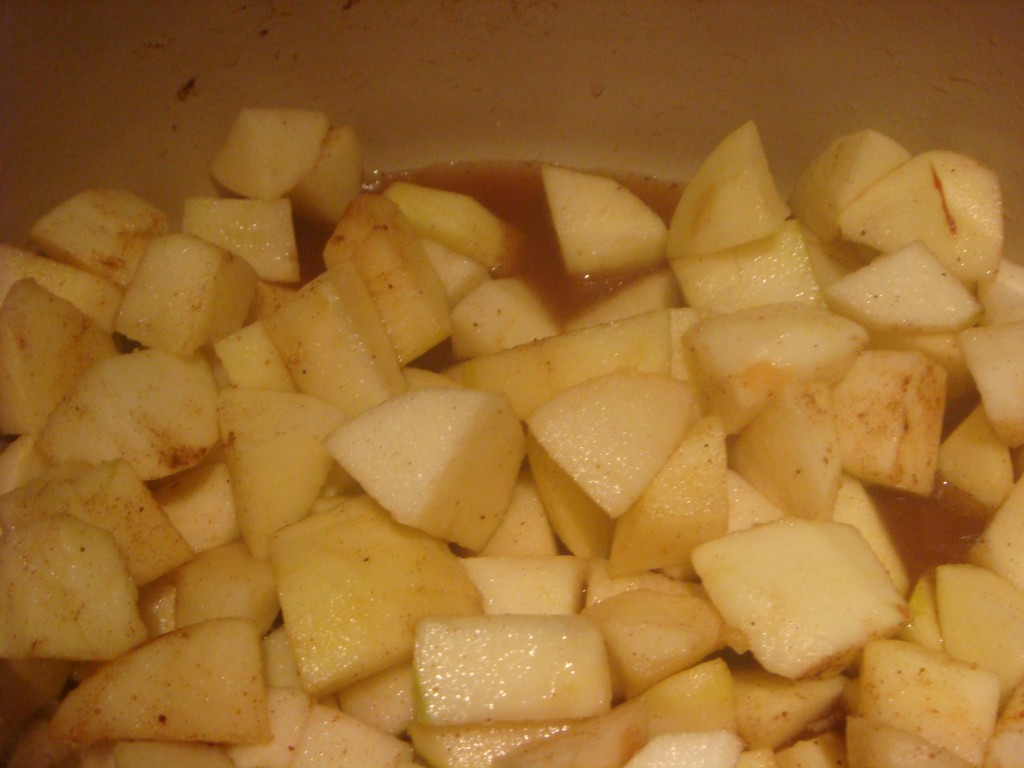
When it comes to simple recipes that involve a few ingredients, having good quality ingredients is so important. The first thing you want to do is bring 1/2 cup maple syrup and 1/4 cup water to a boil. While that is coming to a boil peel and cube 5 medium apples. I used a combination of red delicious and what I believe to be Jonagold apples (I say I believe because the orchard was not super well labeled so we just ended up picking apples that tasted good). My ratio was 3 sweeter apples to 2 more tart apples. Add apples to the boiling maple syrup and water along with 1/8 tsp nutmeg and 1/4 tsp cinnamon. You already know that I am not a big measurer so I just sort of sprinkled both of these ingredients.

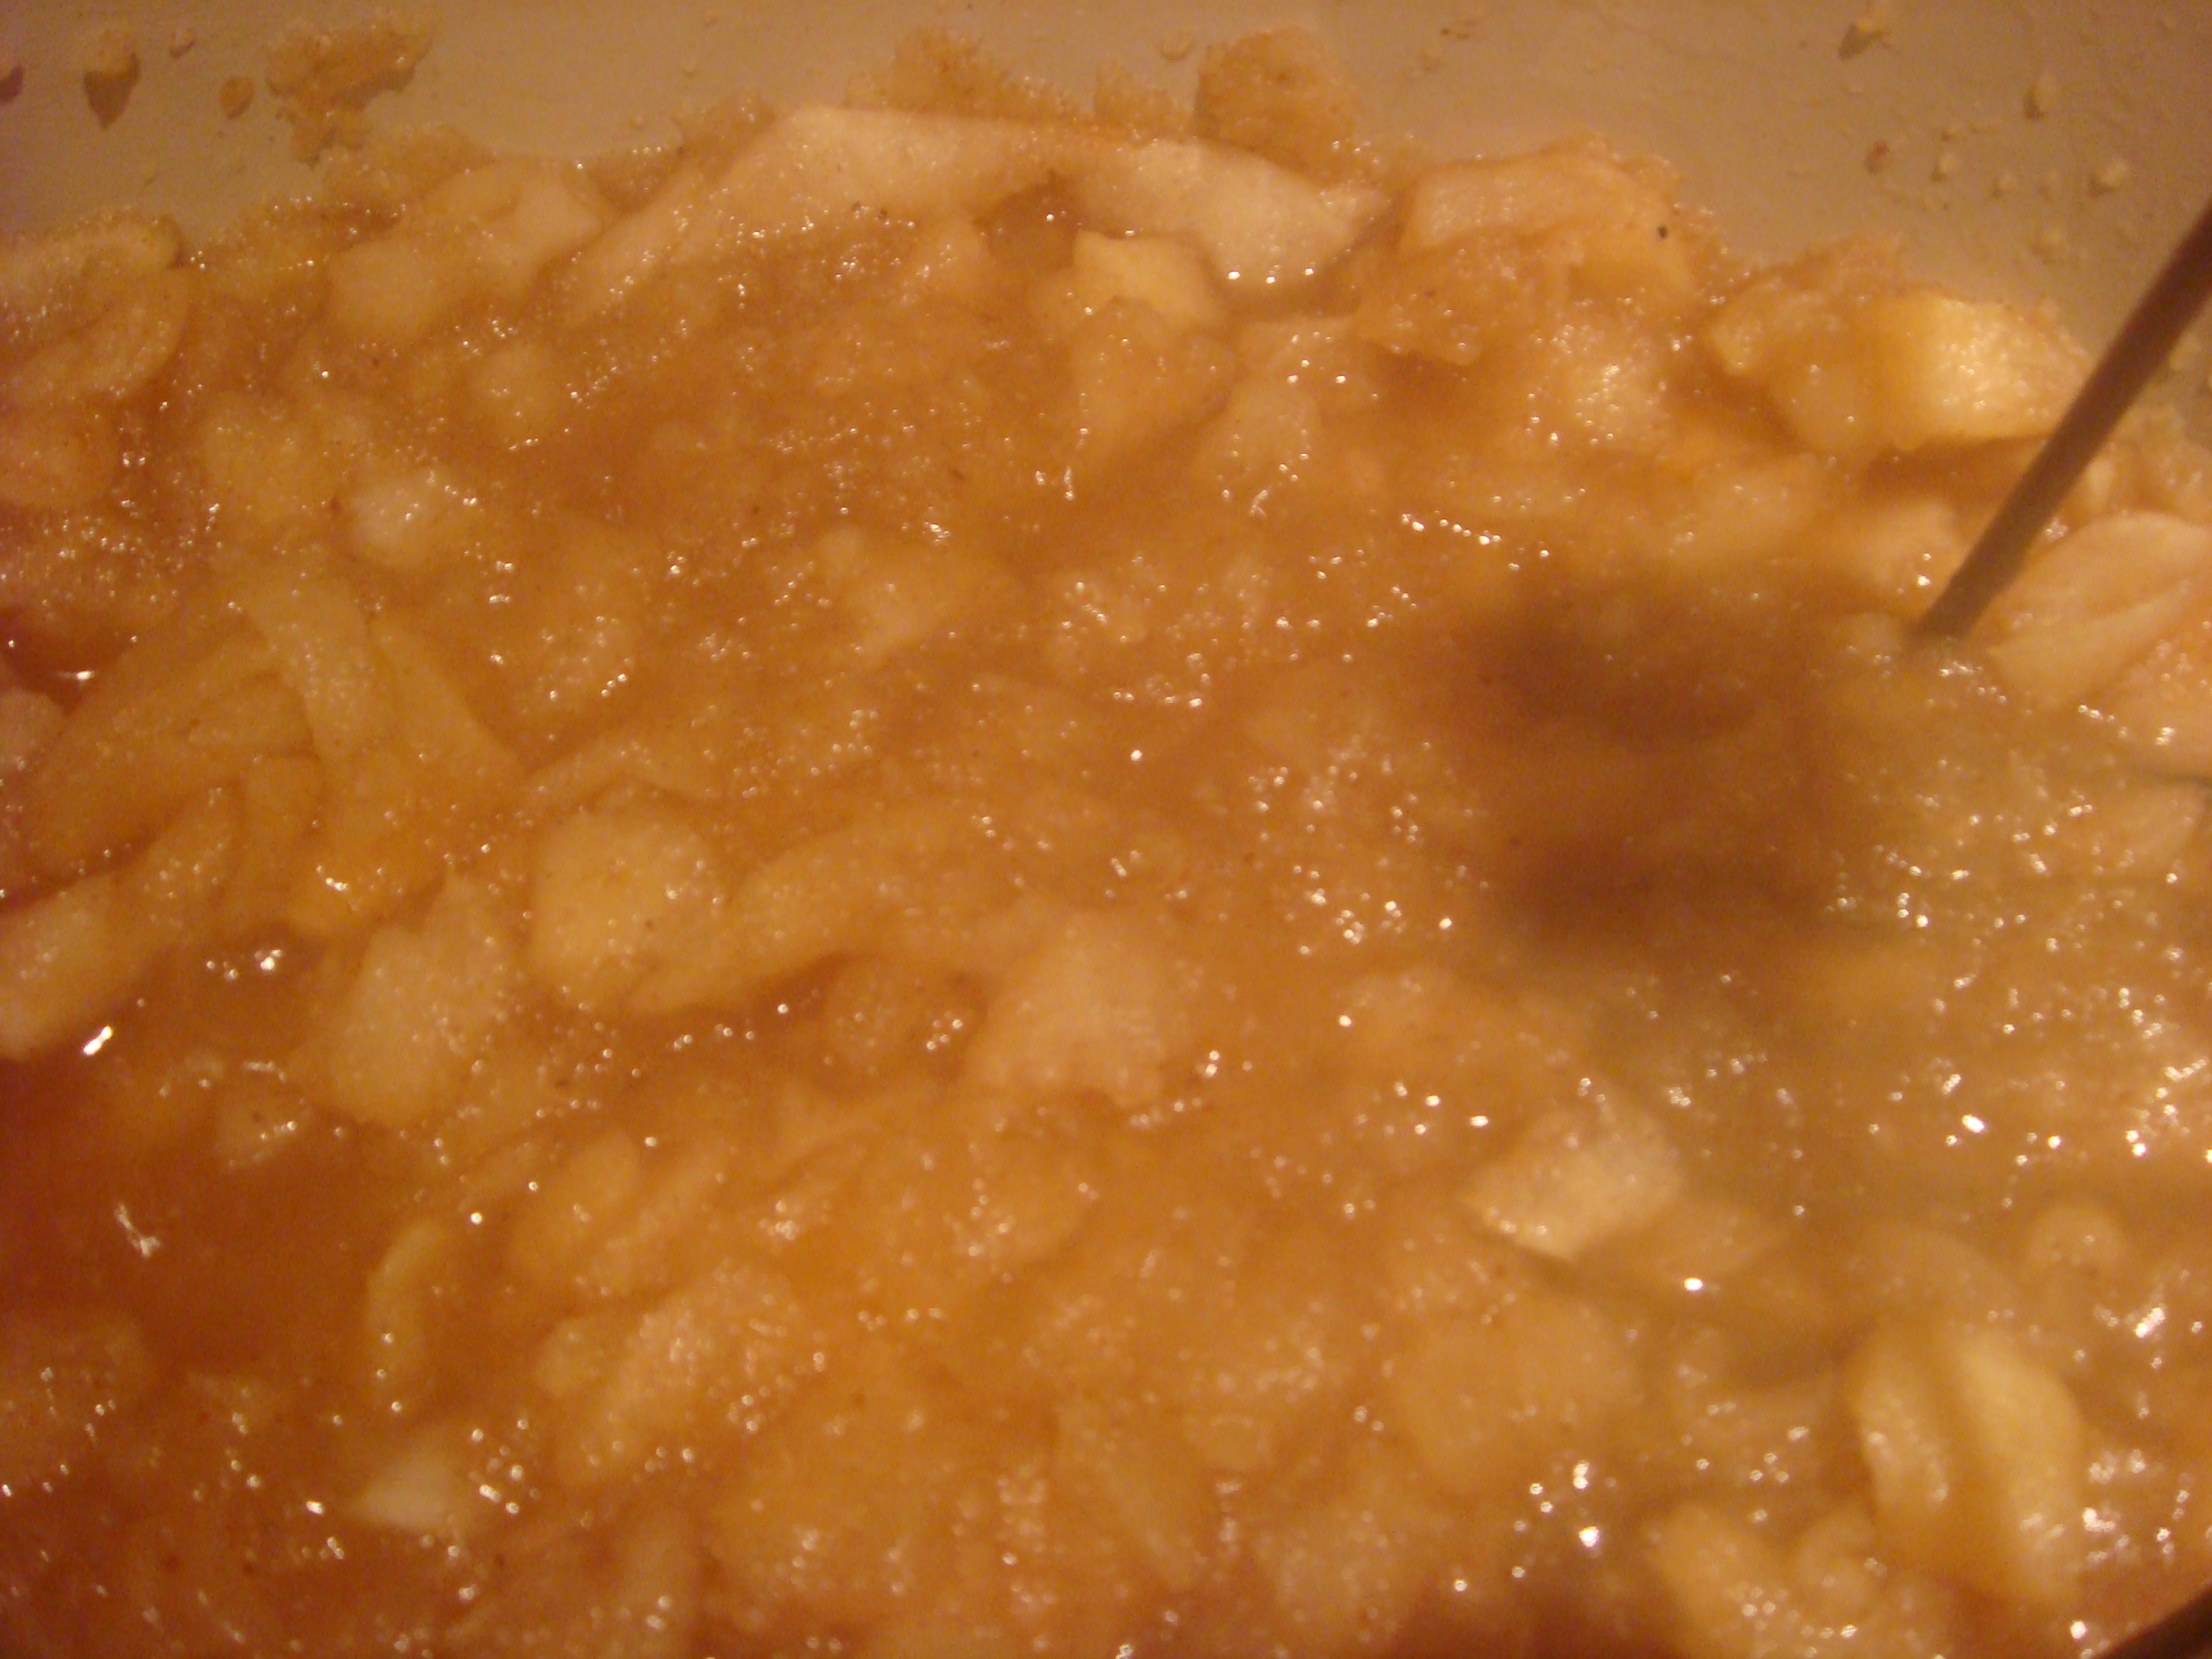
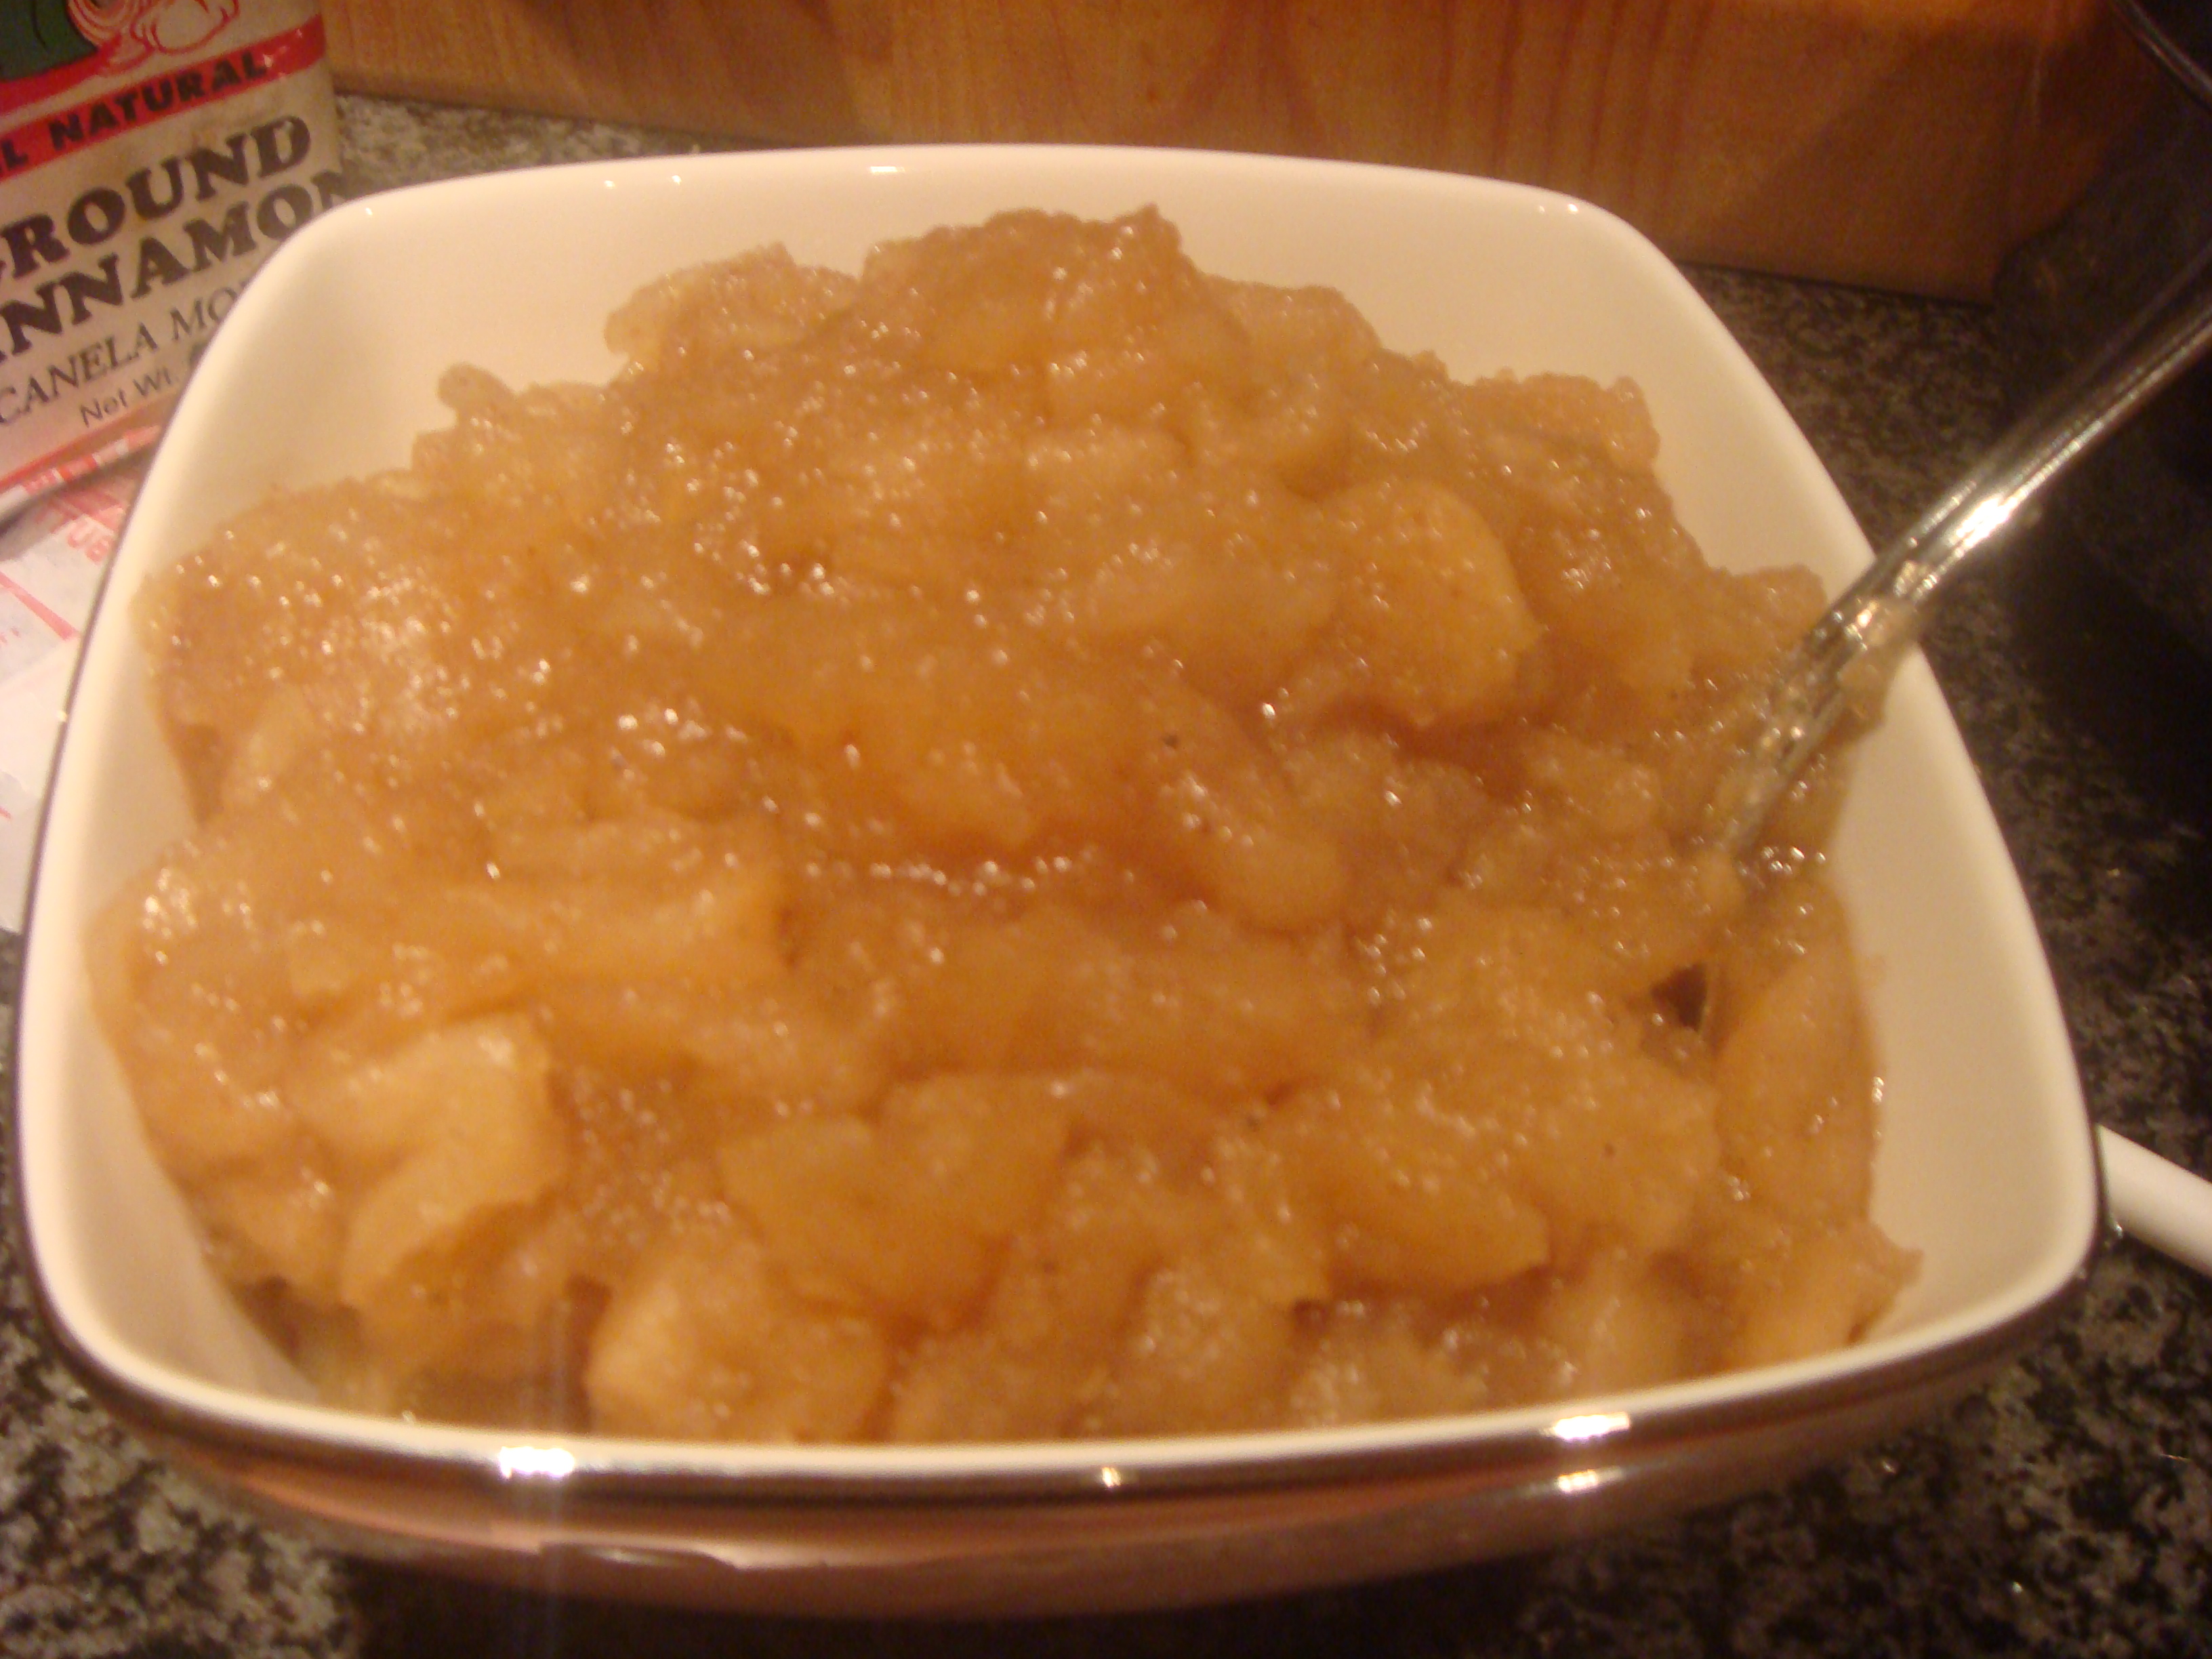
Cover and cook for about 25 minutes or until apples are soft. (WARNING: THIS WILL MAKE YOUR HOUSE SMELL AMAZING!) Using a potato masher, mash the apples. Now, I feel like things that are home made should look home made, so I left the applesauce chunky. If you are more into a smooth consistency, I would recommend using an immersion blender instead of a hand held potato masher. Once you’ve got the apples to a consistency that you’re happy with, continue to cook them uncovered so that the liquid evaporates. 

And that’s it! See? I told you it was simple. The results are amazing on pork, on cornbread, or on a spoon. It really makes me wonder why I have never done this in the past. If you have apples lying around you should DEFINITELY make this apple sauce! You will not be disappointed.

Middle Eastern Feast(ern) part 2: Quinoa Tabouli

Have you ever used Quinoa? It’s a little grain that is a bit evil. I say evil because it’s a little tricky to work with. First of all, when I say it’s a little grain, I mean tiny! Normally tiny grains are nothing to worry about, but the second thing that makes quinoa evil is a coating of bitter-tasting chemicals called saponin. In order to get rid of the saponin, you are supposed to rinse the quinoa before cooking with it. Now, the jury seems to be out on how important this rinsing really is, but the instructions on the bag that I had purchased say to rinse it. I don’t have one of those convenient mesh sieves which would have made this whole rinsing thing a lot easier. The first time I tried to make quinoa I took some internet advice and used a coffee filter. This seemed like a good idea except the third thing that makes quinoa evil is its tendency to stick to everything! But… we’re getting a little off topic. The bottom line is quinoa is really healthy and really delicious, but just a little bit evil unless you have a nice mesh sieve or quinoa that is pre-rinsed.

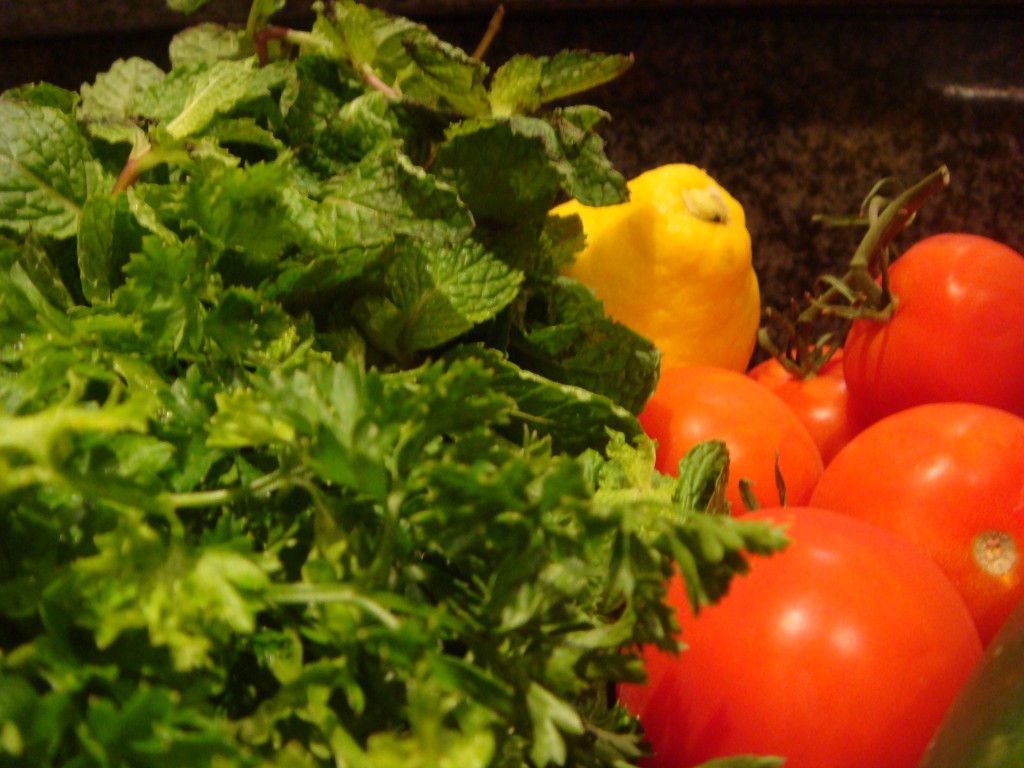
The recipe I’ll be talking about in this post in quinoa tabouli, another treat from my pita and the best of the middle east cooking class. The recipe itself is actually quite simple aside from the quinoa. Here’s what you’ll need:

If you’re more of a list person than a visual one the ingredients are:

  • Mint
  • Parsley
  • Cherry Tomatoes
  • Cucumber
  • Lemon

Ok so back to the quinoa for a minute. Rinse 1/2 cup of quinoa in cold water and add to pot. In order to get rid of the excess moisture, you’ll want to dry toast the quinoa in the pot. What this means is turn the burner on and stir the quinoa around a bit until the residual moisture steams off. You’ll know it’s ready to go when it starts to stick to the bottom of the pot. Add 1 cup cold water, give it a quick stir, and cover. Bring to a boil and then reduce heat to a simmer. The next part is really important. Are you listening? KEEP THE QUINOA COVERED AND DON’T TOUCH IT! I mean it. Don’t stir it or anything. I accidentally stirred it in class and got yelled at. Apparently stirring it makes unfluffy, half cooked quinoa. Once all the water has dissolved, remove from heat and let it cool.

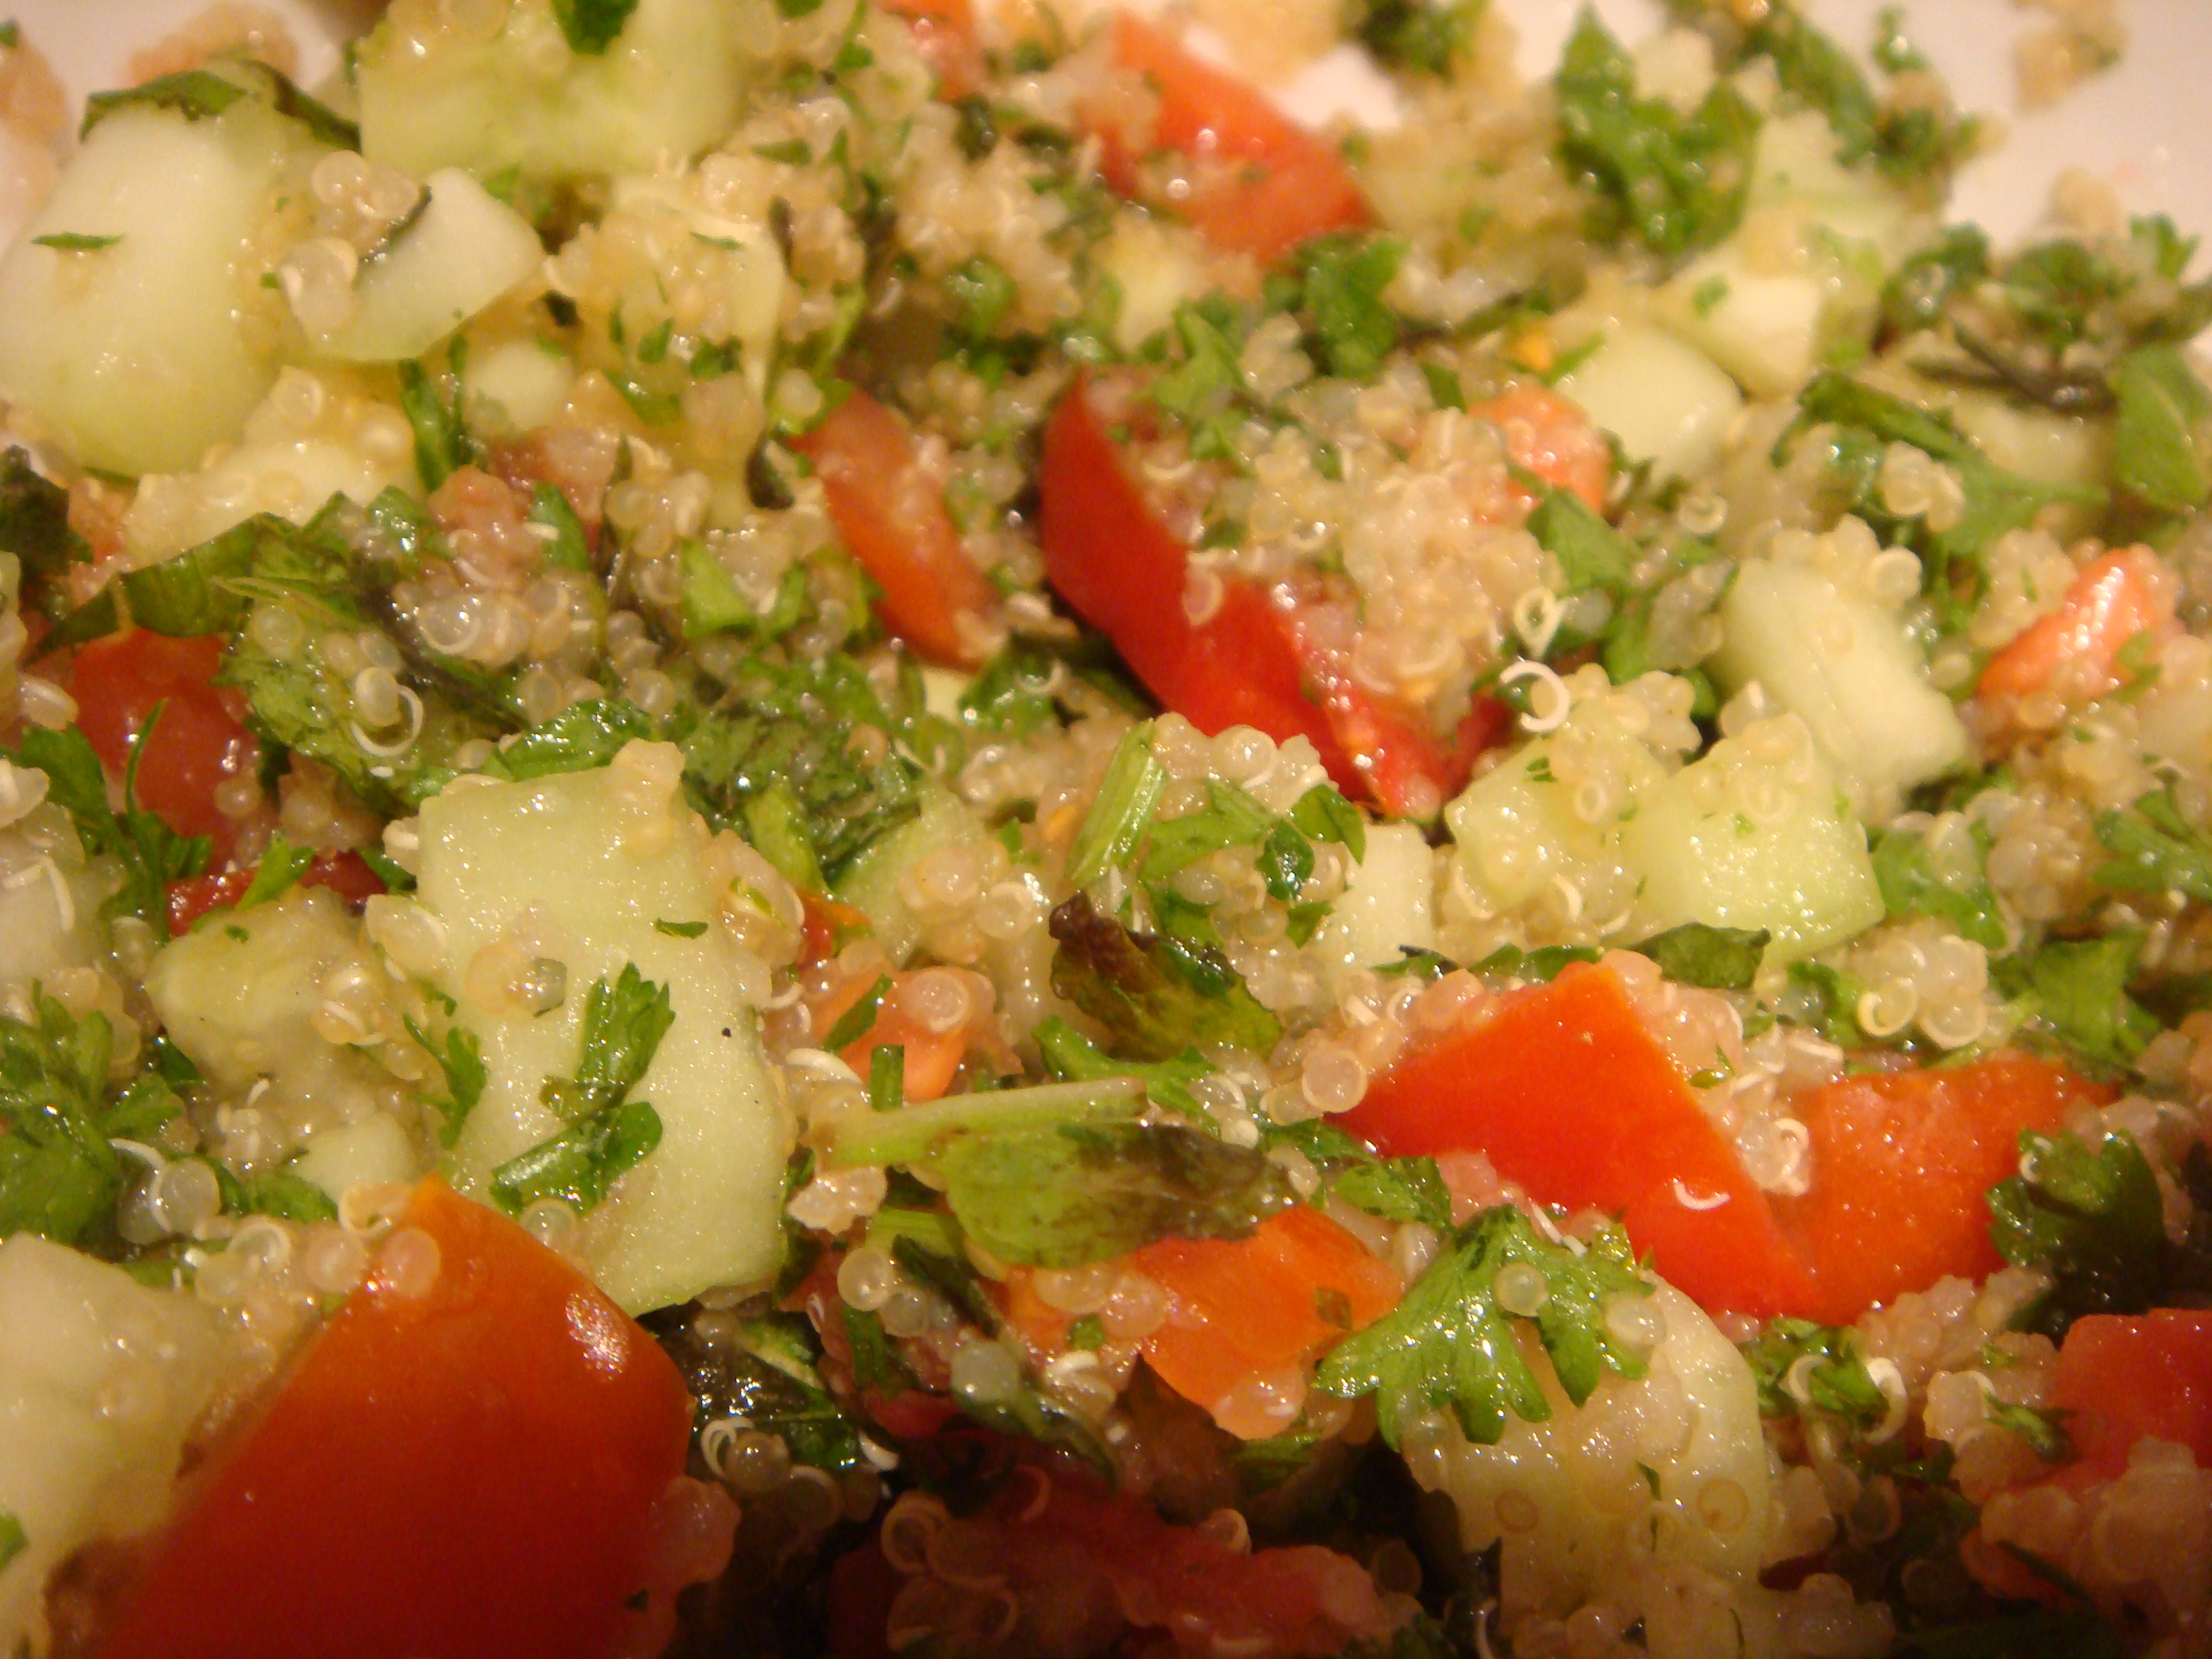
In the mean time, you’ll want to prepare the ingredients. This is as easy as seeding and chopping everything (cucumbers, tomatoes, 1/2 c mint, and 1 bunch parsley) and adding it to a bowl with 2 tablespoons olive oil, 2 tablespoons lemon juice, salt and pepper. Add the cooled quinoa to bowl, mix and allow flavors to marry for 15 minutes. 

Here are some final images:


Middle Eastern Feast(ern) part 1: Baba Ghanoush

A few weeks ago I took my first cooking class ever: pita and the best of the middle east. It was a lot of fun, especially since I have always been scared of baking bread. Ever since then I have been wanting to re-create some of the dishes we made in that class. Now it was a little too hot to make pita (which bakes at 500 degrees), and we just got some beautiful eggplants from the farm share so I decided to make some other favorites from the class: baba ghanoush and quinoa tabouli. I also decided to make lamb meatballs, a favorite in our house.

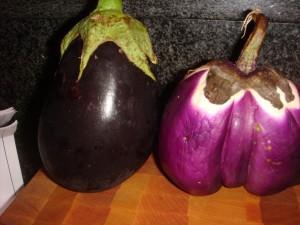
This post will focus on the baba ghanoush. Let it be known that I hate eggplant. Something about the texture has just never seemed appetizing to me. But Geoff and I joined a farm share this summer and don’t have control over what produce shows up at our door on Thursdays. I tried to make baba ghanough last time we got eggplant, but something was off about it, so I was excited to learn the tricks in a class setting.

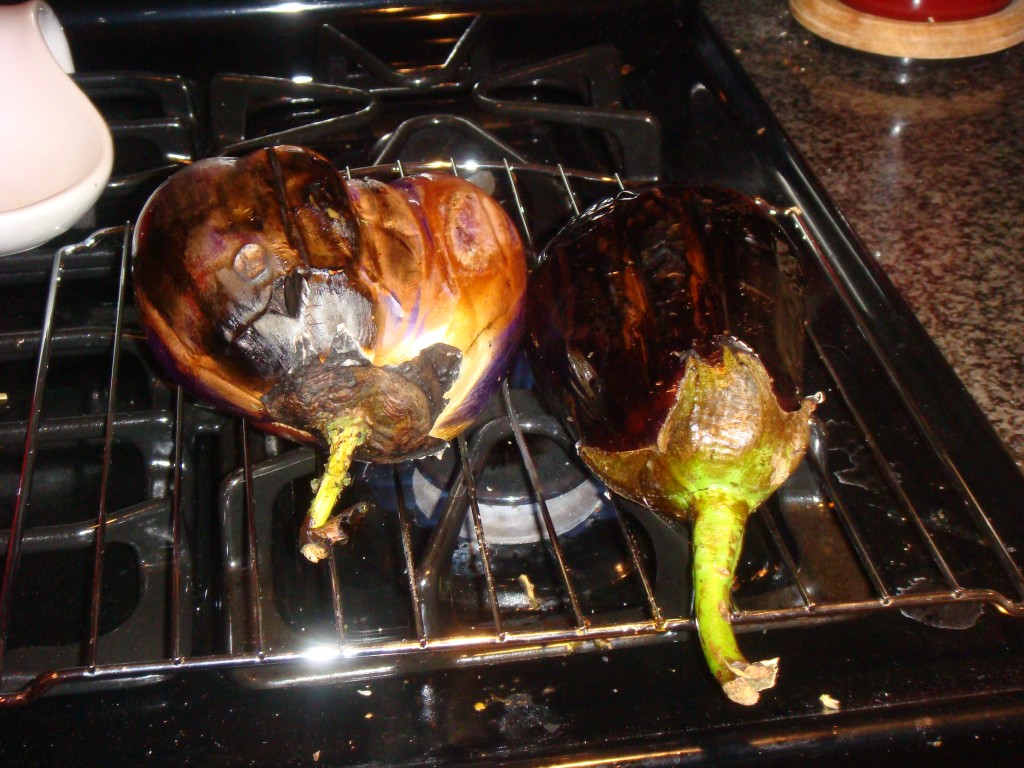
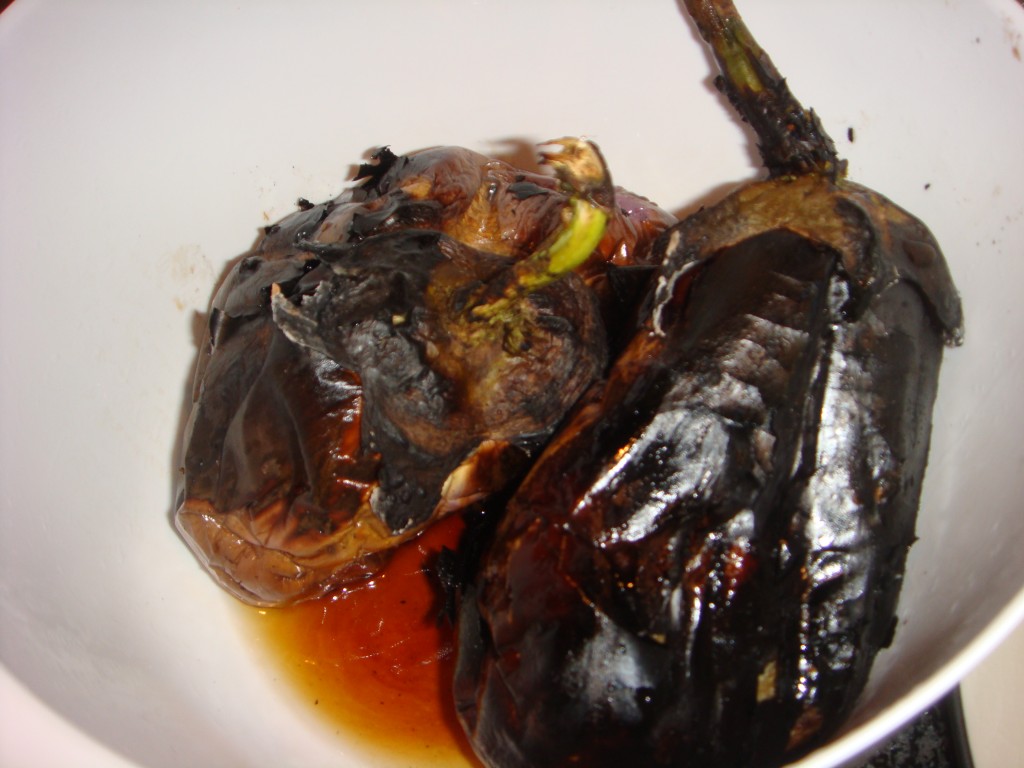
The first trick I learned is to roast the eggplant over an open flame. In class we used a chile roaster, but I do not have one at home, so I used the grate from a toaster oven. The trick is to rotate the eggplant (using tongs) so that it is charred on all sides. They’re ready when they are soft all the way through and literally collapsing.

Once they’re done roasting put them in a bowl and cover with plastic wrap and/or a plate to steam them. This will help the skin come off easily. After about 15 minutes they will look like this:


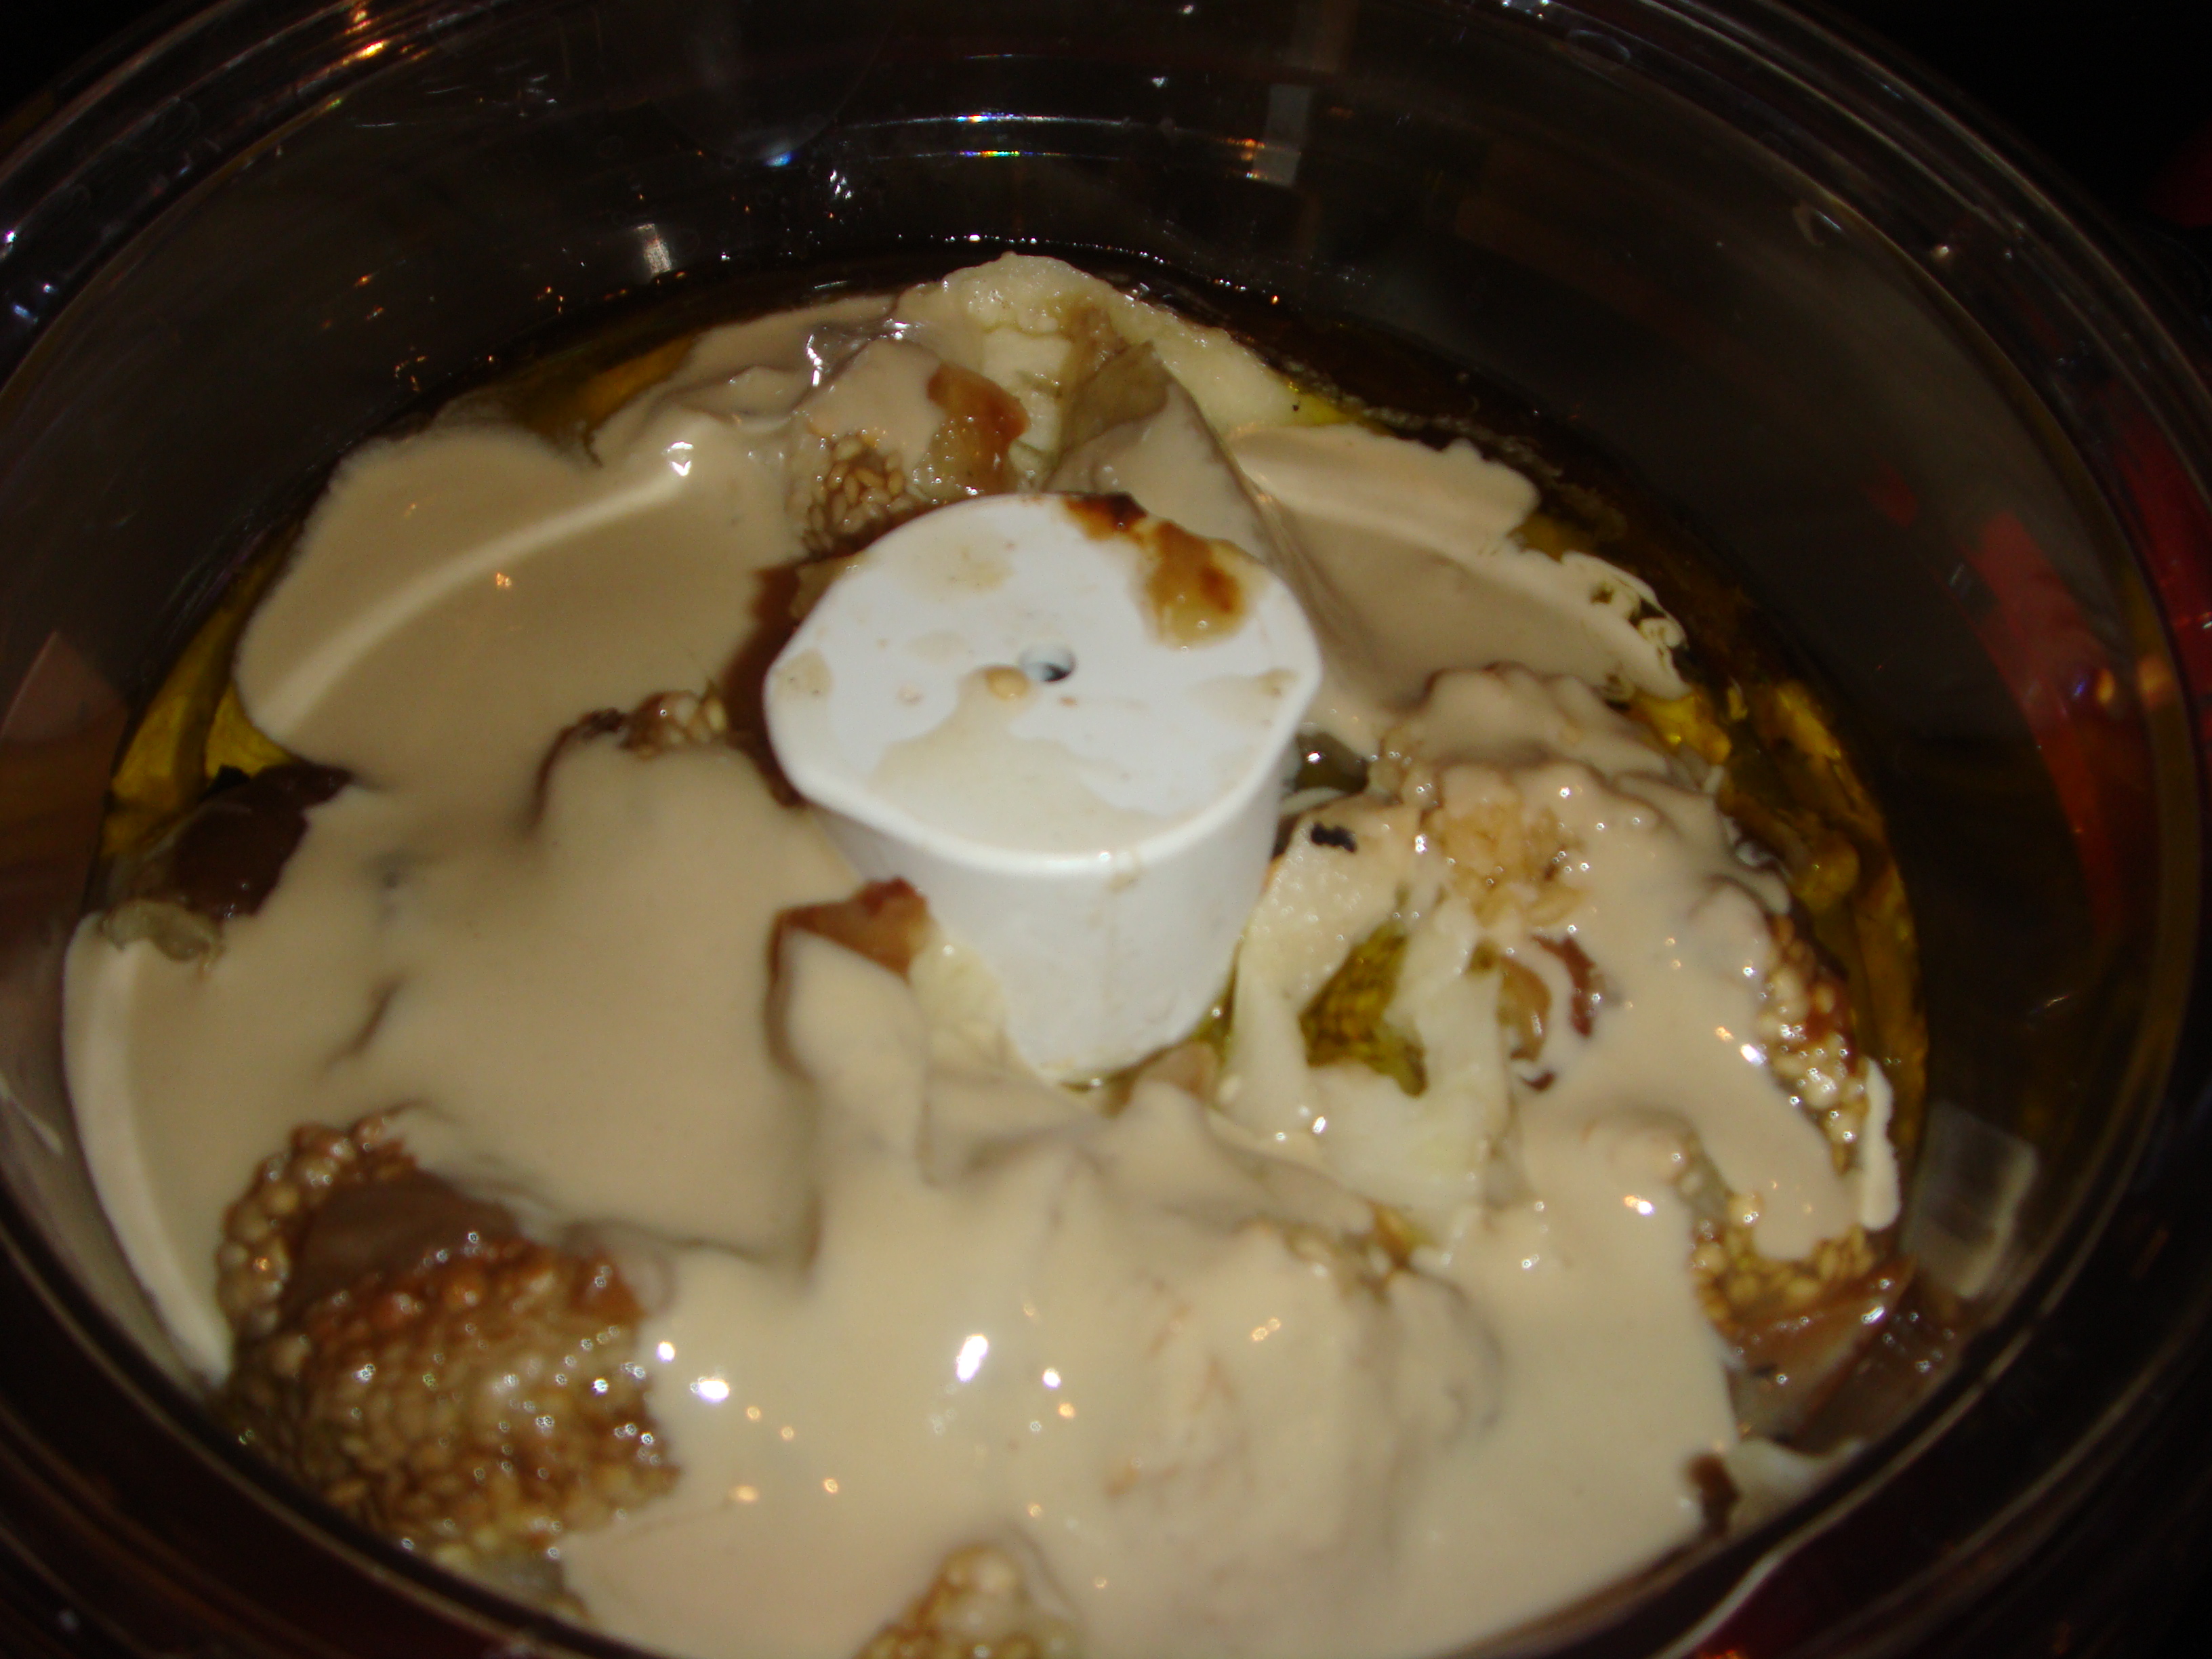
Use a pairing knife to peel off the skin. Discard it along with the juice at the bottom of the bowl. Place in a food processor with 3 tablespoons of lemon juice, 3 tablespoons of tahini, 1 tablespoon of olive oil, salt and pepper.

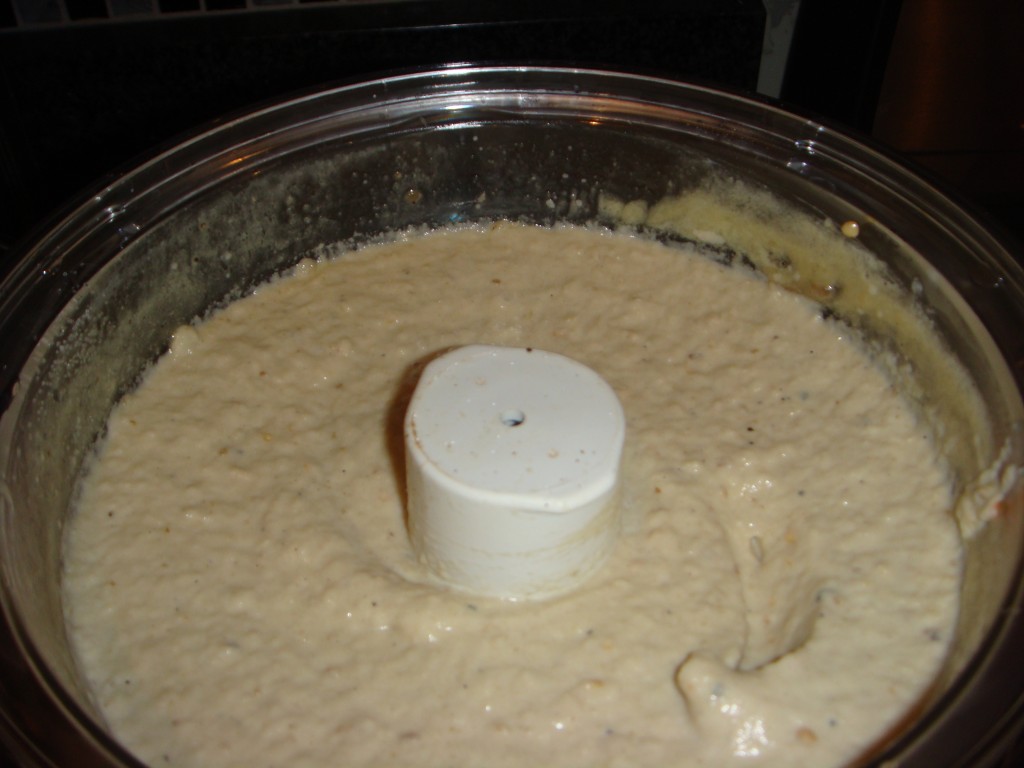
The result is a delicious, smoky, creamy baba ghanoush. Don’t be afraid if when you first taste it it is a bit lemony. That just means you haven’t put enough salt in it. Here’s the final product: