Squish Squash: Butternut Squash Sauce

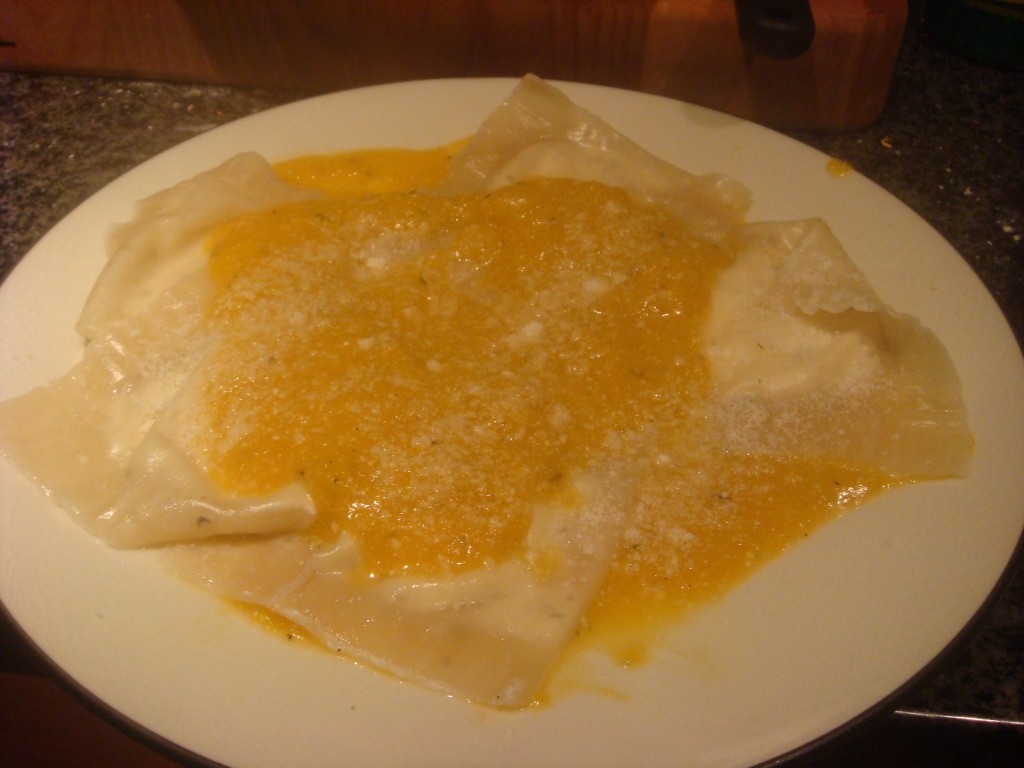
Butternut squash is a fall staple, but when I got one in the farm share a few weeks ago, I decided to try something new. I found a recipe on the Weight Watchers website for Cheese Ravioli with Butternut Squash Sauce so I decided to give it a try. Everyone has heard of butternut squash ravioli, but I’ve never thought to use it as the sauce itself.

This recipe called out to me because I had some egg roll wrappers in the fridge and the recipe used them as the pasta in the dish.

At the end of the night I came to the following conclusions:

  1. Ravioli made from egg roll wrappers– a little bland and boring
  2. Butternut squash sauce– delicious and really different!
  3. In the future use the sauce with fresh ravioli (maybe my basil ravioli) or frozen tortellini.
So tonight, not really in the mood to cook a full meal, I decided to put the butternut squash sauce on frozen tortellini… it was much more delicious. The sauce held up remarkably well and is delicious enough to warrant a post here.
What you need for the sauce is:
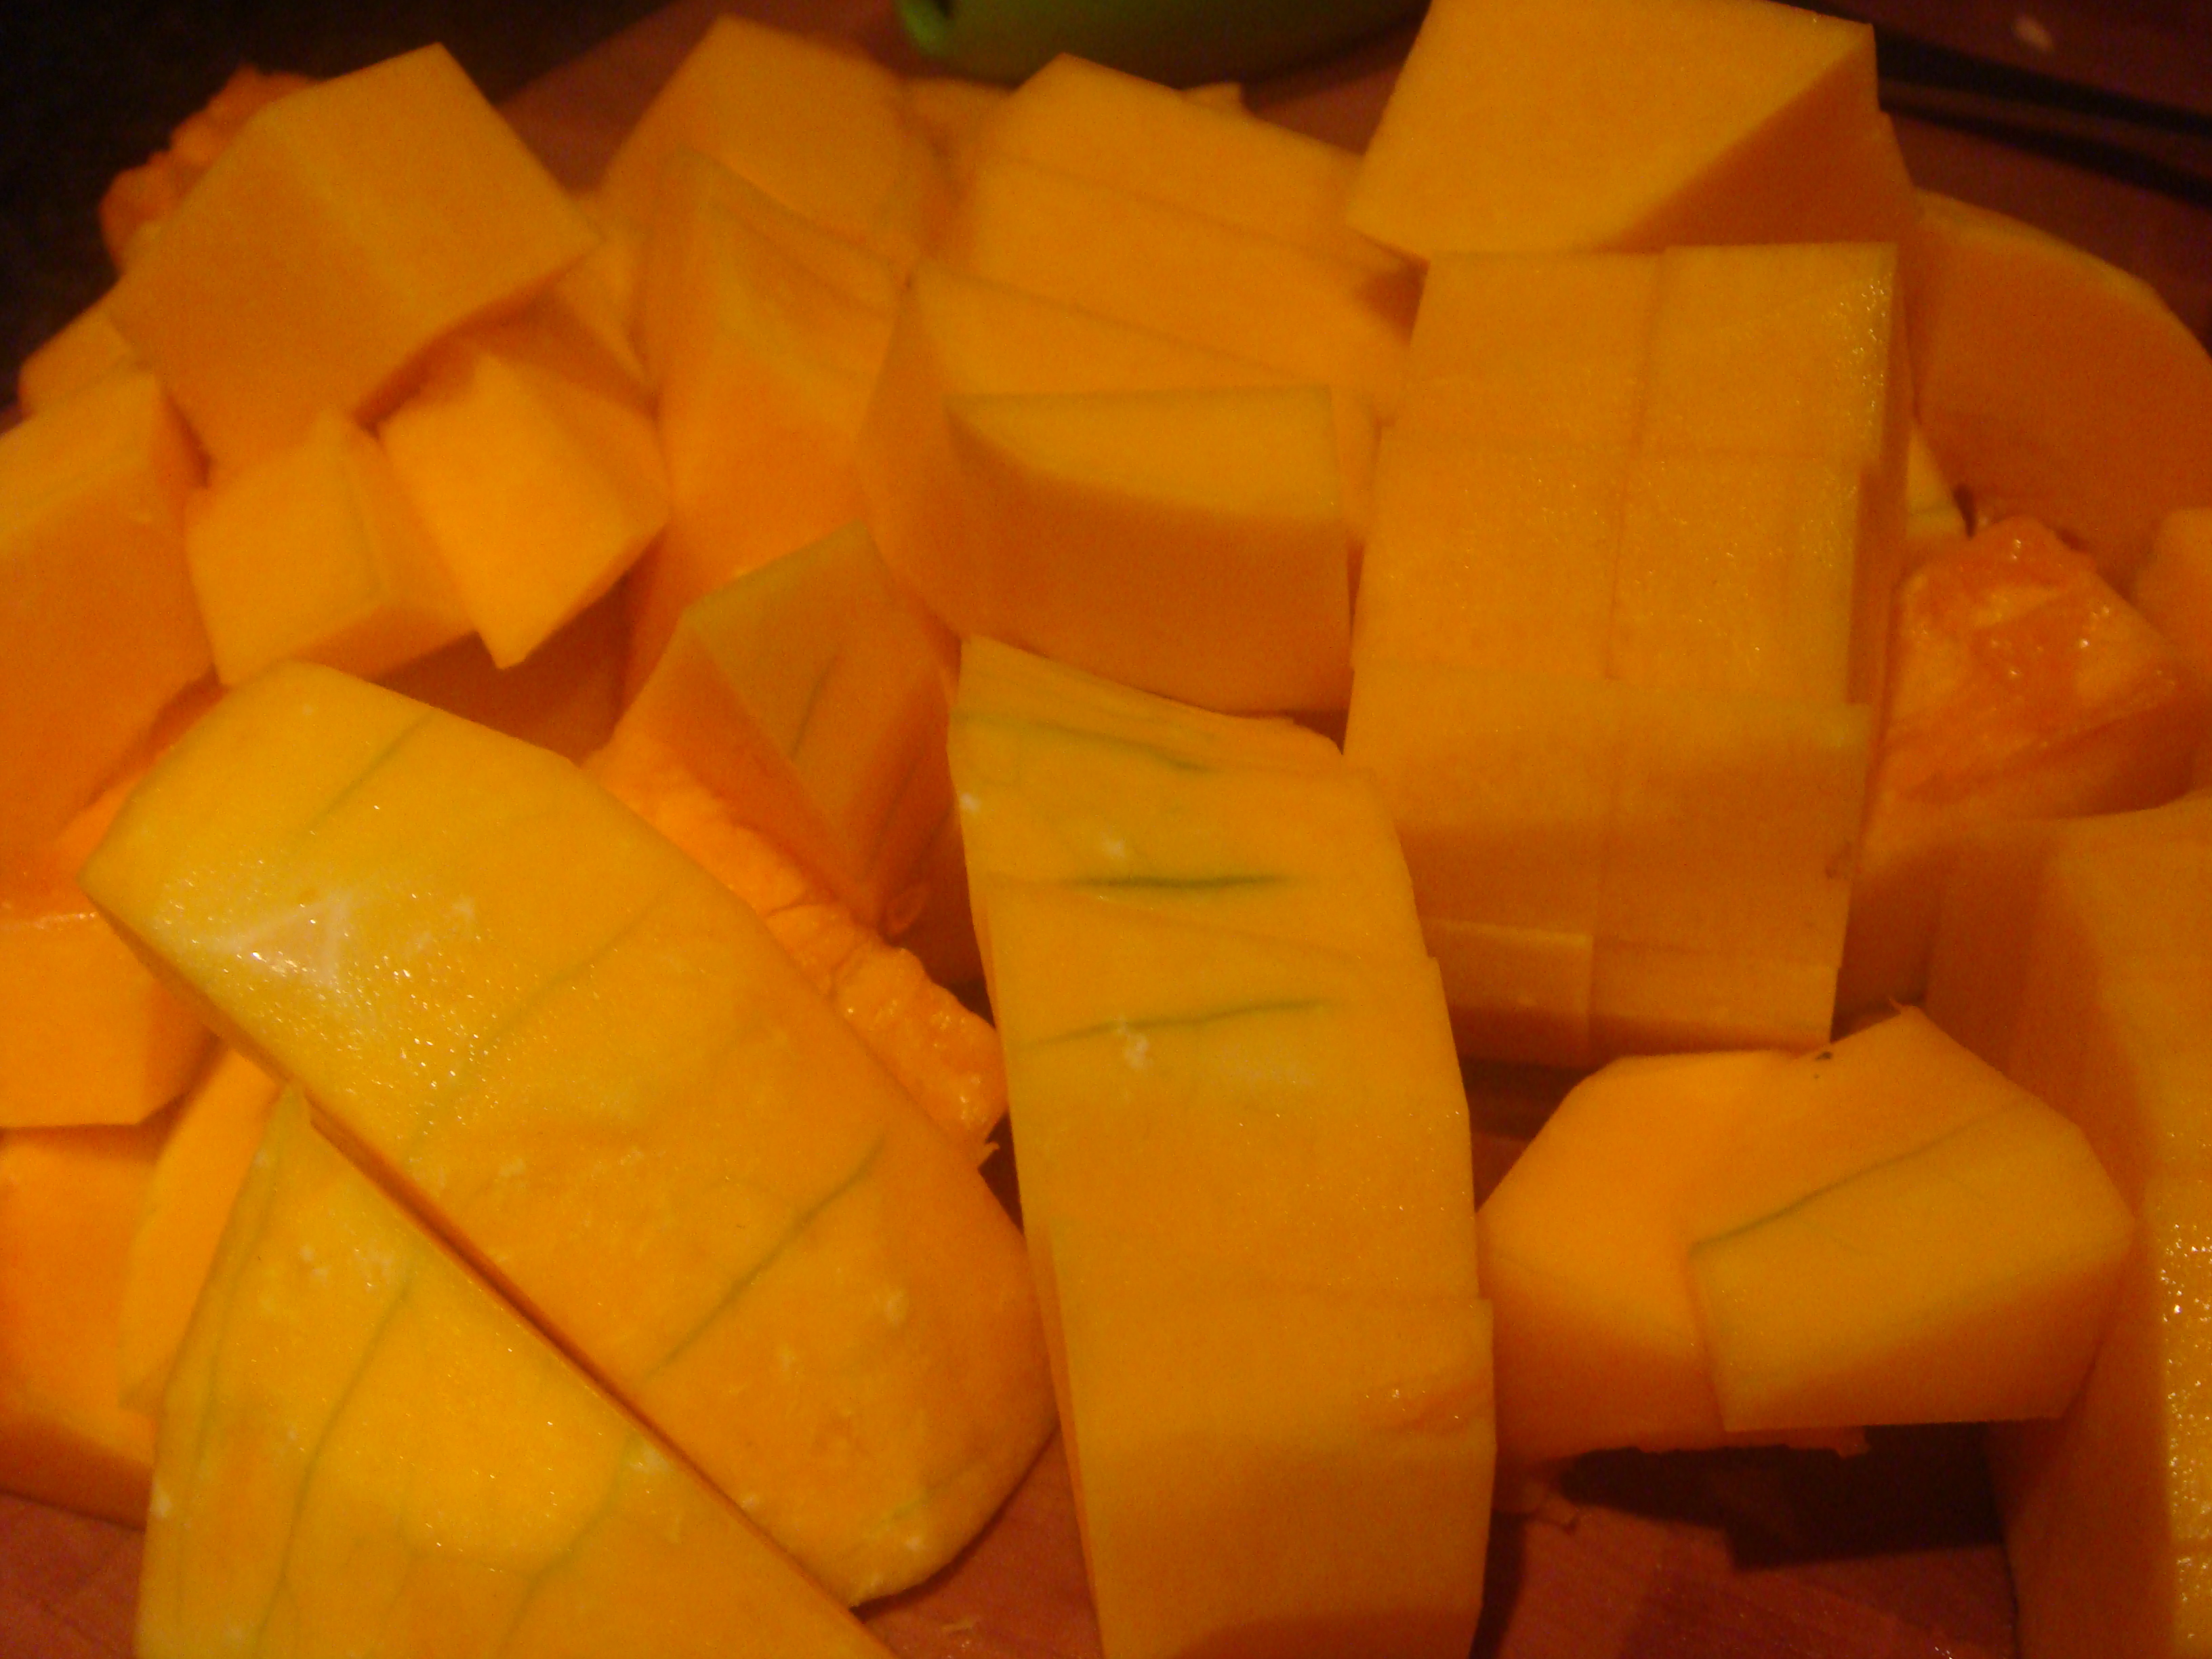
  • 1 medium butternut squash, peeled and cubed (I ended up with about 1 1/4 lb of squash in the sauce)

  • 3 cups reduced sodium chicken broth (I prefer reduced sodium because you can’t really taste the difference)
  • olive oil
  • 1 clove garlic, chopped
  • 1 onion, sliced
  • 1 tsp thyme
  • 1 tsp sage
  • 1/2 tsp black pepper
  • 1/8 tsp nutmeg
  • 1/8 tsp cayenne pepper
  • 1/4 c part skim ricotta cheese
  • Parmesan cheese 
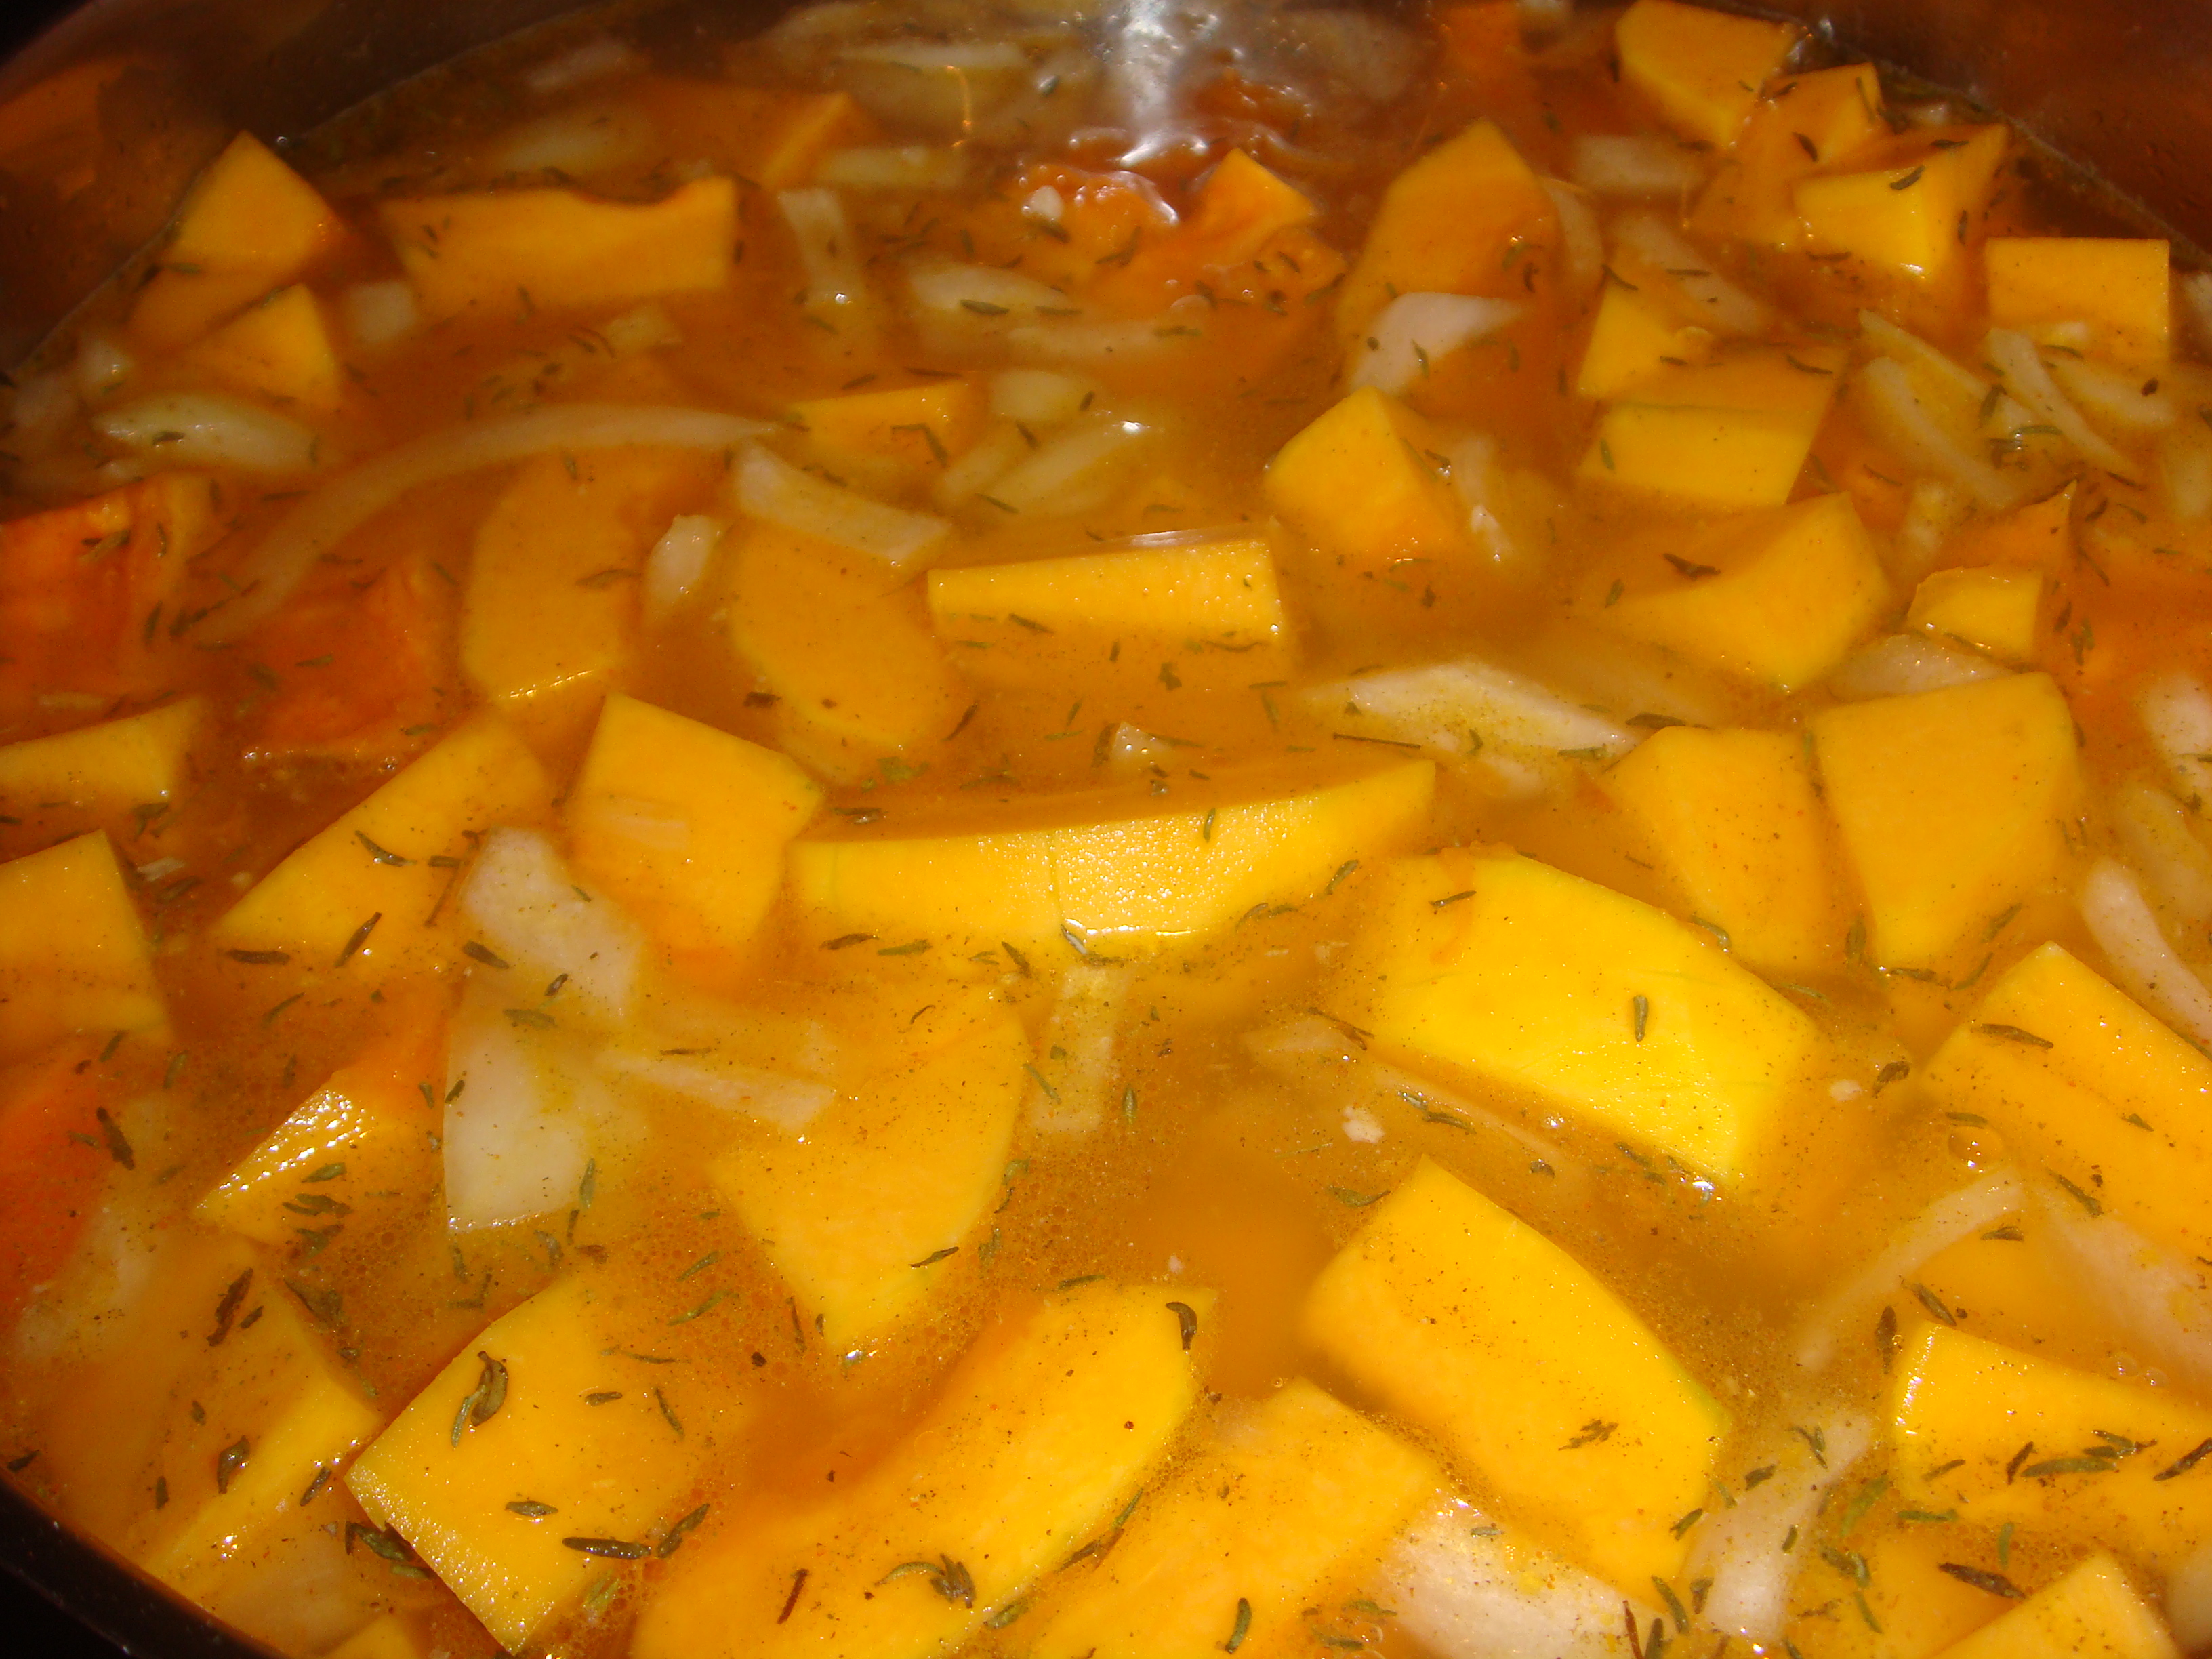
Making the sauce itself is pretty easy. In a high sided skillet saute garlic and onion in the olive oil. Once the onions have gotten a little caramelized, add the squash, broth, thyme, sage, black and cayenne pepper, and nutmeg.
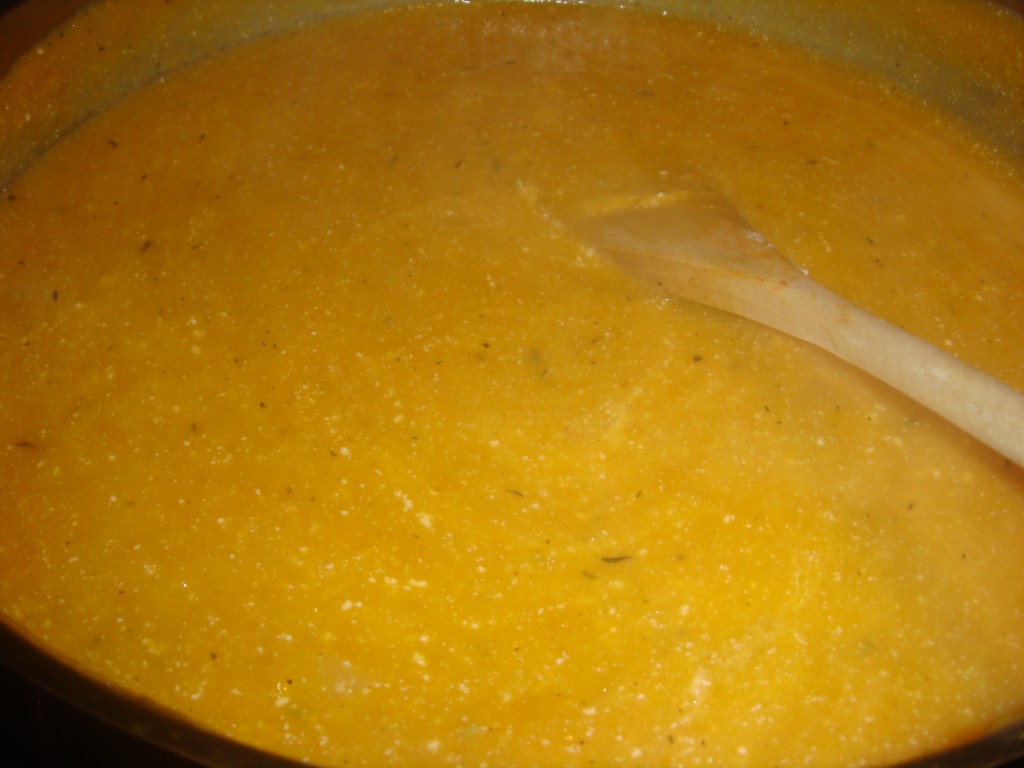
Bring the mixture up to a boil and cook about 15 minutes until the squash has gotten tender. Turn off the heat. Using an immersion blender puree the mixture to desired consistency and stir in ricotta cheese. If you don’t have an immersion blender… well, you should definite buy one. This is the one I have and it’s awesome because it’s super versatile for making sauces and I love the little mini chopper attachment. But I digress… if you don’t have an immersion blender you could also use a food processor or a regular blender.
And that is pretty much it. It makes a lot of sauce but it keeps really well and is delicious. I highly recommend it with a ravioli or tortellini that you like (simple cheese filling is probably best since the sauce has a nice complex flavor). As for the Parmesan cheese,  just sprinkle it on top of whatever final dish you prepare.

Celebrating Fall: Maple Cinnamon Apple Sauce

Apple sauce is really one of those under-appreciated foods. It’s so delicious, it’s quite healthy, and as I learned tonight it’s really quite simple to make. Today was my one year wedding anniversary so I wanted to make a special dinner. If you recall from the last post, I have a ton of apples in my house and they’ve been sitting in the fridge for a while, so I wanted to find a good way to use them. I also had a pork loin so I thought what goes better with pork than apples!

After scouring the internet for recipes, I found one from cooking light that seemed perfect: Cinnamon-Maple Apple Sauce. Because of a certain friend of mine who gives me easy access to amazing maple syrup, I am always drawn to recipes involving that specific sweetener.

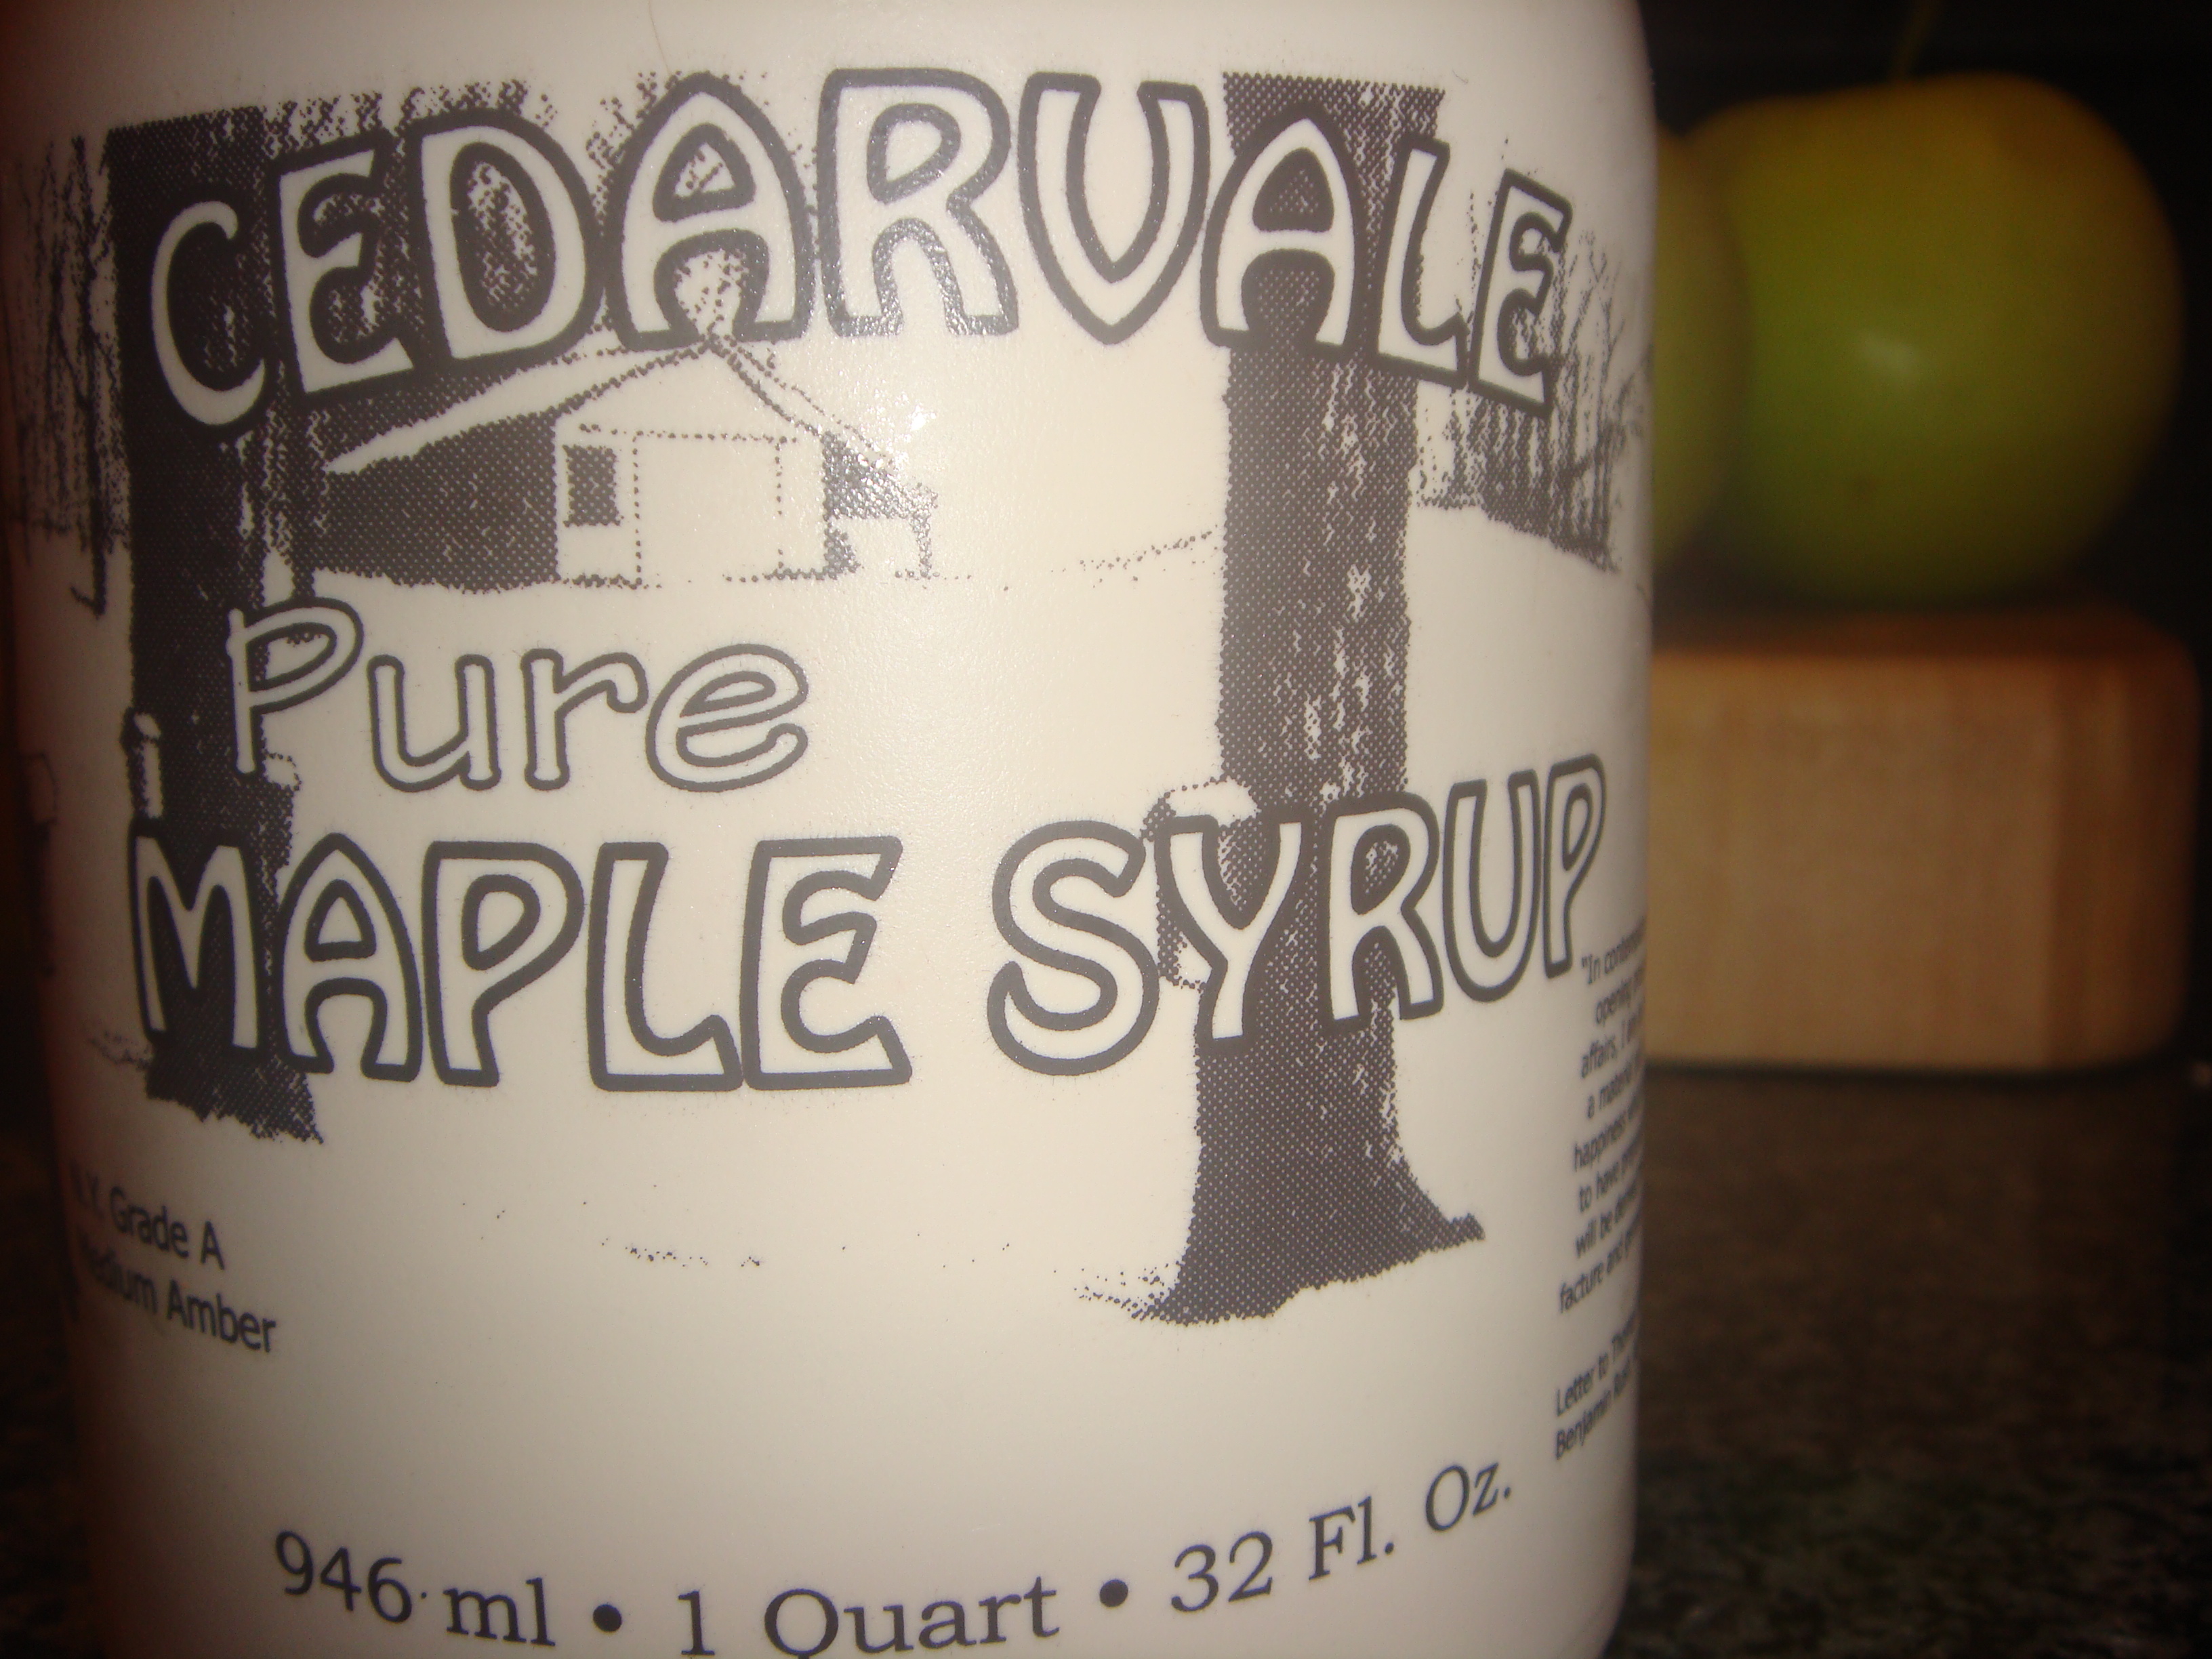
That brings me to my first ingredient. Channeling Ina Garten for a moment, the key to this recipe is good maple syrup. My choice, of course is Cedarvale Maple Syrup. It is wonderful. I highly recommend the dark amber variety.
When it comes to simple recipes that involve a few ingredients, having good quality ingredients is so important. The first thing you want to do is bring 1/2 cup maple syrup and 1/4 cup water to a boil. While that is coming to a boil peel and cube 5 medium apples. I used a combination of red delicious and what I believe to be Jonagold apples (I say I believe because the orchard was not super well labeled so we just ended up picking apples that tasted good). My ratio was 3 sweeter apples to 2 more tart apples. Add apples to the boiling maple syrup and water along with 1/8 tsp nutmeg and 1/4 tsp cinnamon. You already know that I am not a big measurer so I just sort of sprinkled both of these ingredients.
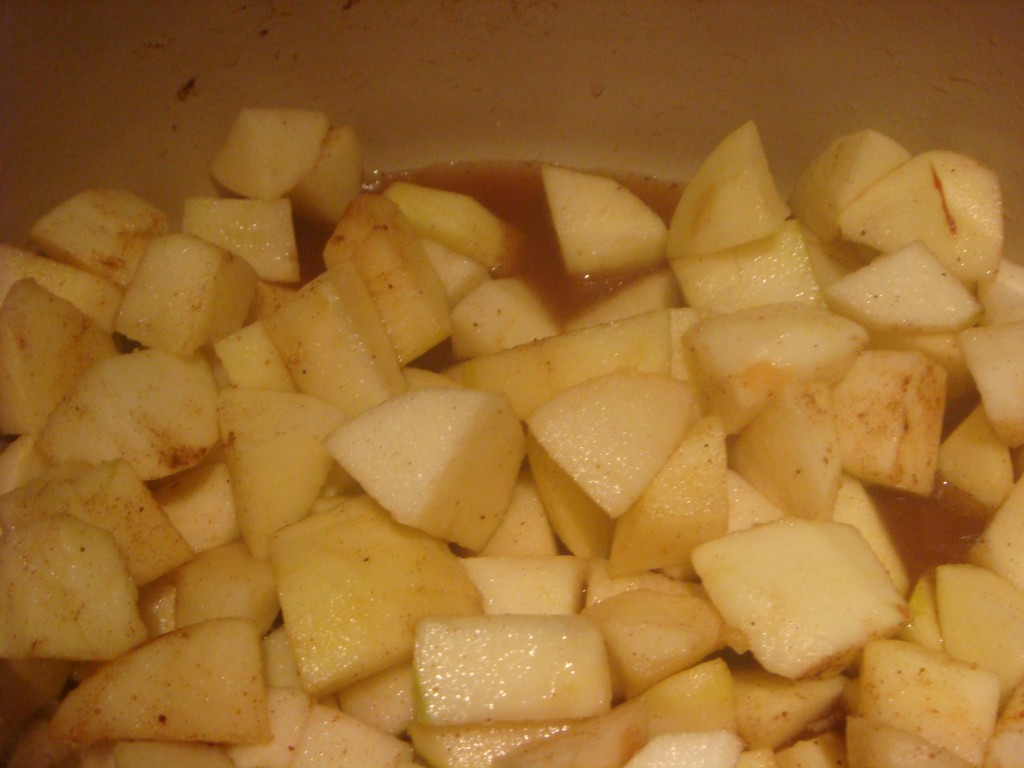
Cover and cook for about 25 minutes or until apples are soft. (WARNING: THIS WILL MAKE YOUR HOUSE SMELL AMAZING!) Using a potato masher, mash the apples. Now, I feel like things that are home made should look home made, so I left the applesauce chunky. If you are more into a smooth consistency, I would recommend using an immersion blender instead of a hand held potato masher. Once you’ve got the apples to a consistency that you’re happy with, continue to cook them uncovered so that the liquid evaporates. 
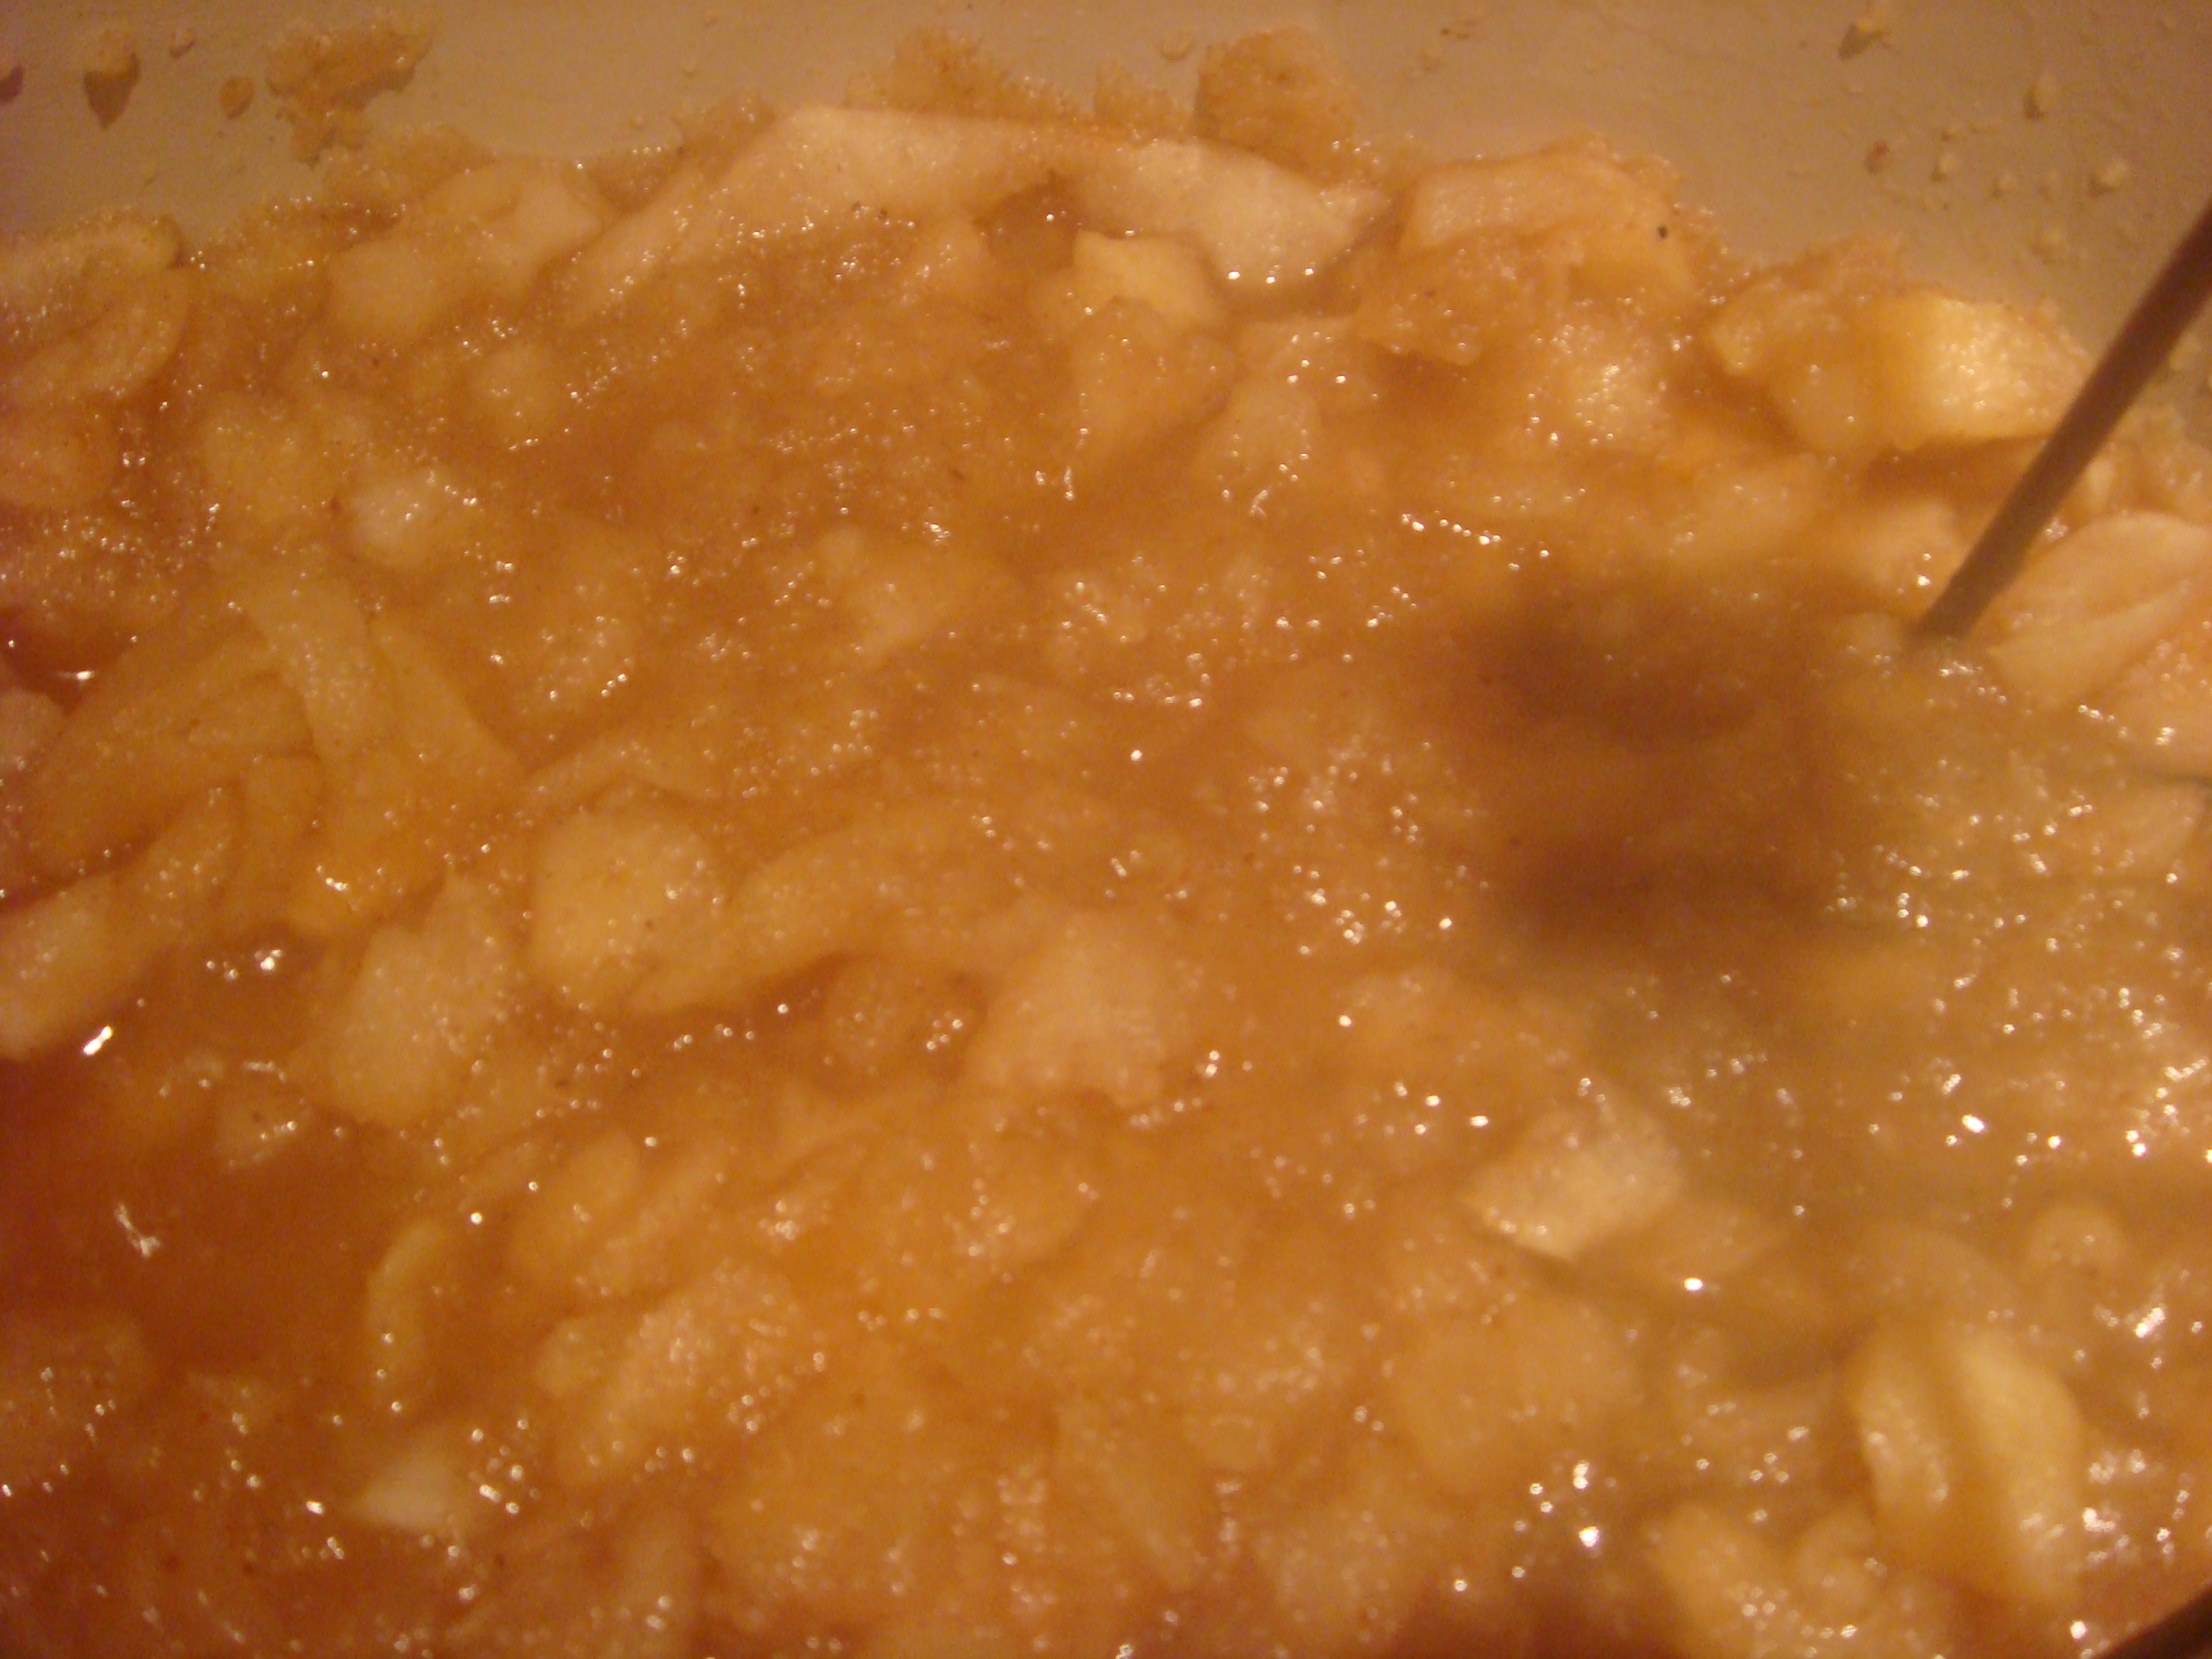
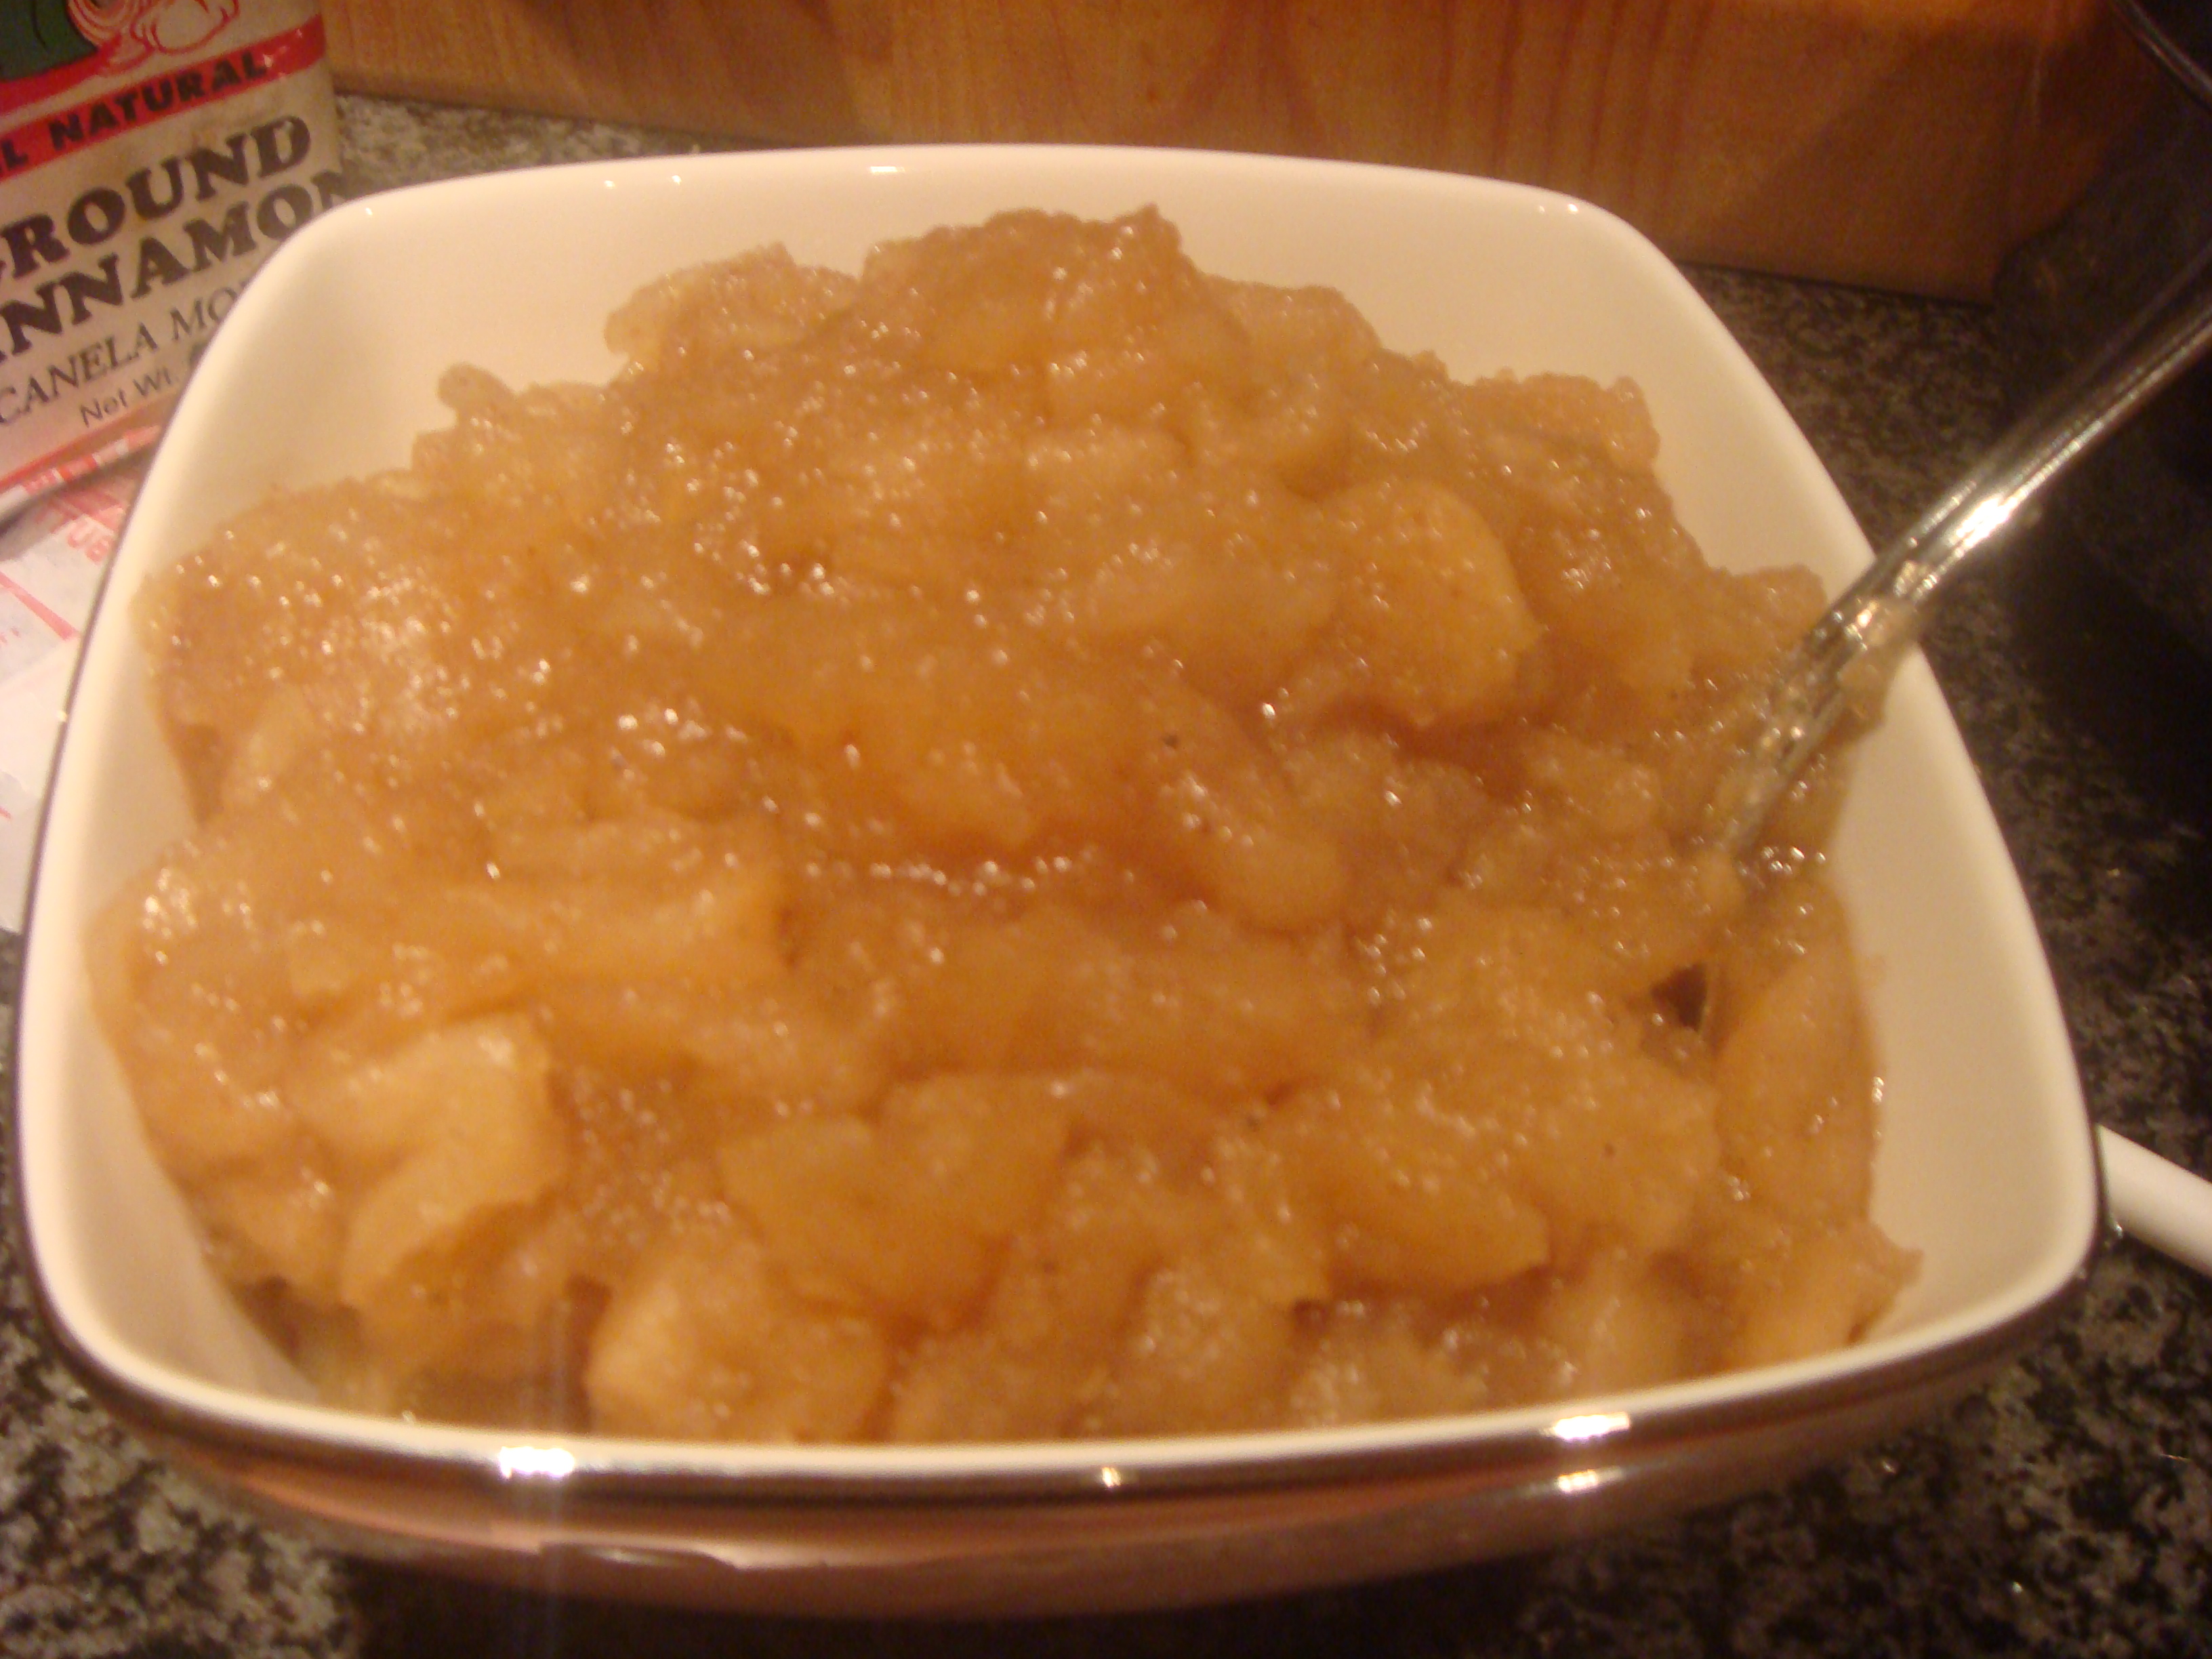
And that’s it! See? I told you it was simple. The results are amazing on pork, on cornbread, or on a spoon. It really makes me wonder why I have never done this in the past. If you have apples lying around you should DEFINITELY make this apple sauce! You will not be disappointed.
Terry’s Apple Cake

This is my favorite fall cake recipe. In fact, it’s probably in my top 3 most delicious cakes (the other two being Erika’s carrot cake and a Turkish cake called corek). I don’t know where the recipe originated from but I learned about it from the family that lived across the street from us in Brooklyn. That’s why I call it Terry’s Apple Cake. What’s brilliant about this cake is that there are chunks of apples coated with cinnamon running throughout the center of the cake. It sort of gives you that feeling like you’re being healthy (which is what I think when I eat carrot cake), but don’t fool yourself. It’s a delicious cake, but it’s not really a healthy one.

So today, Geoff and I went apple picking and came back with way more apples than we know what to do with, so making Terry’s Apple Cake was a no brainer. In fact, I decided to make a double recipe so that we could bring some to each of our respective offices tomorrow. For simplicity’s sake, I’ll just talk about a single recipe, but if it looks like a ton of food in the photos you’ll know why.

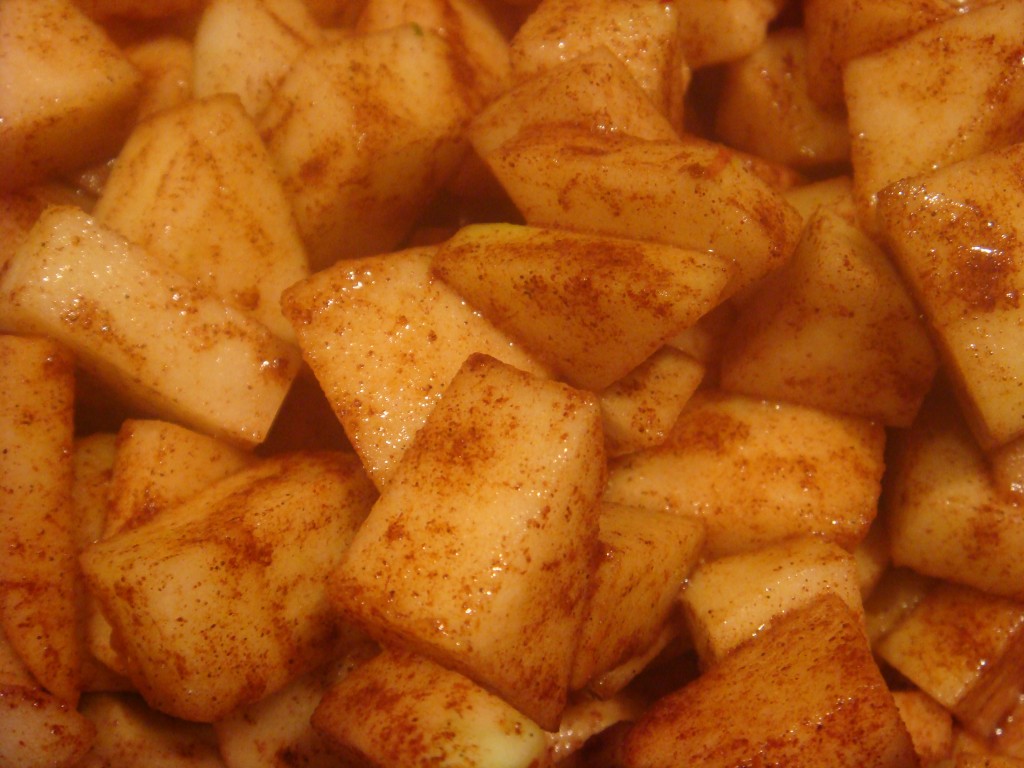
The first thing you’ll want to do is prep the apples. Here’s what you’ll need

  • 4-5 apples, peeled and cubed
  • 2 Tbsp sugar
  • 1 Tbsp cinnamon
  • 1 Tbsp lemon juice
In a bowl, mix cubed apples with sugar, cinnamon, and lemon juice. Set aside. 
Here’s what you’ll need for the rest of the cake:
  • 2 cups sugar
  • 1 cup vegetable oil
  • 4 eggs
  • 1/4 cup orange juice
  • 2 1/2 tsp vanilla extract
  • 3 cups flour
  • 1 tsp salt
  • 3 tsp baking powder
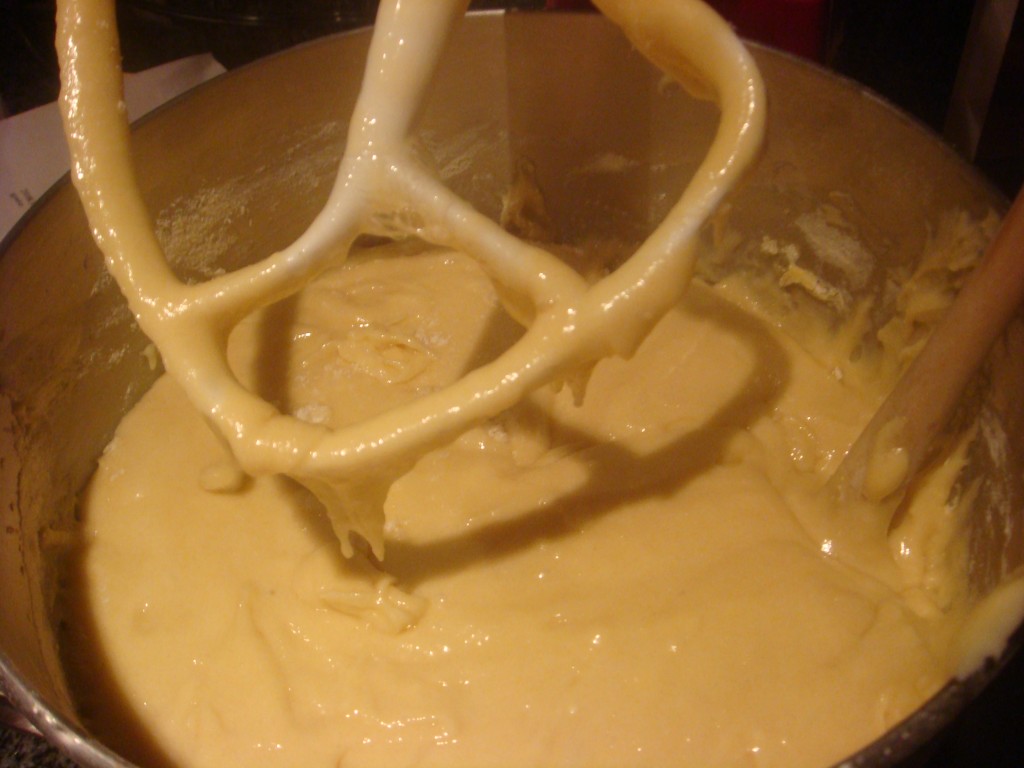
Mix sugar and vegetable oil together. Add the rest of the ingredients, alternating wet and dry ingredients, mixing until everything is incorporated. The batter will be very thick.
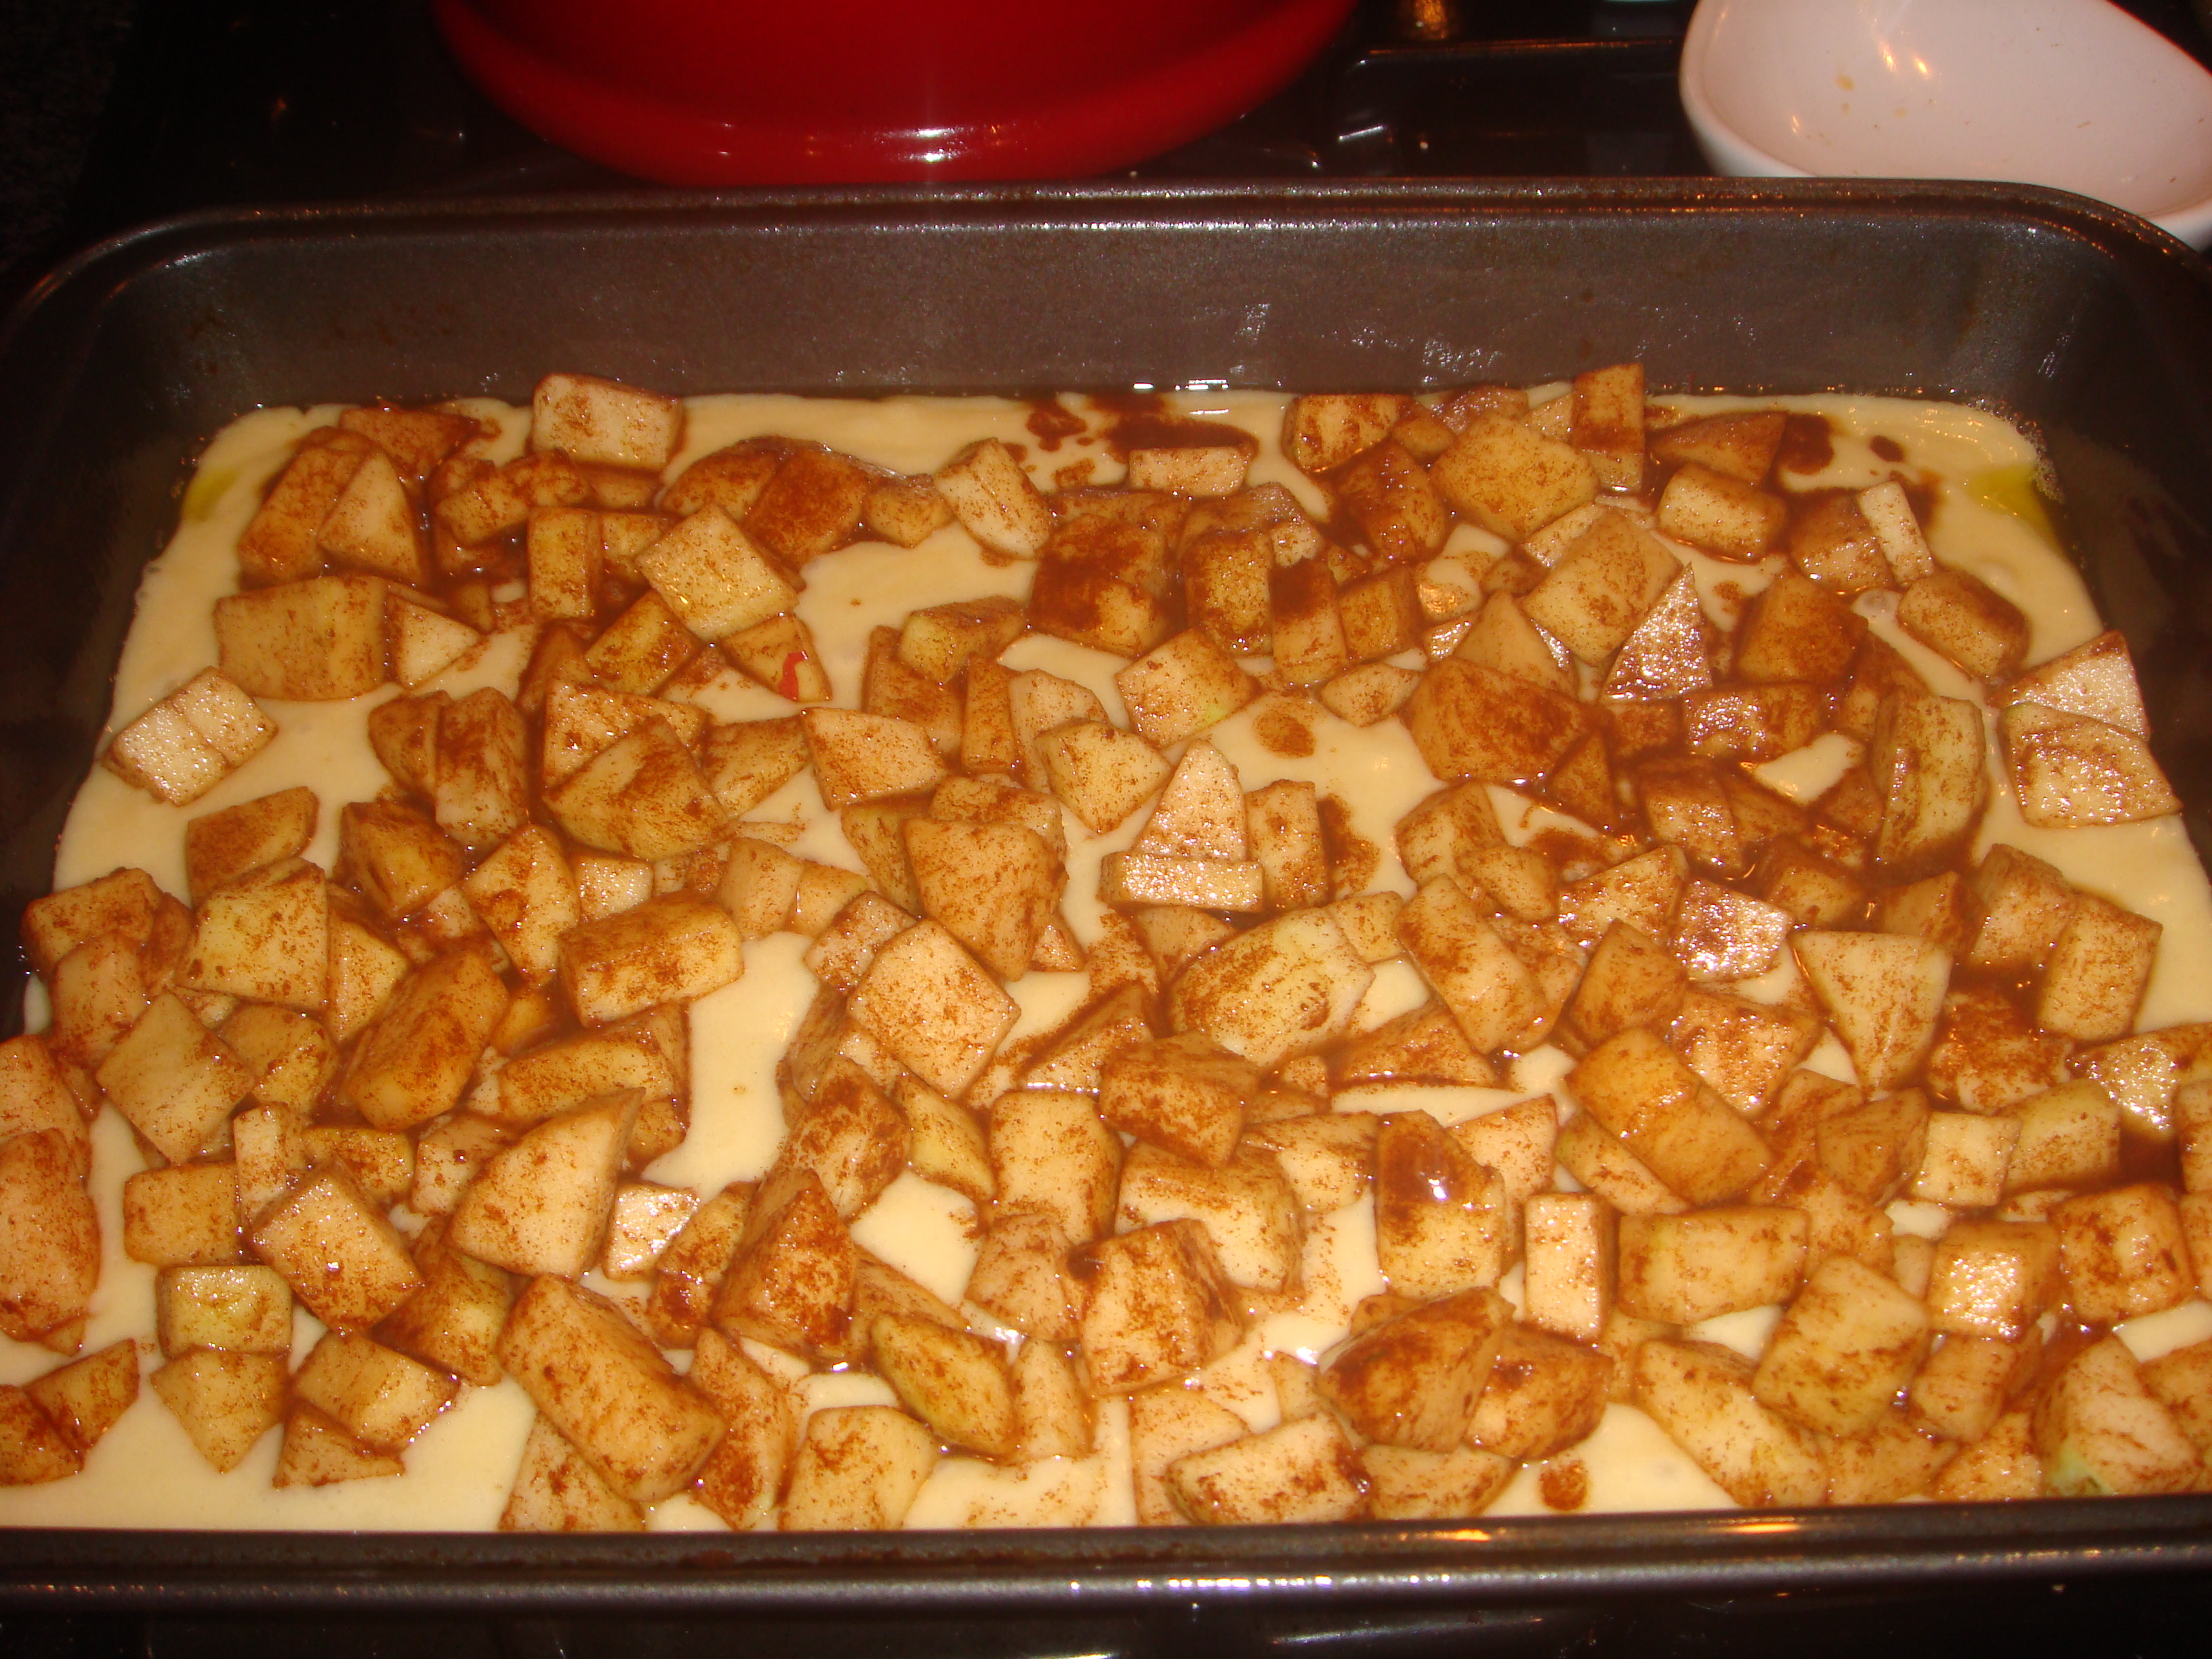
Pre-heat the oven to 350 and grease (and flour if you want) a 9×13 baking dish. Pour 3/4 of the batter into the baking dish. Spread apples over the cake. I recommend doing this with a slotted spoon as the apple mixture probably has a lot of delicious sugary, cinnamony, lemony liquid which tastes good, but too much of it will make the cake too wet.
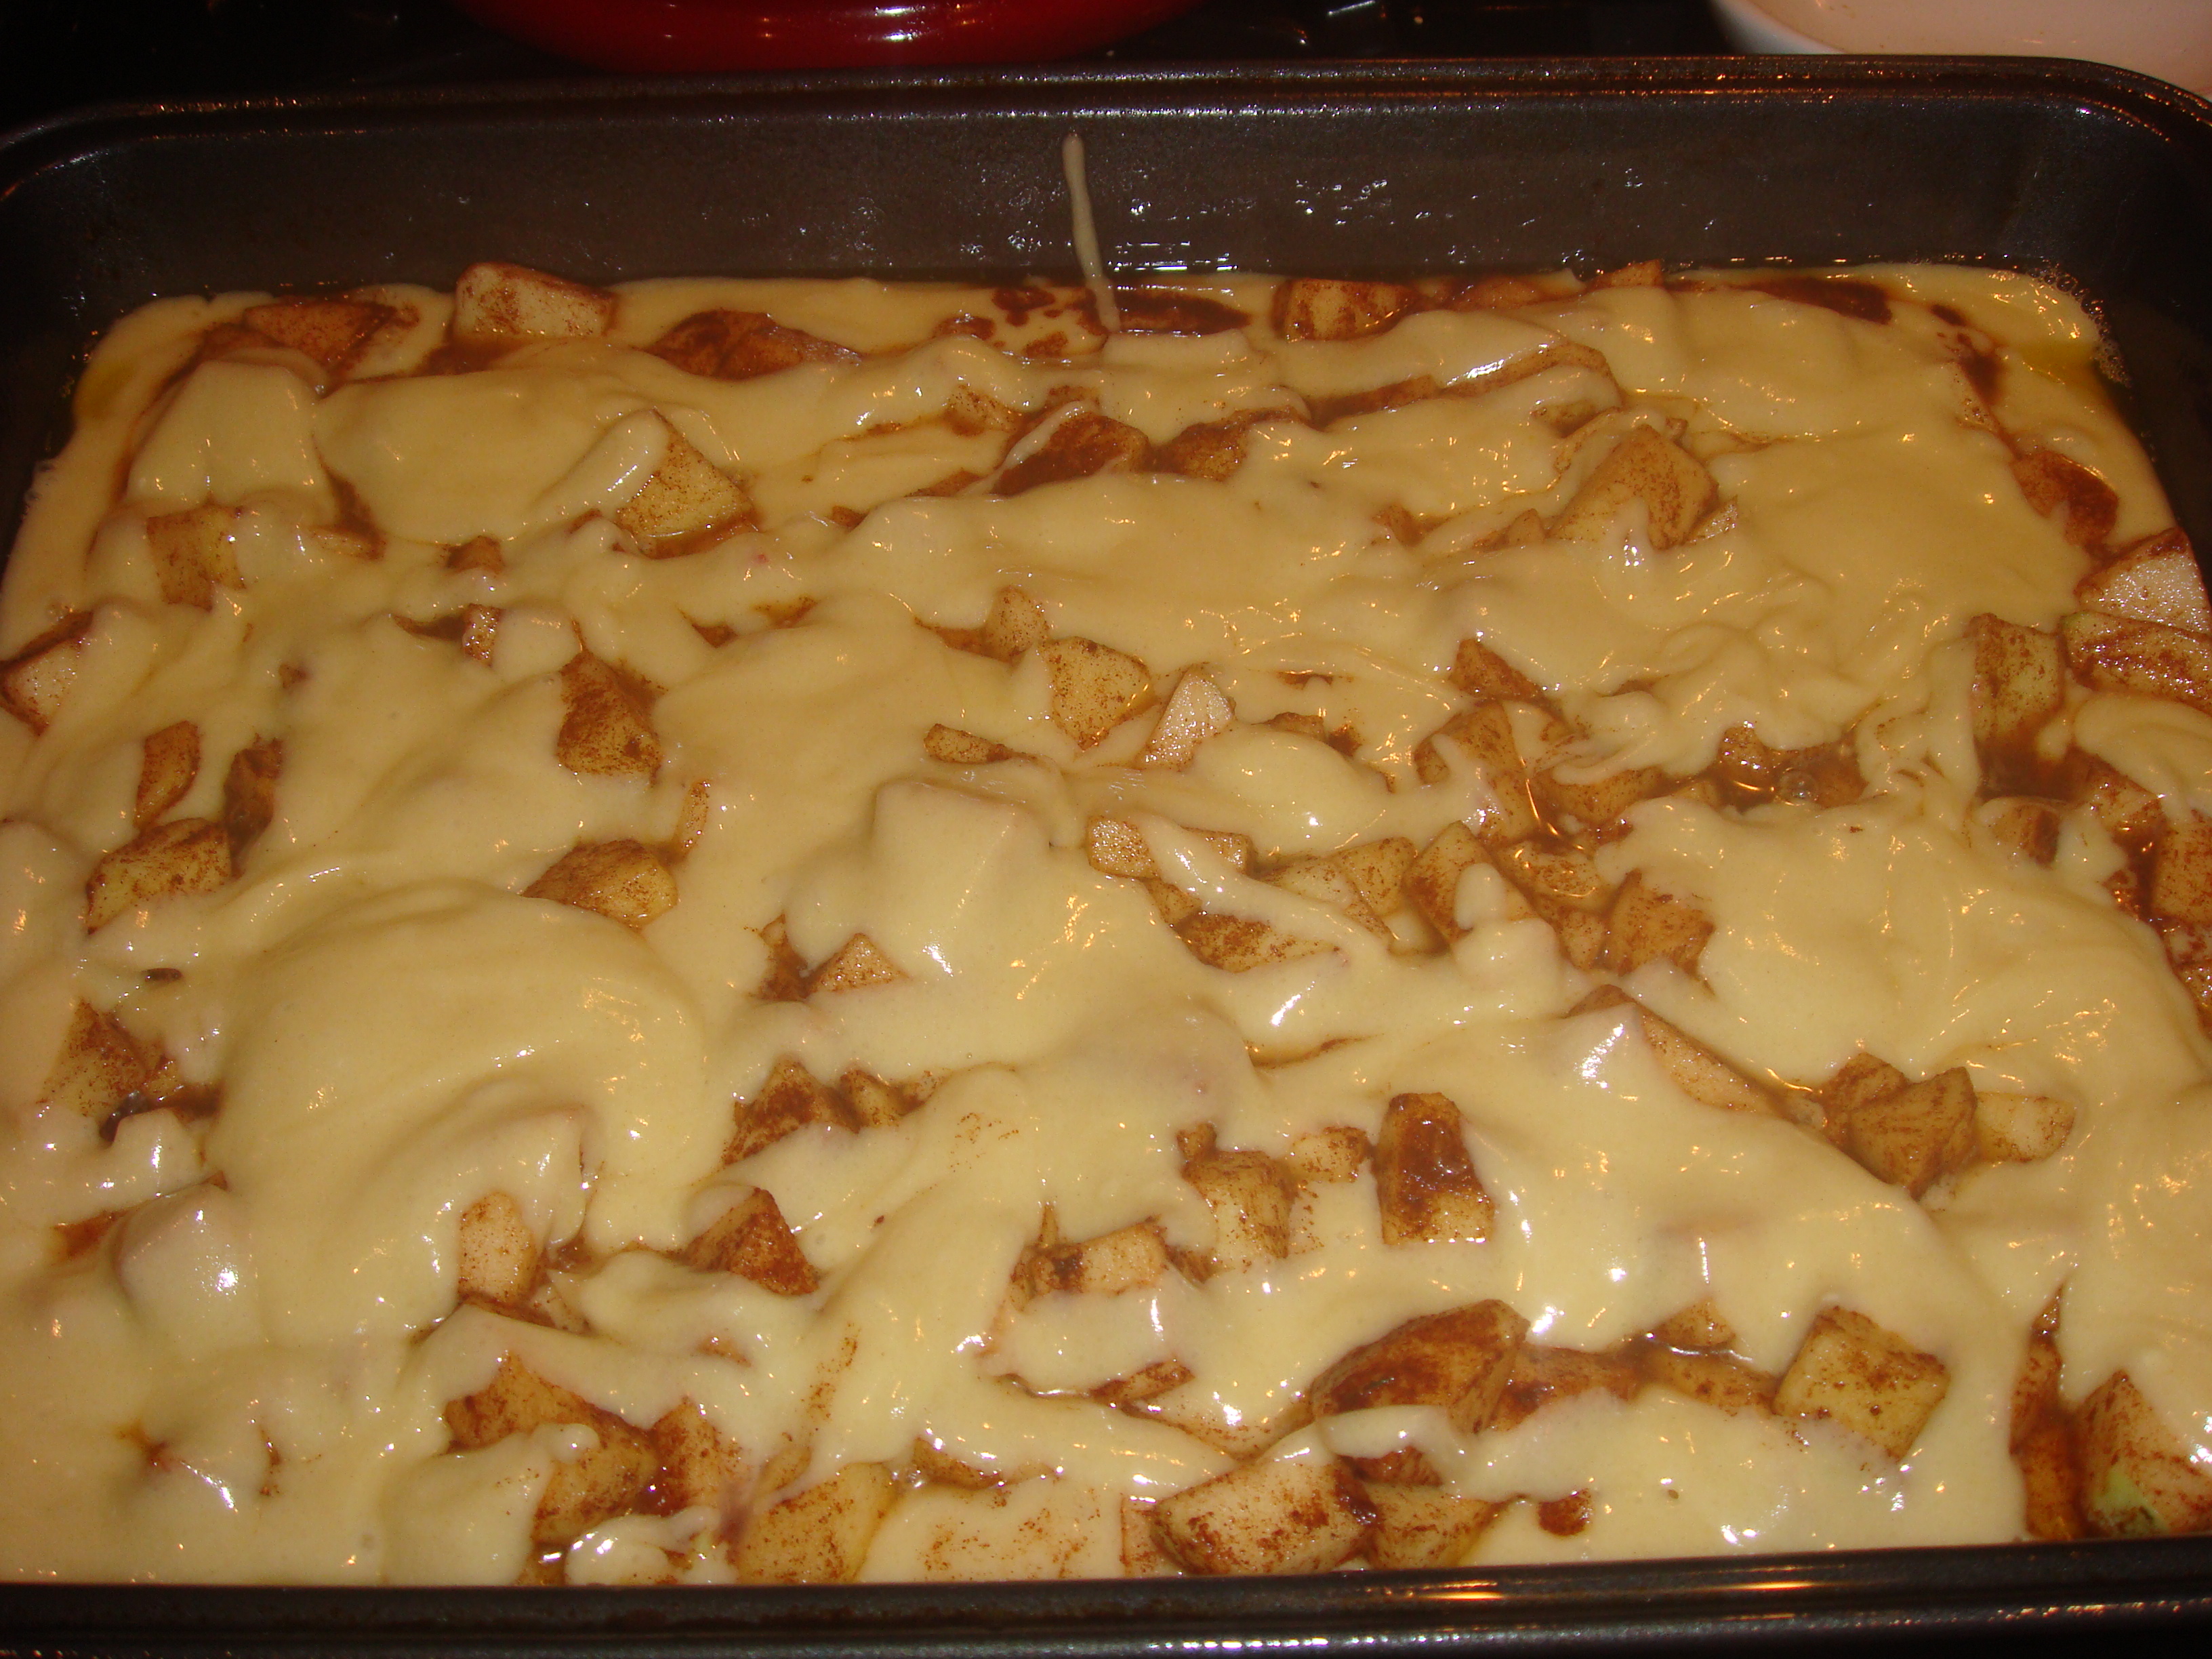
Drizzle the rest of the batter over the apples. It won’t all be covered, but that’s ok, just have fun with it! It will taste delicious so matter what. Before you put it in the oven it will look like this:
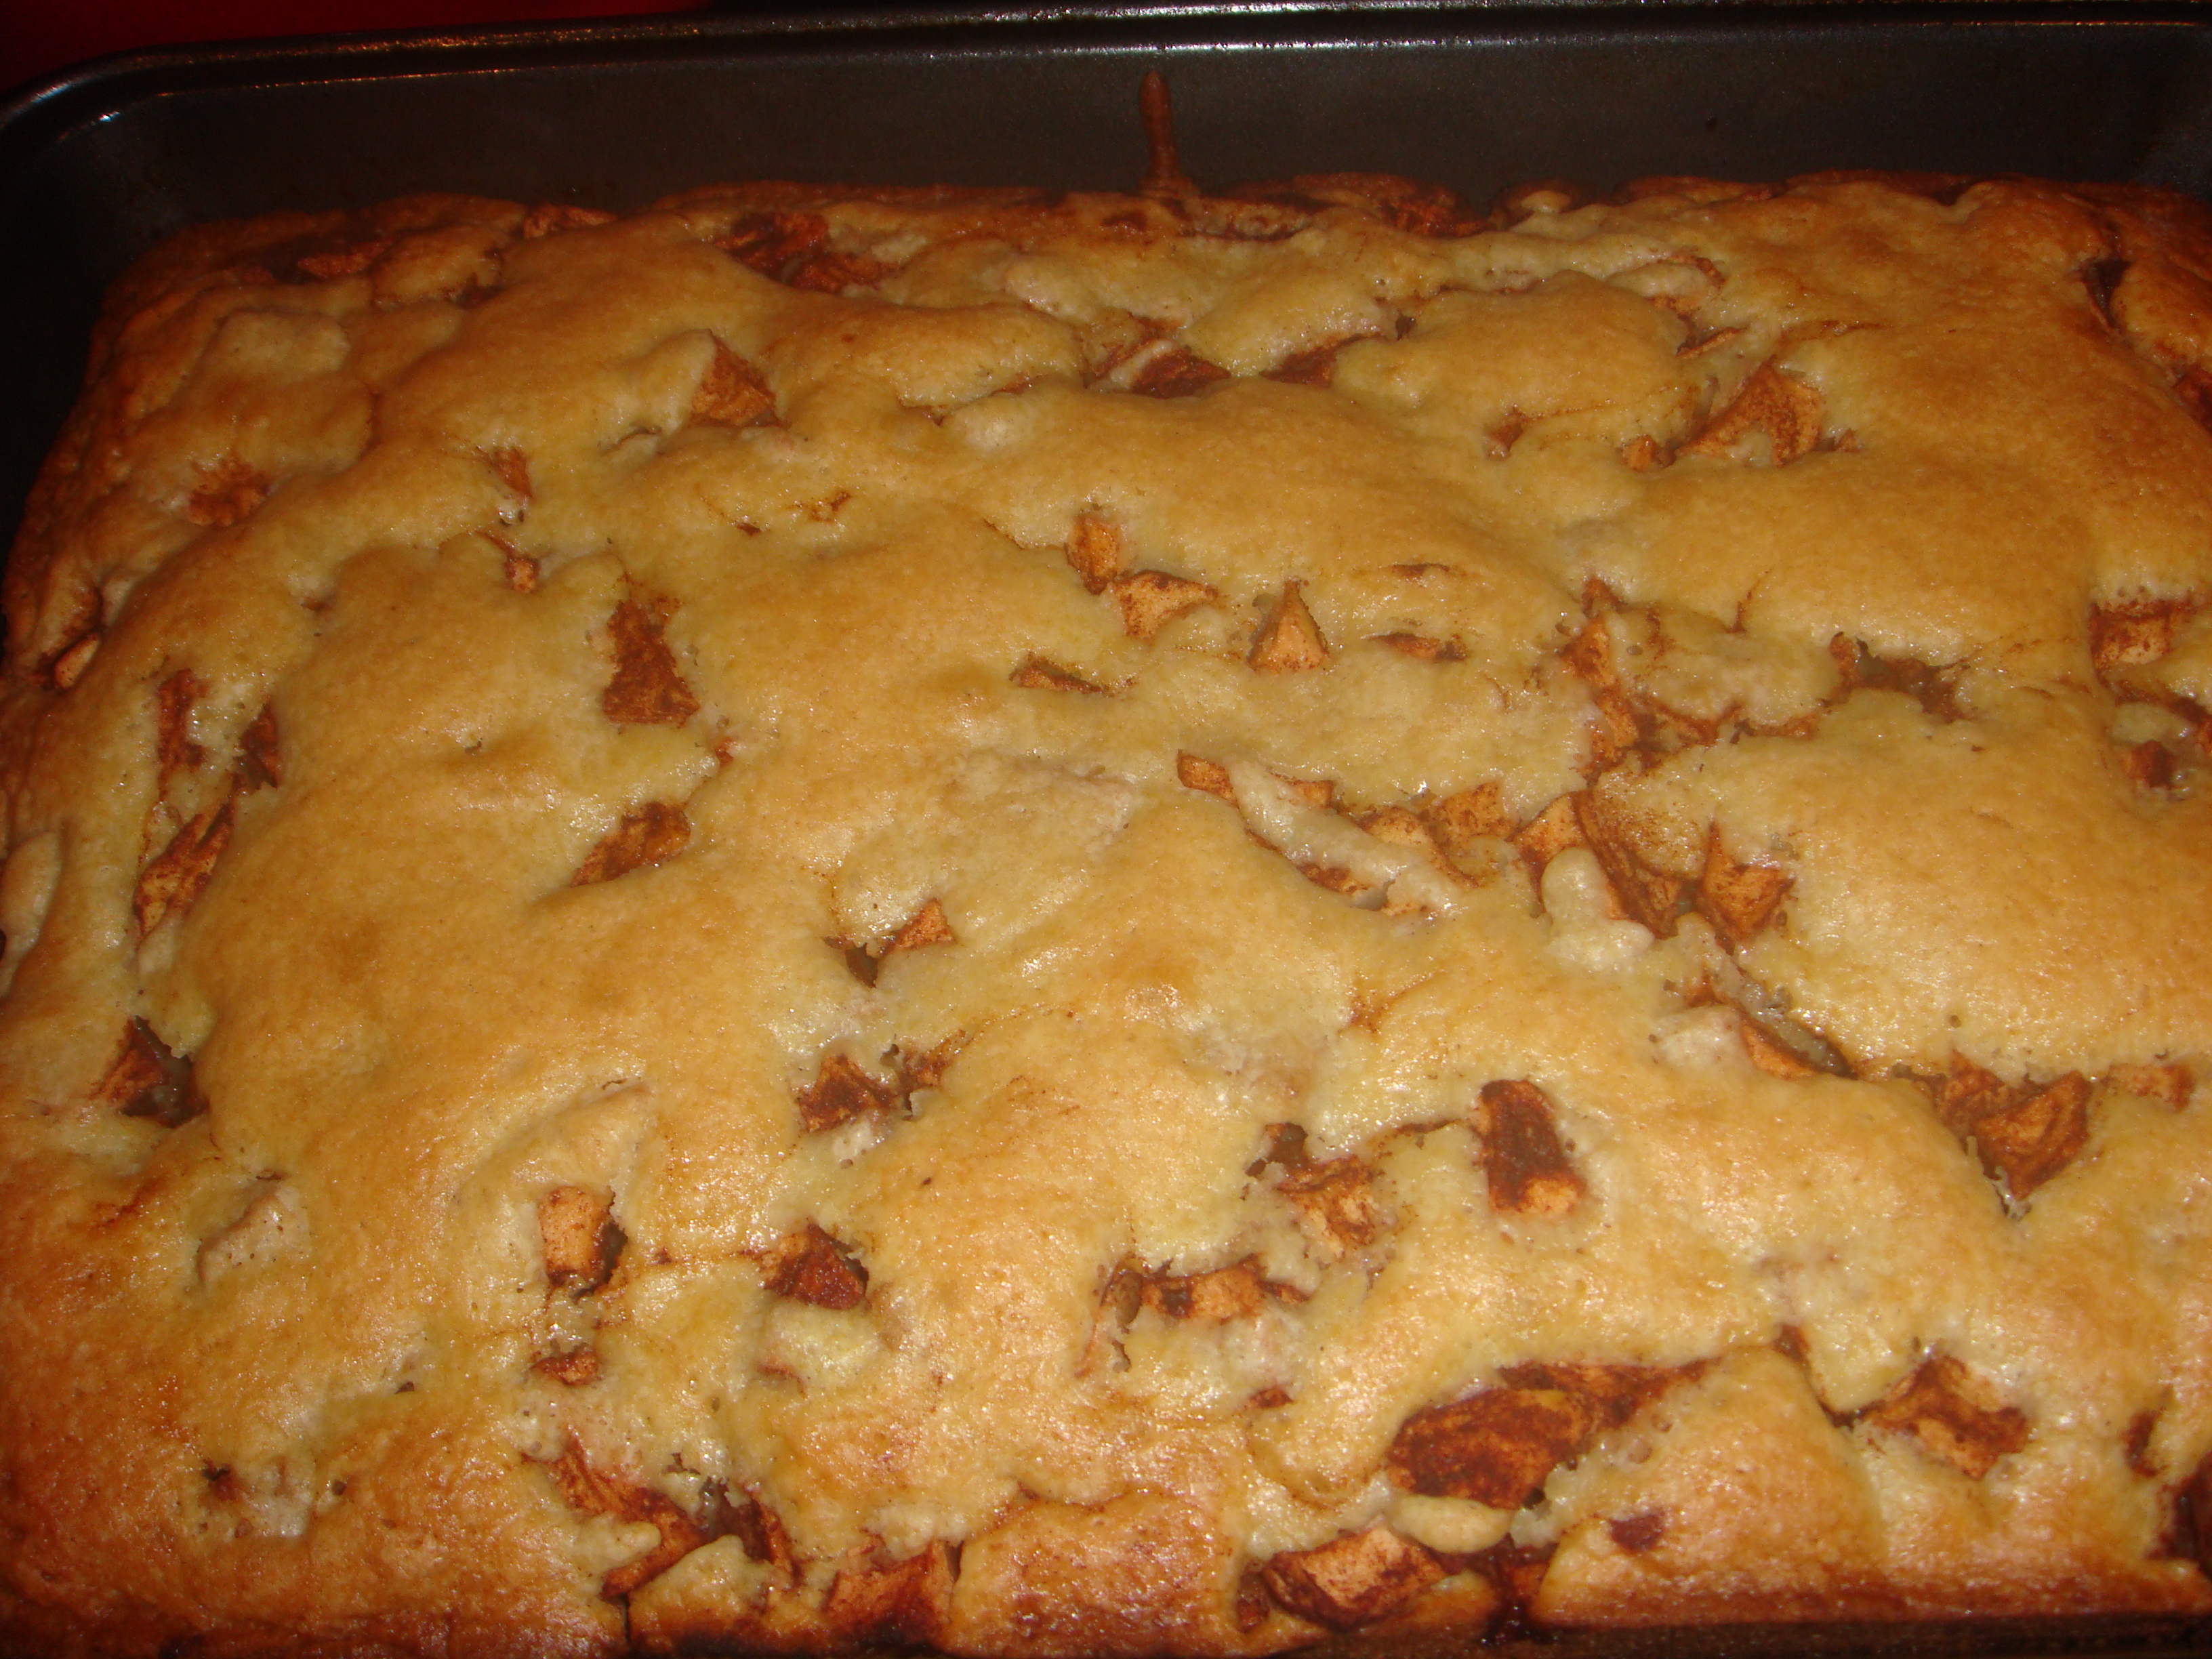
The cake will bake at 350 for about 60-75 minutes. This has never happened to me before, but for some reason when I was baking today, the edges cooked very quickly while the center was still uncooked. Both cakes were on the same level, so it wasn’t a matter of rotating them. What I did to fix this was lowered the temperature to 325 for the last 30 minutes of baking.
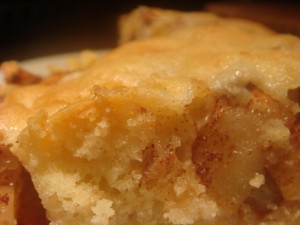
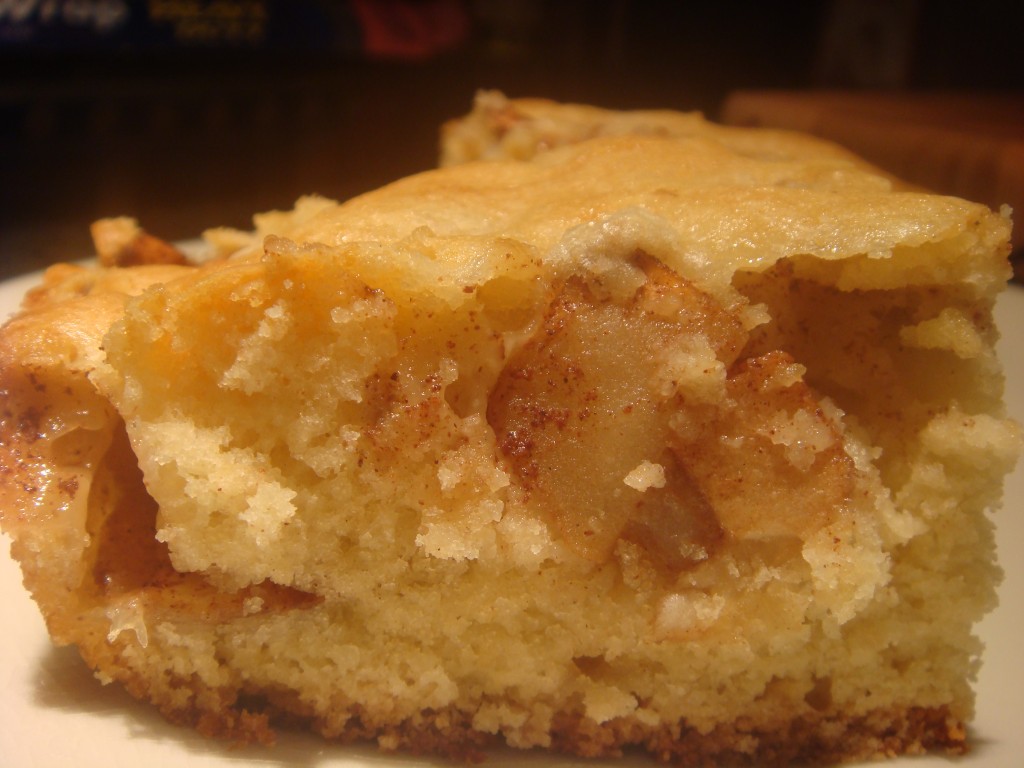
Here are some photos of the finished product:
Please make this cake so you can love it as much as I do. And happy fall!