Chicken Panang Curry

This week at the grocery store I was feeling inventive so I decided to buy some light coconut milk and see where it took me. Where it took me was to this amazing curry recipe that is so good you can just sit over the pot with a spoon and drink it (don’t ask me how I know). I found the base recipe on epicurious.com and what I liked about it is that it was easy to adapt and didn’t call for any ingredients that were more odd than coconut milk.

The first thing you want to do with curry is to build the sauce. The longer it cooks, the better and more developed the flavors will become. Here’s what you’ll need to get started:

  • 1 Tbsp coconut oil (or olive oil– I wanted to keep the coconut theme going)
  • 1 medium onion diced finely
  • 2 Tbsp freshly grated ginger
  • 4 cloves garlic

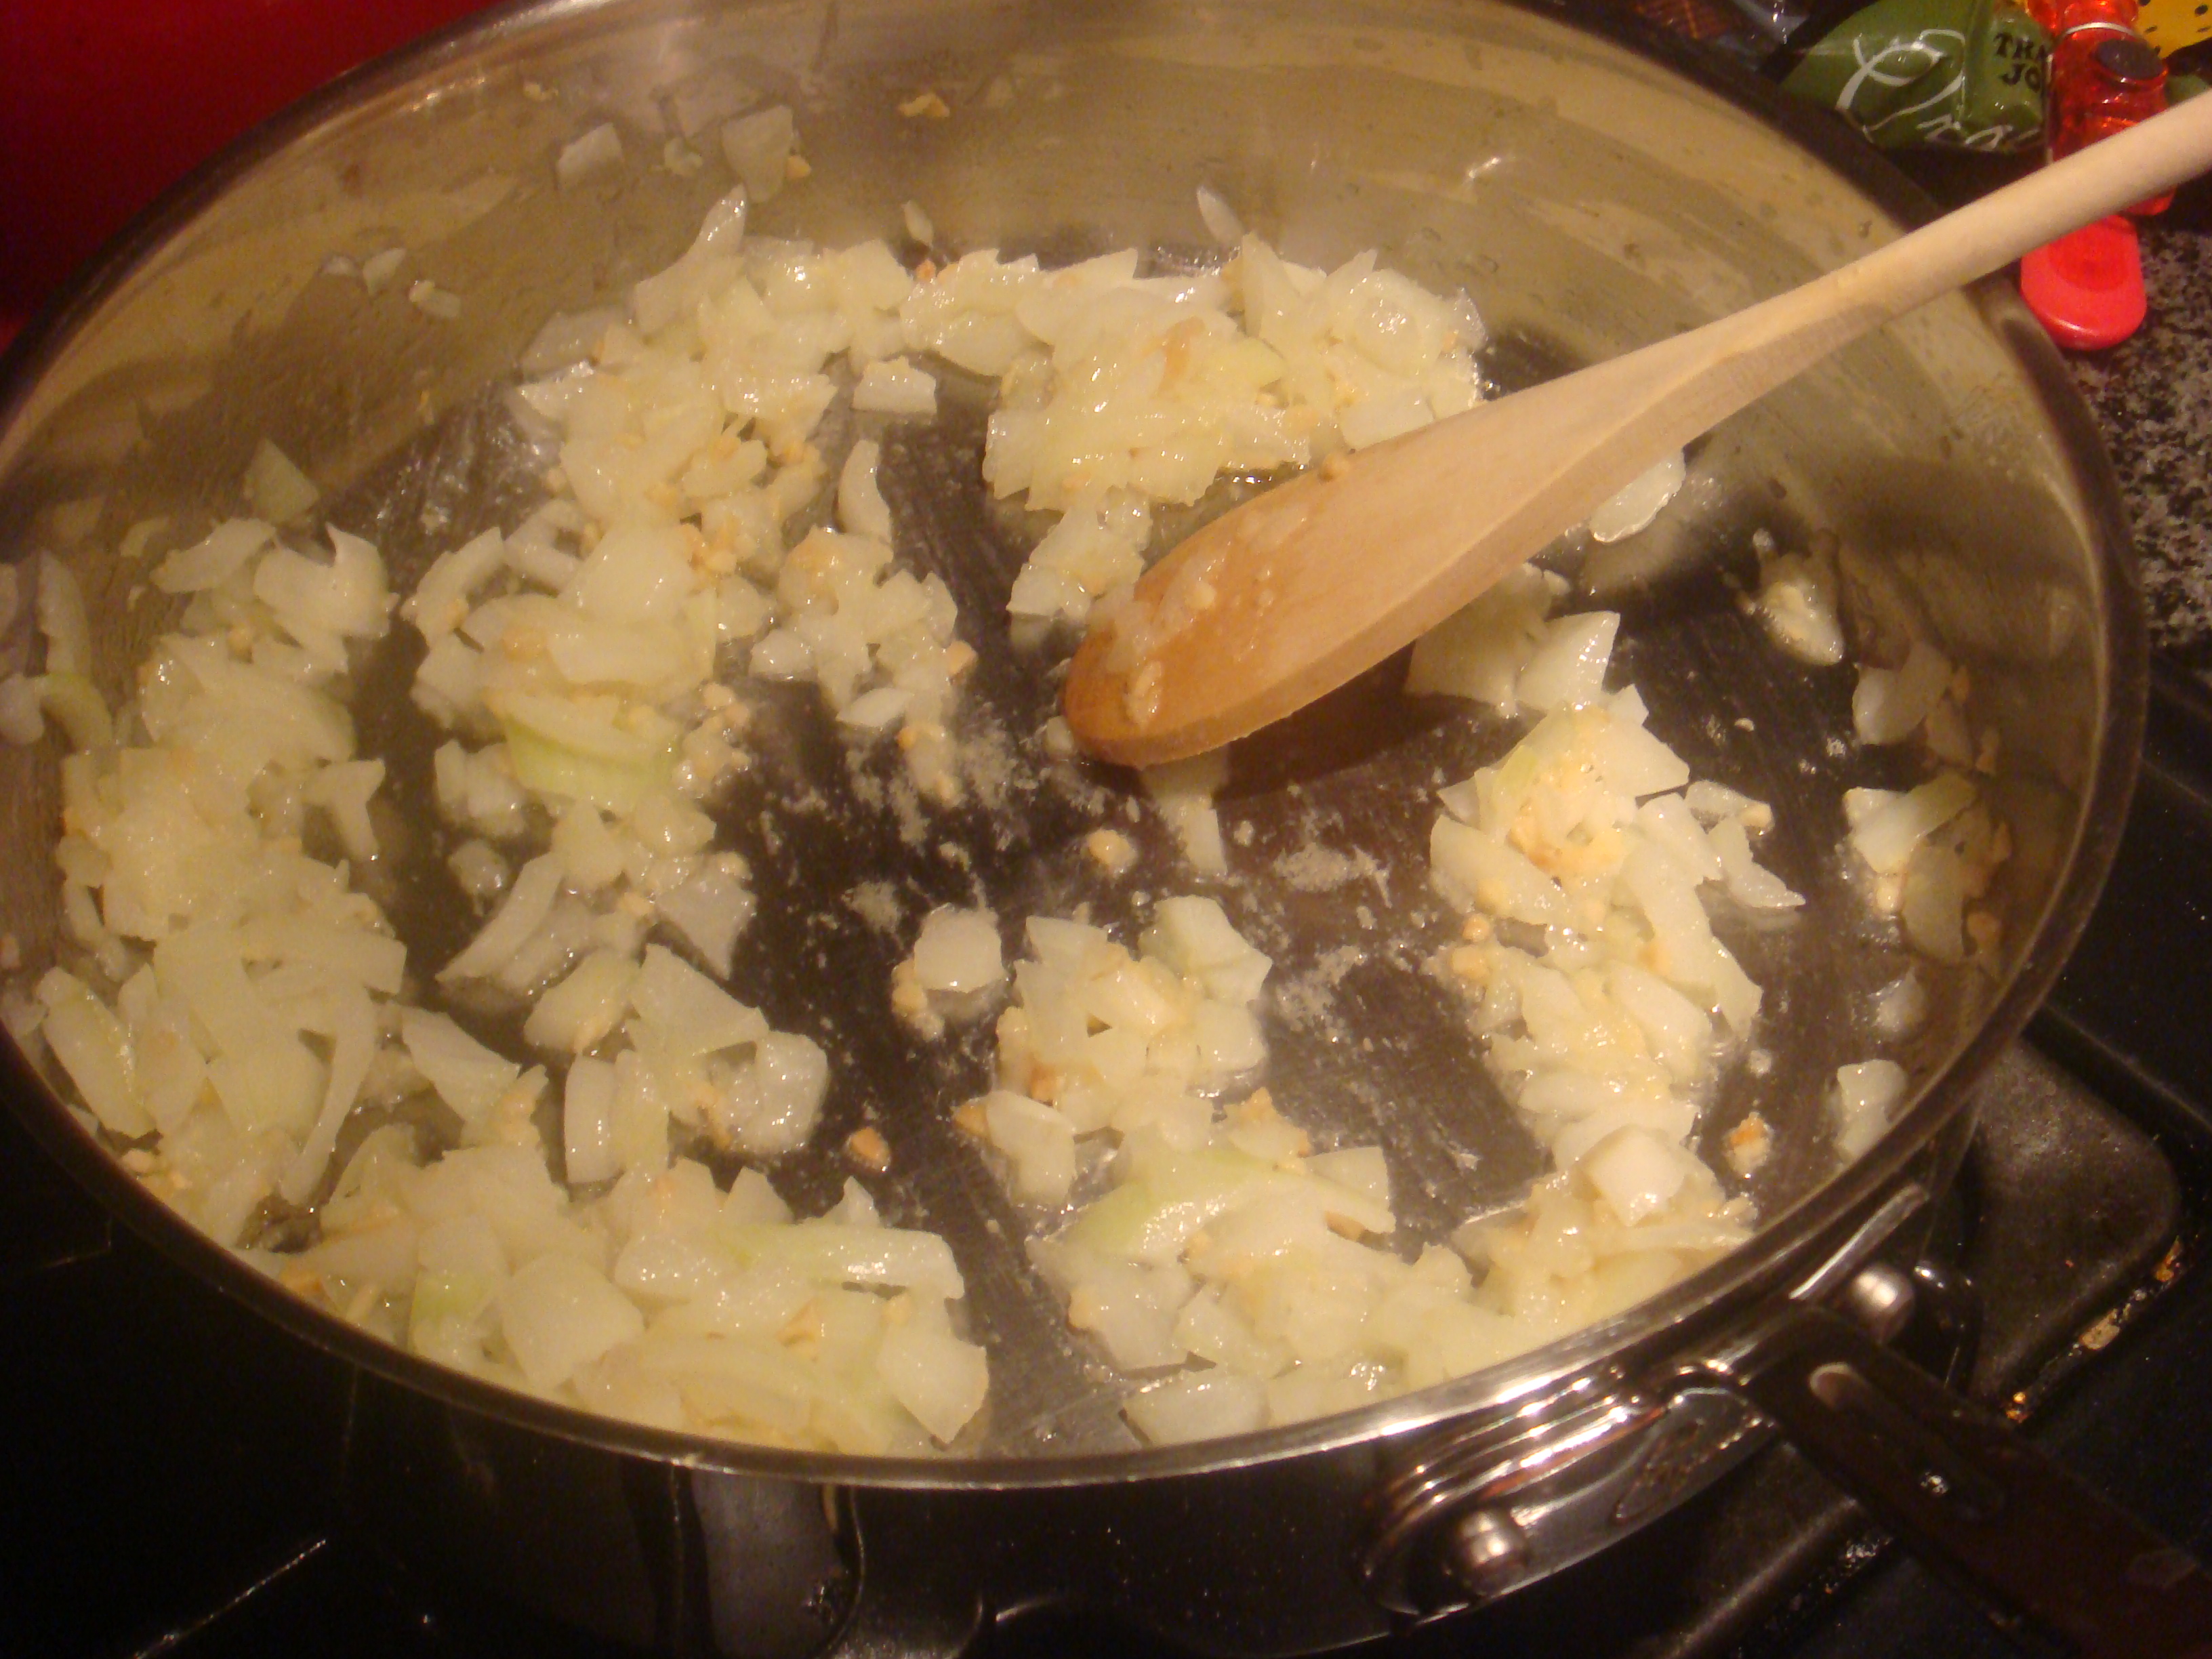
Heat the oil in a pan and add onion, ginger, and garlic. Cook on medium- low heat about 10 minutes until the onions are soft. My trick with fresh ginger is to keep it in the freezer. You never use ginger in as much quantity as they sell it to you so instead of throwing it away, pop it in the freezer. When you’re ready to use it, use a vegetable peeler to grate the skin and grate it. You won’t believe how nicely and easily it grates in this state.
Next, add:

  • 1/4 cup peanut butter
  • 2 tsp turmeric
  • 1 tsp cumin
  • 1 tsp chili sauce (I used sriracha and next time I would put at least 2 tsp in)

Mix together for 1-2 minutes until the spices are toasted and fragrant. Let me tell you, this is the point you really feel like you’re creating something. I’m not sure if it’s the smells or the awesome color that the spices add, but I felt pretty chef-y.

Next, add 1 cup water1 can light coconut milk (13.5 -14 oz can), 1 Tbsp light brown sugar, and 3 Tbsp lemon juice (if you have lime juice or an actual lime, use that and put some grated zest in as well). Cover and bring to a simmer. Season with salt to taste.
In the mean time, dice 1 lb of chicken breast into cubes. When the sauce is simmering, add chicken, cover, and let it cook. This will take about 10 minutes. While that’s cooking dice 1 red bell pepper and measure 1 cup frozen peas. Now, these are the vegetables that I had on hand and they worked really well. You could add carrots if you had them, or any other vegetables that you had on hand.
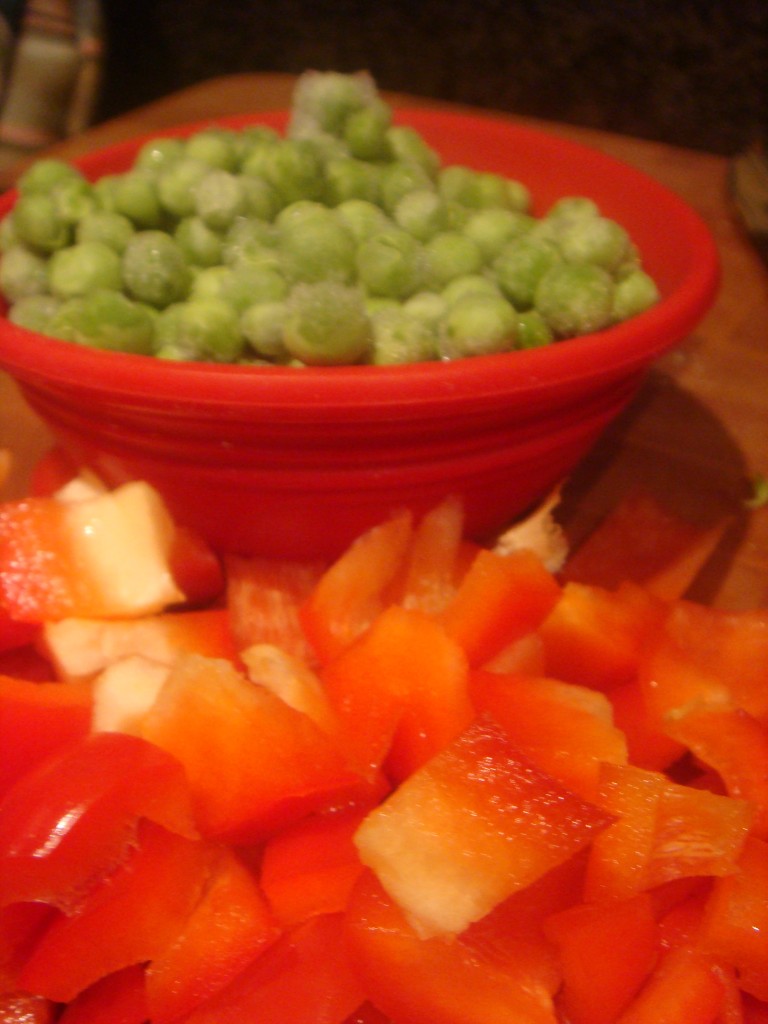
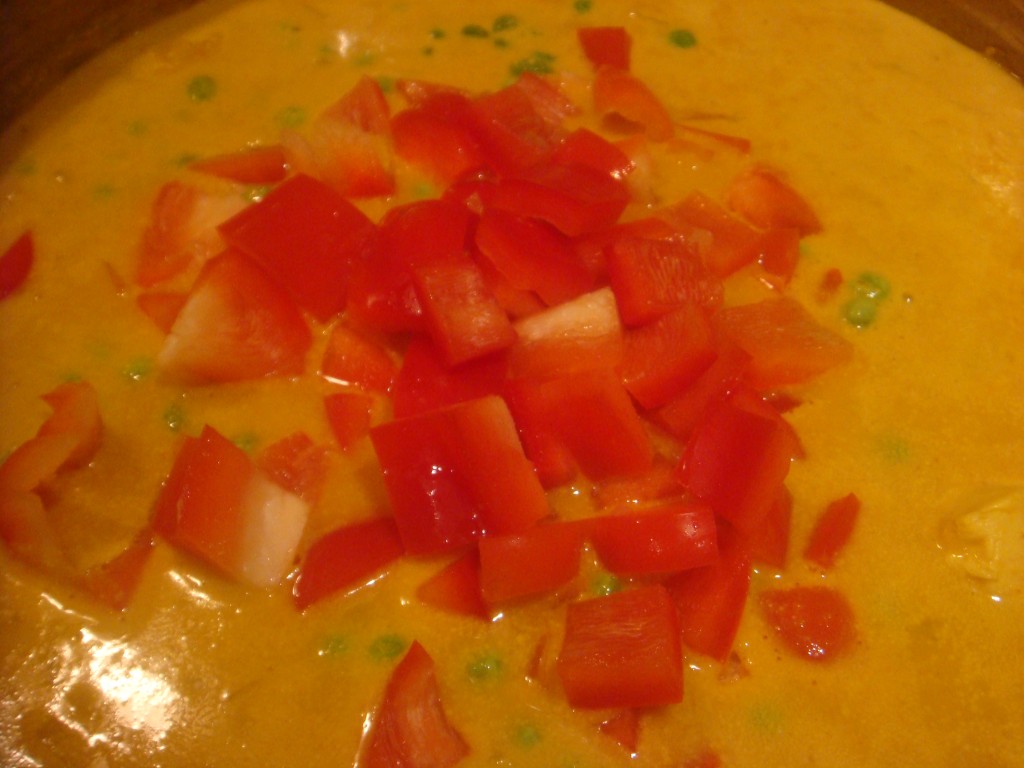
Once the chicken is cooked, add vegetables and let simmer uncovered for another 5-10 minutes. Taste the sauce (this is where you might be tempted to just stand there drinking it) and season with more salt if needed. 
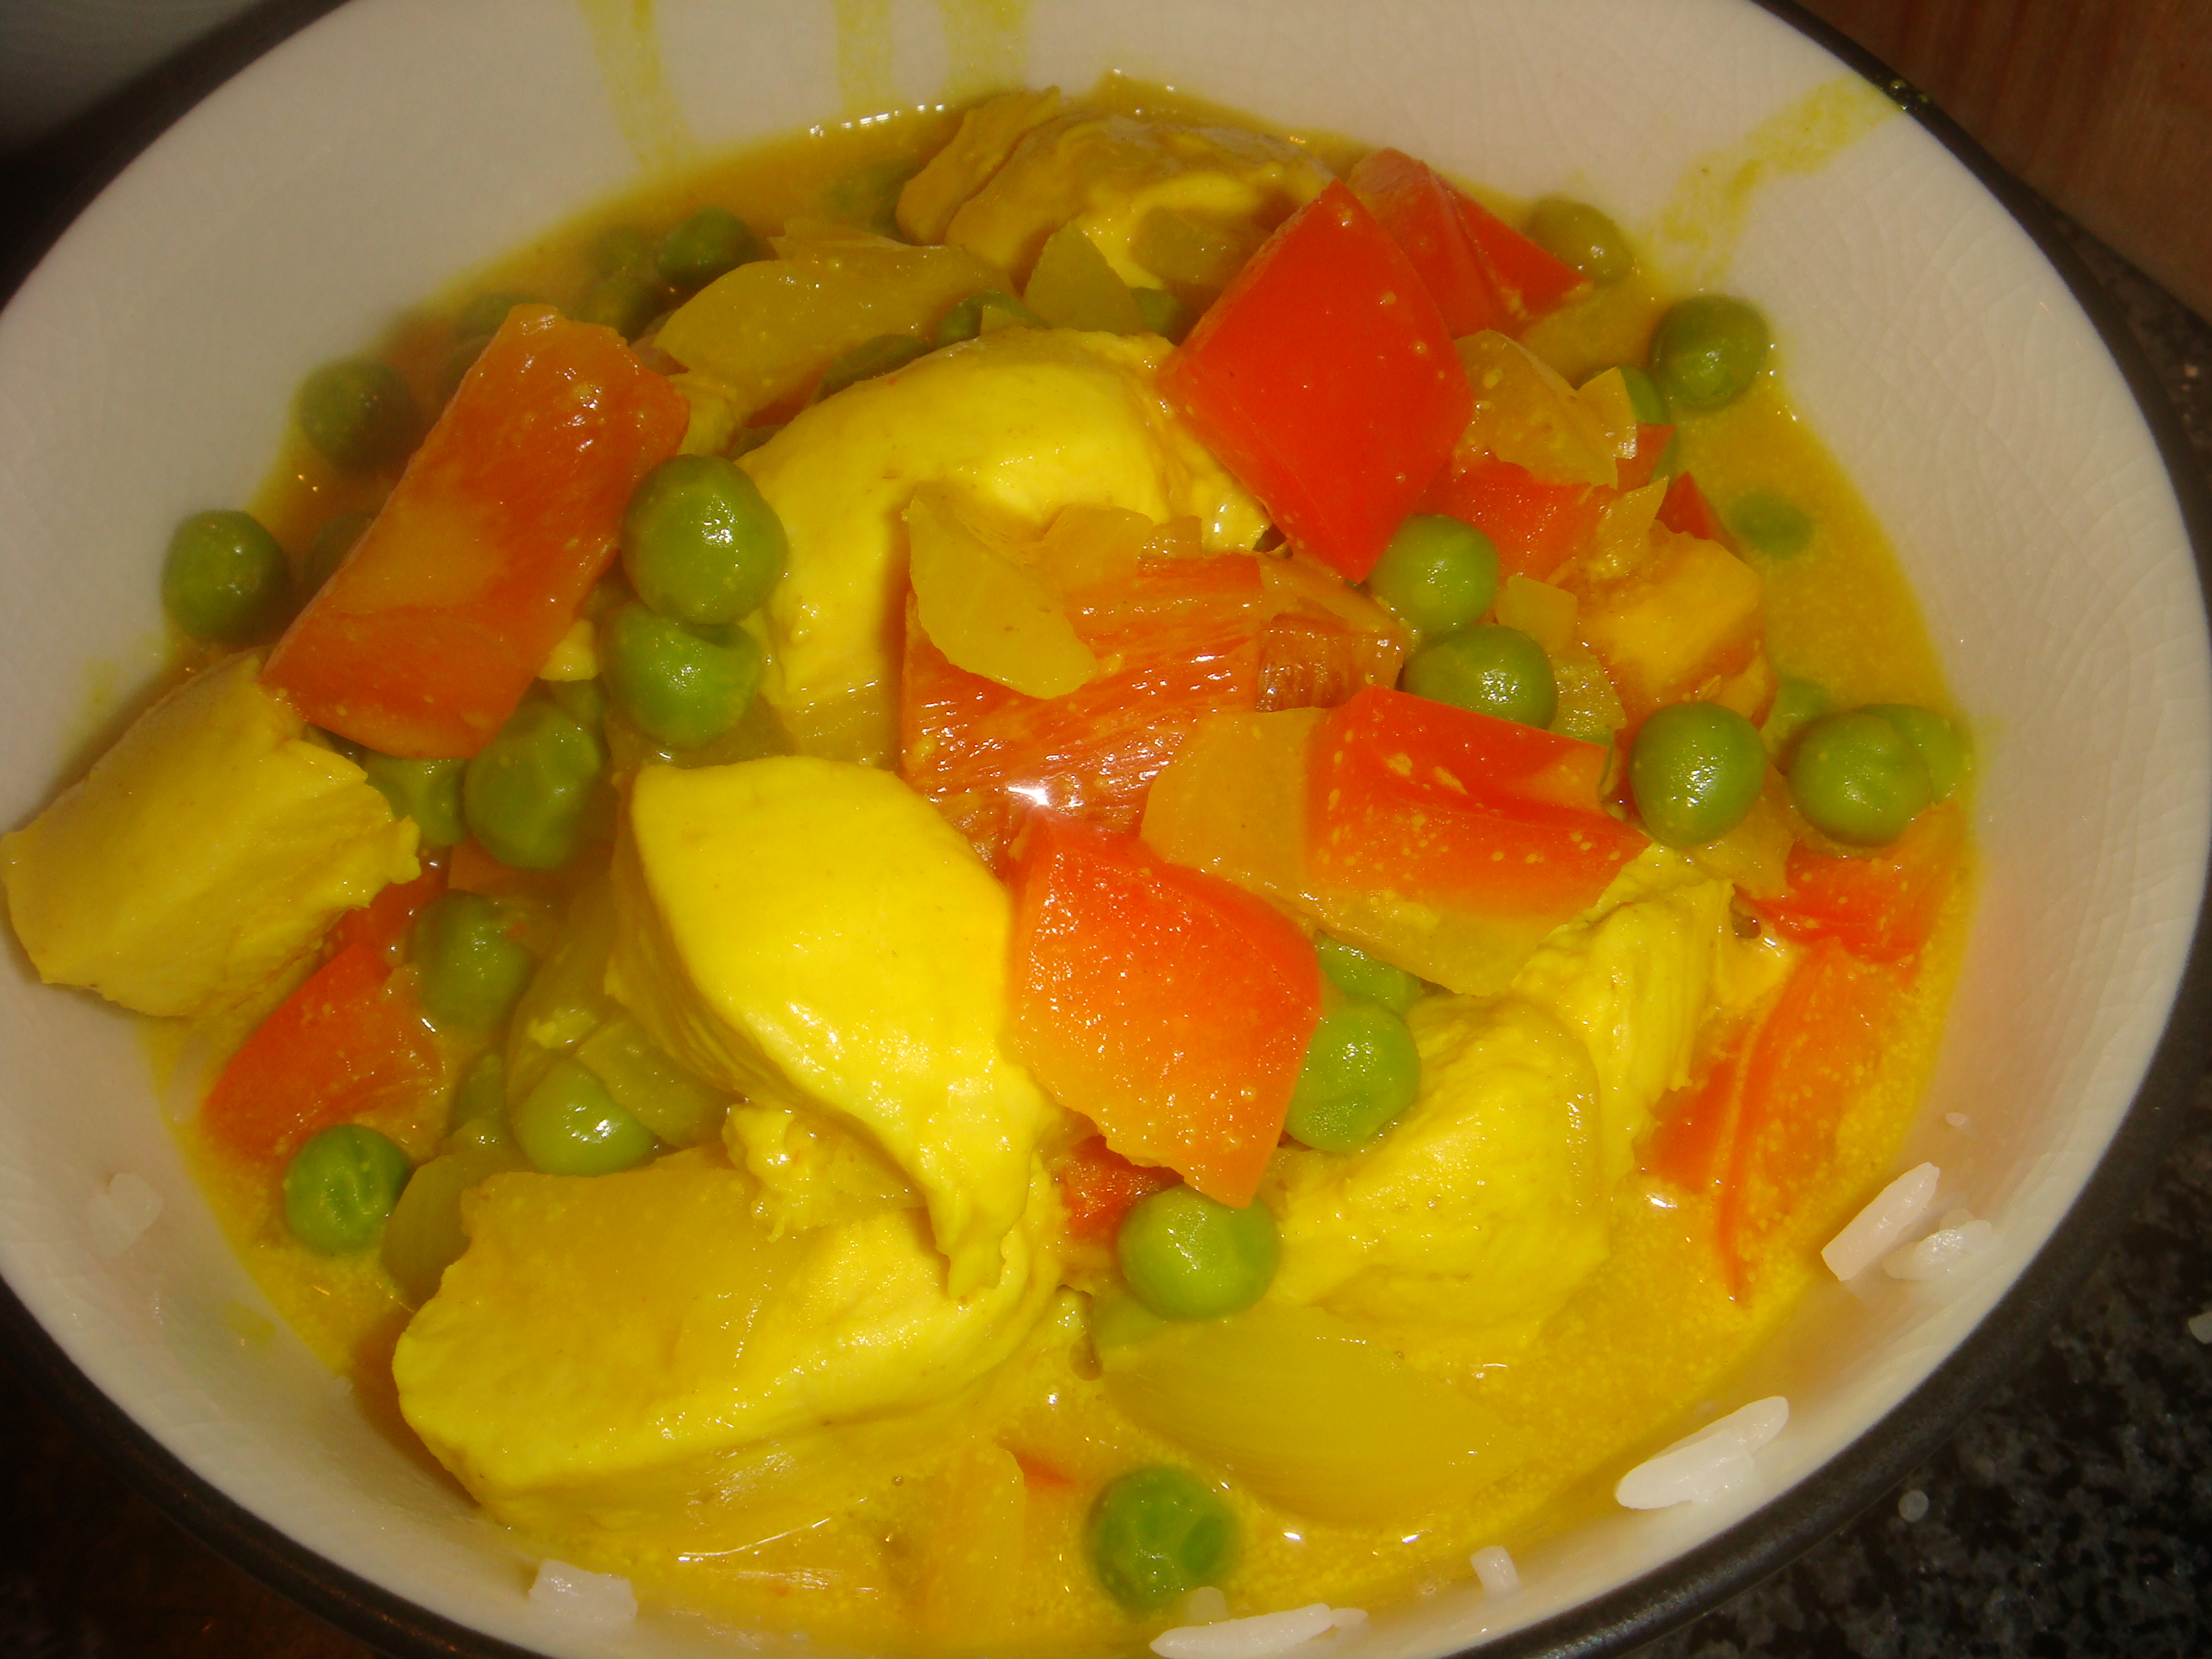
This recipe would feel 4 easily and it’s really great as leftovers. I served it over some steamed rice and Geoff called it “restaurant quality.” I like that better than “interesting.” Next time you’re feeling adventurous buy light coconut milk and make this!! You won’ be disappointed.
Post cooking thought:

Though the color is more yellow than a Panang curry you would get at a restaurant, the flavor is pretty dead on. I hope you just added coconut milk to your shopping list this week.


Better Bites: Bacon Egg and Cheese on a Bagel

Growing up in New York City, an egg sandwich on a perfectly toasted bagel is a staple of most weekends. The gooey cheese spilling out, the delicate crunch of the bagel, the fluffy eggs… it doesn’t get much better than that. The most classic of these sandwiches is a bacon egg and cheese on an everything bagel. My sources tell me that the bacon adds a saltiness that brings the sandwich to a whole new level.

The only problem with this perfect breakfast sandwich is that if you really did eat it every weekend… well, that’d be a lot of calories. So my mission for today was to recreate the experience of eating a bacon egg and cheese on an everything bagel without the guilt. I think it went remarkably well.

The Mich Dish has about 275 calories (saving you about 400 calories). You can make it at home quickly and easily, and it really feels like an indulgence. The key to this dish is substitution without deprivation. You still get the gooey cheese, the fluffy eggs, the crunch of the bagel and the saltiness of the bacon. Only this time you get it from:

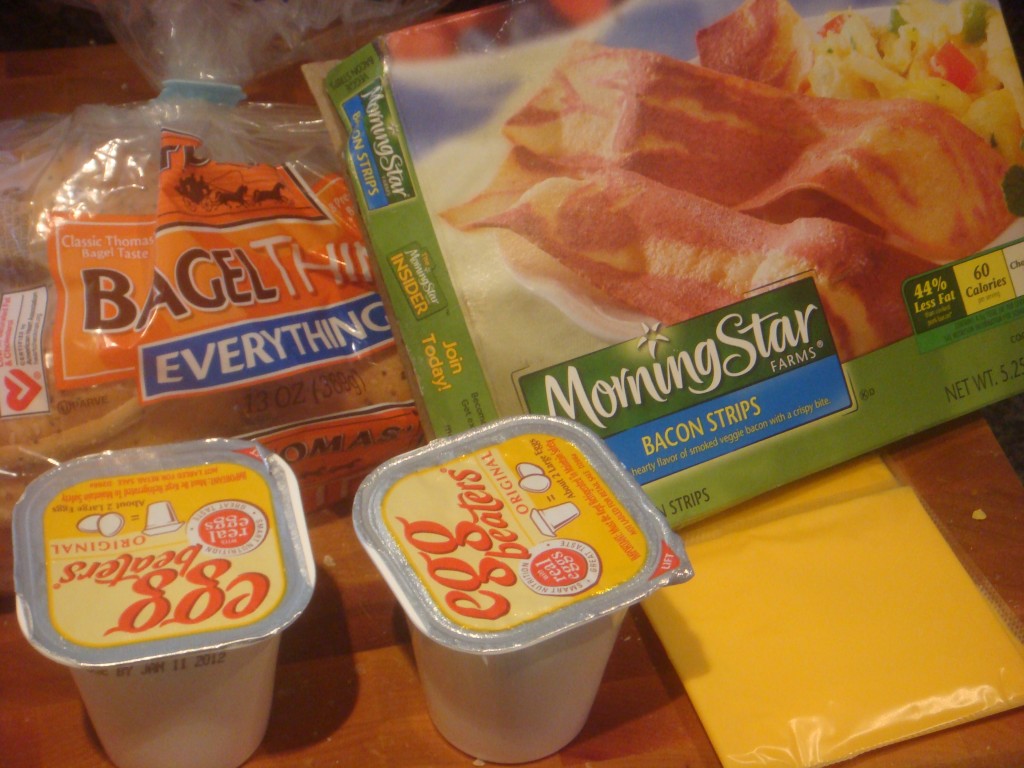
This morning I made 2 sandwiches, but for one you will need:

Let me give a quick overview of each of these ingredients and why I love them. First of all the idea of a 110 calorie bagel is amazing. What’s even better is that when this bagel is toasting the smell reminds you of why bagels are so delicious, especially everything bagels. Egg beaters have basically replaced eggs in my life (except in baking). They are made from egg whites plus they’re super easy (who wants to separate eggs) and you don’t have to figure out what to do with the yolk.

Ok, full confession- I have never had bacon. It’s not very appealing to me which I know makes even my vegetarian friends look at me strangely, but that’s just the way it is. I do love turkey bacon and veggie bacon though. And even Geoff likes veggie bacon in any form except on the side of eggs, so I feel confident in this swap. Lastly, the weight watchers brand American cheese. There is so much to say about this cheese. I normally hate reduced fat cheese and I would rather have a little bit of real cheese than a lot of it’s reduced fat or fat free counterparts. This cheese, though, is wonderful. It tastes great on its own and it melts beautifully for only 45 calories per slice. I’ve seen it in most every grocery store, so you should definitely pick some up.

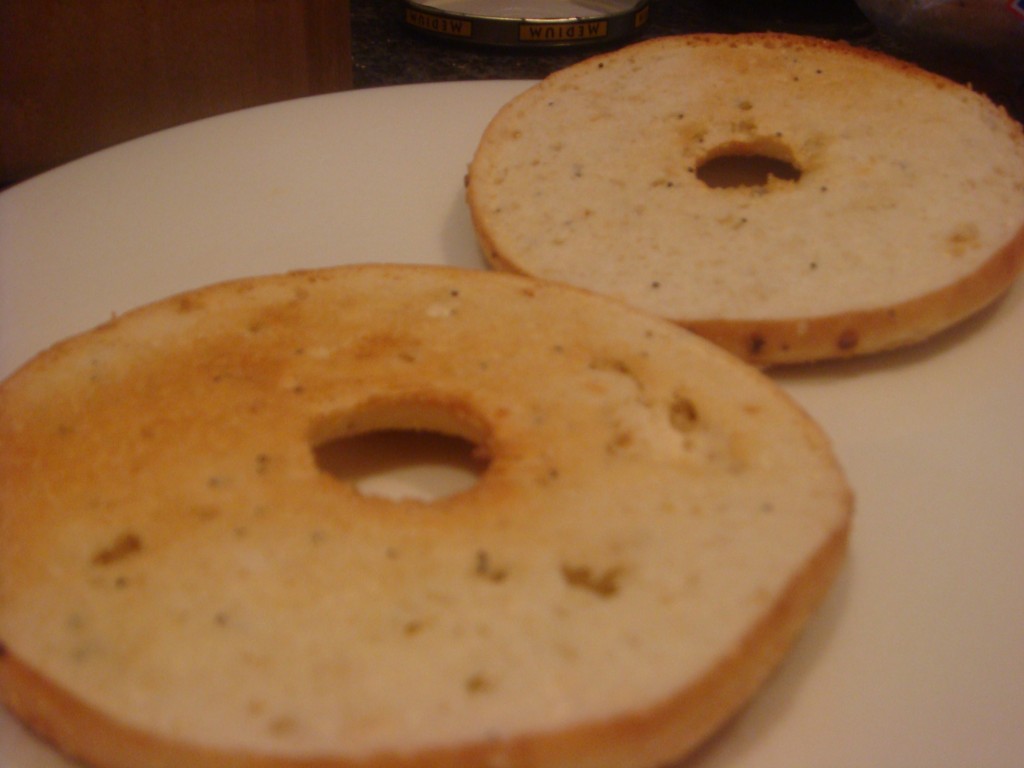
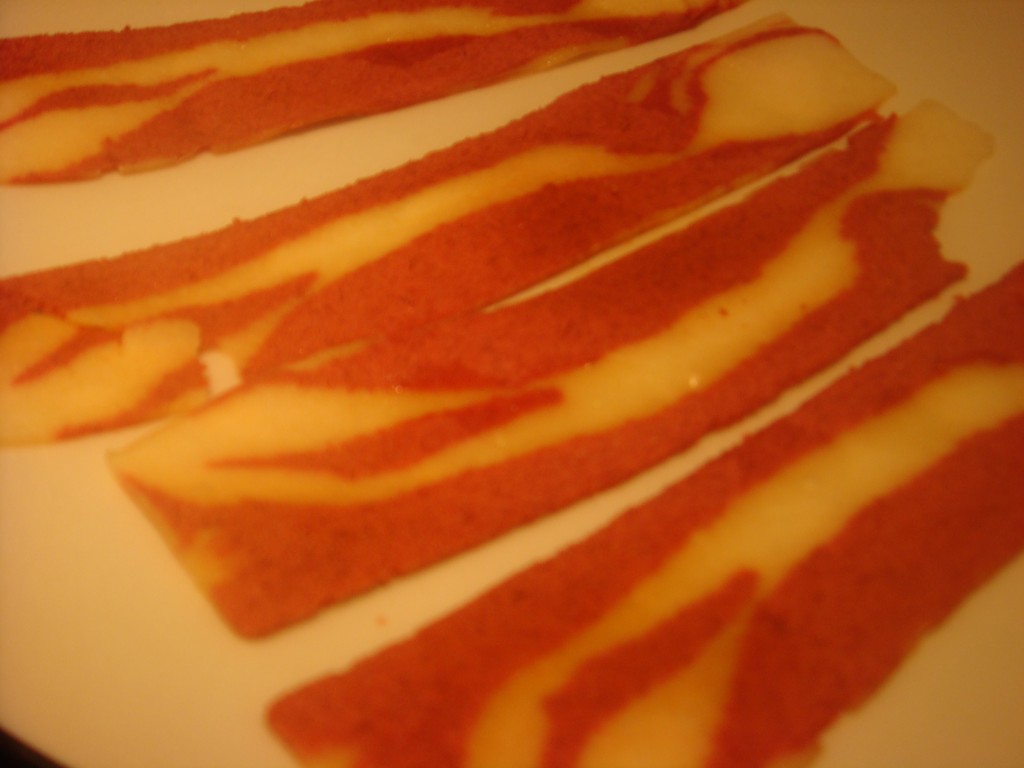
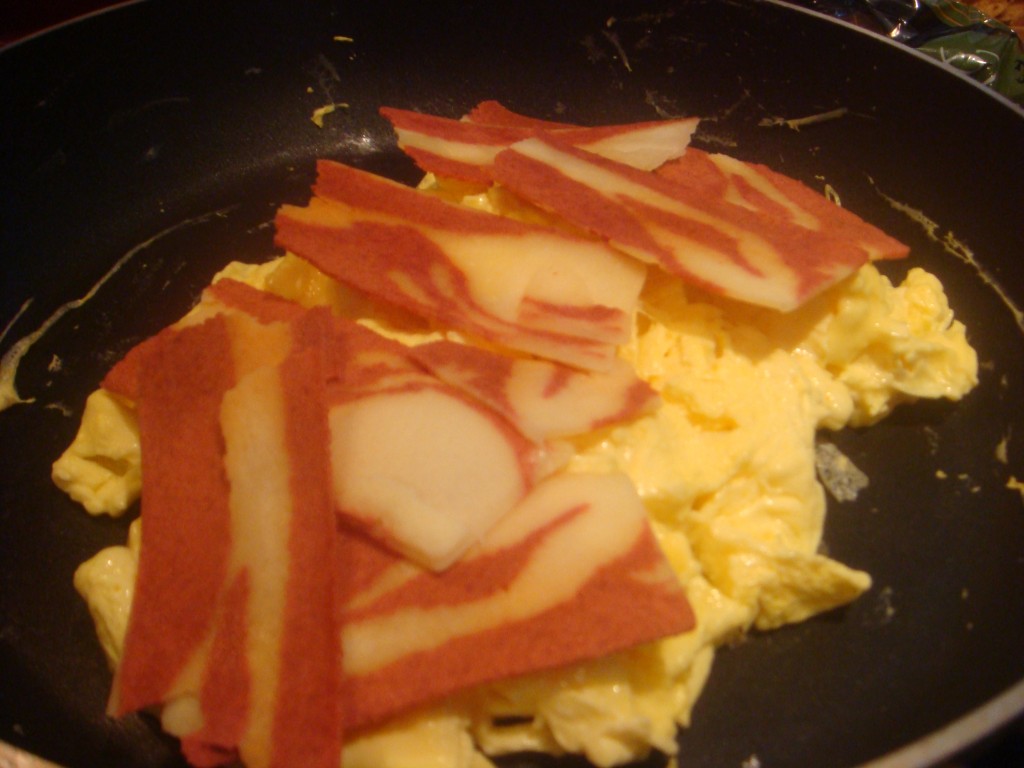
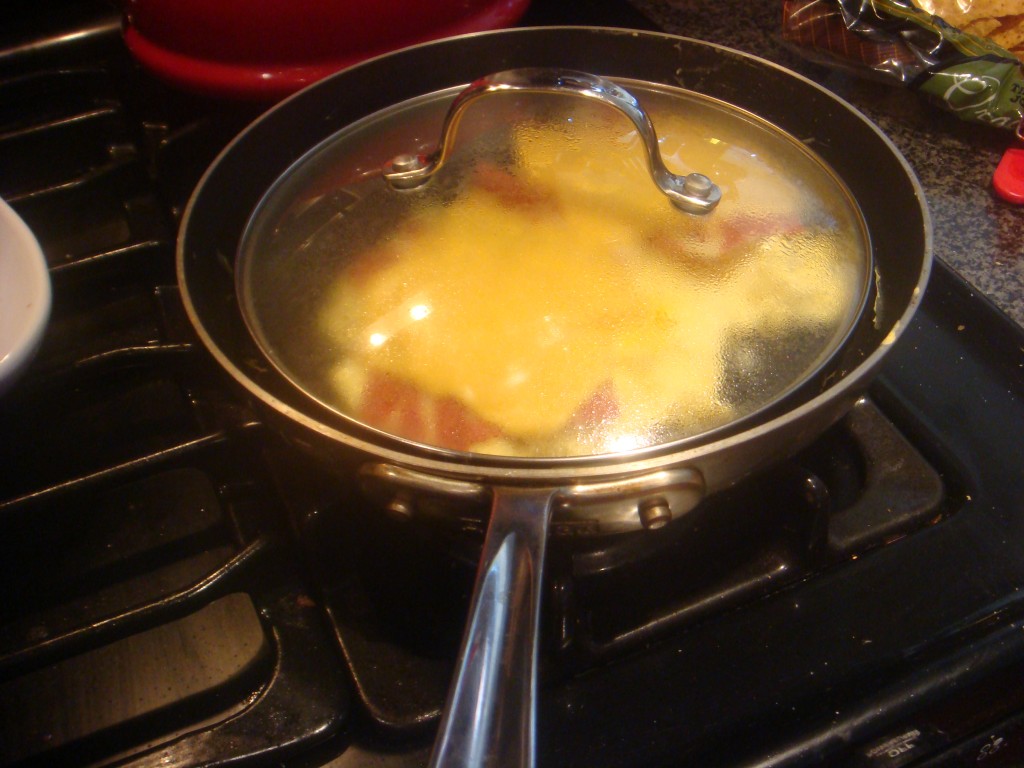
The prep of this dish is super simple: Toast the bagel. Microwave the bacon according to package instructions. Scramble the egg beaters and reduce the heat to low. Break the bacon into smaller pieces and lay it on top of the eggs,Place the slice of cheese on top and cover with a lid so the cheese melts without drying out the eggs. Use a spatula to move the bacon egg and cheese onto the bagel. 

Warning: the cheese will be gooey and the smells will be heavenly. Have a great brunch!


Pumpkin Apple Scones

I’m happy to say that tonight I FINALLY finished the last of that pumpkin! (You know, the one that has been in my fridge since Halloween and the star of 2 recent mich dishes) I think it was on its last few days in my fridge, so now I don’t feel wasteful.

Another thing that happened tonight– I “healtified” a baking recipe. This was a first for me. I healtify (yeah, I made it up, but I kind of like it!) lots of savory recipes because frankly, there’s not as much science involved. I’ve also changed the flavor profiles of some sweet recipes but again, never altering the science. So yeah, I’m pretty proud of this accomplishment. I’ve deemed the recipe a “good breakfast or tea cake” but since it’s not overly sweet, my husband deemed it “interesting.”

Some things to know about this recipe. It’s messy and it’s not the most beautiful dough… but it is tasty, healthy, and pretty simple. OK, let’s jump right in!

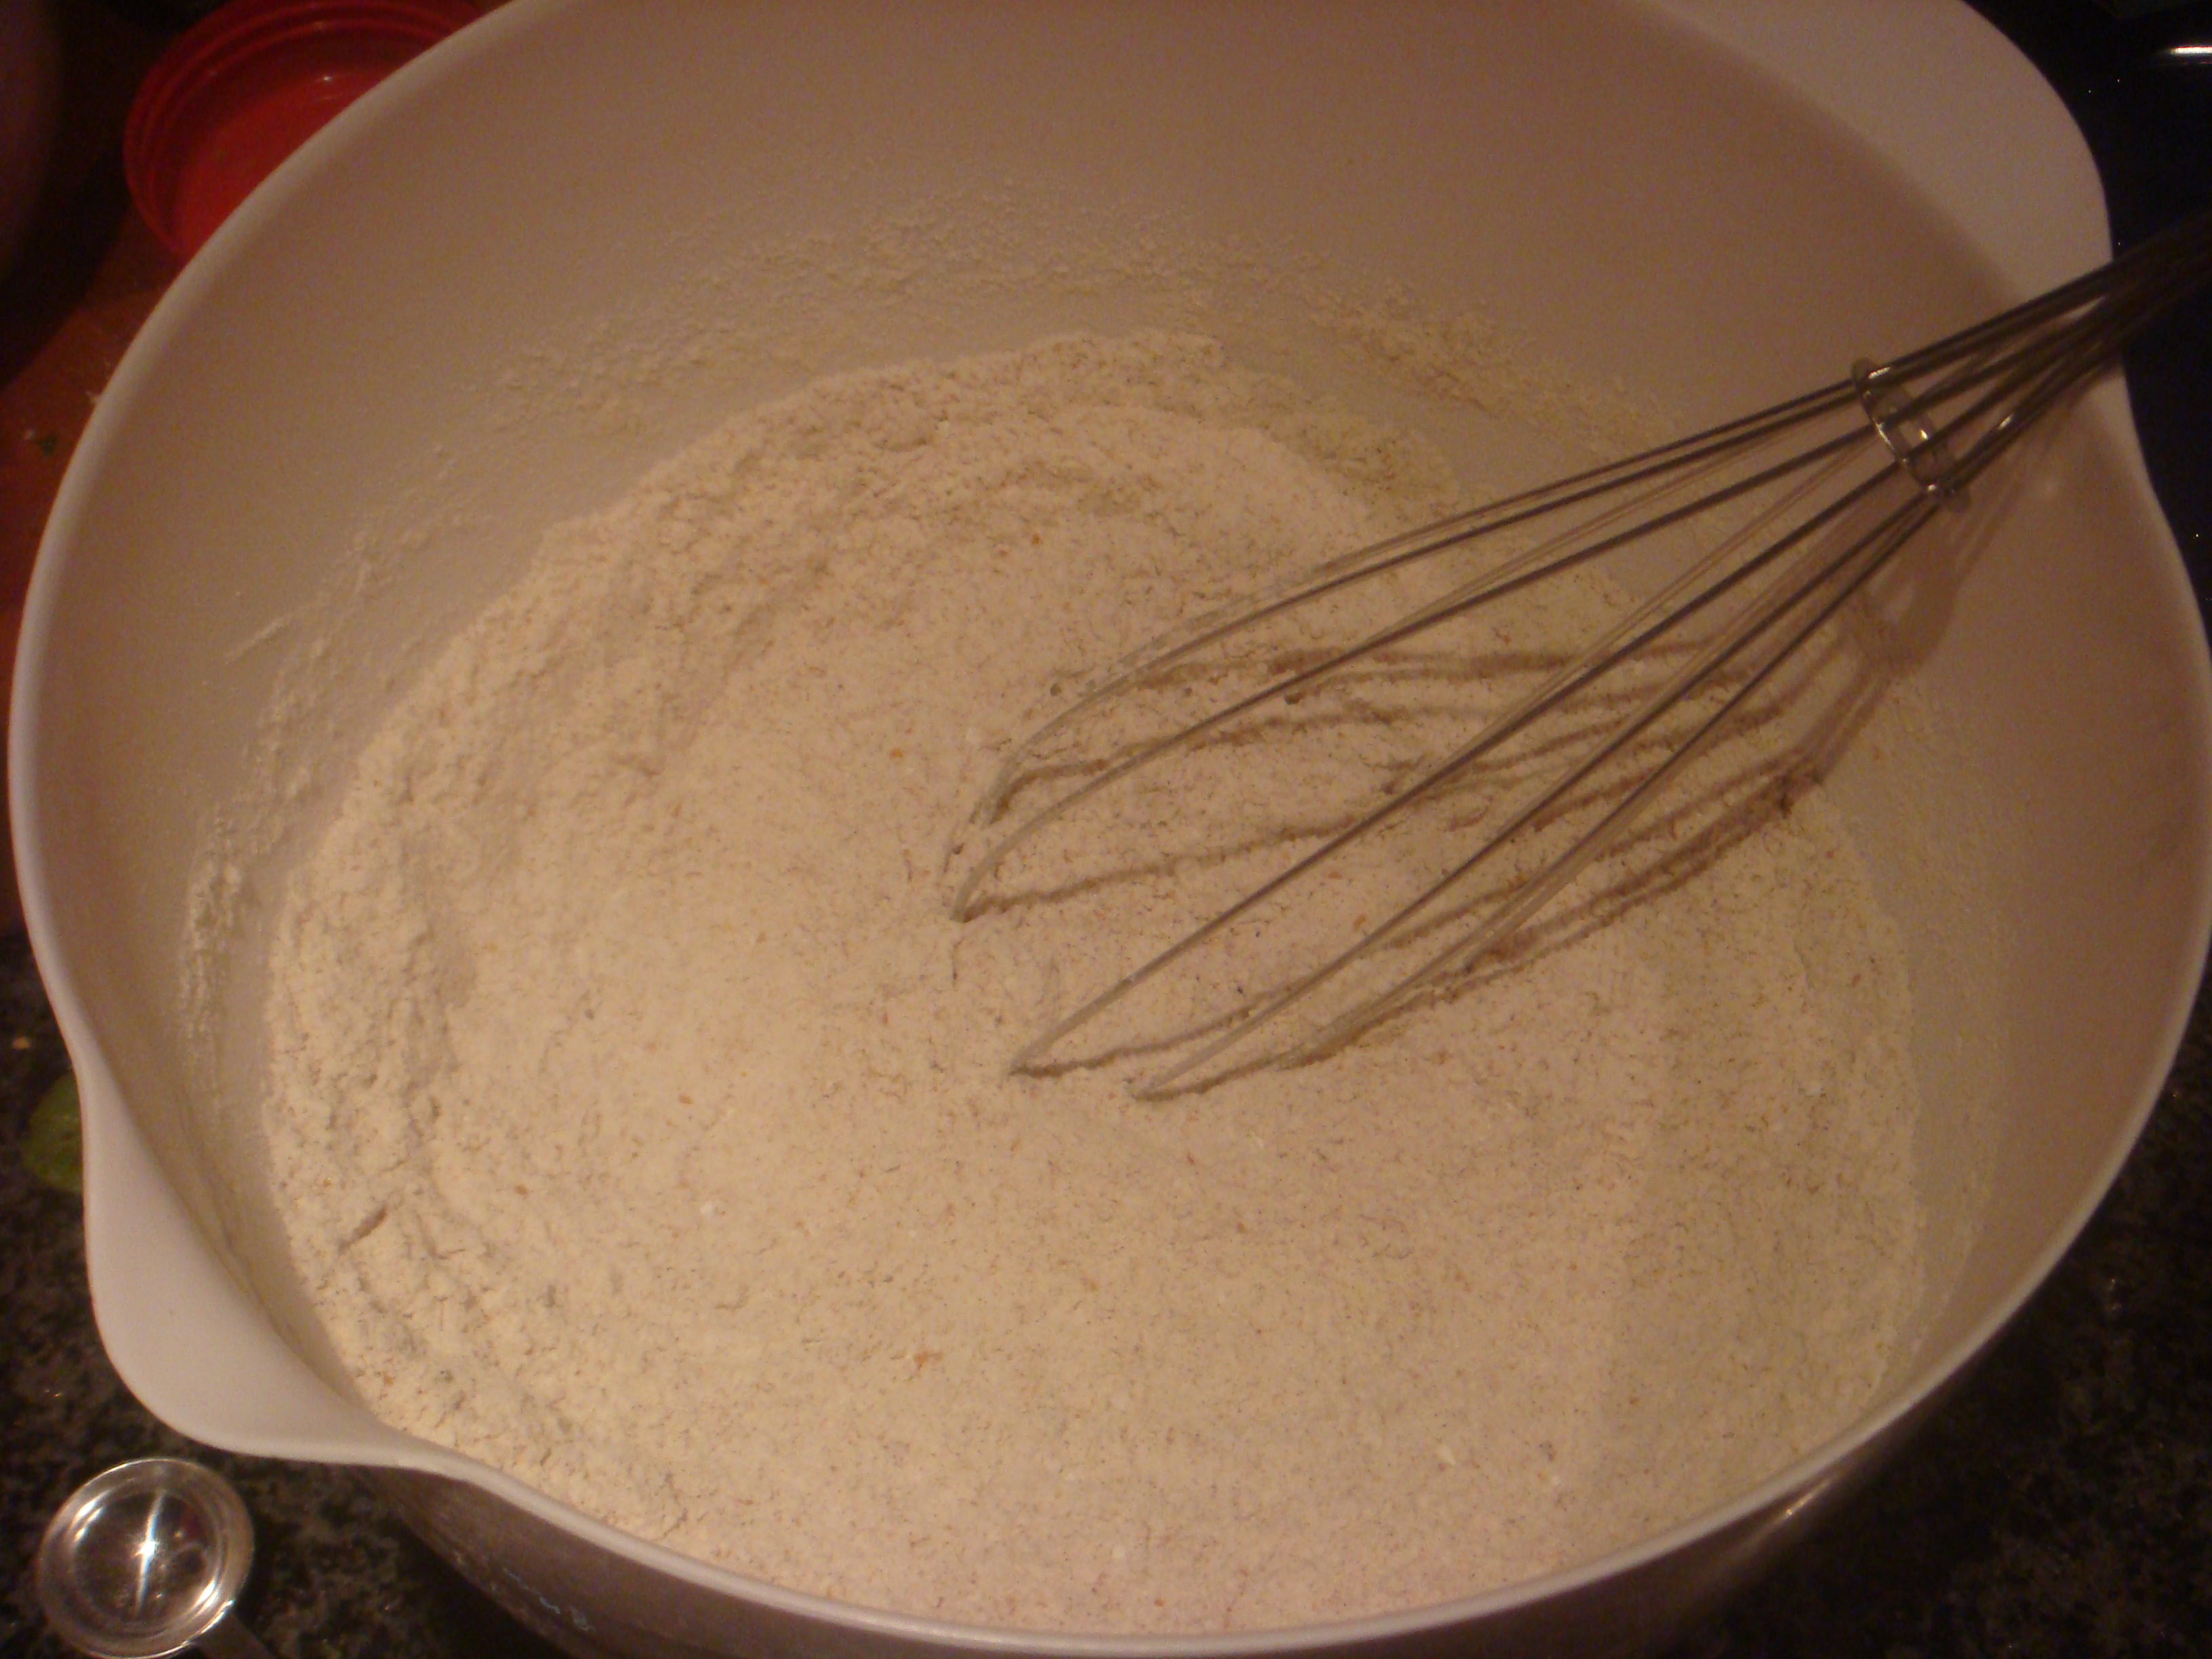
First, combine the following ingredients in a medium bowl:

  • 2 1/2 cups of flour (I used 1/2 cup wheat and 2 cups all purpose… but only because I ran out of wheat– if I had more, I would do 1 1/2 cups wheat and 1 cup AP)
  • 1/4 cup light brown sugar, packed
  • 3/4 Tbsp cinnamon
  • 1/2 tsp nutmeg
  • 1/2 tsp allspice
  • 1/2 tsp salt
  • 1/2 tsp ginger
  • 1 Tbsp baking powder
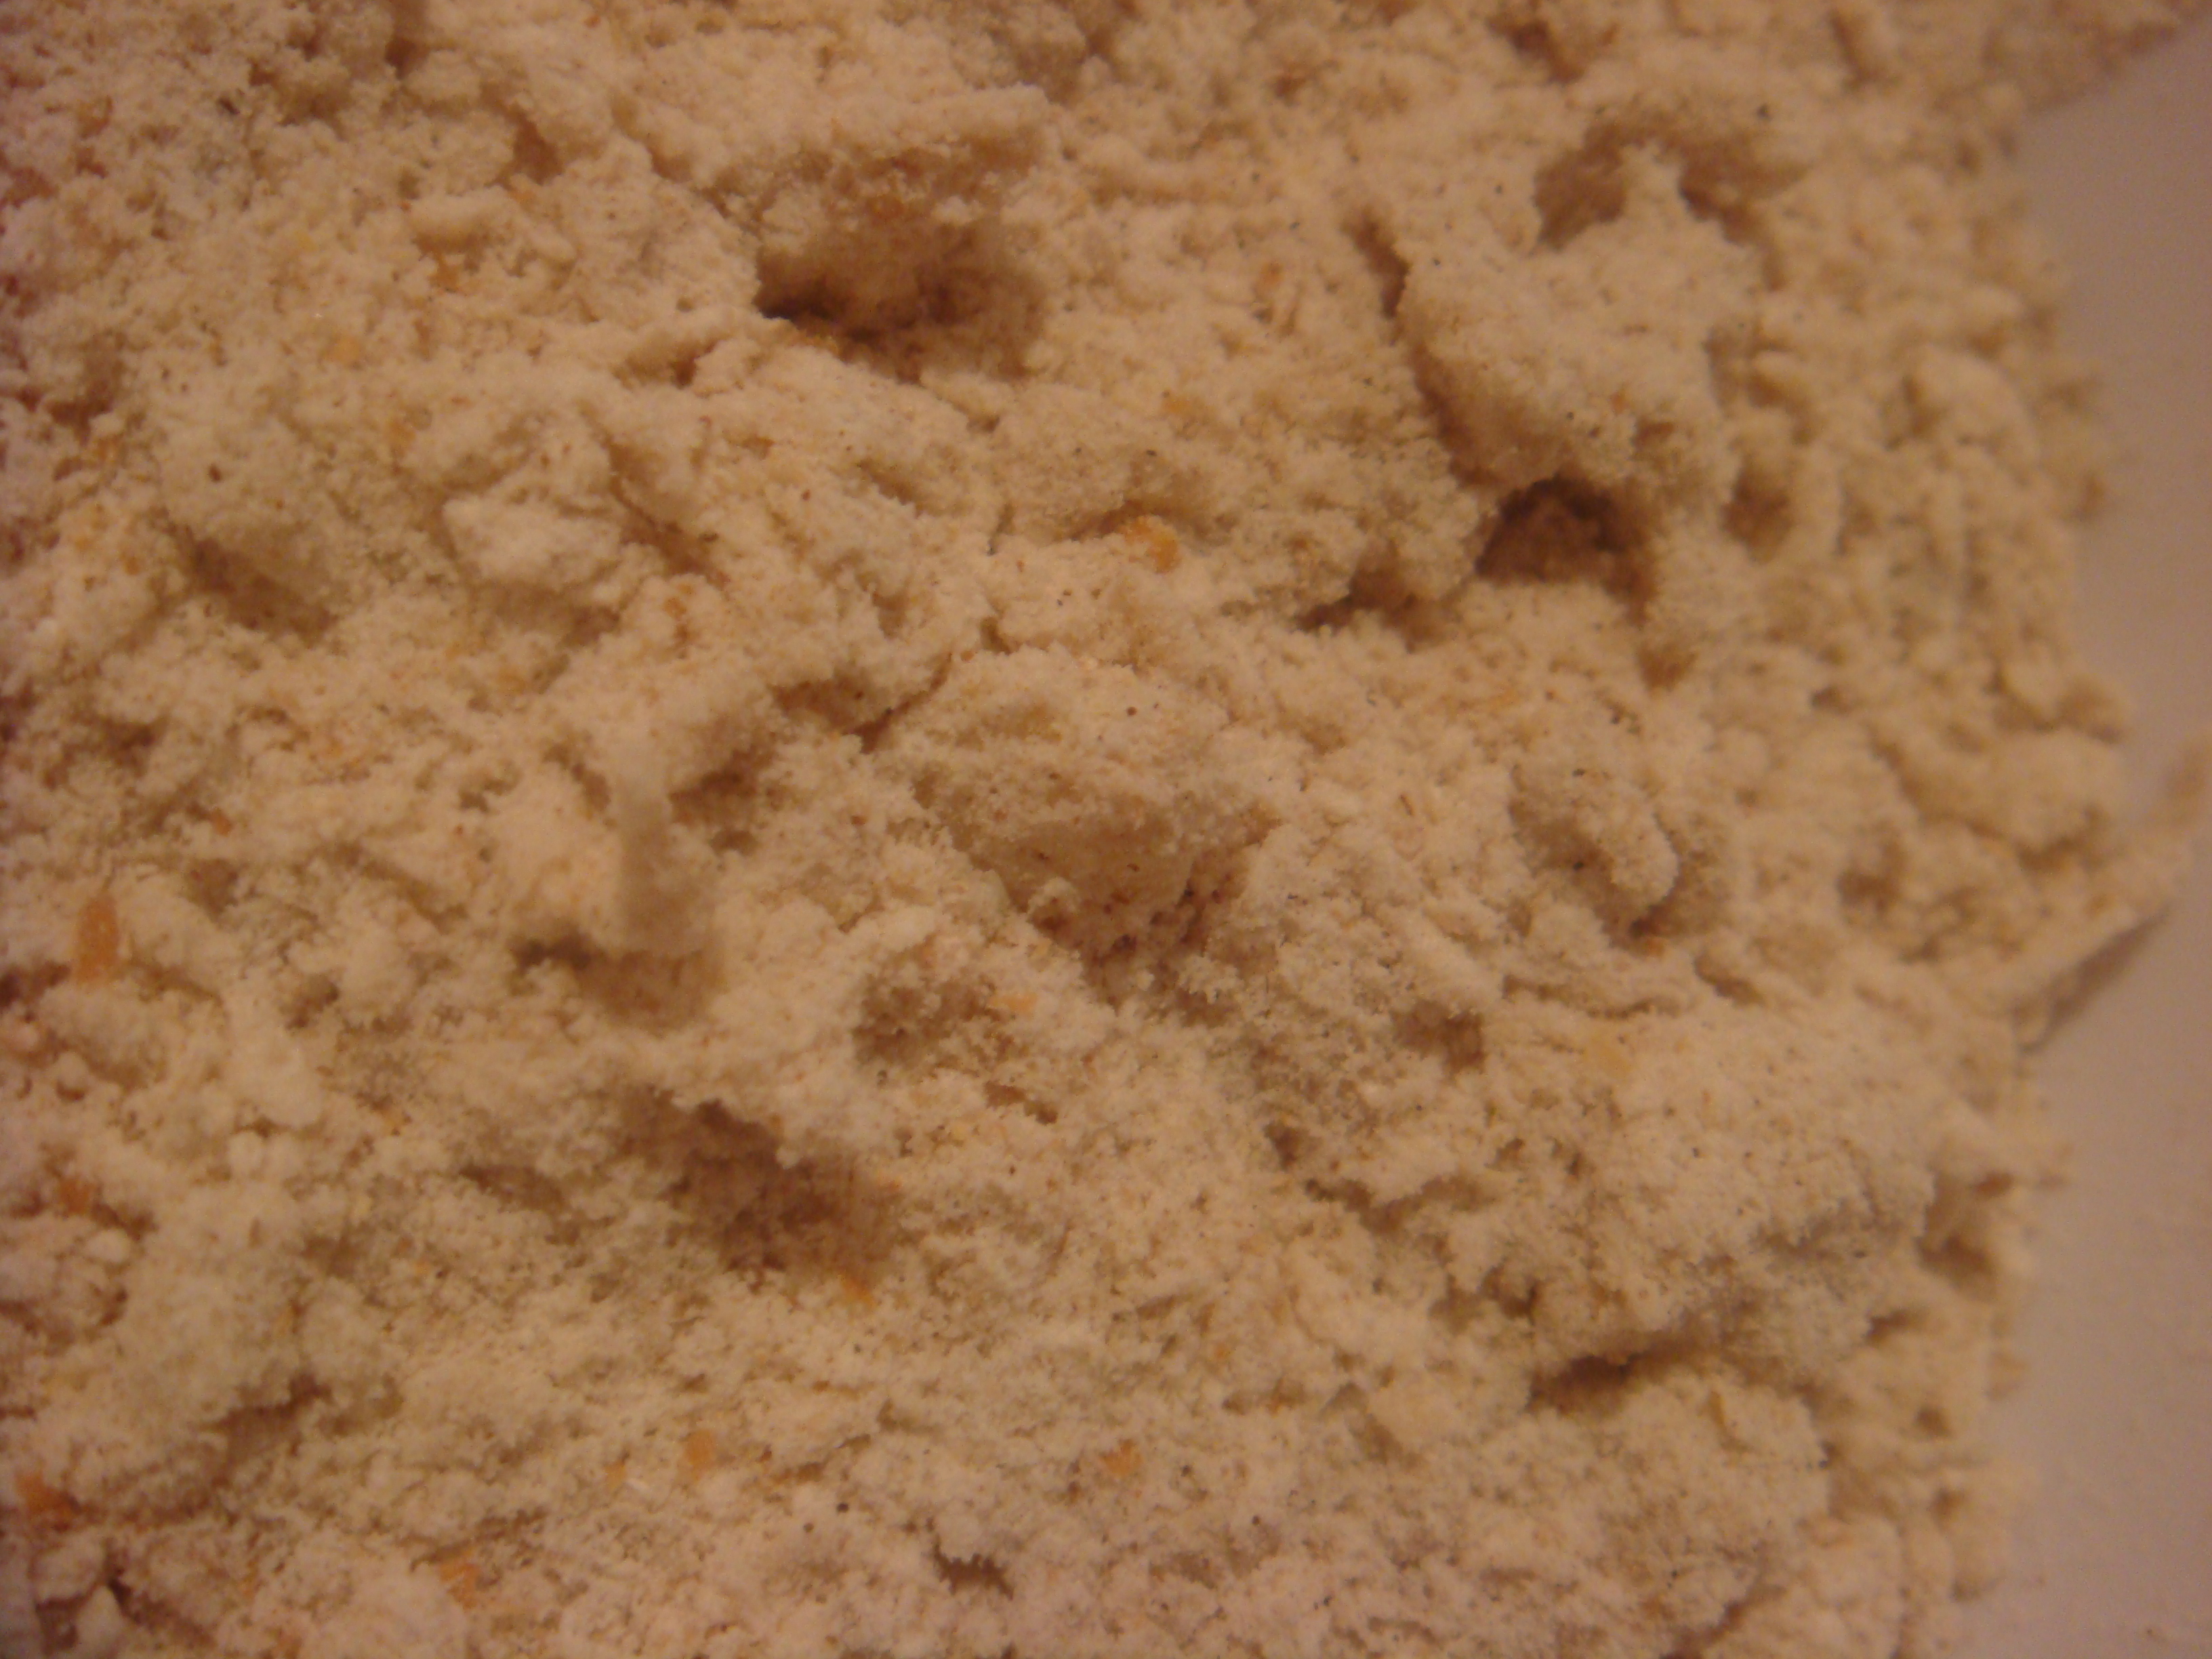
Next, cut up 1/4 cup (4 Tbsp) cold butter into small chunks and add that to the flour with 1/4 cup fat free Greek yogurt. Cold butter is important, as is cold yogurt because you want to use your hands to mix these ingredients into the flour mixture until it has the consistency of little peas. I know recipes always say that… essentially, you want to break the butter up but not melt it  or soften it too much. You can use a pastry cutter but I don’t have one, so I just use my hands to do this. 
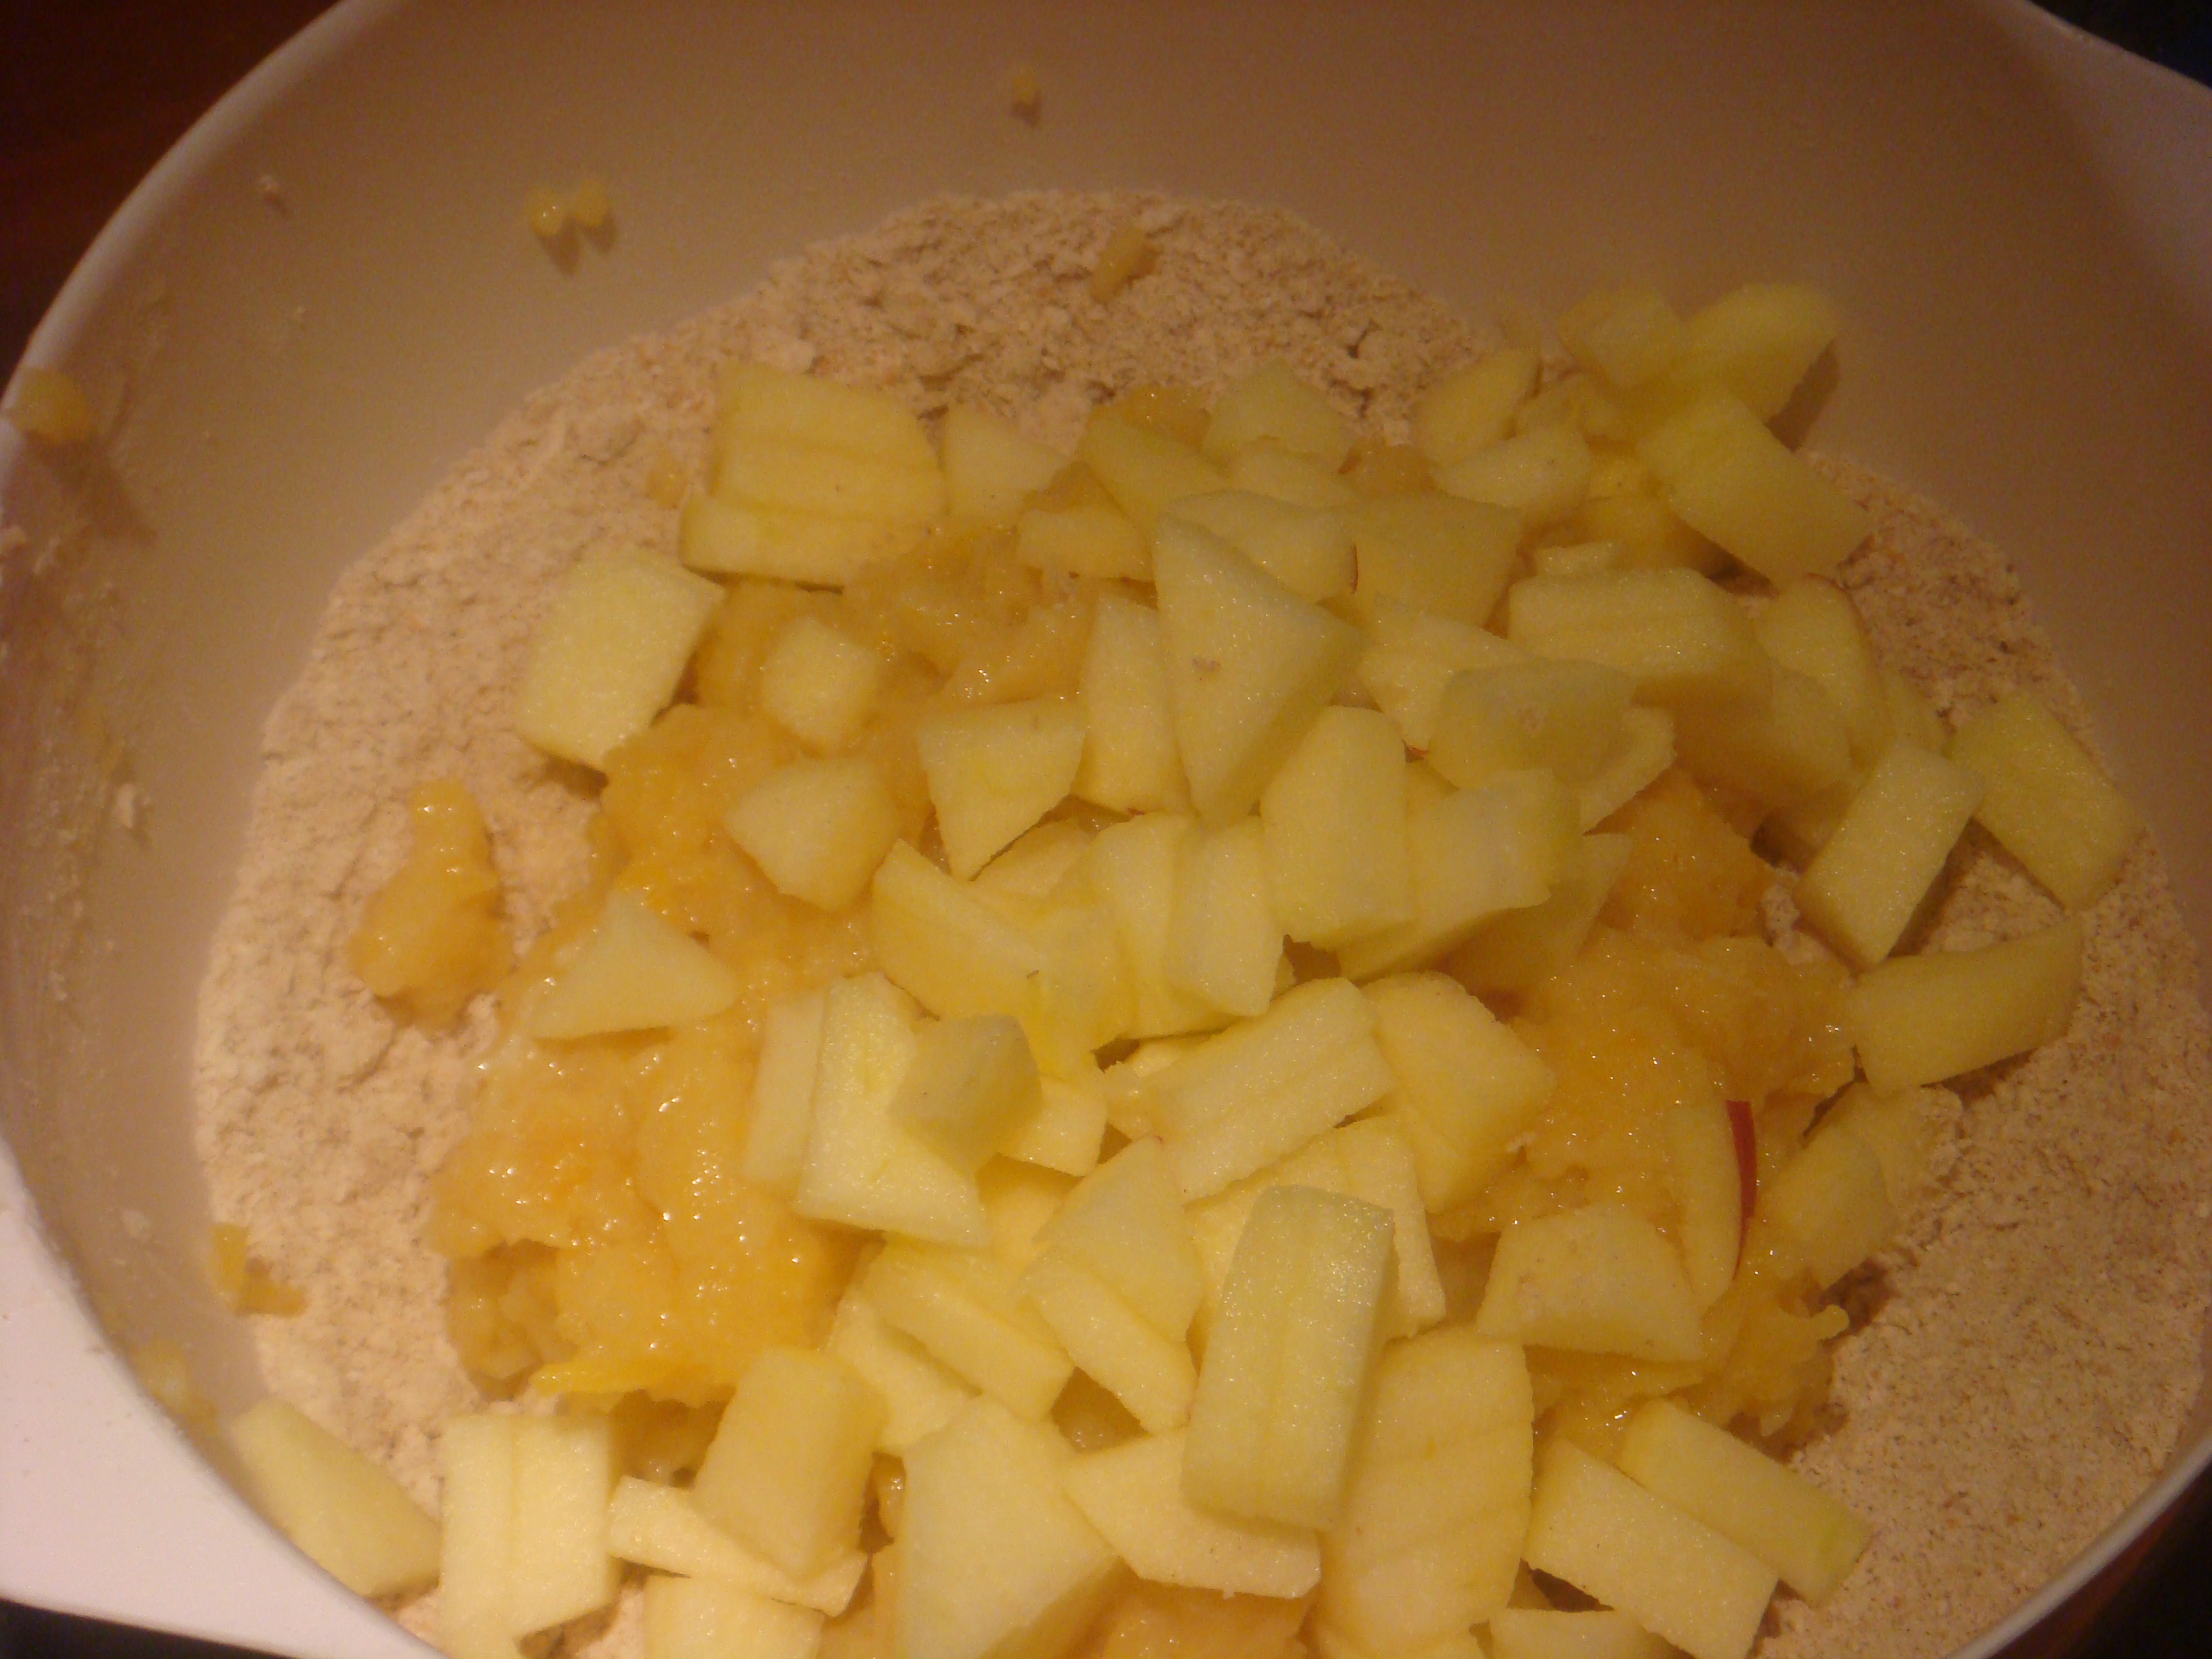
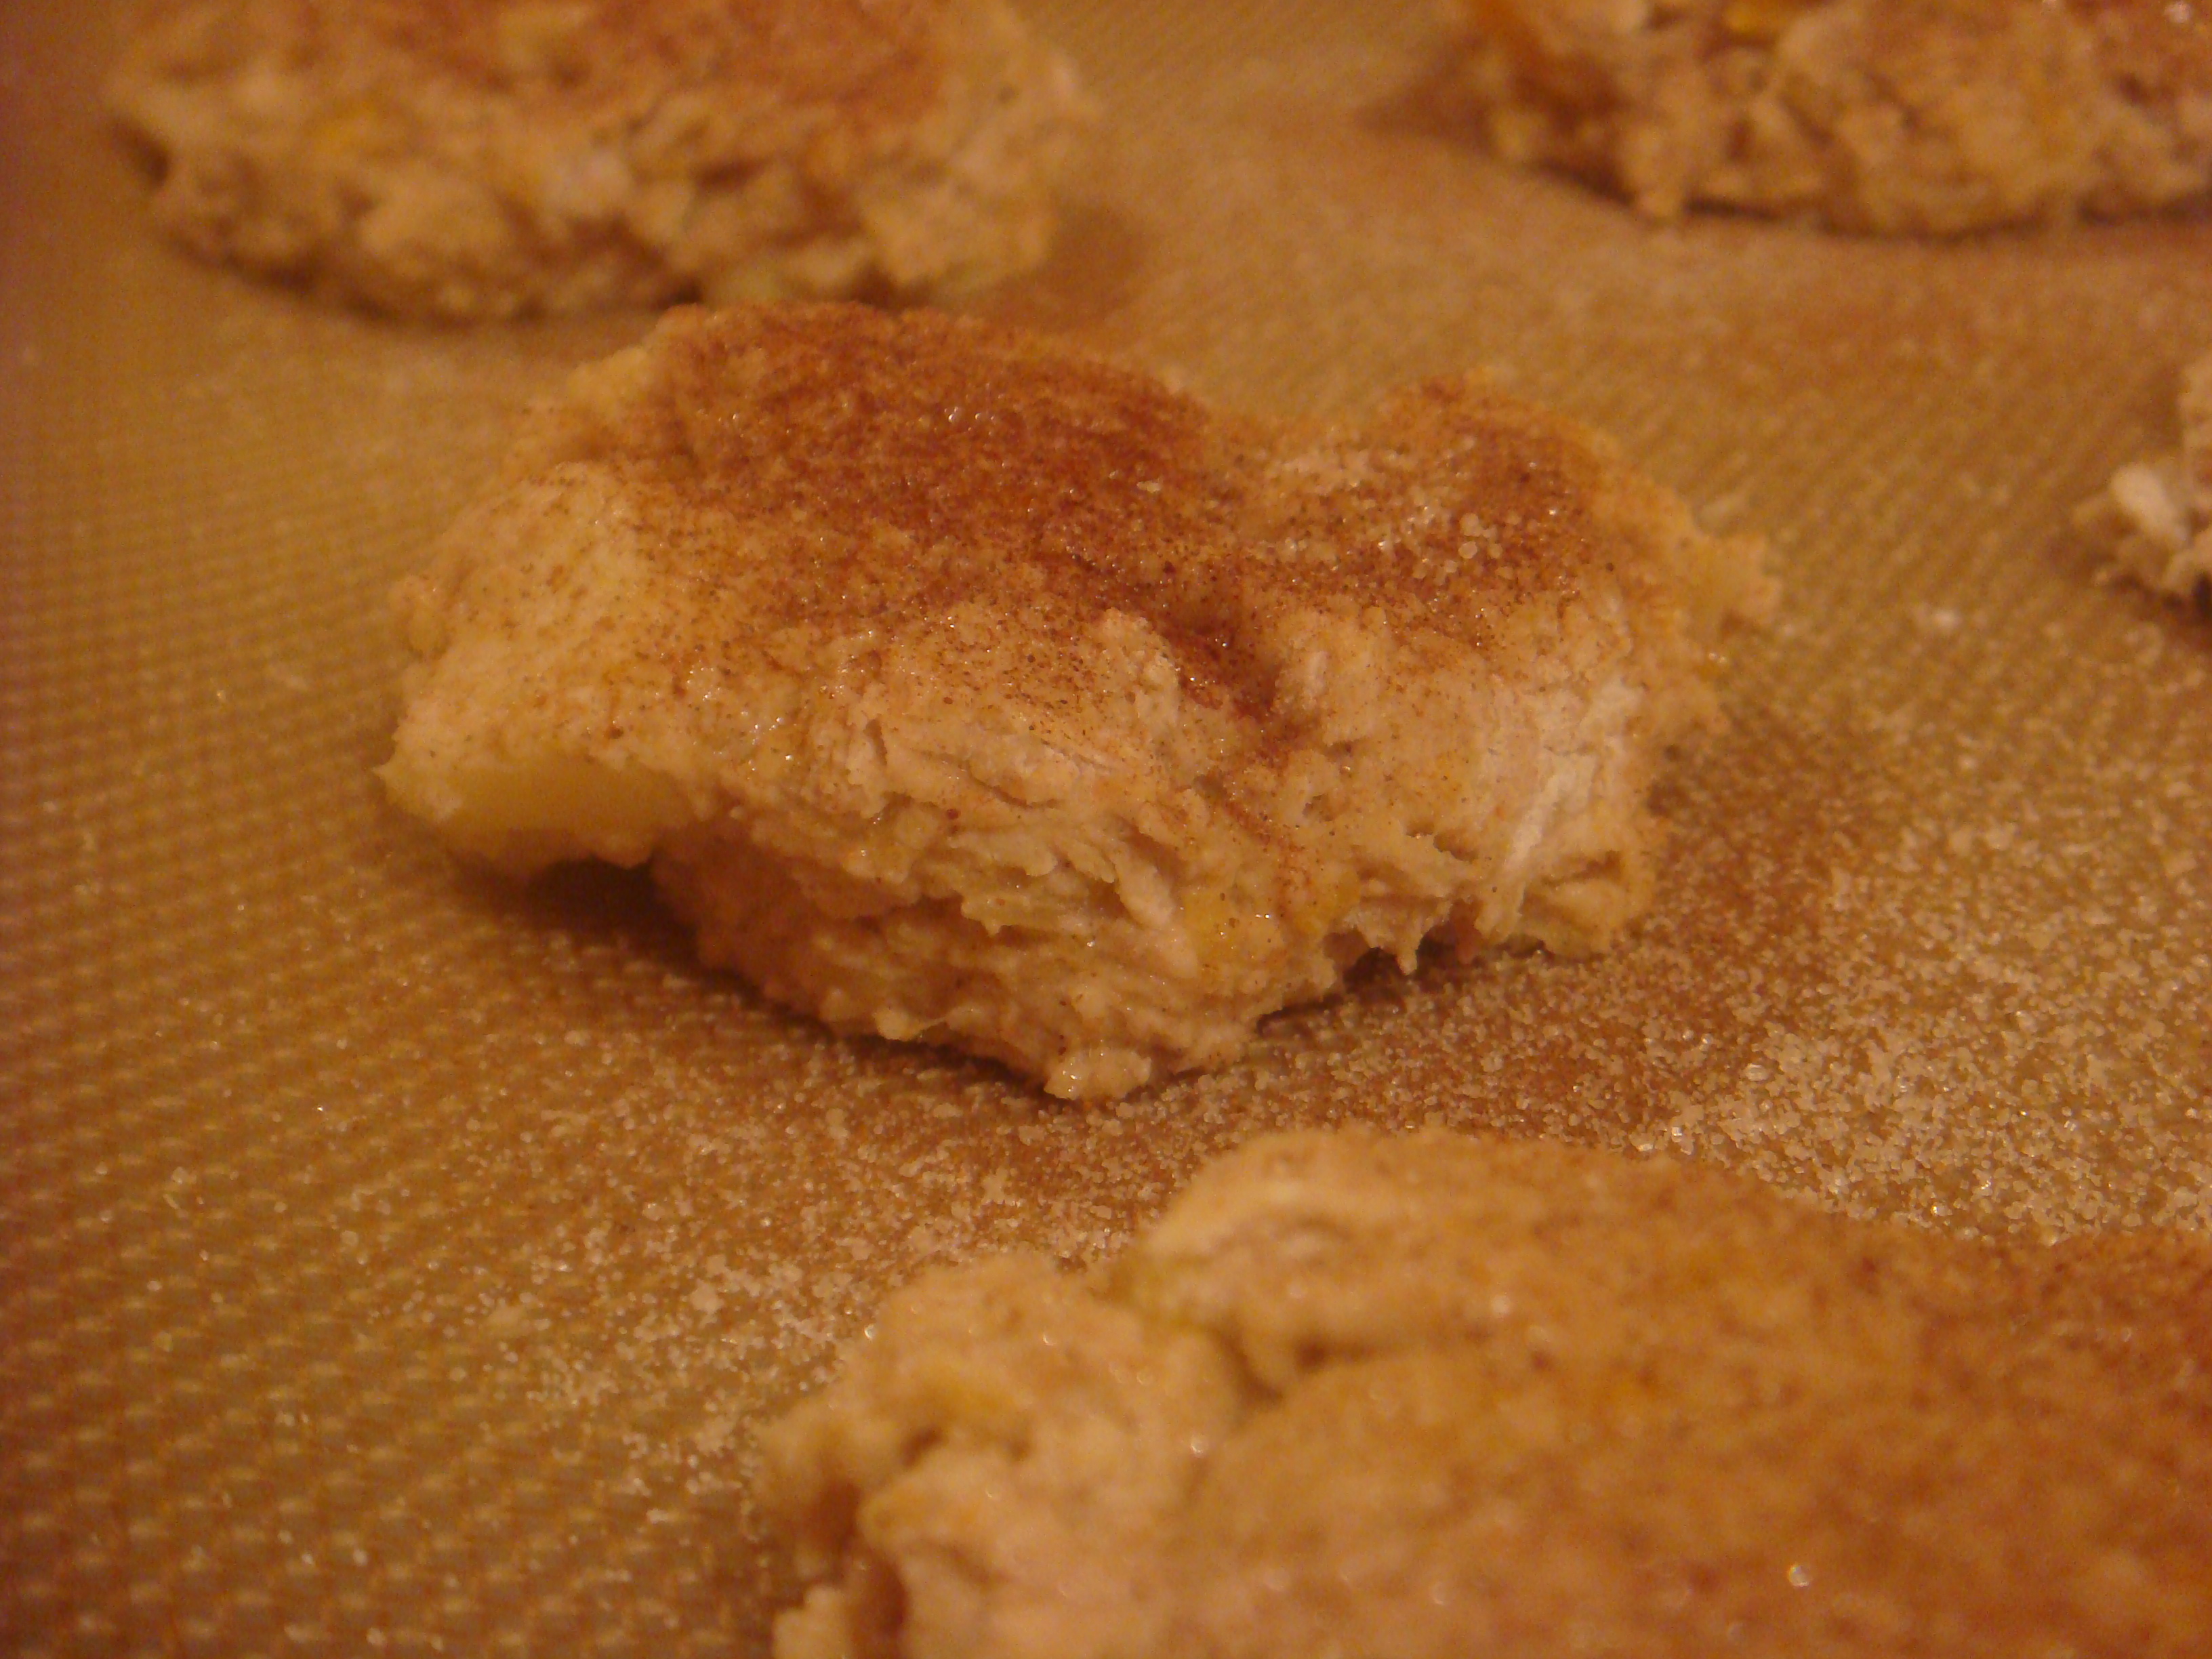
In a separate bowl, mix 1 cup pumpkin puree (again, you can use canned pumpkin) and 1/2 cup light soy milk (of course, you can use skim milk or almond milk or any milk, really. I always use soy milk in baking because my husband is protective of his milk supply and honestly, you can’t tell the difference in taste). Peel and dice a medium apple (I love Honeycrisp apples, but really any sweet and crunchy apple will do– there’s not a lot of sugar in this recipe, so I’d go for a sweet rather than a tart apple). Add pumpkin and milk mixture as well as apples to the flour and butter mixture. Mix until well combined. Roll up your sleeves, it’s about to get messy! In preparation, flour a non wood cutting board and wet your hands or spray them with non stick spray. What you want to do is incorporate another 1/2 cup of flour and knead the entire mixture. It will be thick and sticky, but not as dry as most scone dough. In fact, it’s more like a wet cookie dough. Use a scoop or your hands to create 12 scones. Flatten slightly. Fill a small sieve with 1 Tbsp of granulated sugar and 1 1/2 tsp cinnamon and evenly sprinkle over the top of the scones. 
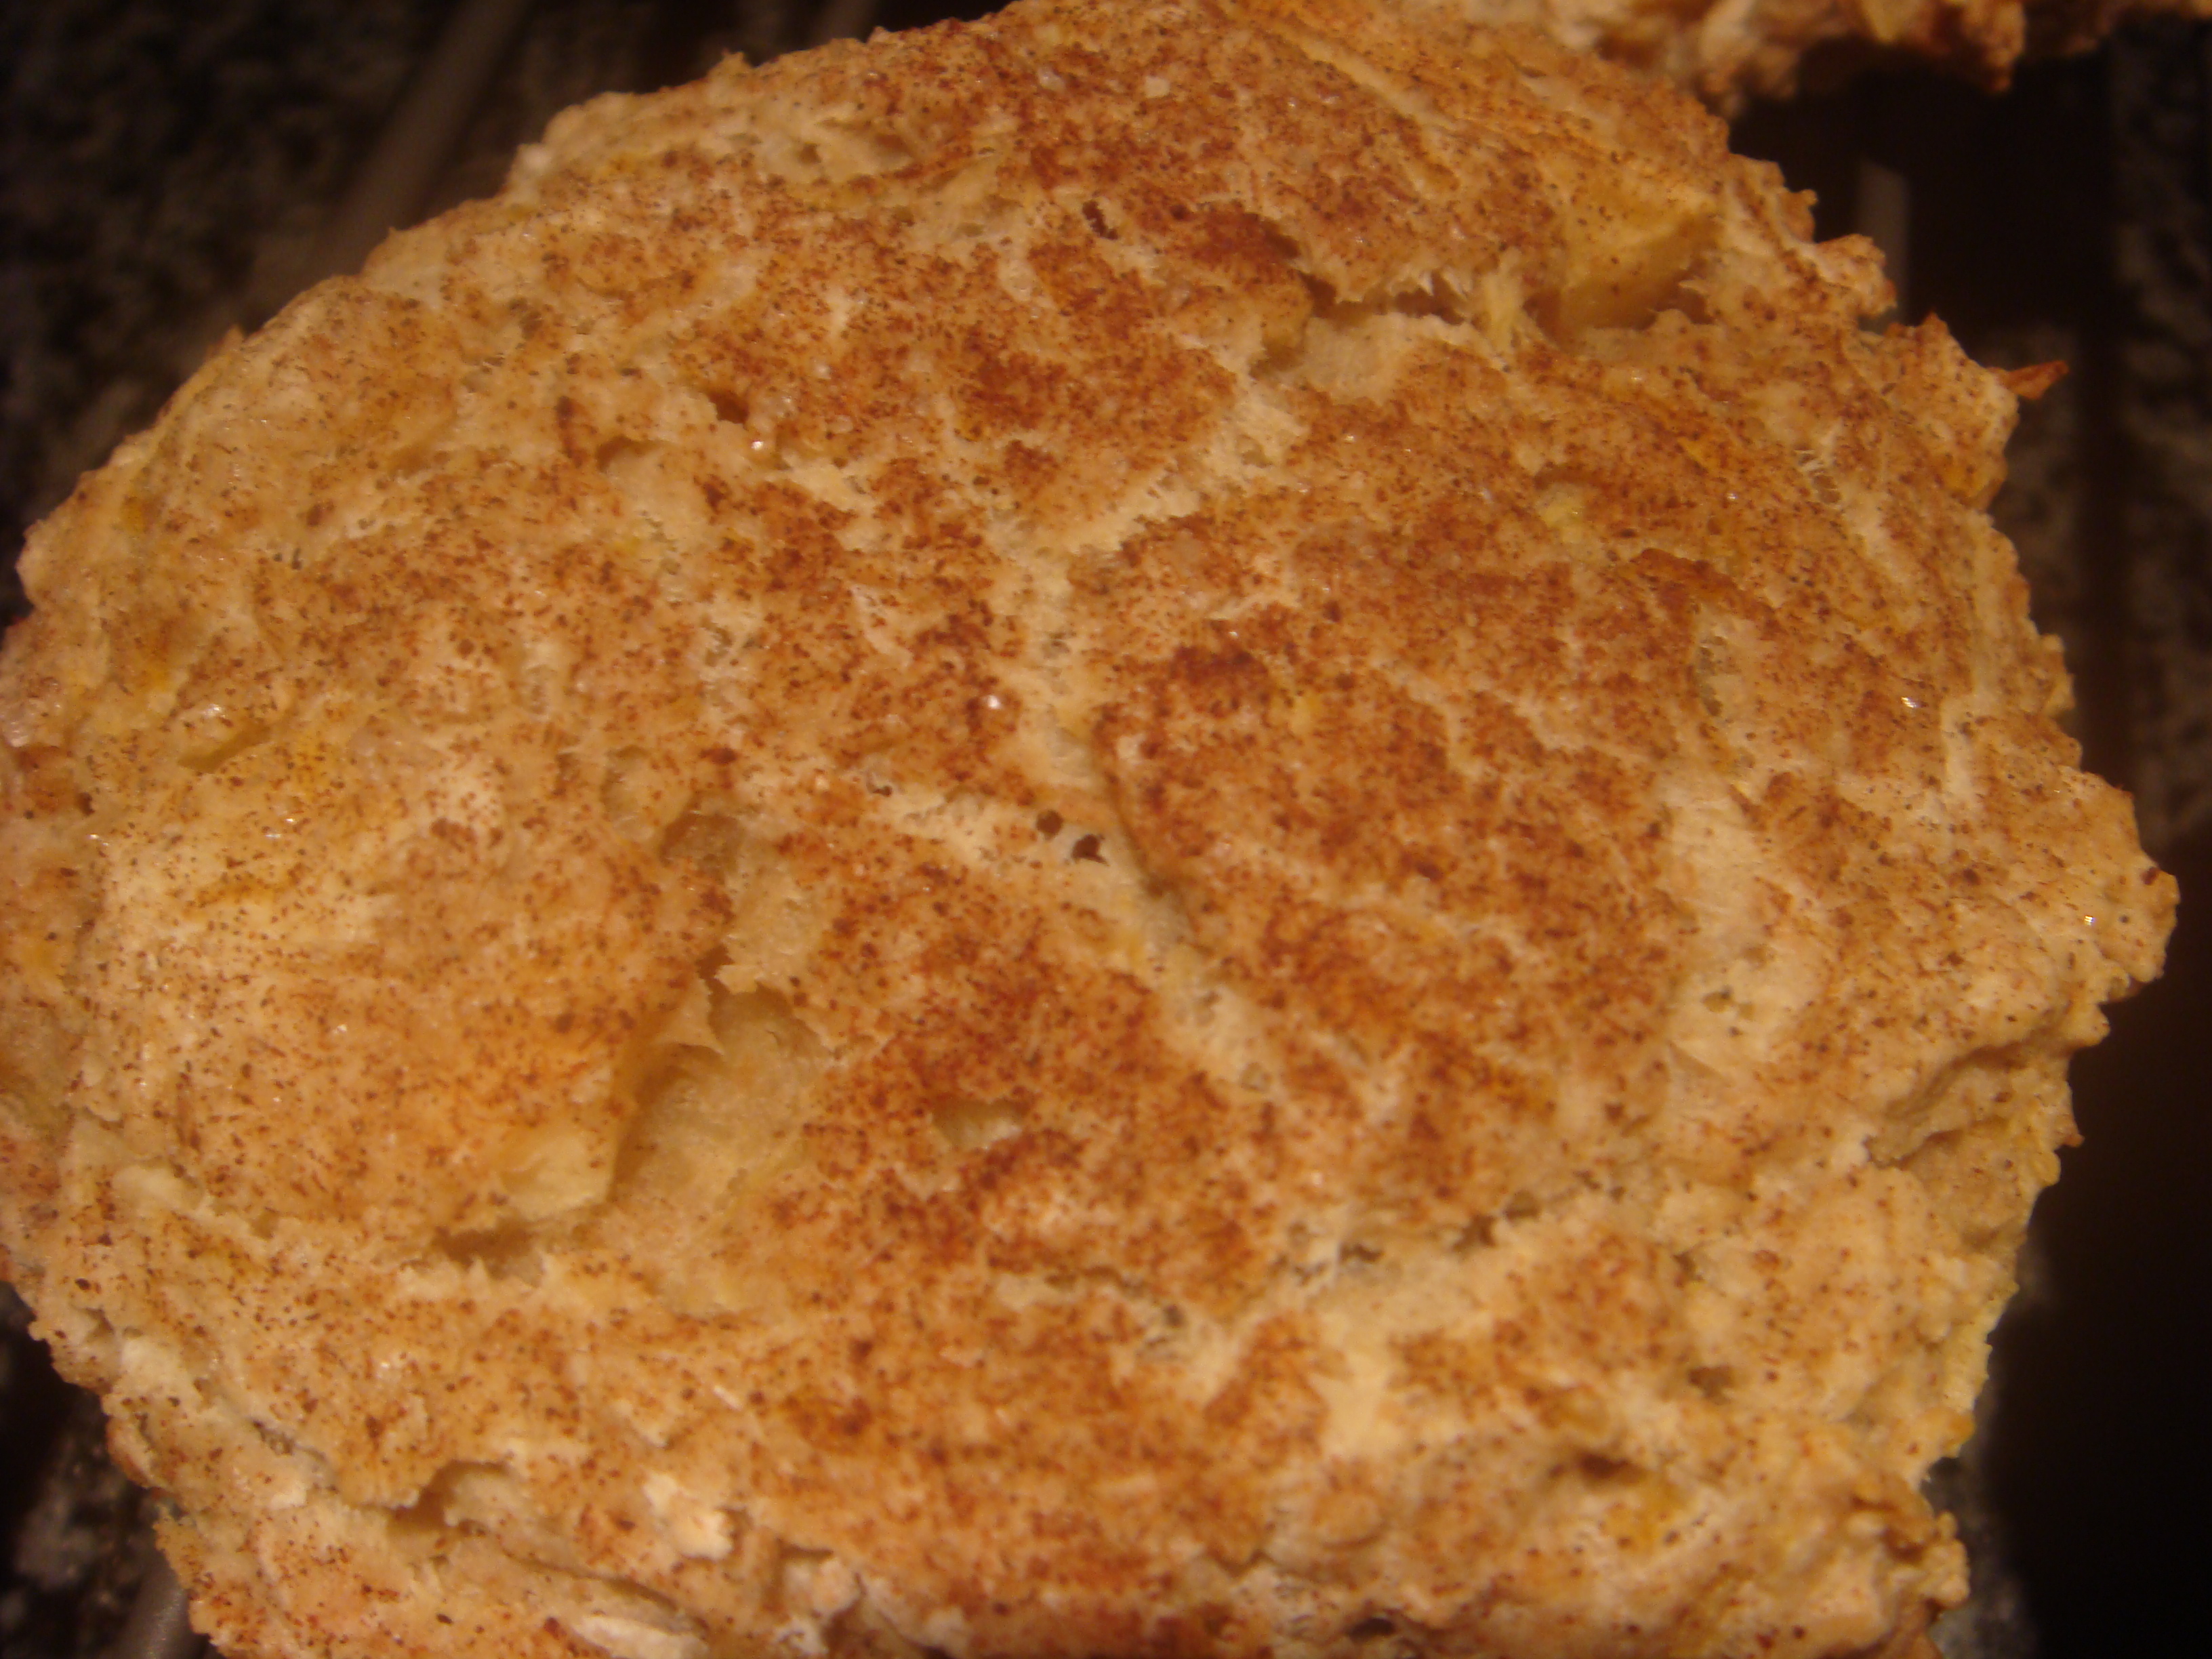
Bake on a greased or lined cookie sheet at 375 for 30-35 minutes. Because of the apples the scones will always seem a little wet. Cool on a wire rack and enjoy with a hot cup of tea!