A very belated happy new year! For 2012, one of my resolutions was to bake bread. I should have made the other resolution to remember to BLOG! Thankfully, I have been baking bread and photographing the adventures, so now I have a backlog of wonderful recipes to share with you.
Why a resolution to bake bread? Well, quite frankly yeast has always scared me. I mean, it’s a living thing that comes in a packet and you have to wake it up using the perfect temperature of water. Too hot or too cold and you’ll kill it along with your recipe. So I have stayed away from yeast. But having tasted some amazing home made bread, I decided this was the year I conquer my fear of yeast and enjoy all the delicious bread it has to offer.
For new years eve, we were invited to a fancy pot-luck dinner and I decided that it would be the perfect occasion to try making some focaccia. Rosemary focaccia to be exact. I found this recipe from a fellow blogger: http://www.stephencooks.com/2005/11/quick_focaccia.html and decided to give it a try with one of my favorite sous-chefs, Rose.
Here are the ingredients for 2 loaves (which is a lot of bread, but it will freeze well!):
- 5 cups all purpose flour
- 4 tsp instant yeast (as opposed to “active dry”)
- 1 tsp sugar
- 2 tsp salt
- 2 tsp dried rosemary
- 1/2 c olive oil
- 1 3/4 cups warm water
I want to take a second to talk about the glory that is instant yeast. Especially if you are a new bread baker as I am, instant yeast takes a lot of pressure off. Remember how I was saying that you have to get the water temperature perfect in order for yeast to activate? Well, with instant yeast you just mix it right into the flour and add the water later. Even if it’s all the same, it feels nicer.
Ok so the process is actually pretty simple. All it takes is A LOT of flour and some patience. Oh, and you probably want a Kitchen Aid stand mixer. That makes life much easier when dealing with this quantity of dough (and it comes with a convenient dough hook). Put the flour, yeast, sugar, salt, and rosemary in the bowl. Turn the mixer to stir just to combine the dry ingredients. 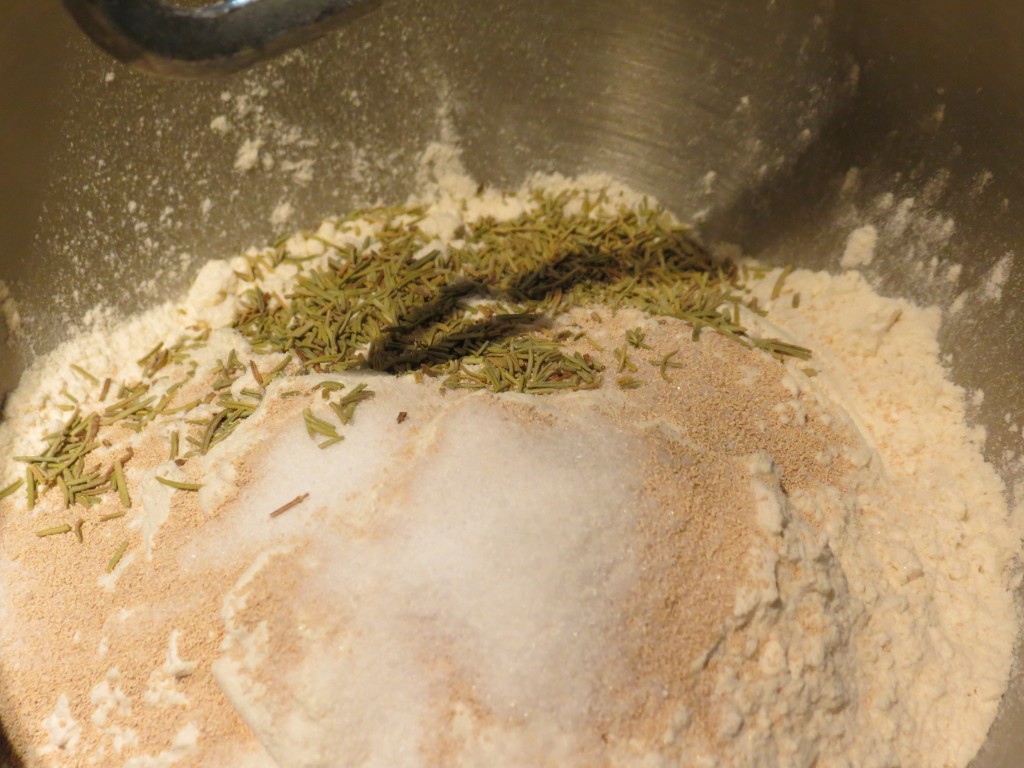 In order to cut down on dishes, I used the dough hook the entire time, but you could start with the paddle if you wanted. I would change to the dough hook right here though.
So now we’re up to the water part. It says “warm water” and in most recipes it gives you the temperature, but really how many of us are going to sit with a thermometer in a cup of water to make sure it’s the right temperature? Think of it this way… the temperature it asks for is approximately 105ºF. If the normal human body temperature is 98.6ºF, then you basically want the water to feel slightly warm to the touch. Too cold to take a shower in, but too warm to brush your teeth with. “Lukewarm” if you will. With the mixer running on low speed, slowly pour 1 cup of water, followed by 1/2 cup olive oil, and finally the last 3/4 cup of water. Increase the speed to 4. You’ll notice the dough will become a ball and begin to be kneaded by the dough hook. 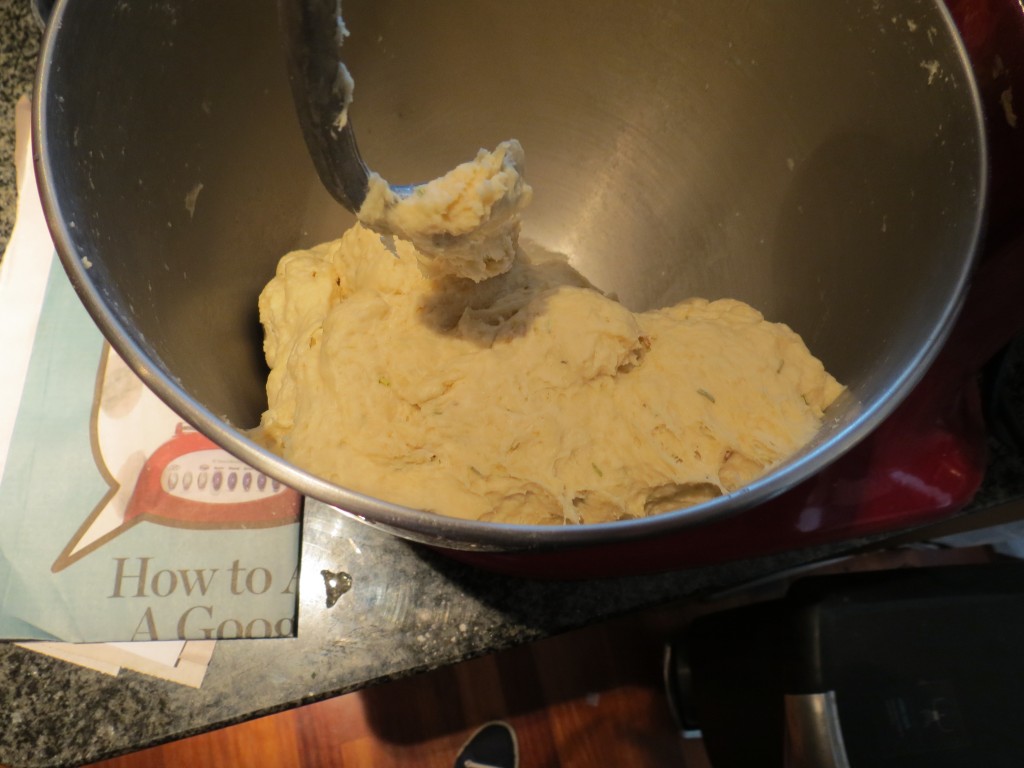 Knead using the dough hook for a couple minutes, then turn the dough out onto a floured surface.
Now it’s time to knead by hand. In order to knead:
- Use the heel of your hand to press and stretch the dough
- Fold the dough that you’ve stretched back over itself
- Rotate the dough and repeat
- Add flour as needed
Here’s a video on kneading in case that made no sense http://www.youtube.com/watch?v=dWj8oHMPFm0. Now, I said add flour as needed. As you’re kneading you will notice that after a few minutes it will feel as if there is no flour in your dough anymore. It gets sticky. When this happens add some more flour. A cooking instructor told me that bread dough will take as much flour as it needs and then when it’s ready it will stop absorbing the flour. Knead by hand for about 5 minutes, or until dough is stiff, but pliable. The way to tell this is to make an indentation in the dough with your finger, it should spring back up easily. 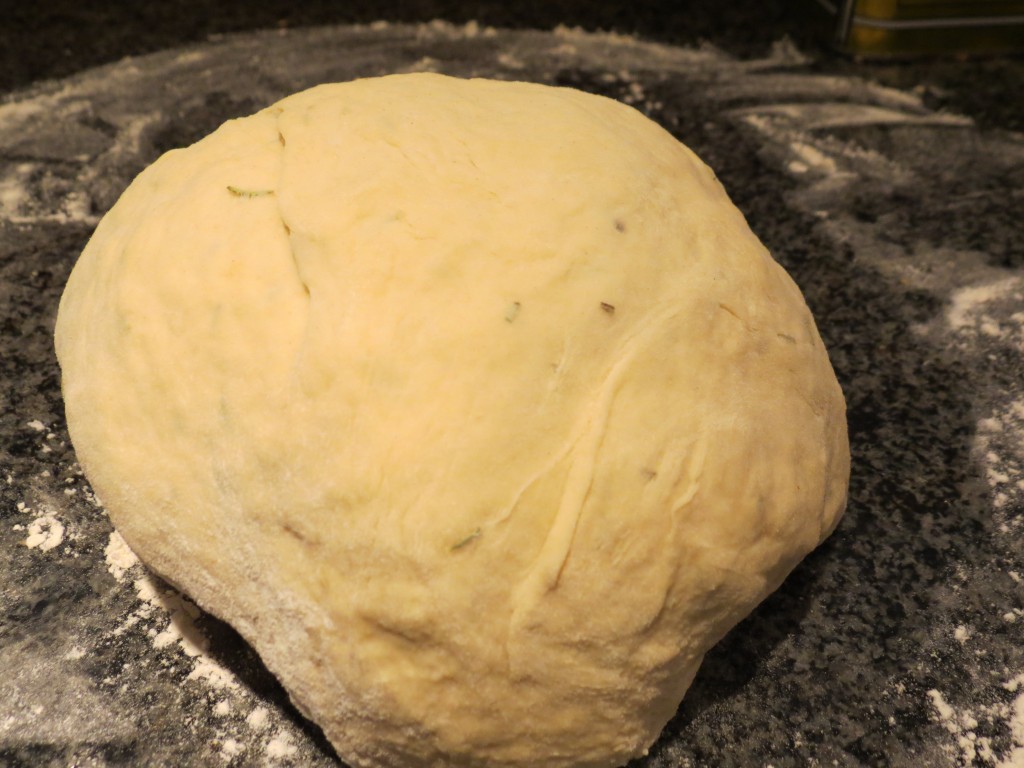 Place ball into an oiled bowl, cover the bowl with plastic wrap and allow to rise in a warm place (like the kitchen) for 1 1/2 hours until at least doubled in size. Watching dough rise is one of my favorite parts of the process because it really feels like magic. Trust me, it will bring out the little excited kid in you.
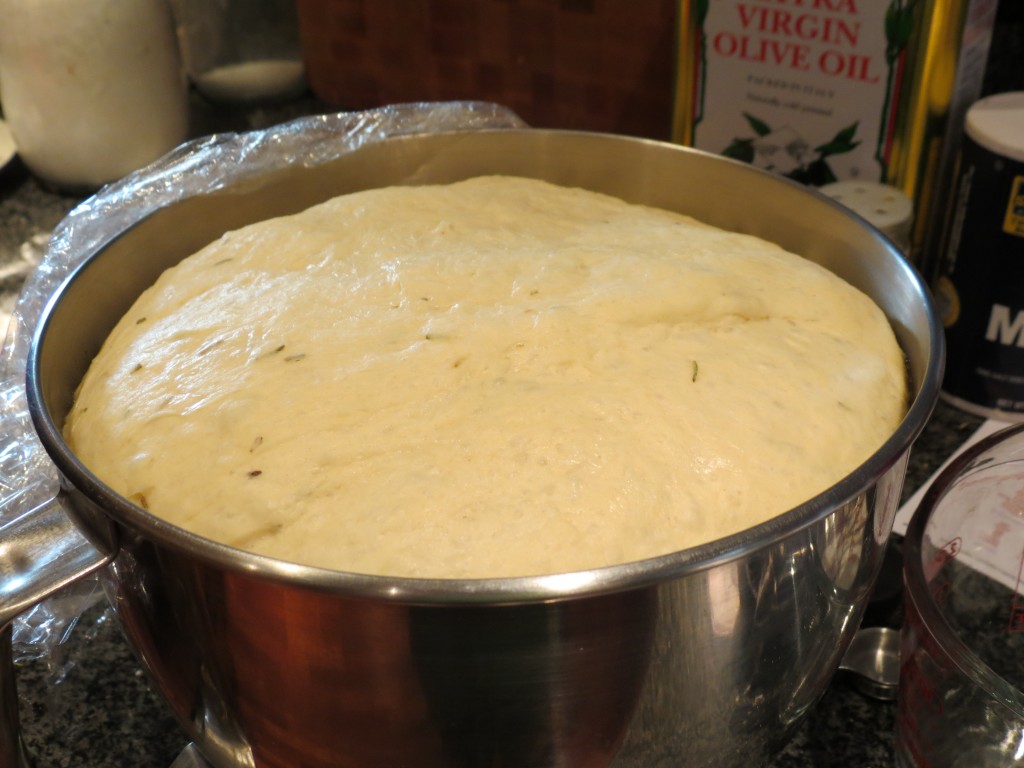
Place pizza stone in oven and preheat to 450ºF. It’s important to heat the pizza stone with the oven, otherwise the heat from the oven could crack it. If you don’t have a pizza stone, you can use a baking sheet turned upside down in the oven, but still preheat the oven with the baking sheet inside it. Punch down the risen dough to remove the air (this is also pretty entertaining). Divide the dough in half, cover one half with a clean towel and flatten the other half into a disk. Repeat with other half. 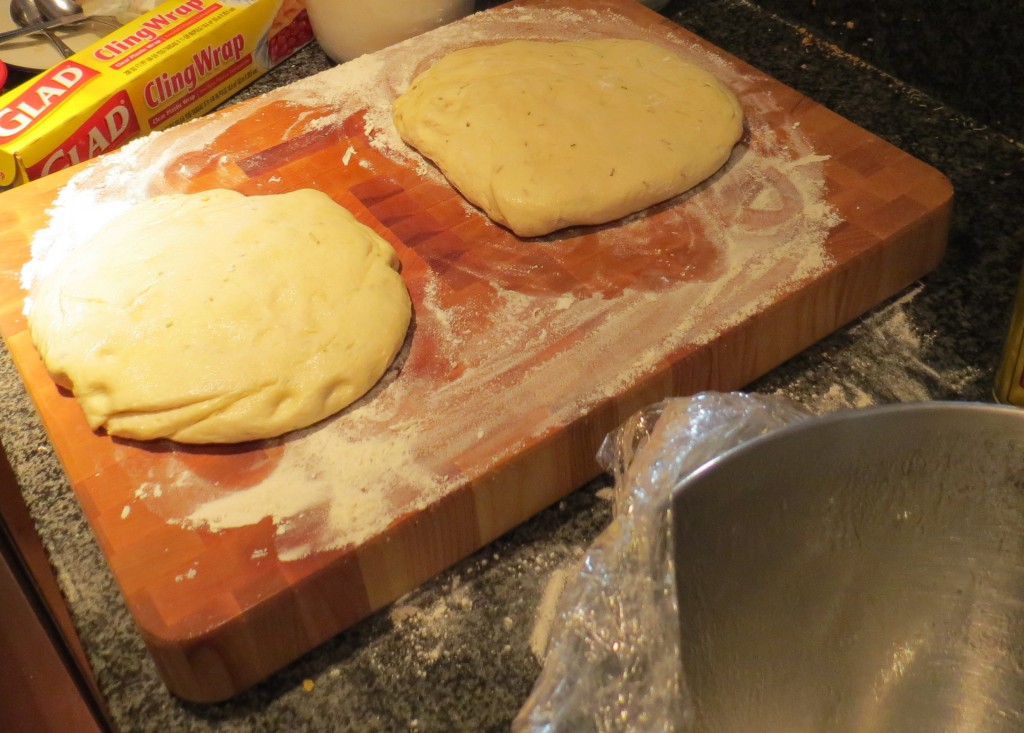 If you have a pizza peel, put some corn meal or flour on it and place the disks on there. If you don’t have one, just place them on a cutting board or other surface. Cover both disks and let rise for 1/2 hour.
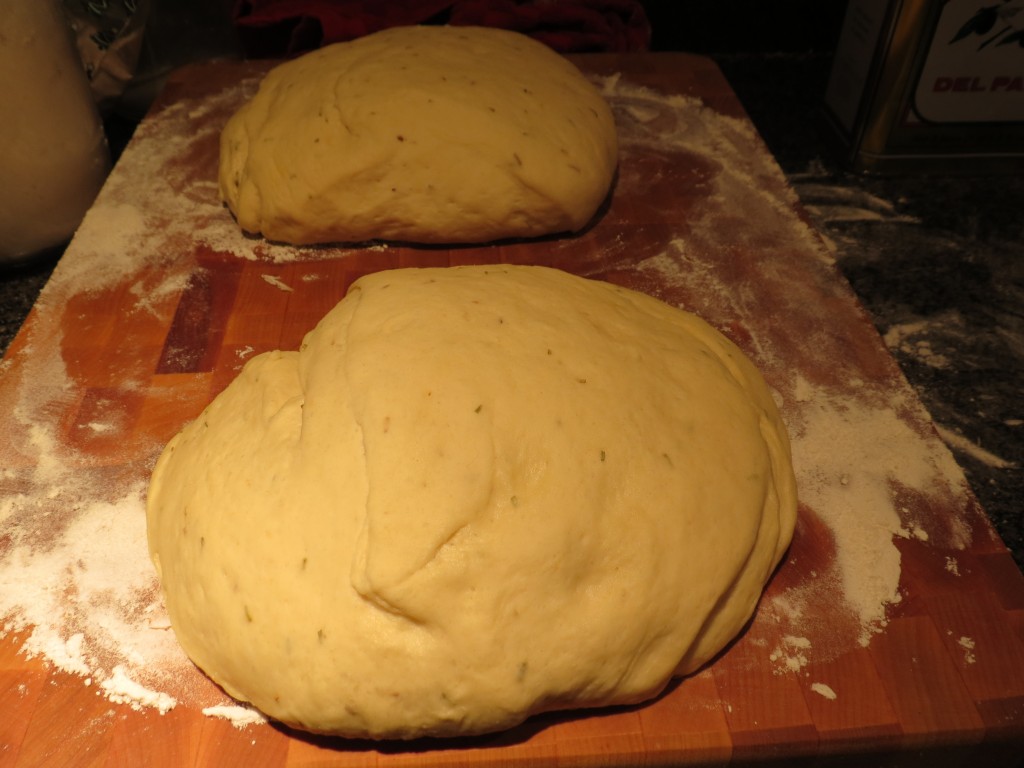
Using your finger, poke deep indentations around the top of each loaf about 1/2 inch apart. Drizzle loaves lightly with olive oil and another 1 tsp of dried rosemary. 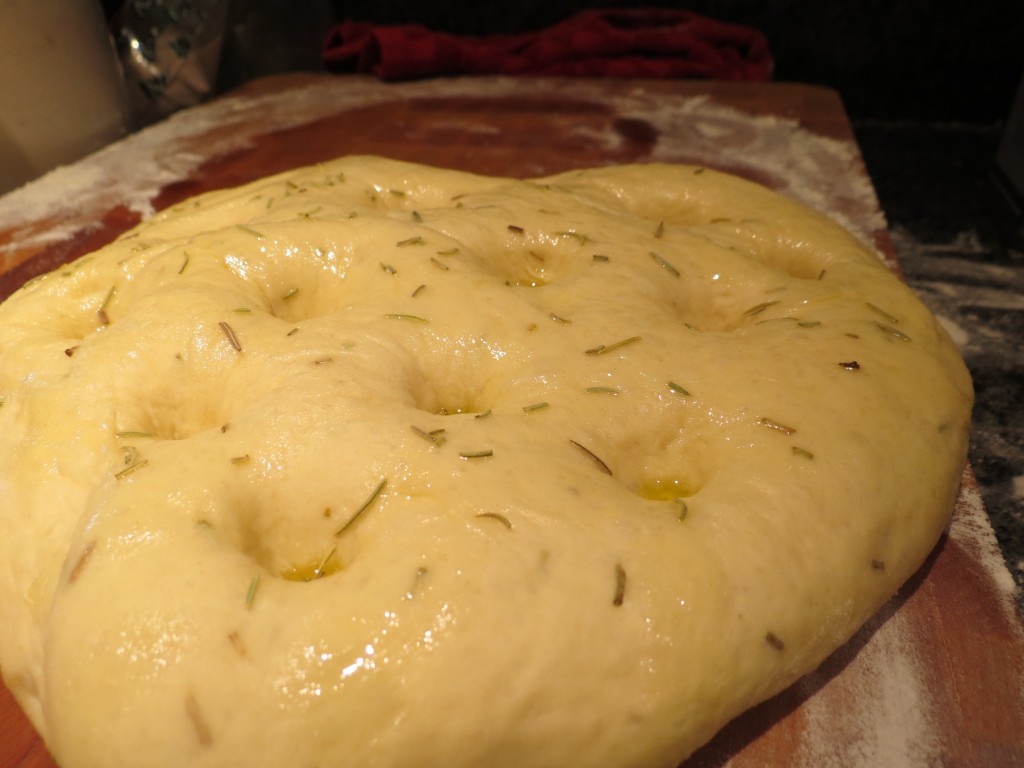 Place onto pizza stone. Bake for 10 minutes at 450ºF and then reduce temperature to 375ºF for another 20 minutes. At the end of these 20 minutes, remove bread from oven and brush with egg wash made of 1 egg yolk beaten with 2 tsp of water. Sprinkle with coarse salt and return to oven to cook for another 2 minutes. Allow to cool for 5 minutes before serving. The texture of this bread was amazing and really tasted like the best focaccia you’ve ever had.
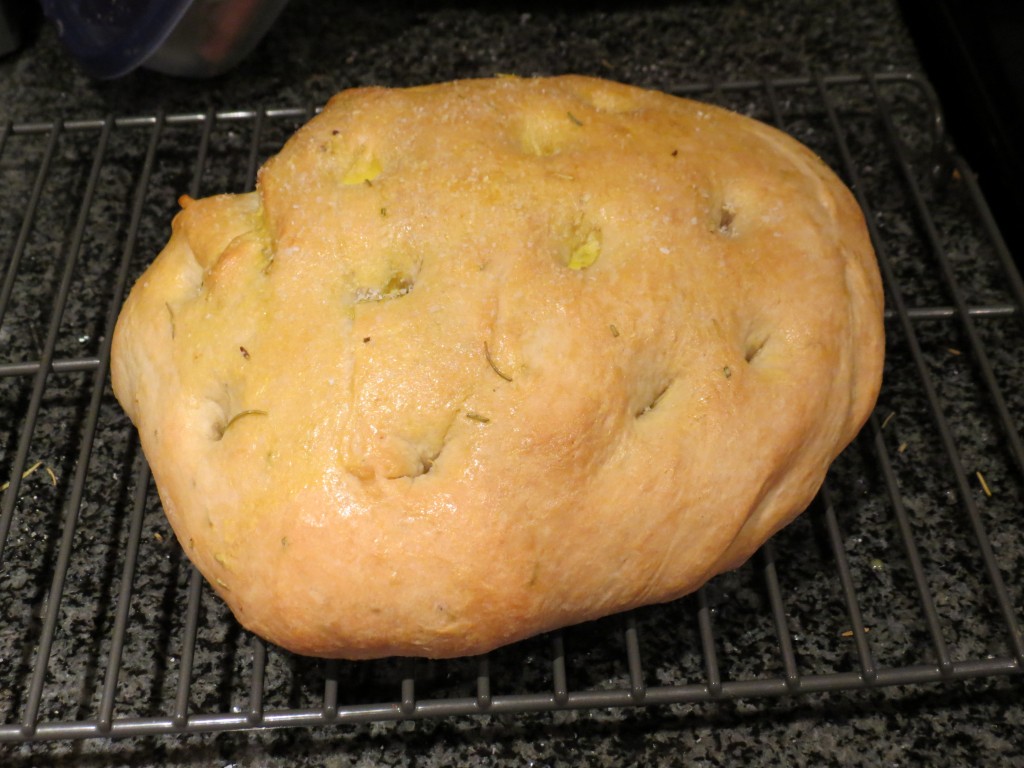
Since we were bringing it to a potluck, we put it back in the oven at 200 to re-warm it and served it with some olive oil. If you need to store it overnight, wrap it in tin foil and place in a zip lock bag. Freeze like this or leave it out at room temperature for up to 3 days. Don’t refrigerate it because that will dry it out.
This might seem like a lot of steps, but it was actually pretty easy and the results were so much better than any store bought focaccia because it was so fresh! This recipe would also be super easy to modify with any flavors you like. The original blog post actually has a bunch of variations at the end.
I hope you have added bake more bread to your resolution list! Let me know what you make!

