Spiced Pumpkin and Tahini Soup

When it starts to get cold (and snowy) out, nothing is more hearty and comforting than a piping hot bowl of soup. On Friday we purchased some pumpkins for carving but only ended up using one, so I decided to see what I could do with the other one. I started off by roasting it, because I figured it would be easier to work with that way.

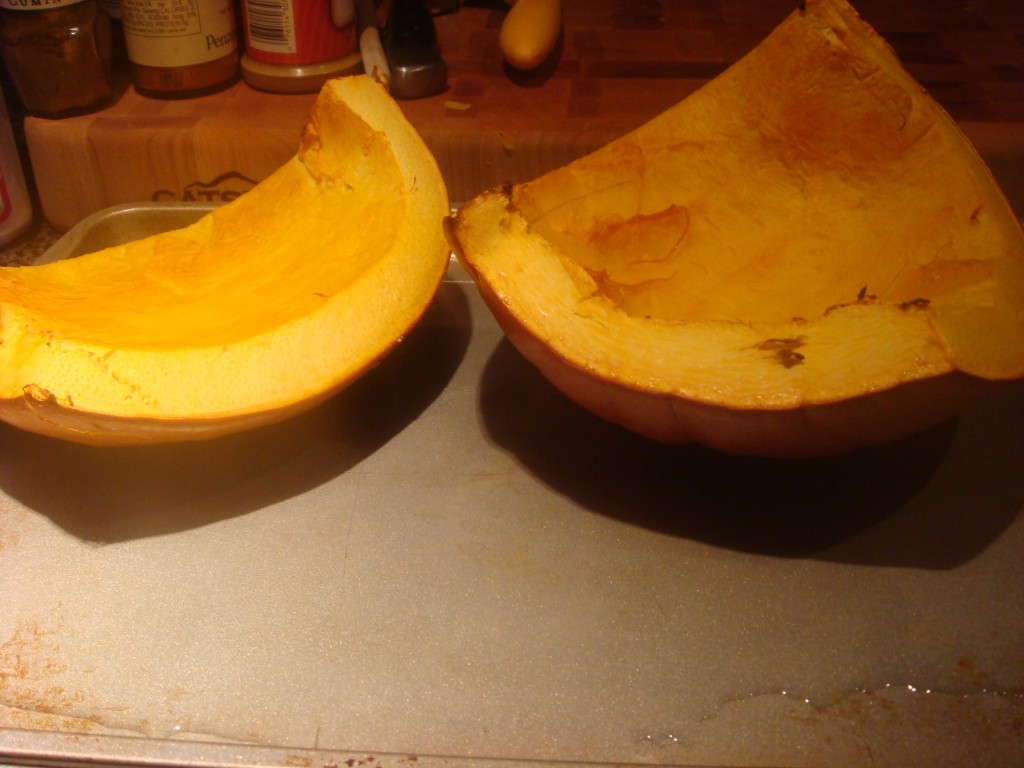
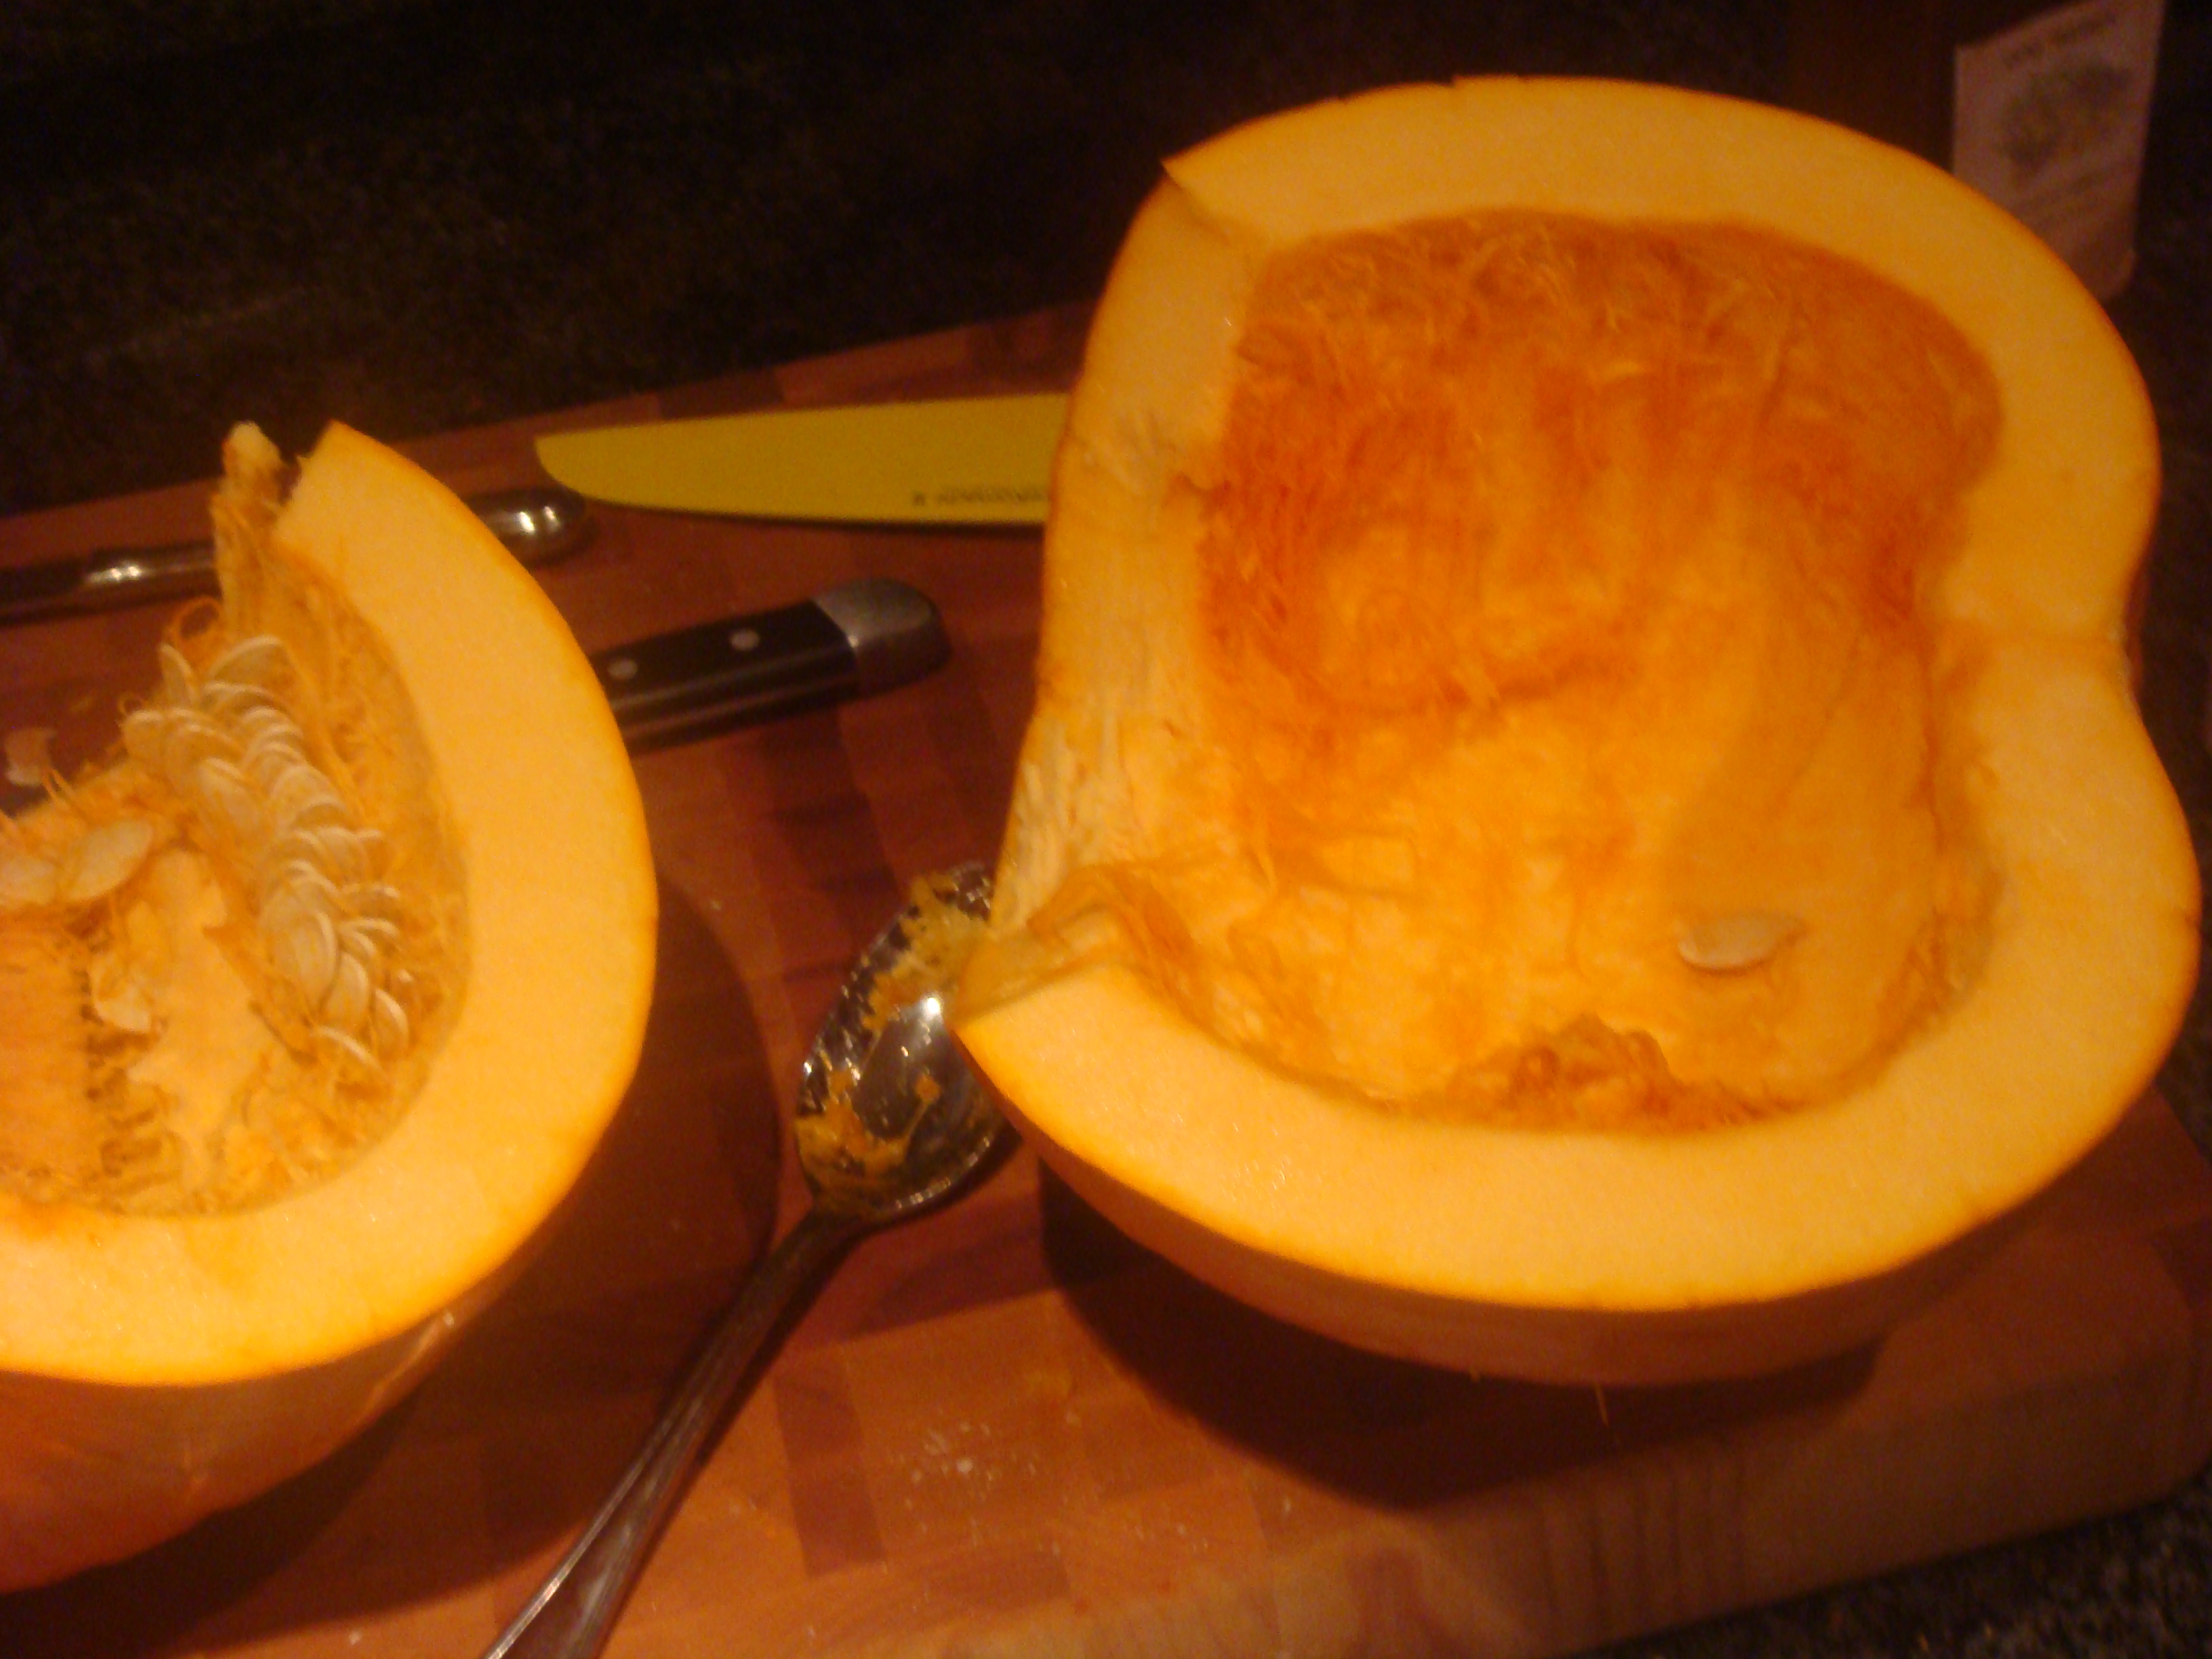
To roast the pumpkin you first need to cut it in half and remove the seeds and stringy innards. The easiest way to do this, I’ve found, is to start as if you’re carving a pumpkin, by cutting around the stem and removing it. Without the stem all you need is a heavy duty knife and with a little muscle you can halve it easily. Scoop out the seeds and set aside in case you want to roast them later. The pumpkin I had was a medium sized one, so I cut it into quarters, sprayed it with some Pam, and put it in the oven in a cake pan filled with 2 cups of water. I roasted it at 450 degrees for 40 minutes. 

BEFORE:

ROASTED:

I had found a recipe from the NYTimes for a carrot and tahini soup that seemed intriguing especially since I had a LOT of tahini still in my fridge from last month’s baba ghanoush (there’s no way to buy tahini in small quantities.) So I decided to create a spiced pumpkin and tahini soup, which I’ll be sharing with you now. If you have a dutch oven that sits in your kitchen taking up a lot of space and being really heavy, this is the time to use it!

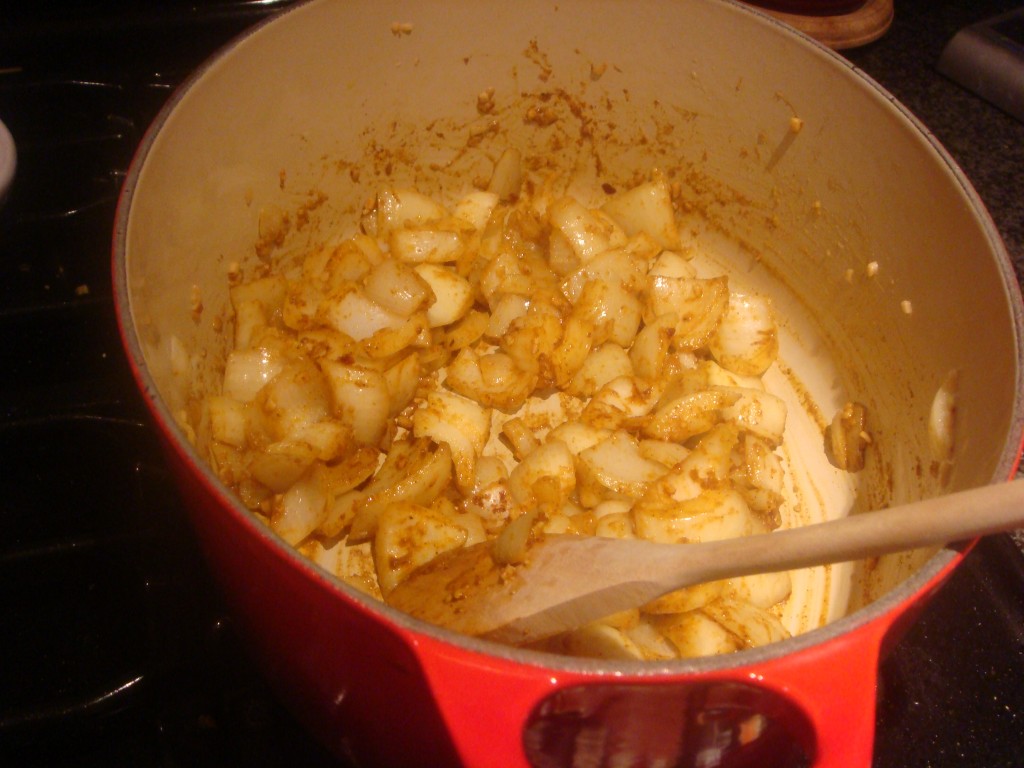
I love spice so I started off by sauteing 1Tablespoon minced garlic and 2 medium diced onions in a bit of Tunisian Harissa olive oil until onions became translucent. If you don’t have a spicy olive oil, don’t worry, you can make up for it with this next step. The spice blend for the spiced pumpkin soup:

  • curry powder
  • cumin
  • cayenne pepper
  • crushed red pepper flakes
  • chili powder
  • garlic salt

 As you know, I never measure my spices, but I was most generous with the curry powder, I probably used 1 teaspoon of that and 1/2 teaspoon of the cumin, garlic salt, and chili powder. I went easier on the cayenne and crushed red pepper flakes because I have a tendency to add way too much heat to dishes. You can always add more spice later, but it’s really hard to take it away. Stir spice blend together with onions and garlic over medium heat until onions get very soft and spices are well toasted, about 5-7 minutes. 
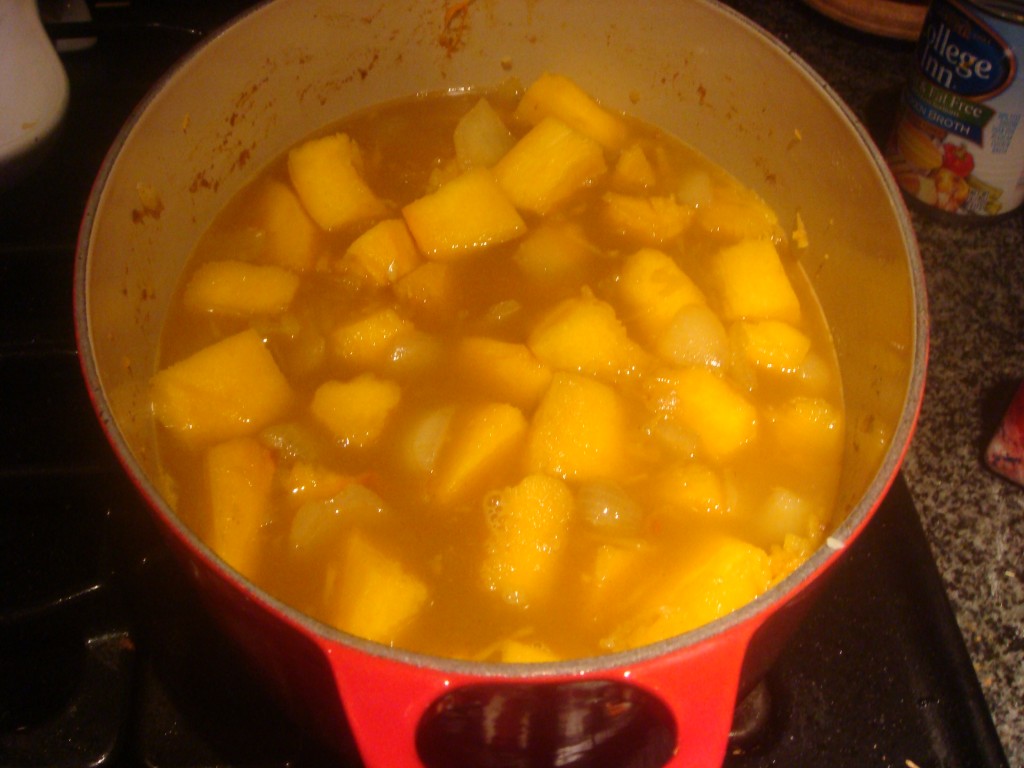
In the mean time, your pumpkin should be ready to come out of the oven. This medium sized pumpkin had a lot of flesh so I used half for the soup and reserved the other half for some ginger pumpkin muffins I’ll be making this week (I diced and pureed the pumpkin using an immersion blender and put it in a Tupperware in the fridge). To prepare the pumpkin for the soup, scrape the skin off the pumpkin and cut flesh into cubes. Don’t worry about the size of the cubes, you’re going to puree everything together at the end anyway. My half pumpkin yielded about 4 cups diced flesh. If you don’t have pumpkins laying around your house, you don’t need to go out and buy any (unless you really want to). You can easily substitute canned pumpkin puree which can be found in the baking aisle of any supermarket. Add pumpkin to pot and stir to coat with spices. Add 4 cups canned chicken broth (or vegetable broth if you want to make this dish vegan). Cover and bring to a boil, then reduce heat and simmer, covered, for 10 minutes or until pumpkin is completely cooked. 
Turn off heat and use an immersion blender to puree the soup until smooth. Also, if you don’t have an immersion blender you can puree the soup in a normal blender or food processor. But, really, if you don’t have an immersion blender by now, please go buy one! They’re like $30 and are such a great kitchen gadget — so much easier to clean and handle than either of the alternatives. At this point you’ll want to taste your soup for spice level. It should be a little spicier than you want it to end up because you’re about to mellow out the flavor. Add 1/3 cup tahini and puree until incorporated (your soup will become lighter at this point, and you’ll be able to tell when all the tahini is evenly mixed in).

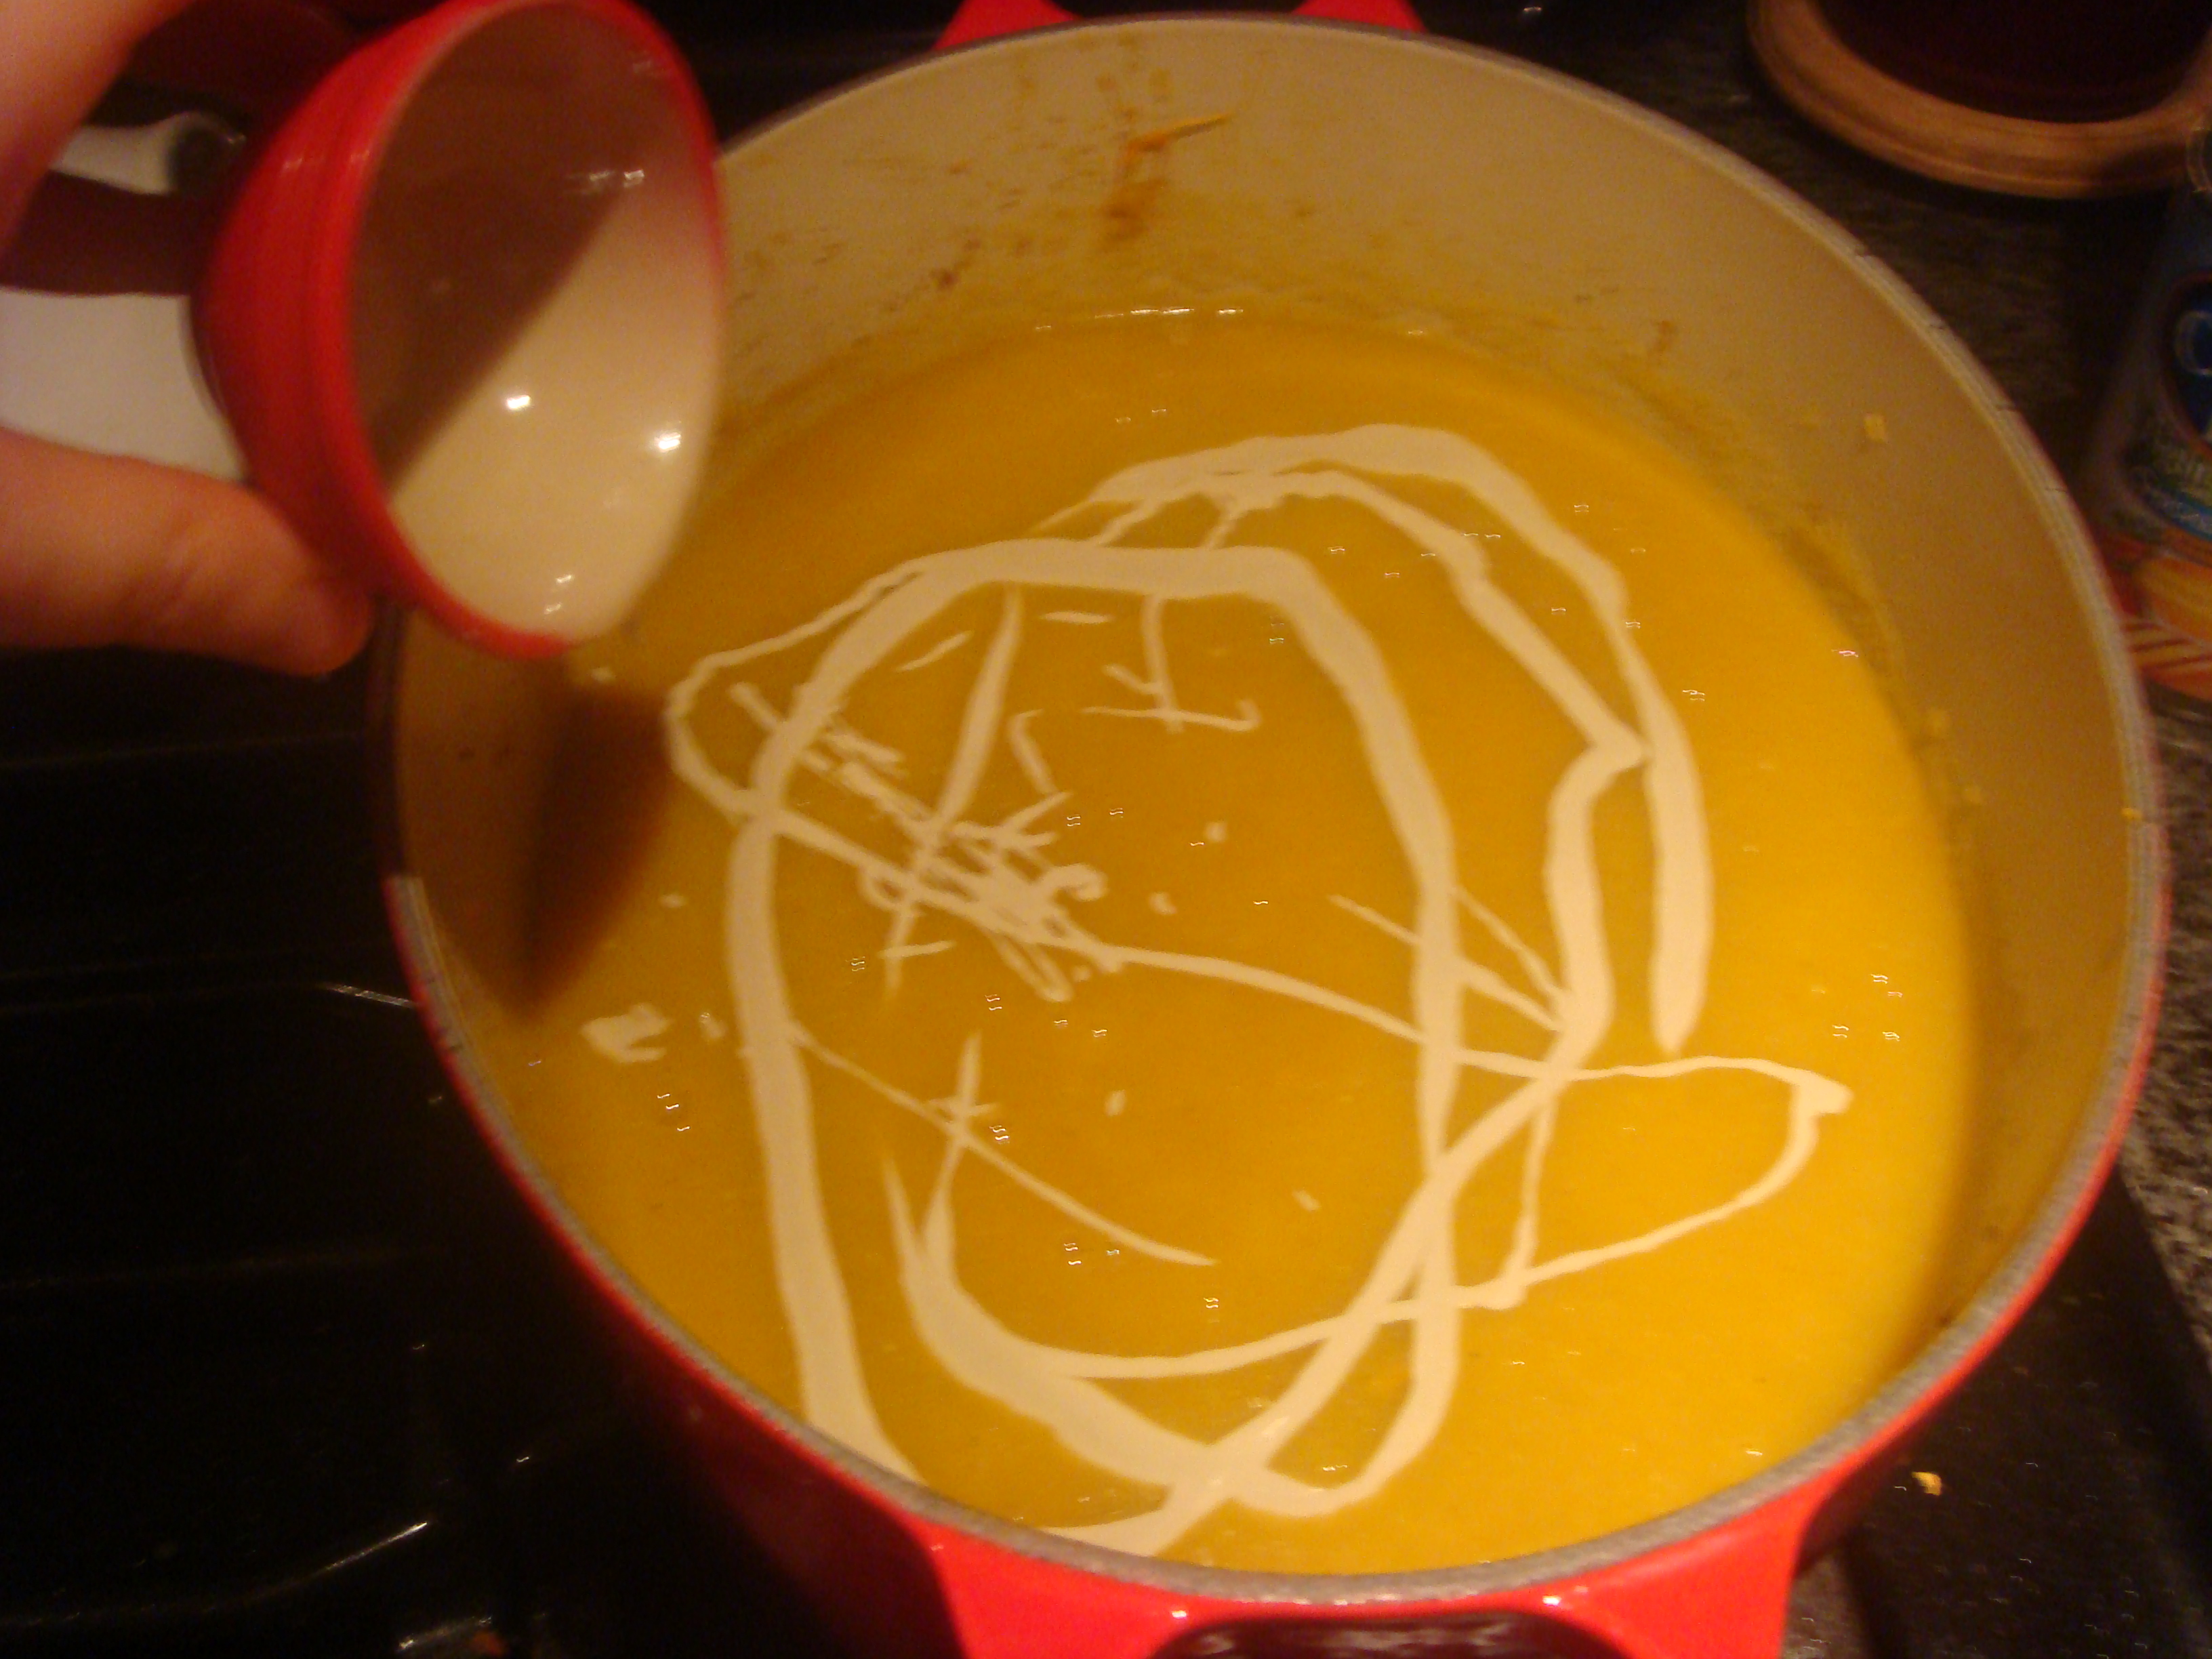
And that’s really it. What you end up with is a really hearty, but healthy soup with a complex flavor profile and a nice lingering heat on the back of your tongue. I served the soup with a drizzle of tahini and some chopped pistachios which added a nice salty crunch. You can add toasted pumpkin seeds for the same effect.
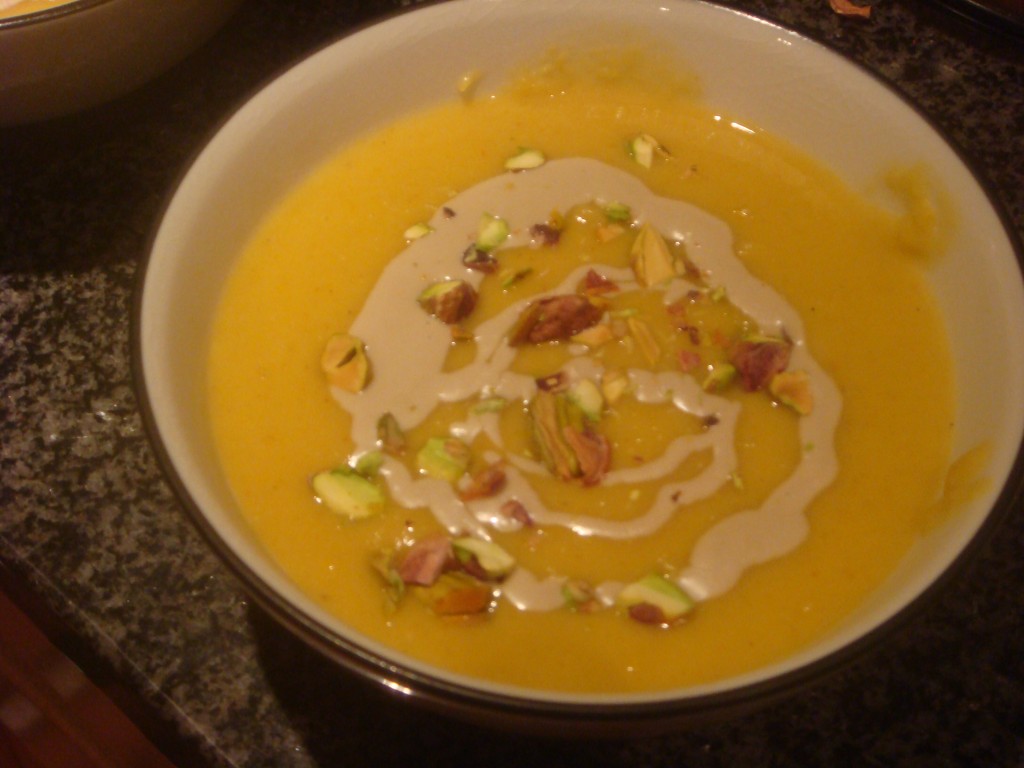
I hope you enjoy the soup as much as I do. It’s really filling and would be great with some crusty bread. This recipe makes a lot of soup, so you’ll definitely have leftovers. I’d say it could feed 4 or 5 as a main course, or more as an appetizer.

Vegetable Fried Rice or Cleaning out the Fridge Meal

Have you ever come home, opened your fridge and thought “well, there’s nothing in here that really makes sense as a meal?”  If you have, this post is for you. If you haven’t… well, l’m really jealous and pretty sure you’re a liar. When this happens you really have 2 options: you can get takeout or you can get creative. Tonight I did the latter.

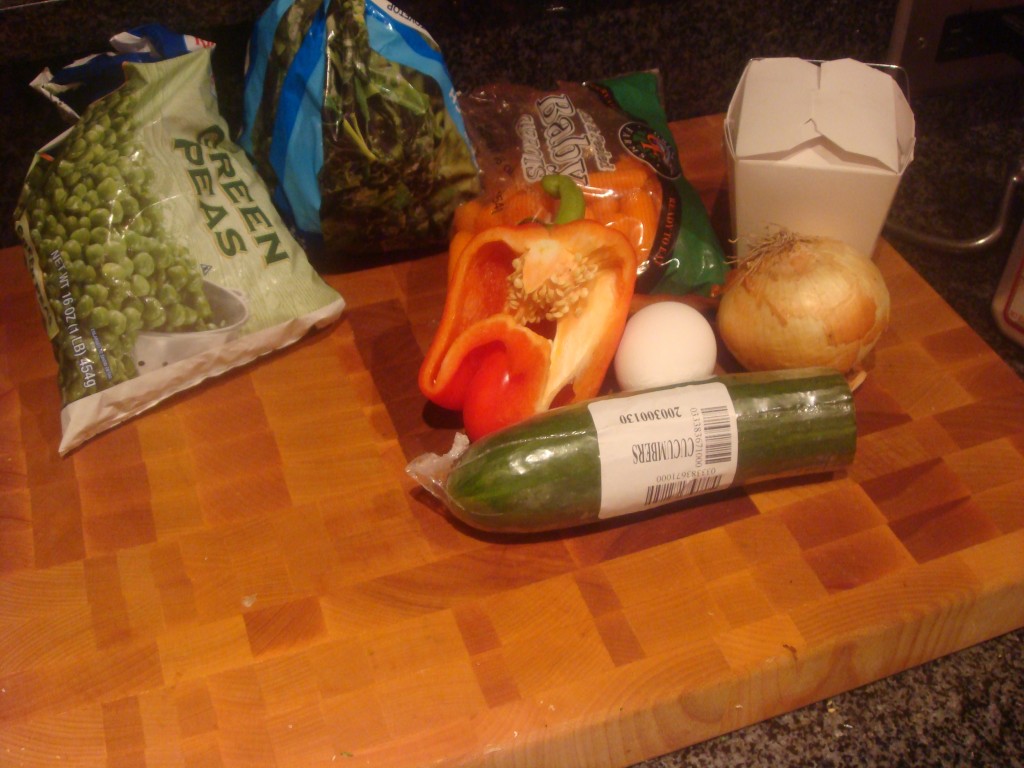
Here’s what I pulled out:

In my mind you can go in a few different directions when it comes to these clean out the fridge meals: Italian, Indian, or Asian. Italian– or throw it all into some pasta– wasn’t the way tonight because we had just had pasta for the last 2 nights. Indian wasn’t doing it for me because I would have liked some protein for a curry… or at least a potato. So tonight it was Asian. I find that I usually get way too much rice with my Chinese takeout so I always have one of those iconic white boxes sitting in my fridge for a night like this one. The leftover rice along with my one egg were what took tonight’s meal from random vegetable stir fry to vegetable fried rice.

So for this recipe I’ll tell you what I used, but the great thing to keep in mind is that this is a cleansing recipe… meaning take whatever is sitting in your fridge without purpose and throw it in! For me those items were:

  • 1/2 tsp chopped garlic
  • 1 onion, diced
  • 1/2 red bell pepper, diced
  • 1/3 cup broccoli slaw 
  • 1/3 cup frozen peas
  • 1/3 cup frozen spinach
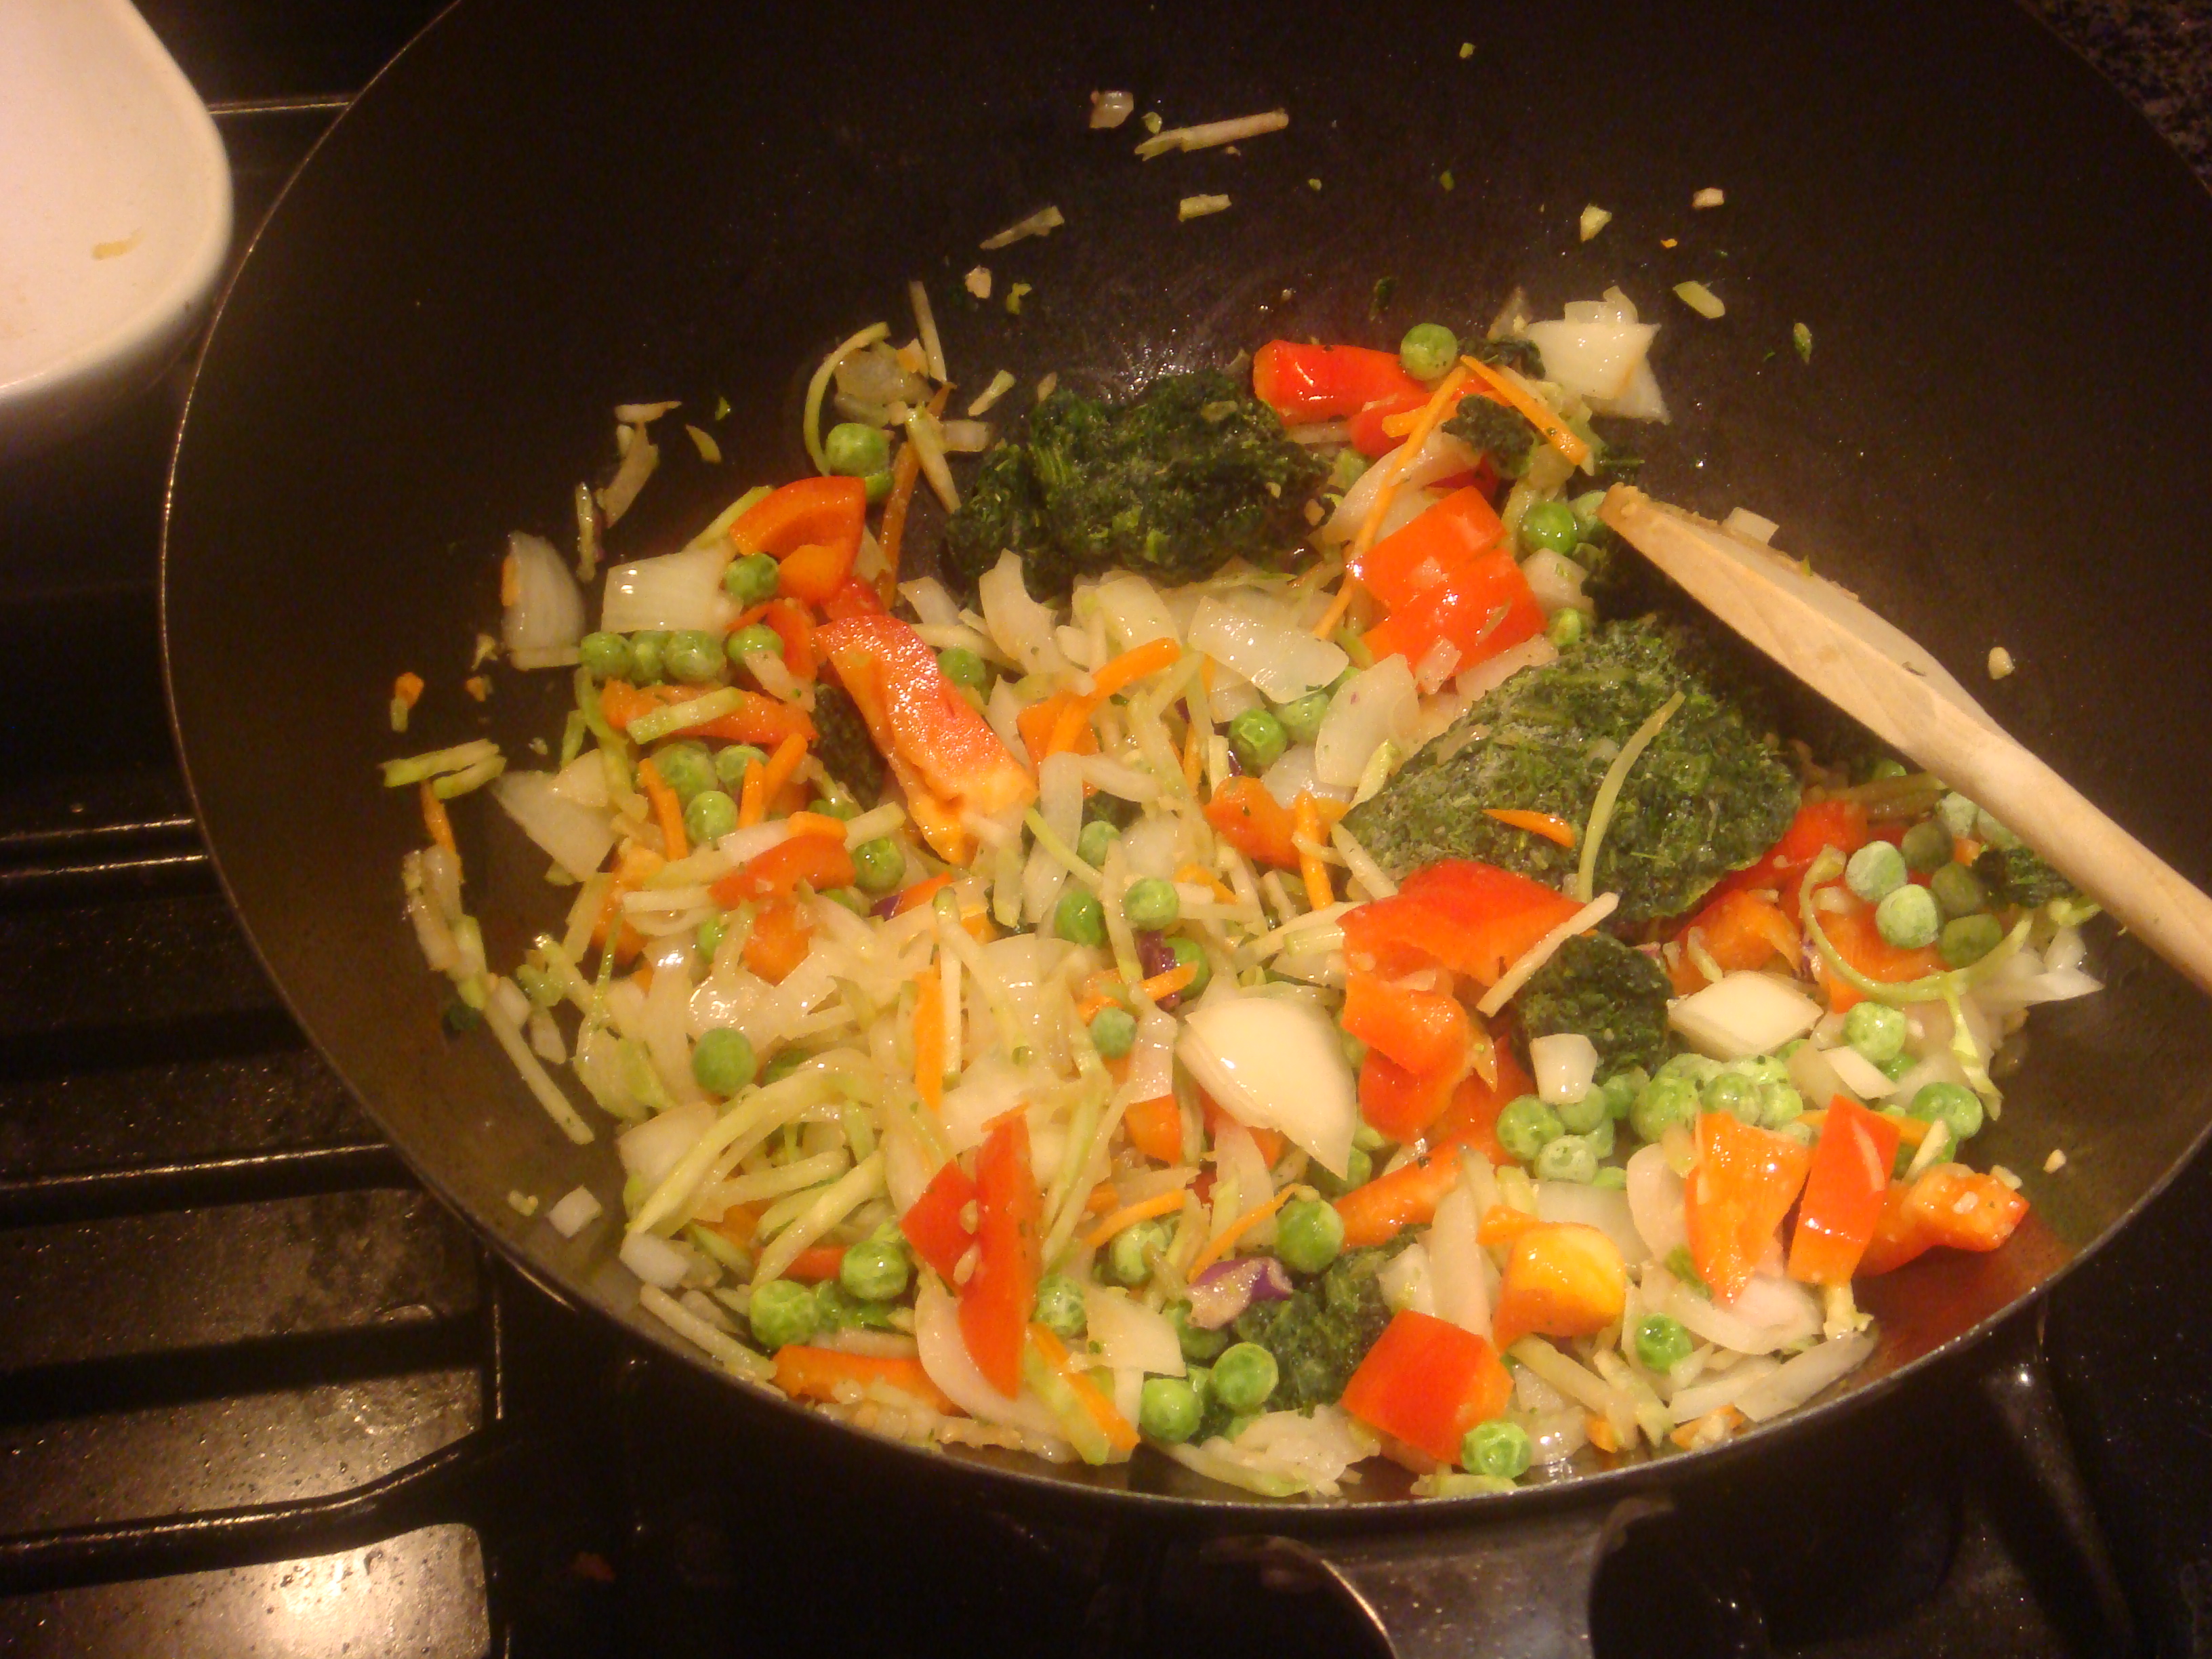
You want to start by heating oil in a wok or skillet. I used coconut oil but you can use any oil with a high smoke point (sesame oil would work very well). In order to build flavors and ensure even cooking, start by adding the garlic and stirring until fragrant. Next, add the onion and stir until translucent. After a few minutes, add the bell pepper, broccoli slaw, frozen peas, and frozen spinach and stir until cooked.
The great thing about stir fry is that you don’t need too many ingredients for the sauce. My go-to is:
  • Low sodium soy sauce (which I actually prefer to regular)
  • Sweet chili sauce (my favorite is the kind by Frank’s but if you don’t have that you can use honey or duck sauce and red chili flakes)
  • Ginger (fresh or powdered)
Since nothing is raw, feel free to taste along the way until you get a good balance of flavor. Once you are happy with it there are 2 final touches: the egg and the rice. Reheating rice is one of those things that seems as easy as sticking it in the microwave, right? Wrong. If you stick it in the microwave it will get dry heat unevenly. The trick to re-heating rice is to get it to steam. It’s actually as easy as sticking it in the microwave with a damp paper towel over it! For tonight, I used about 1/2 cup leftover white rice and heated it for 1:20 until it was just warm.
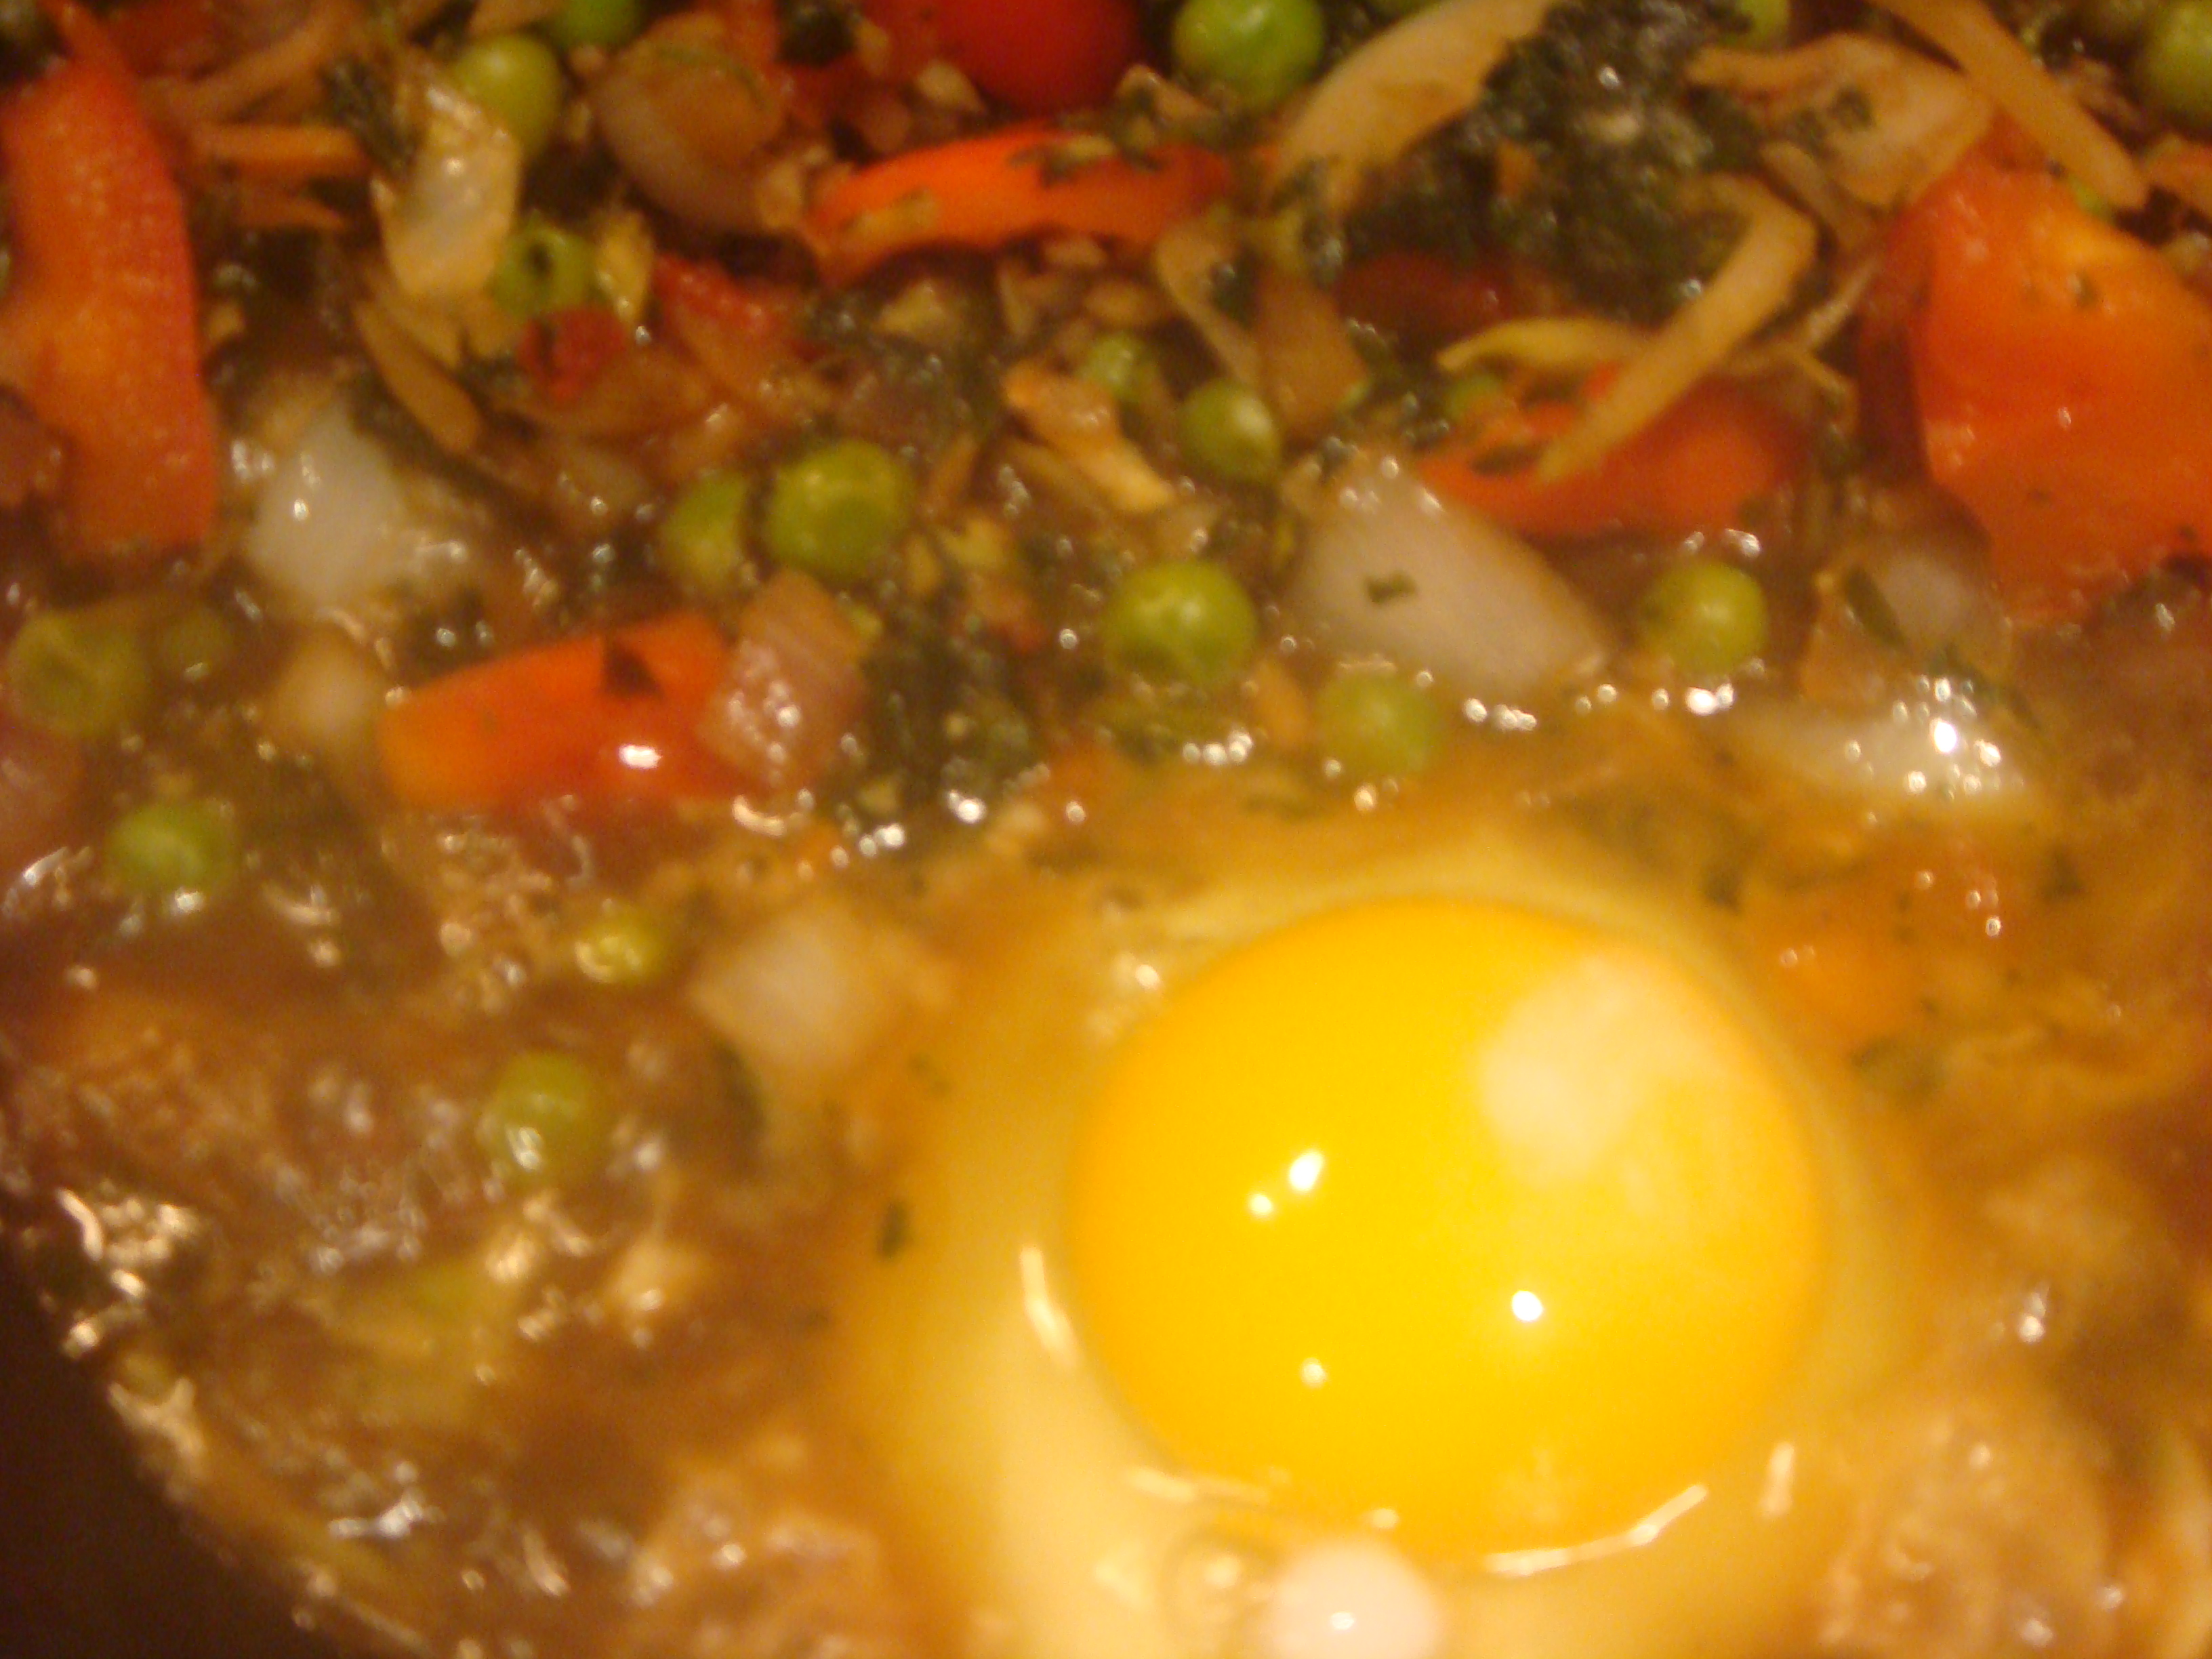
While that’s happening you need to cook the egg. Move all the ingredients to one side of the pan or wok as best you can and crack the egg into the free space.
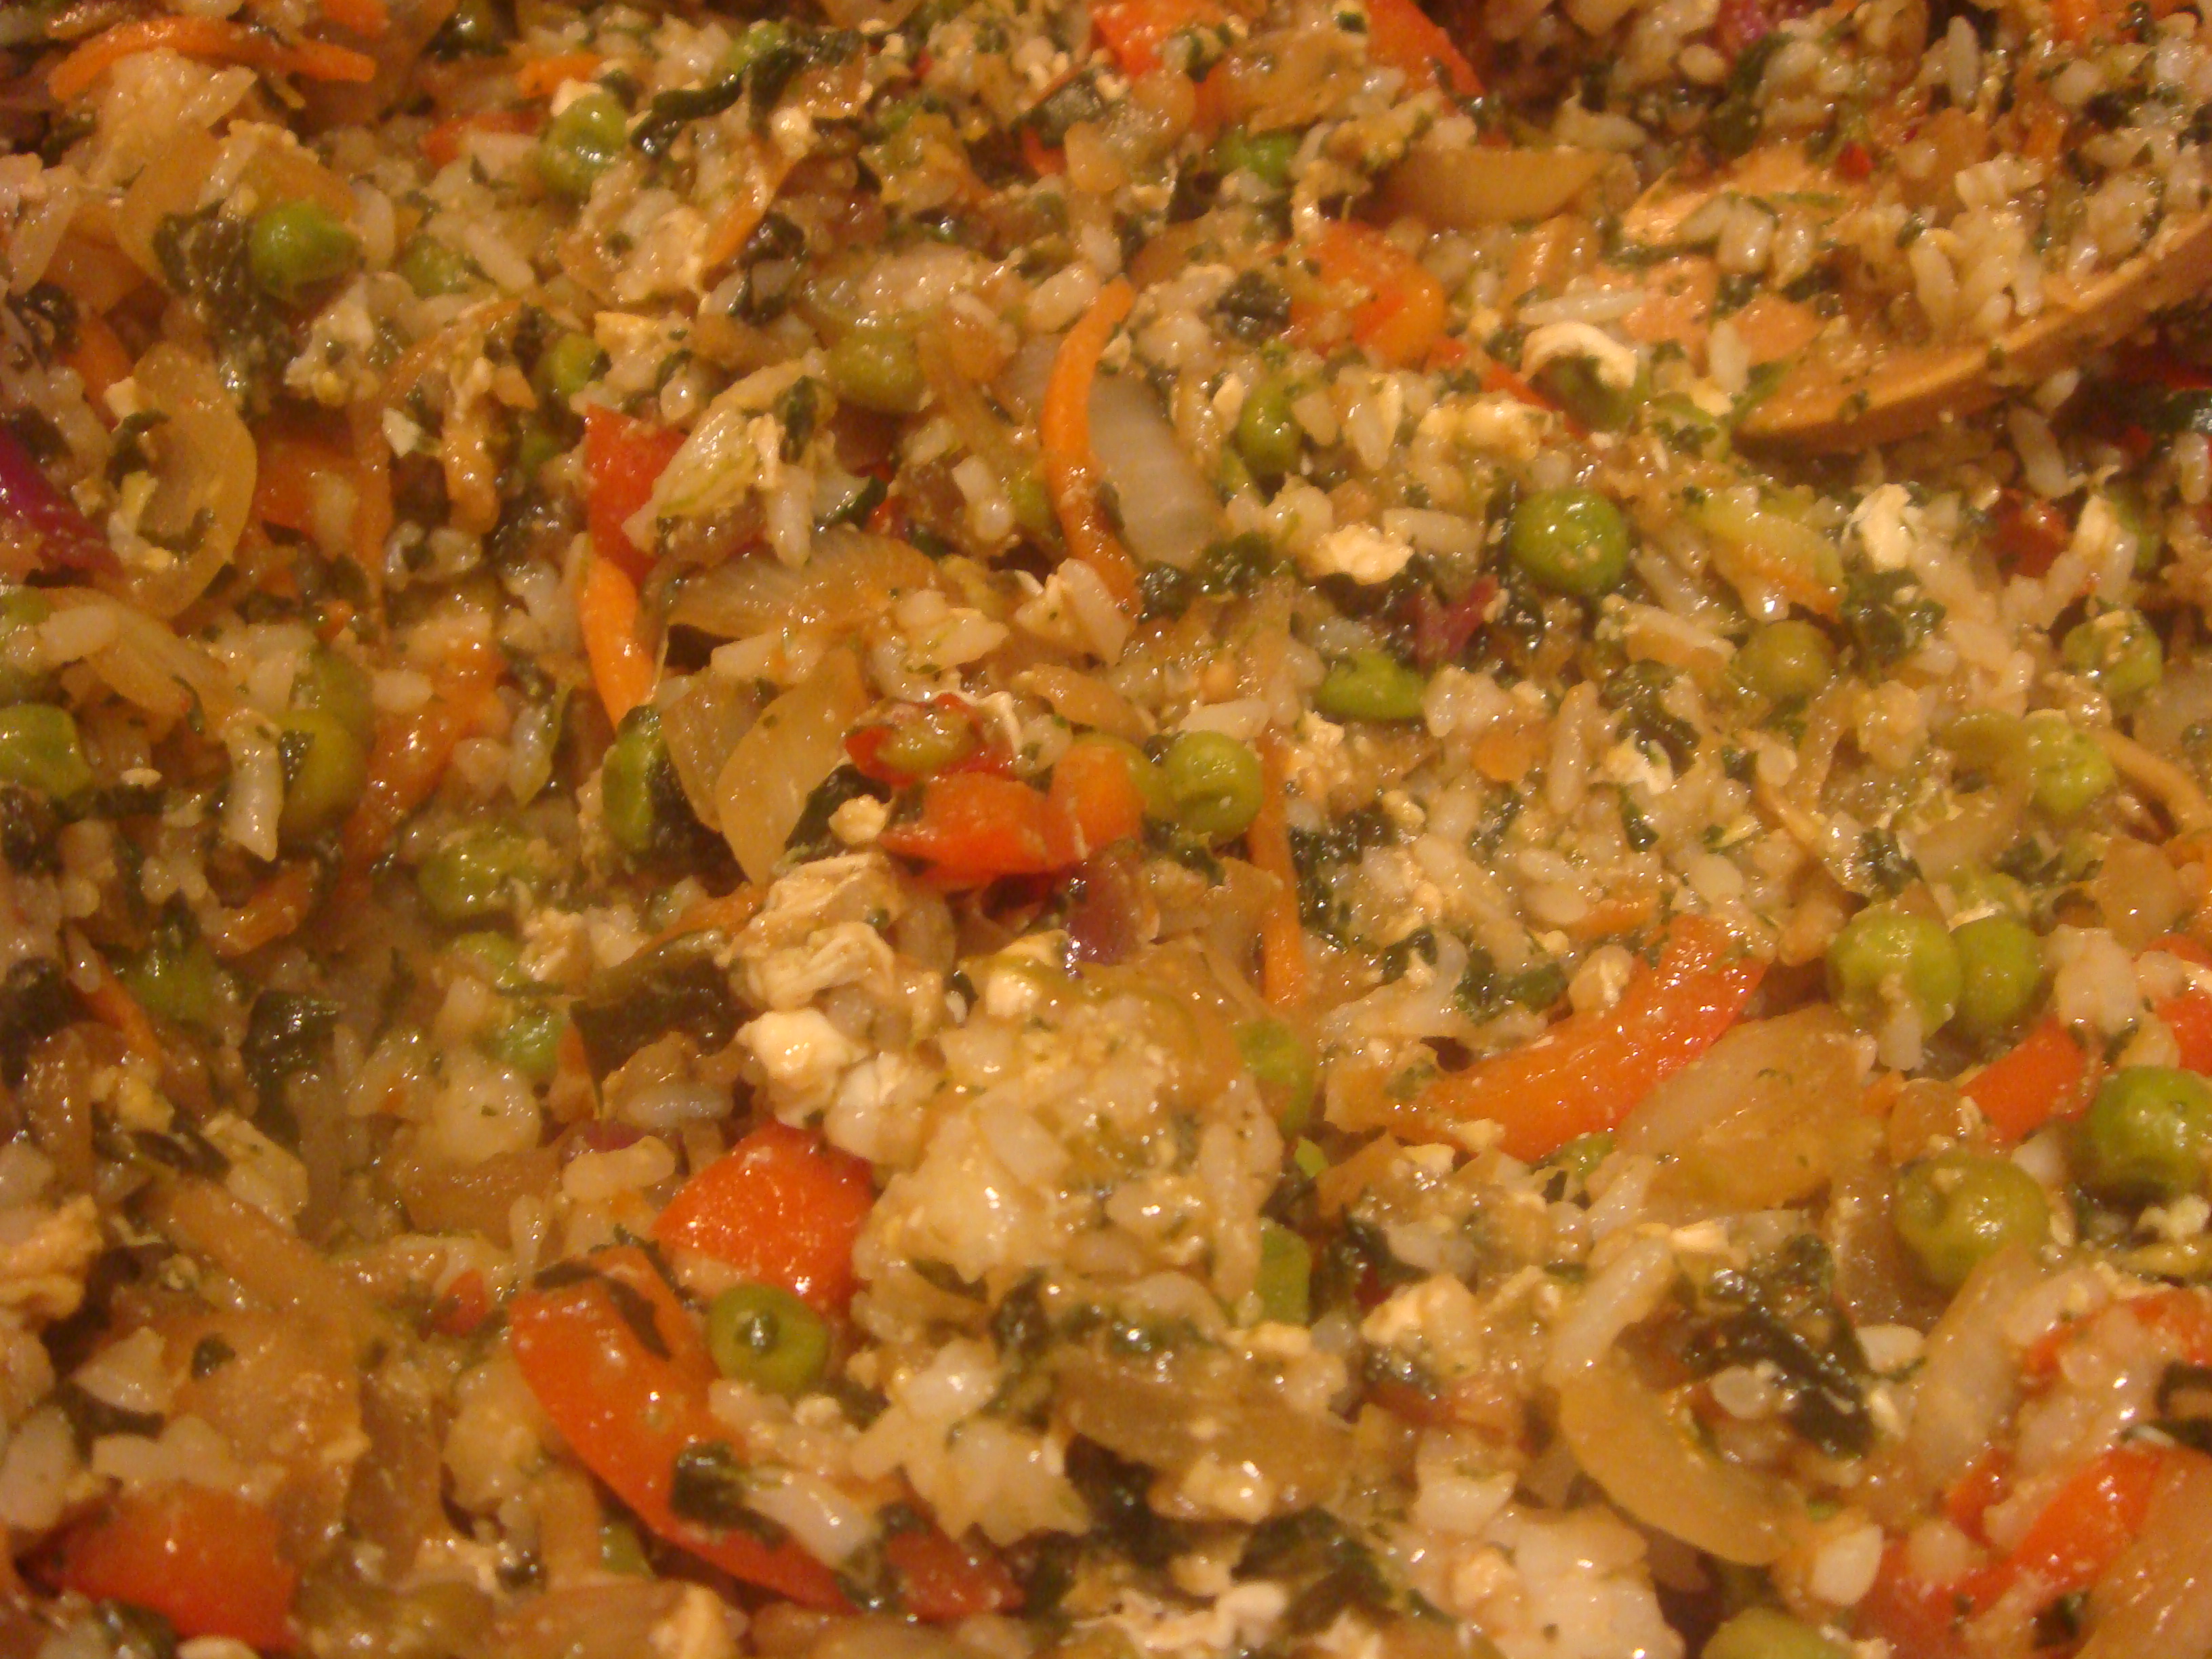
Scramble it. It will cook very quickly since the pan is nice and hot. Once it’s cooked, bring the rest of the ingredients back and toss in the cooked rice so everything can mix. At this point you might want to taste again and add more sauce ingredients if necessary.
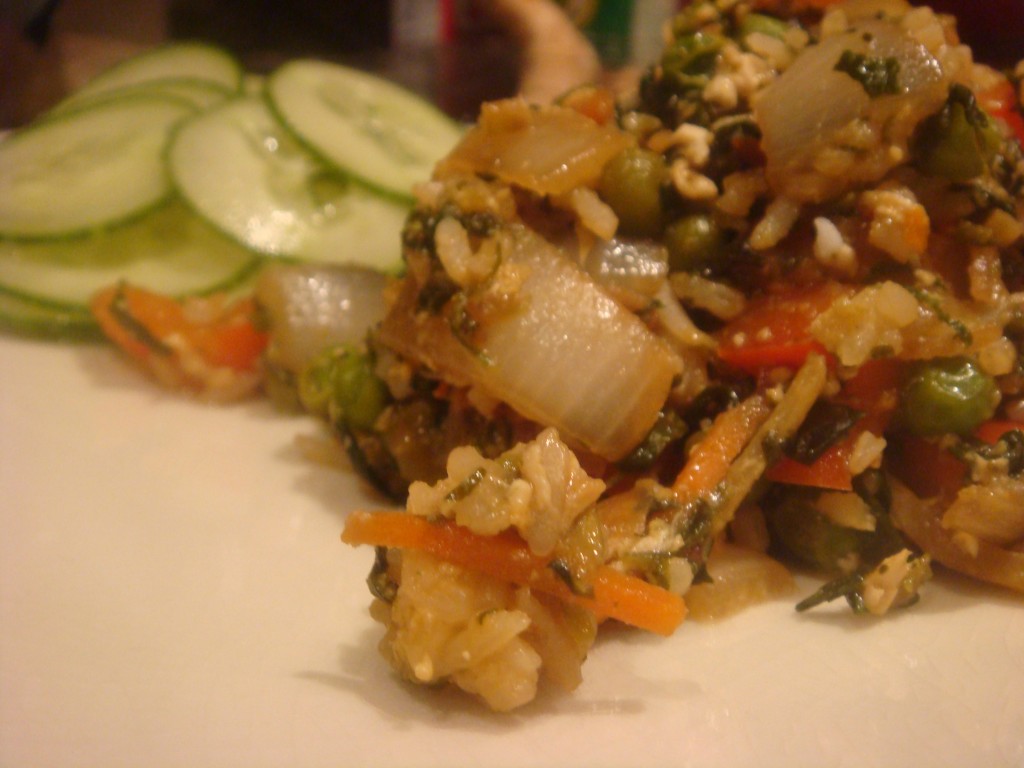
And that’s pretty much it! I served this with a “cucumber salad” AKA mandolin sliced cucumbers with a touch of olive oil and pineapple vinegar (rice wine vinegar or lime juice and a bit of honey would be good too!)
So next time you have the takeout or get creative dilemma, I hope you opt for the latter! The results will be delicious 🙂

Fiesta Turkey Burger

You probably wouldn’t know it from my previous post about peanut butter and Nutella cookies, but in general I consider myself a pretty health-conscious cook. I love creating dishes that are tasty first and healthy second. It served me well senior year of college when I lived with 3 boys who had no interest in “diet food.” No matter how healthy something may be, the fact is if its not delicious you’re not going to want to eat it. I’m excited to share this recipe tonight because not only is it tasty and healthy,  but it’s super fast and simple!

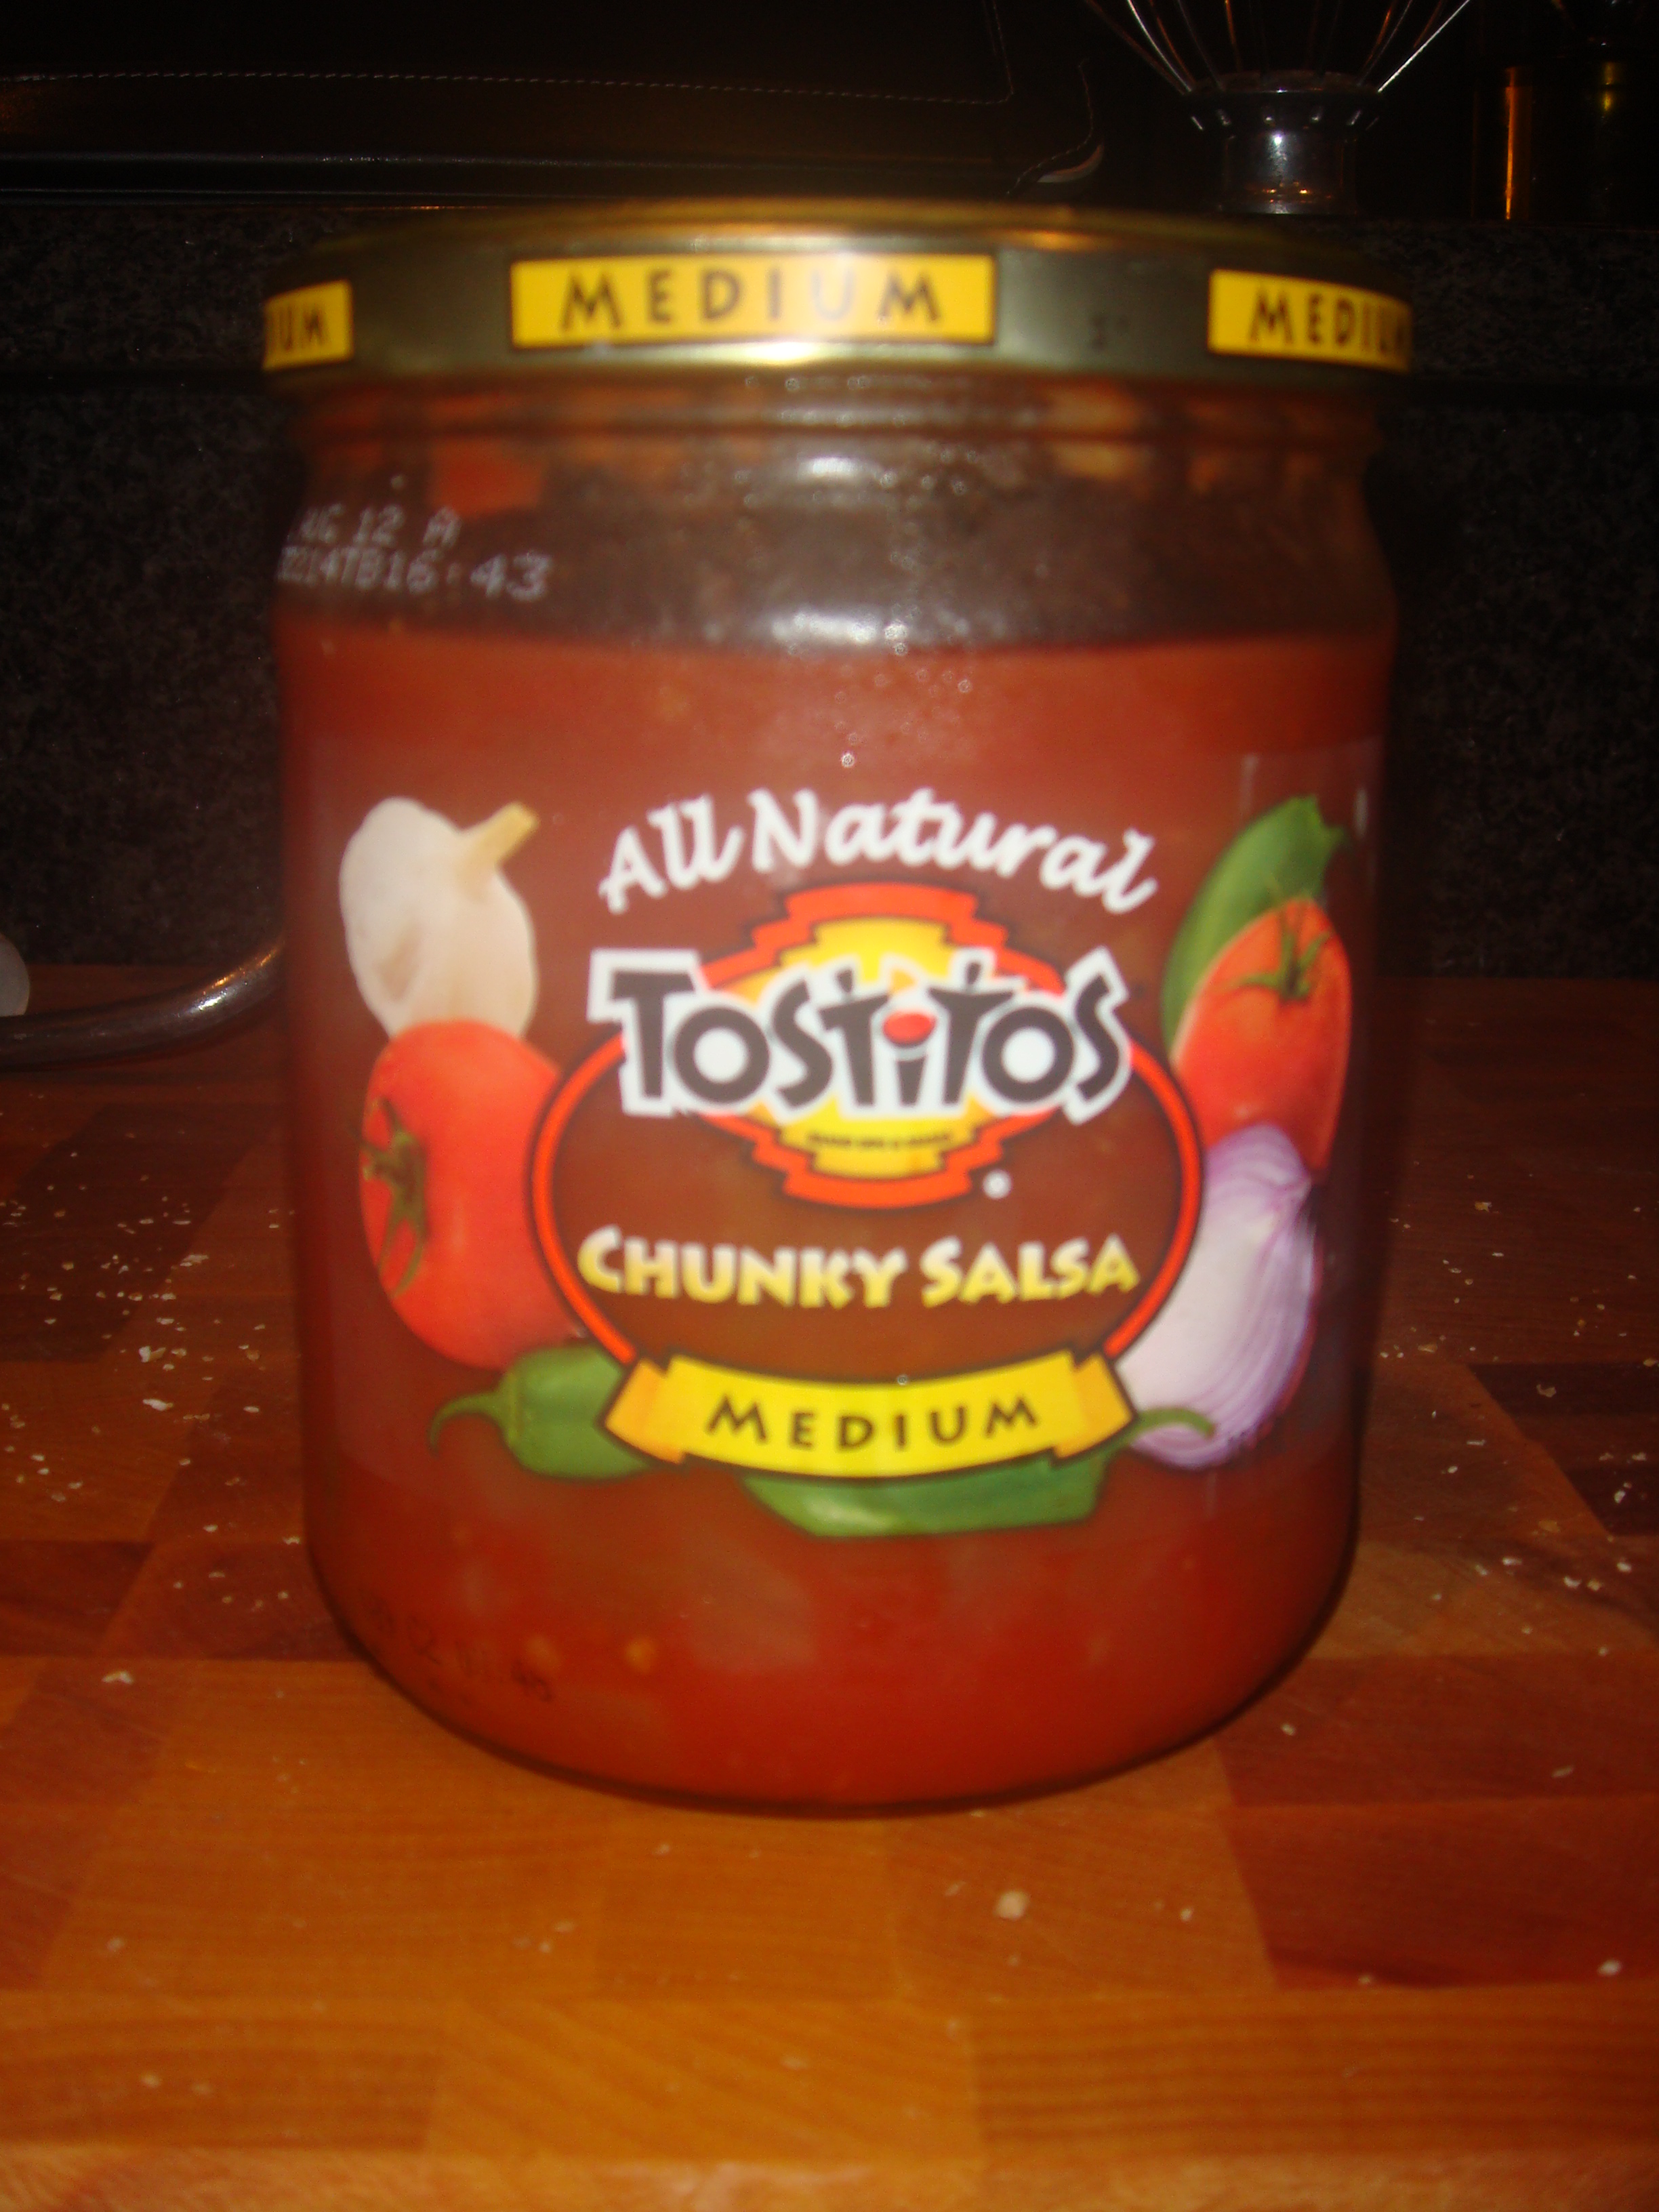
Turkey burgers are one of those foods that I really love because they’re a healthy swap, perfect for satisfying a burger craving. The problem with turkey burgers is that it’s really easy to mess them up. Because turkey is such a lean meat, turkey burgers can go from delicious to dry and tasteless very easily. The trick to a good turkey burger is keeping moisture inside. I’ve learned a lot of tricks over the years. My mom’s trick is to put mushrooms into the burger because as it cooks, the moisture from the mushrooms is released so your burger doesn’t dry out. My trick:

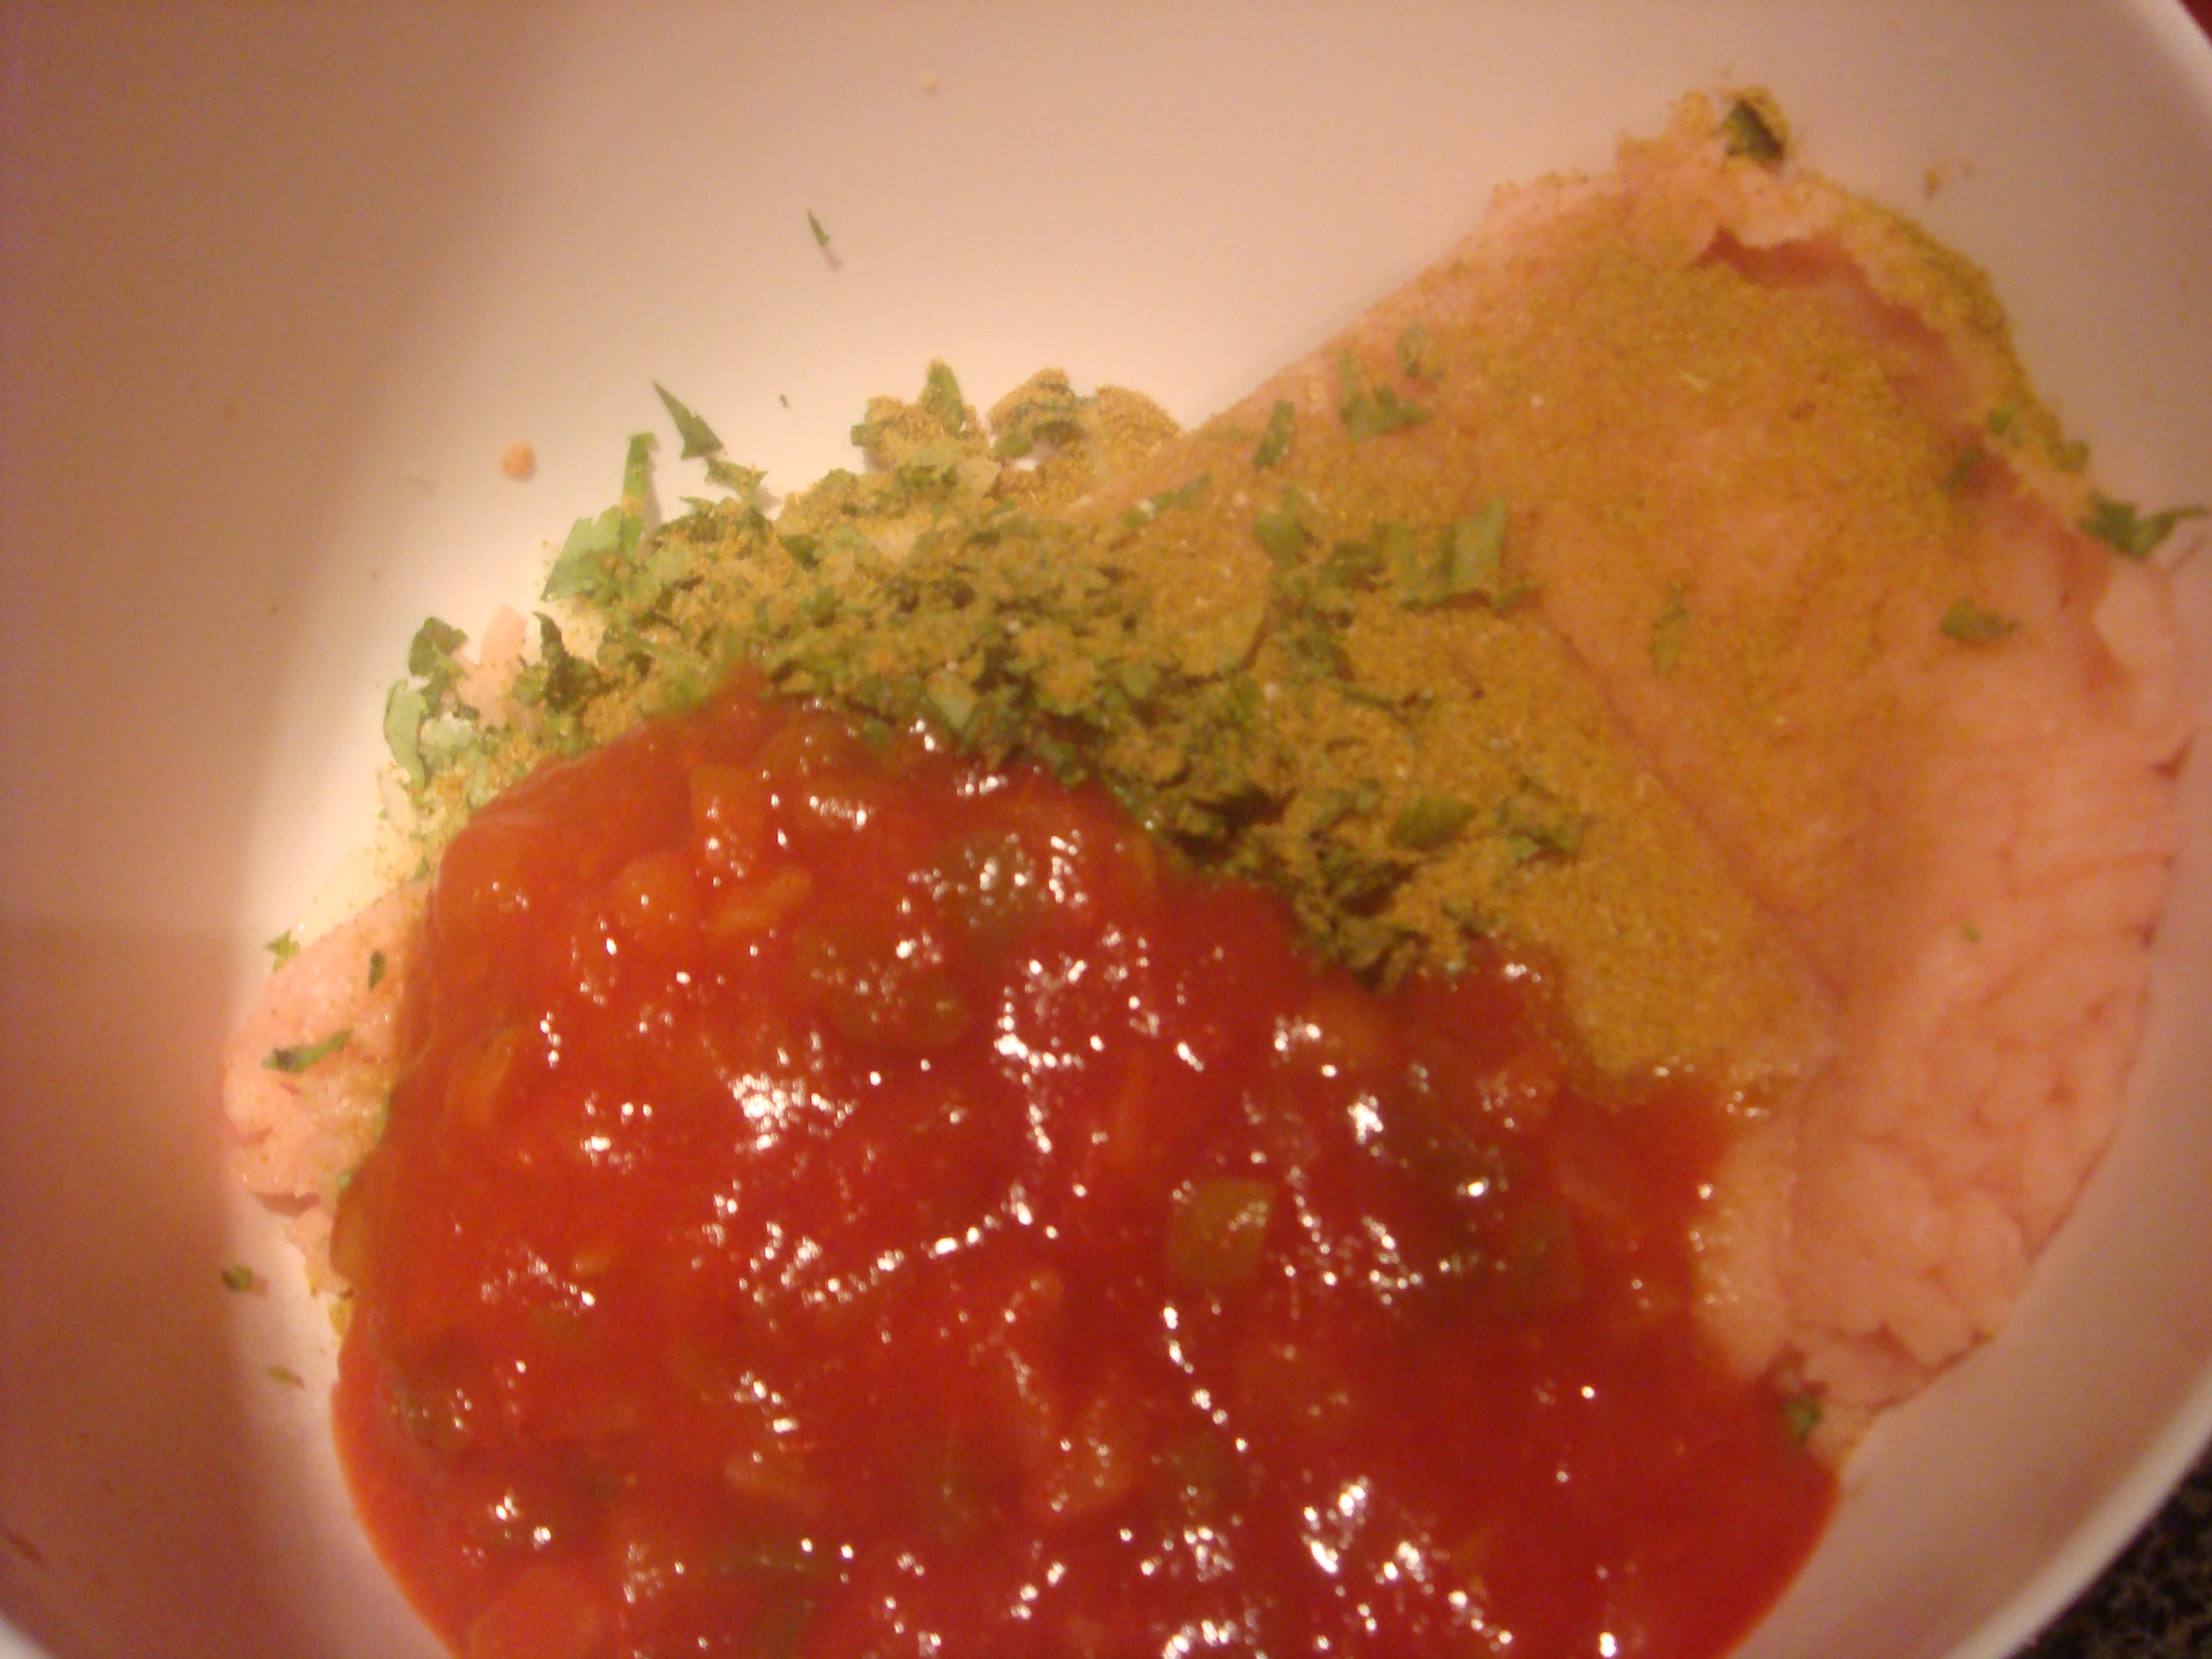
Yep, that’s right… salsa! Salsa is really my favorite condiment. It’s so simple, but so flavorful and versatile. Remember I said this recipe is simple and fast? Get ready…

In addition to the 1/2 cup salsa and the 1 lb of ground turkey breast you’ll need:

  • 1/2 small onion finely diced
  • 1 tsp garlic salt
  • 1 tsp cumin
  • 2 TB fresh cilantro (chopped finely– optional)
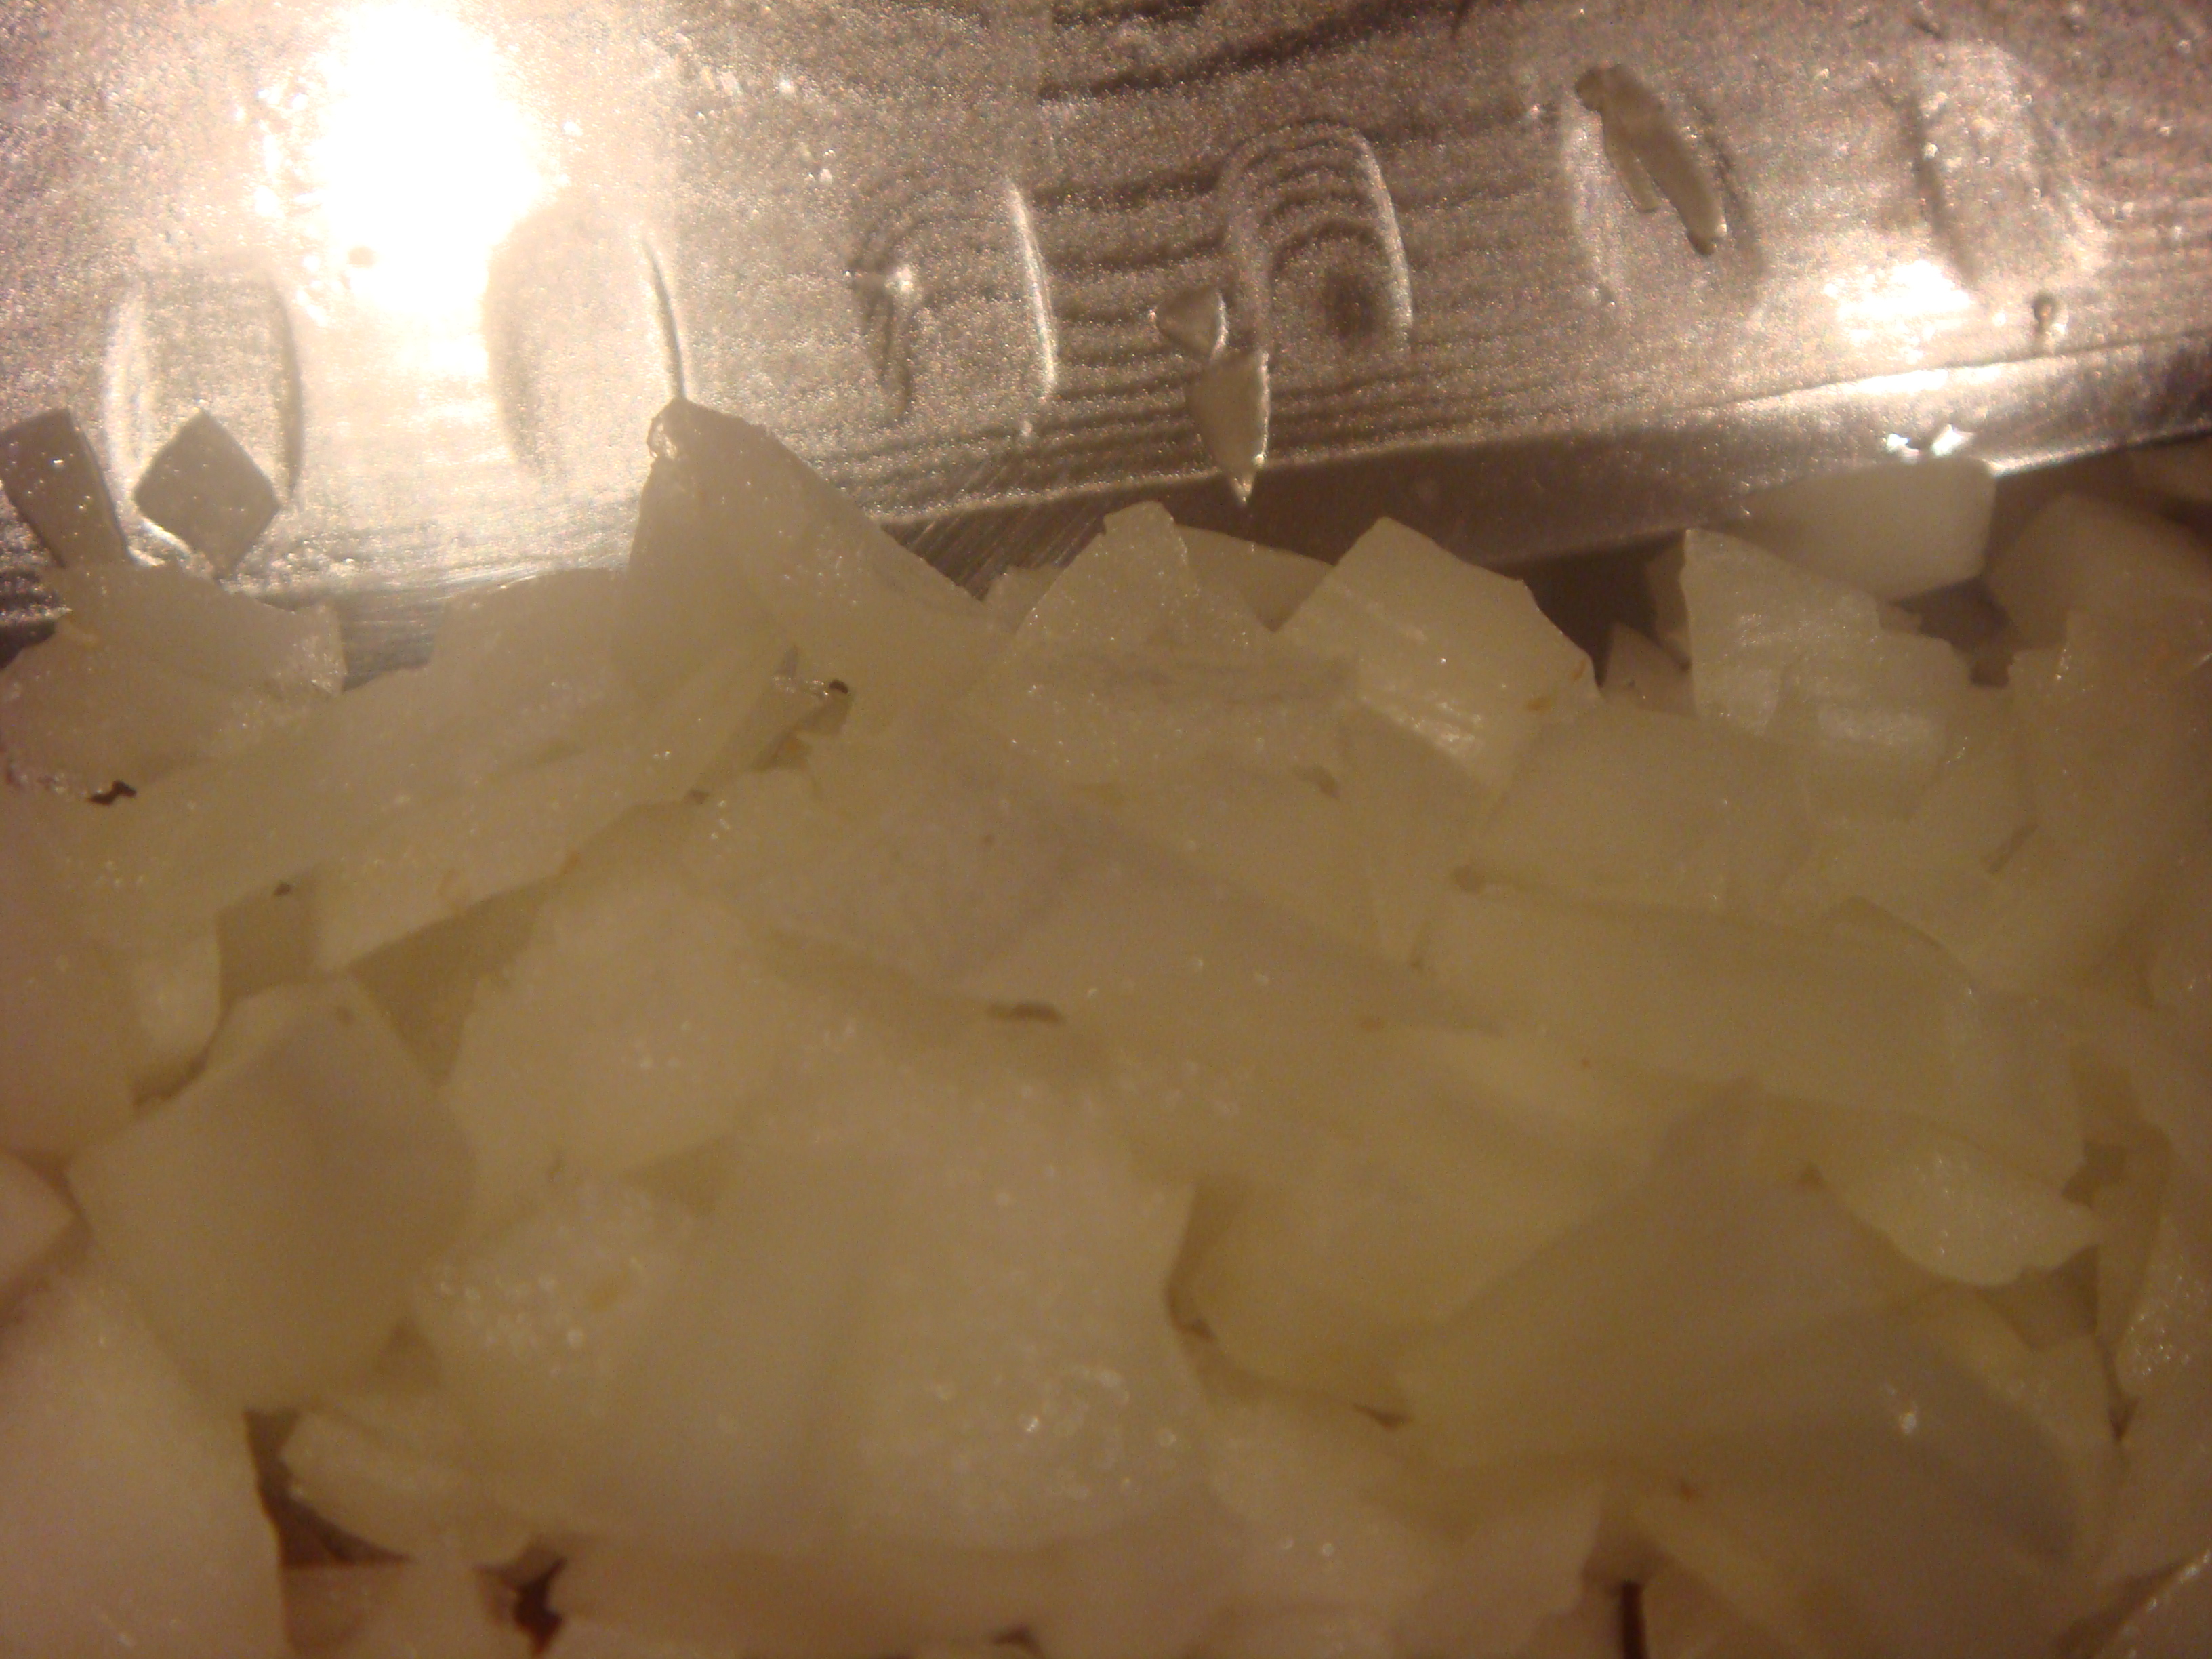
I want to talk a little bit about these ingredients. I put onions in all my burgers and meatballs for a couple of reasons. First of all, it helps bulk up a dish for very few calories. Also, as I just learned recently, a half cup of onion is a source of potassium, calcium, magnesium, phosphorus and dietary fiber. The trick with putting onions into burgers or meatballs is to make sure the pieces are small enough to cook within the meat.
The cilantro is a new ingredient that I haven’t put into these burgers before, but I had some leftover from last week’s fajita night, so I decided to put it in as a test. I think it worked out nicely because it added a freshness without being overwhelming the way cilantro can be. But again, its very optional and this burger will be delicious without the cilantro as well.
Now that we’ve gotten that out of the way… This recipe is as easy as combine all ingredients in a bowl. 
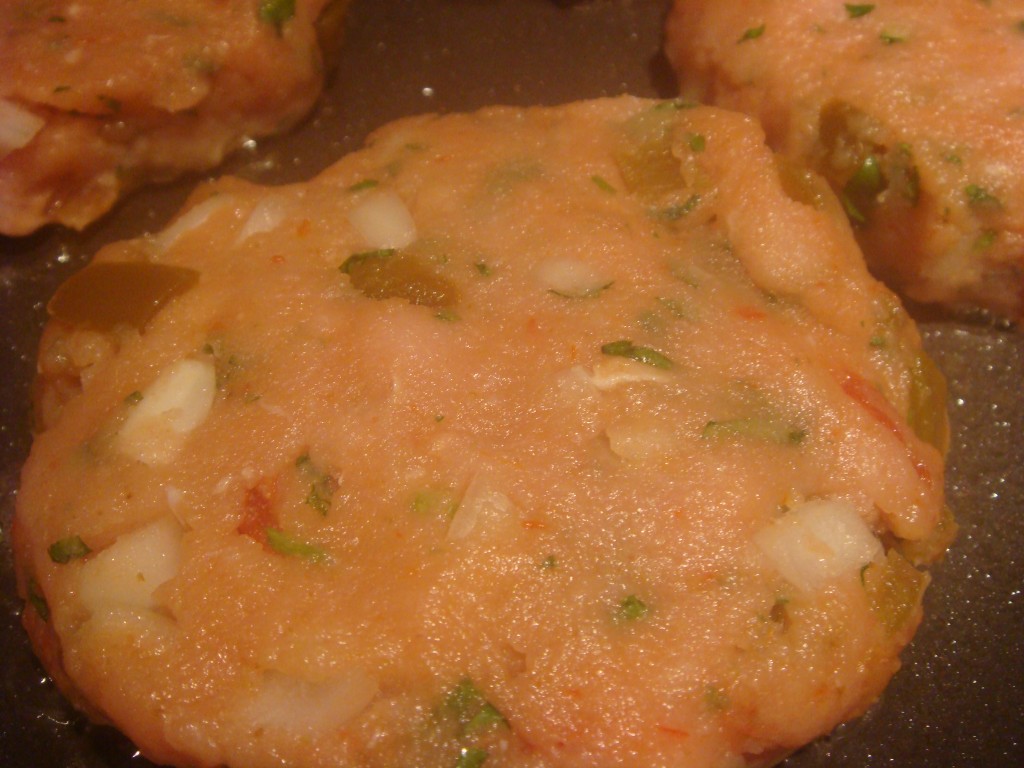
Divide and shape into patties. With 1 lb of ground turkey, you can make 4 perfect size burgers that fit very nicely on buns.
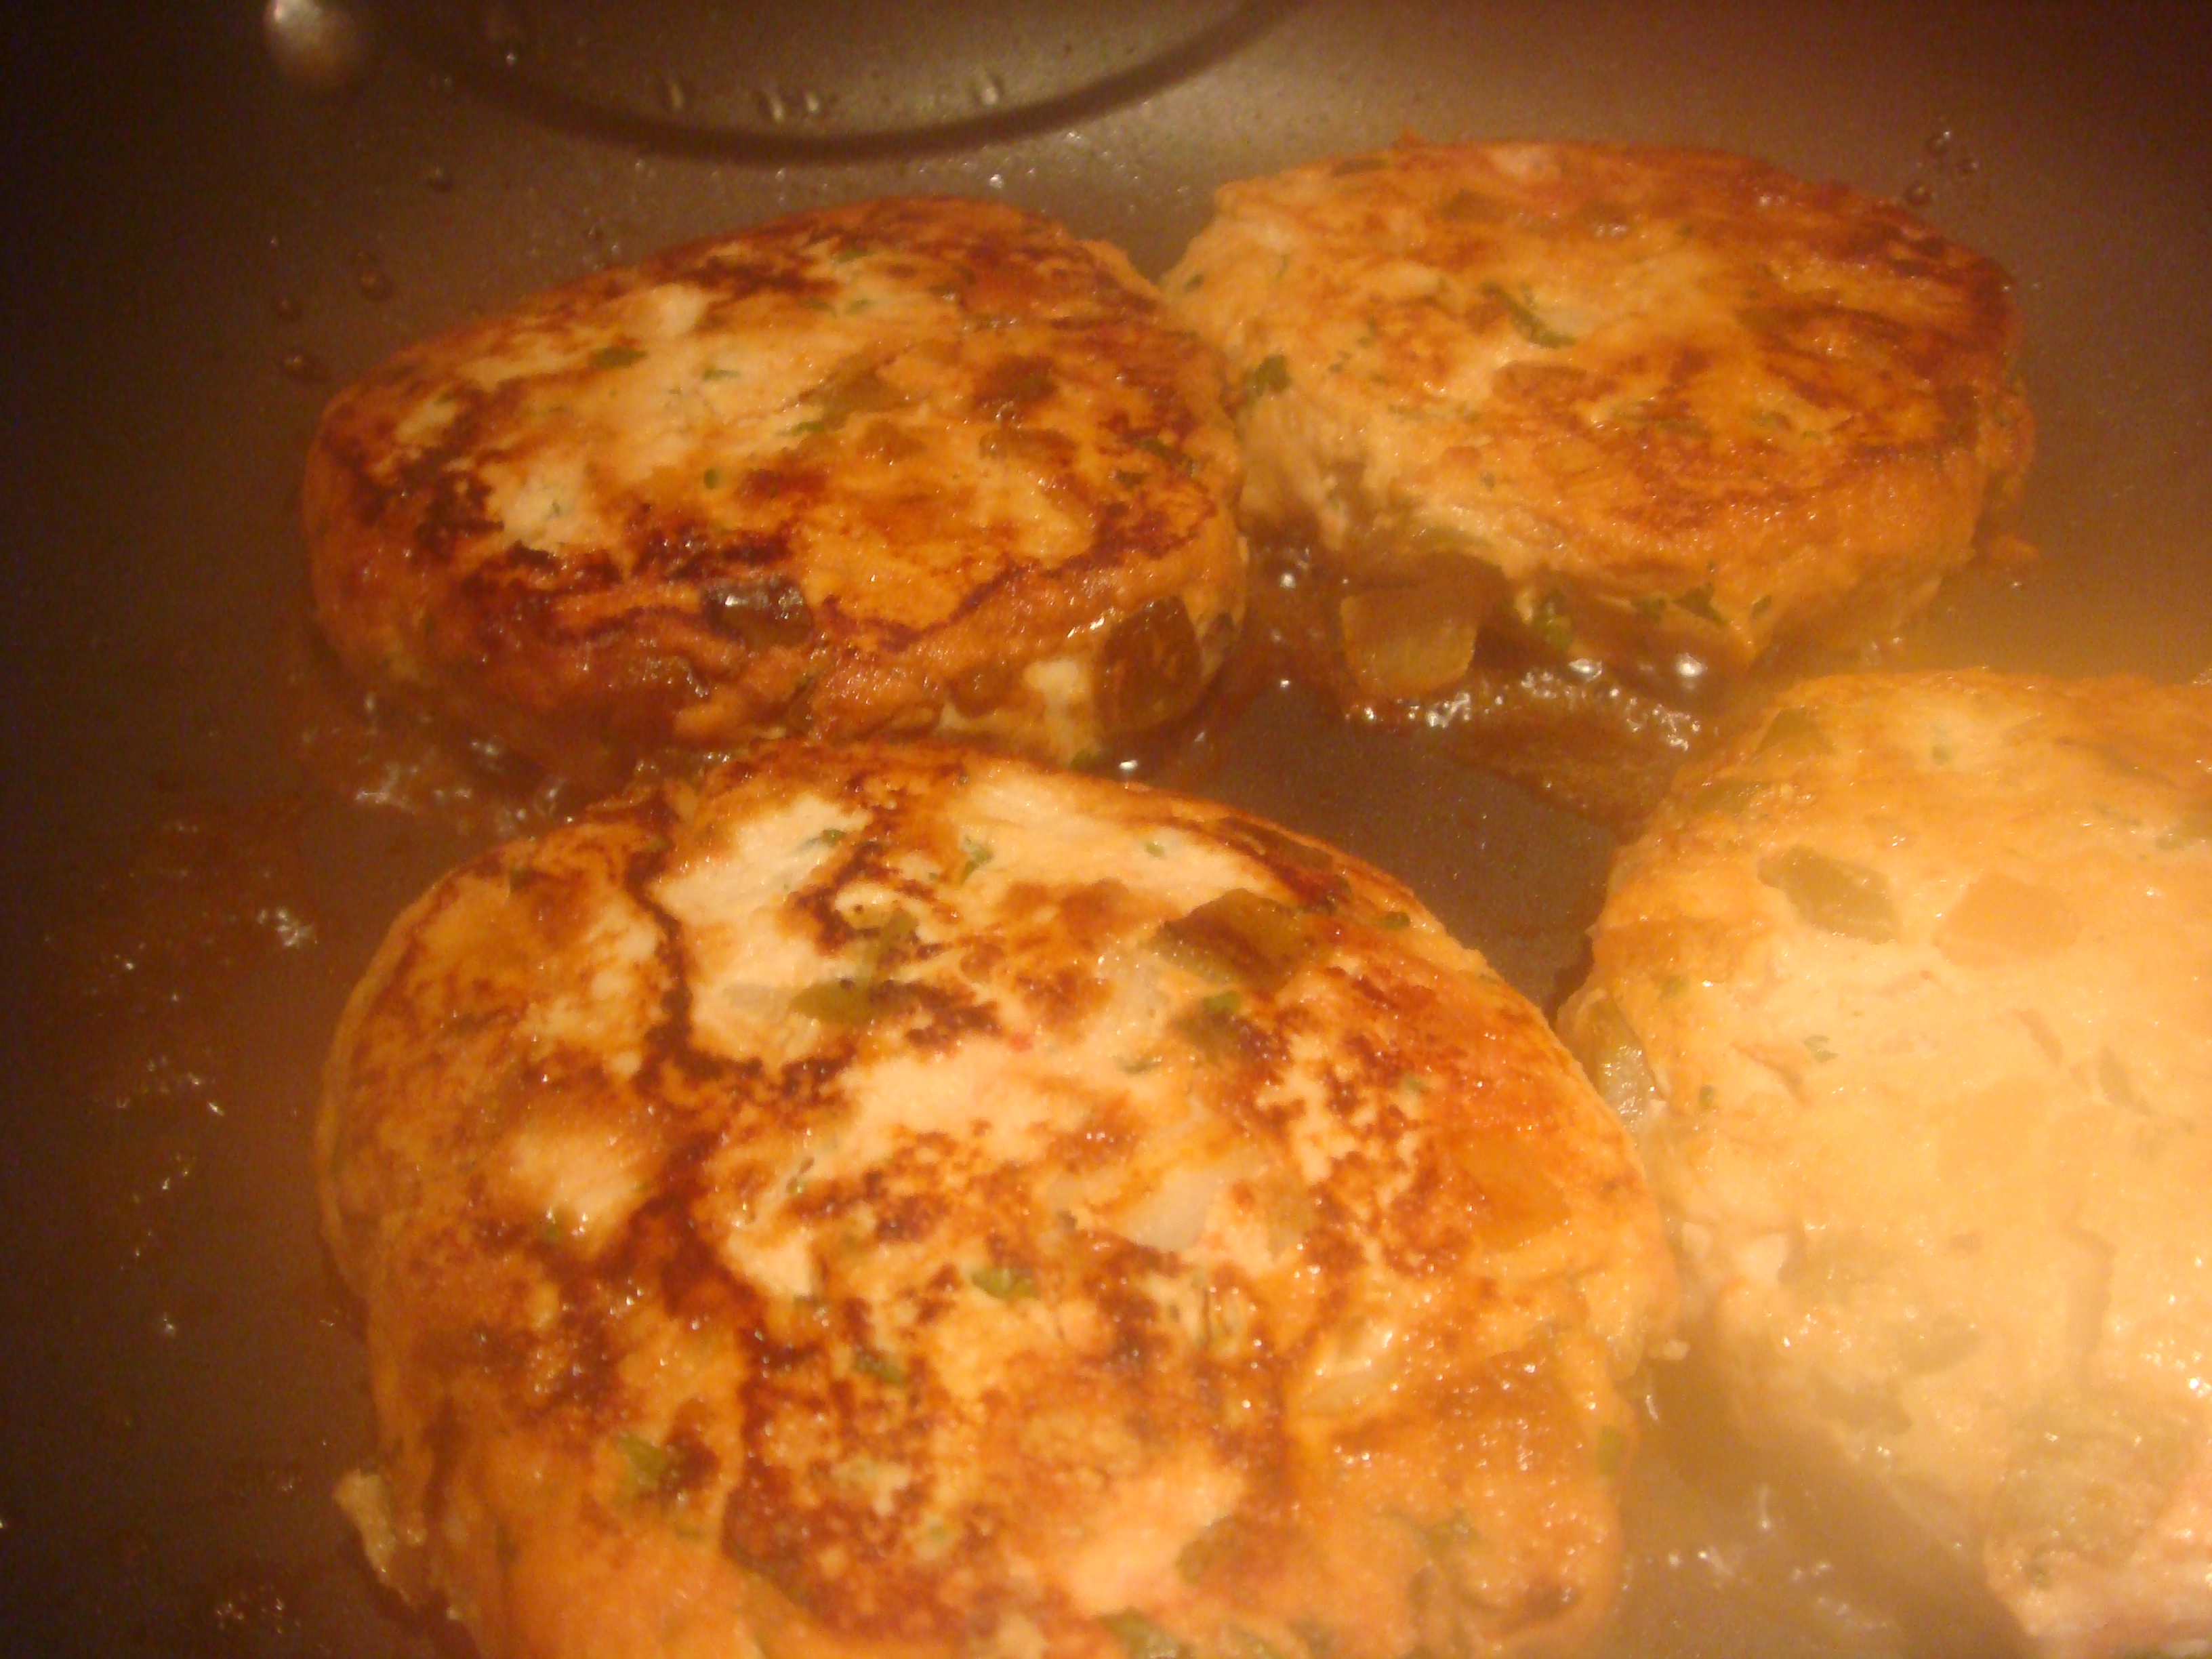
Cook, covered, over medium high heat for 4 minutes. Flip and cook, covered, for another 4 minutes. (If you want to add cheese, do so at the 2 minutes to go point). Covering your turkey is another really important step on this quest to keep moisture in the turkey burger. It really makes a world of difference, and hopefully by now you’ve seen that covering doesn’t affect the beautiful golden-brown color you can get on the burger.
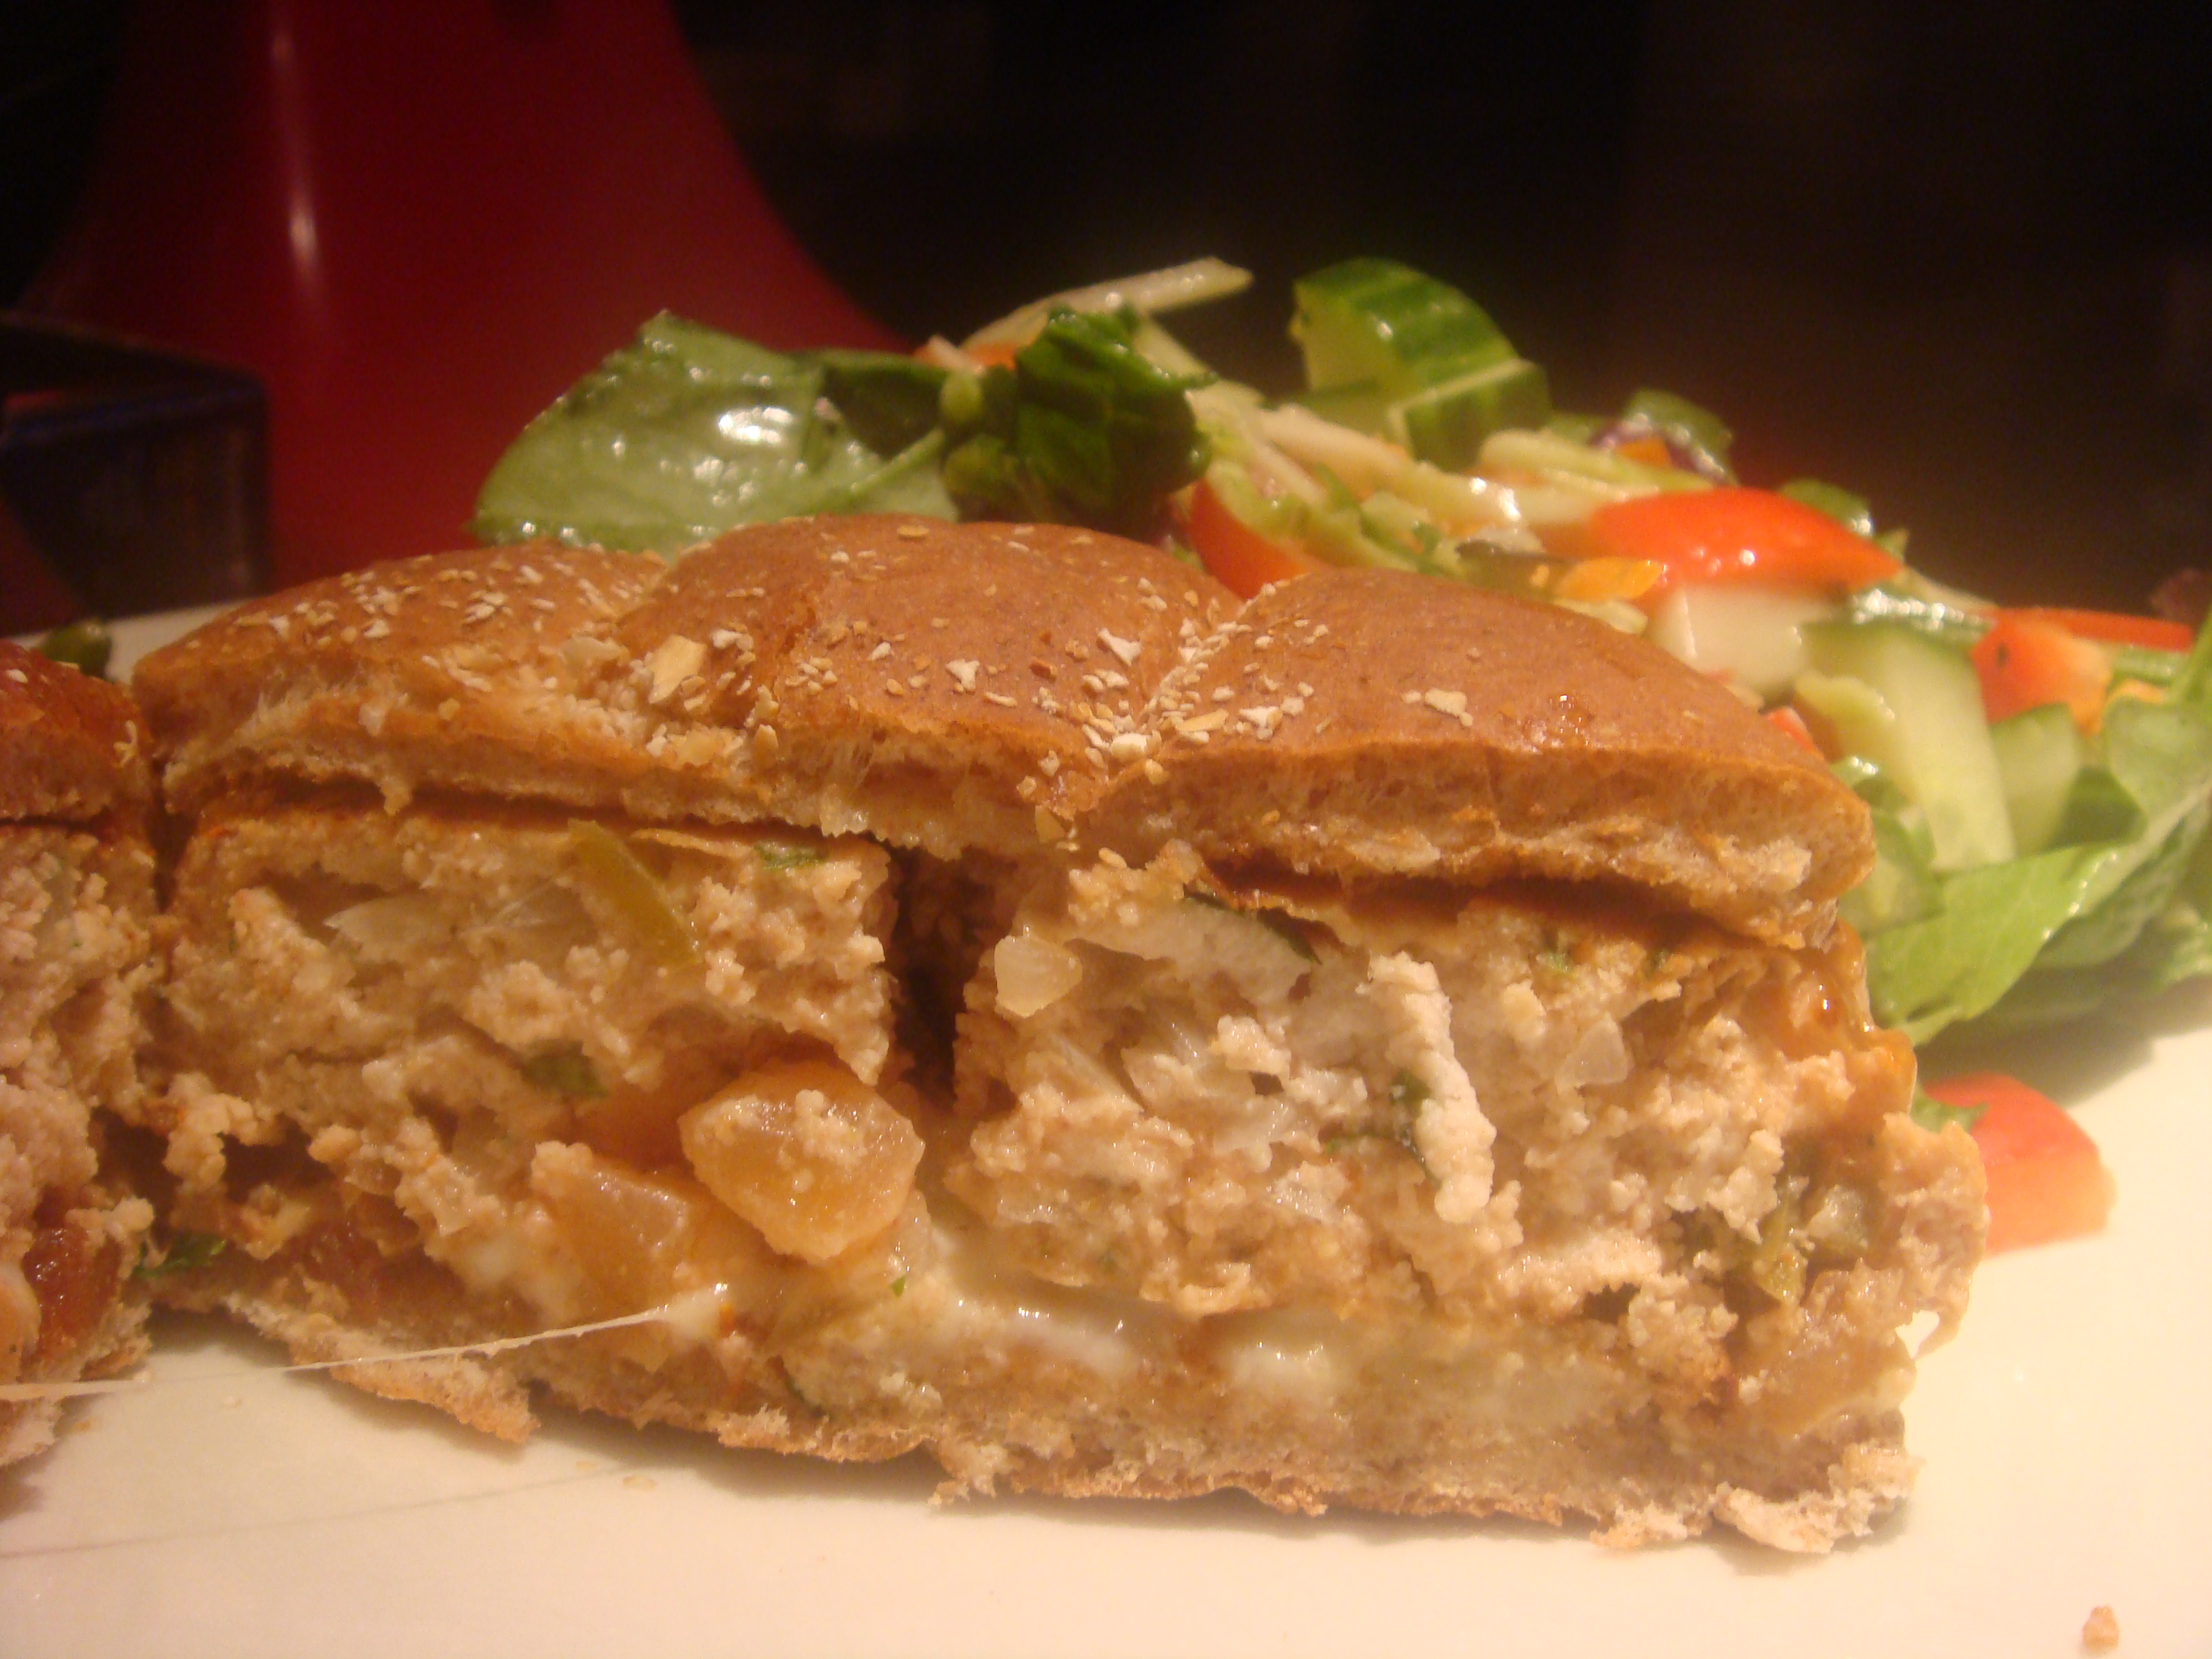
I served the turkey burgers with muenster cheese on multi-grain sandwich rolls (toasted) with a simple side salad of mixed greens, broccoli slaw, cucumbers, bell peppers, and tomatoes with a lime vinaigrette. It was a delicious, healthy meal that took about 15 minutes start to finish. Next time you’re in a time crunch, you should definitely make this!