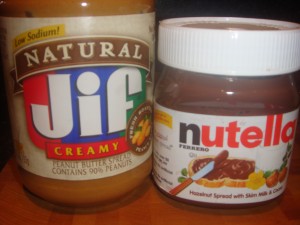
 Peanut Butter and Nutella is one of those classic combinations that you’d be crazy not to like. The sweet, nuttiness of the Nutella combined with the richness of peanut butter– it’s just heaven. In fact, one of my favorite indulgences is to put this combo on a spoon and eat it as a lollipop (you know you’ve done it too!). So tomorrow is a peanut butter cookie bake-off at my office so I decided that my submission would be a cookie that highlights this classic combo.
After searching the internet for inspiration, I found this recipe on a blog called Delightful Bitefuls and the cookies looked delicious, so I decided to try them. The ingredient list is pretty straightforward, and aside from peanut butter and Nutella, the rest of the ingredients are ones you probably already have in the house:
- 1 stick butter at room temperature (leave it out for about 30 minutes to get the right consistency)
- 3/4 cup smooth peanut butter
- 1/2 cup white sugar
- 1/2 cup light brown sugar, packed
- 1 egg
- 1/2 tsp vanilla extract
- 3/4 tsp baking soda
- 1/4 tsp salt
- 1 3/4 cup flour
- 1/4 cup Nutella (or more if you <3 Nutella)
This recipe starts the way most cookie recipes do, by
mixing butters and sugars until well blended. Assuming your butter is at room temperature, this should happen pretty quickly. You don’t need to mix them too much, but you want them to be well blended.
Add the egg and the vanilla and mix again until blended.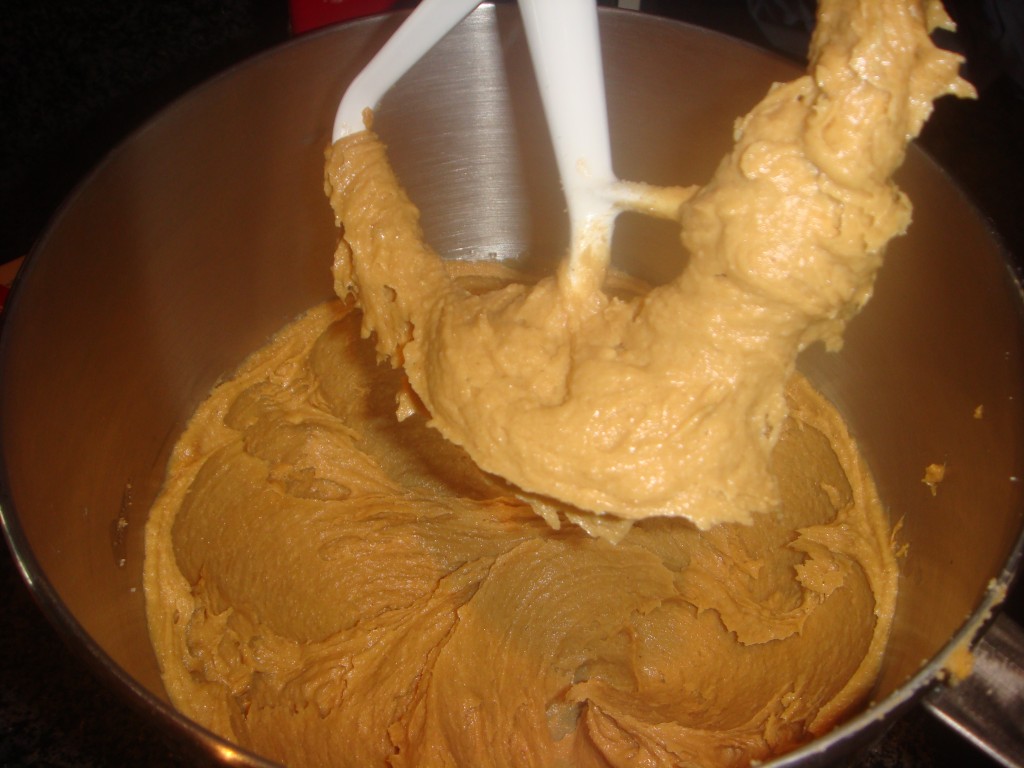
Next you want to
add the baking soda, salt, and flour and mix until combined. If you have a Kitchen Aid this whole process should take about 5 minutes total. A little trick of the Kitchen Aid trade: turn the mixer on and off a few times after you’ve added all the flour so that it doesn’t end up all over your kitchen. Just 3 or 4 quick “pulses” will help get the flour slightly incorporated so that you can leave it on low speed and still have the flour in your bowl. Once that is incorporated,
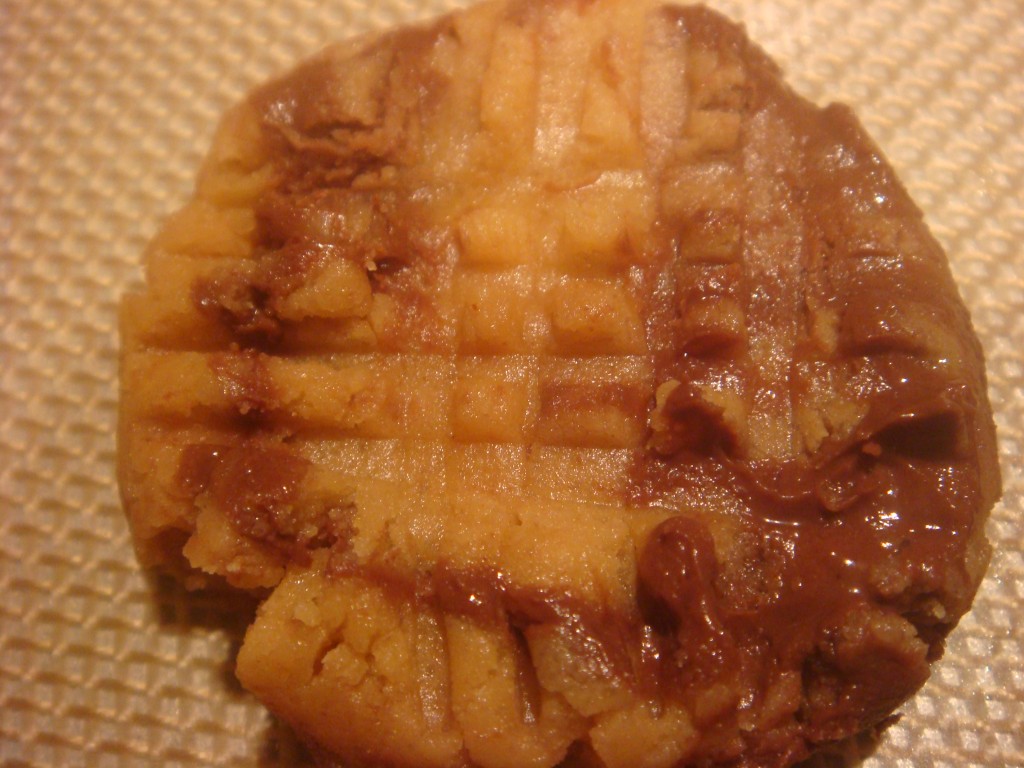
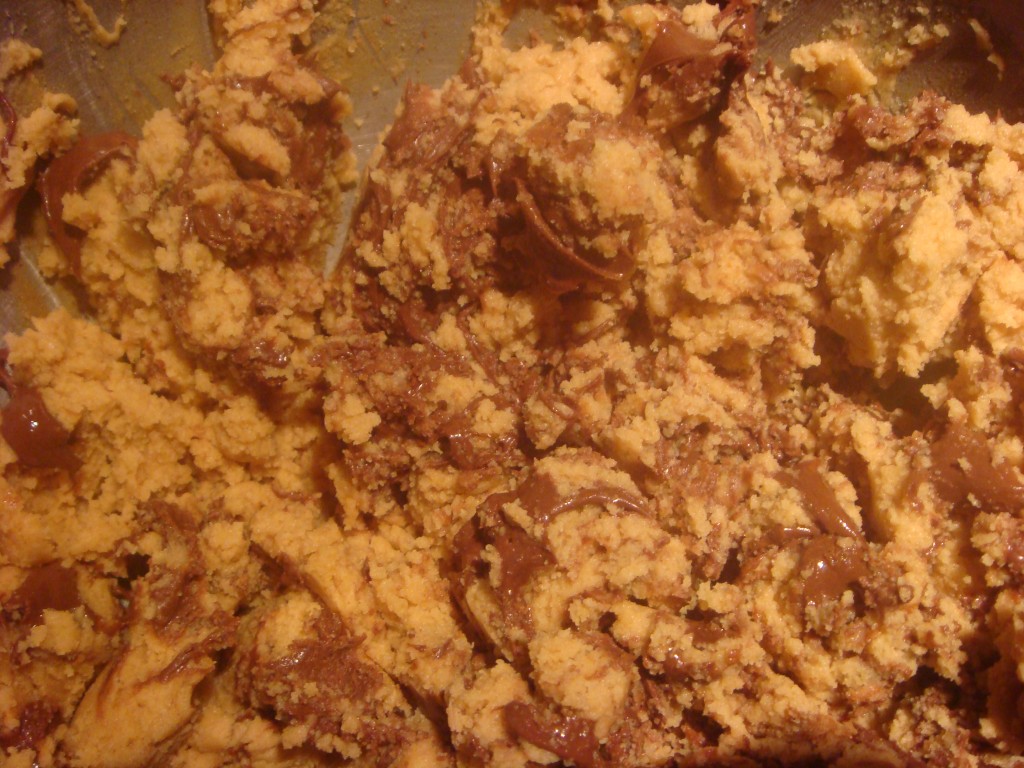
add the Nutella and use a butter knife to swirl it into the batter. If you love Nutella as much as I do, you’ll want to make sure that you get every last bit of the 1/4 cup into the bowl, so spray your measuring cup with Pam to help eliminate sticking. Also, if you love Nutella as much as I do, you’ll probably want to increase the amount you put into your cookie to
1/3 cup. The way my cookies ended up, some had great PB to Nutella ratio, others not so much…
Refrigerate the dough for at least 15 minutes while your oven preheats to 350. Now, the next step is a bit messy, but what helped me was to spray my hands with Pam to make the dough easier to handle. I use the Pam trick a lot when I need a little bit of something to go a long way– like spreading sushi rice onto nori, but that is a different post…
Roll tablespoonfuls of the dough into balls and place on parchment (or Silpat) lined baking sheets.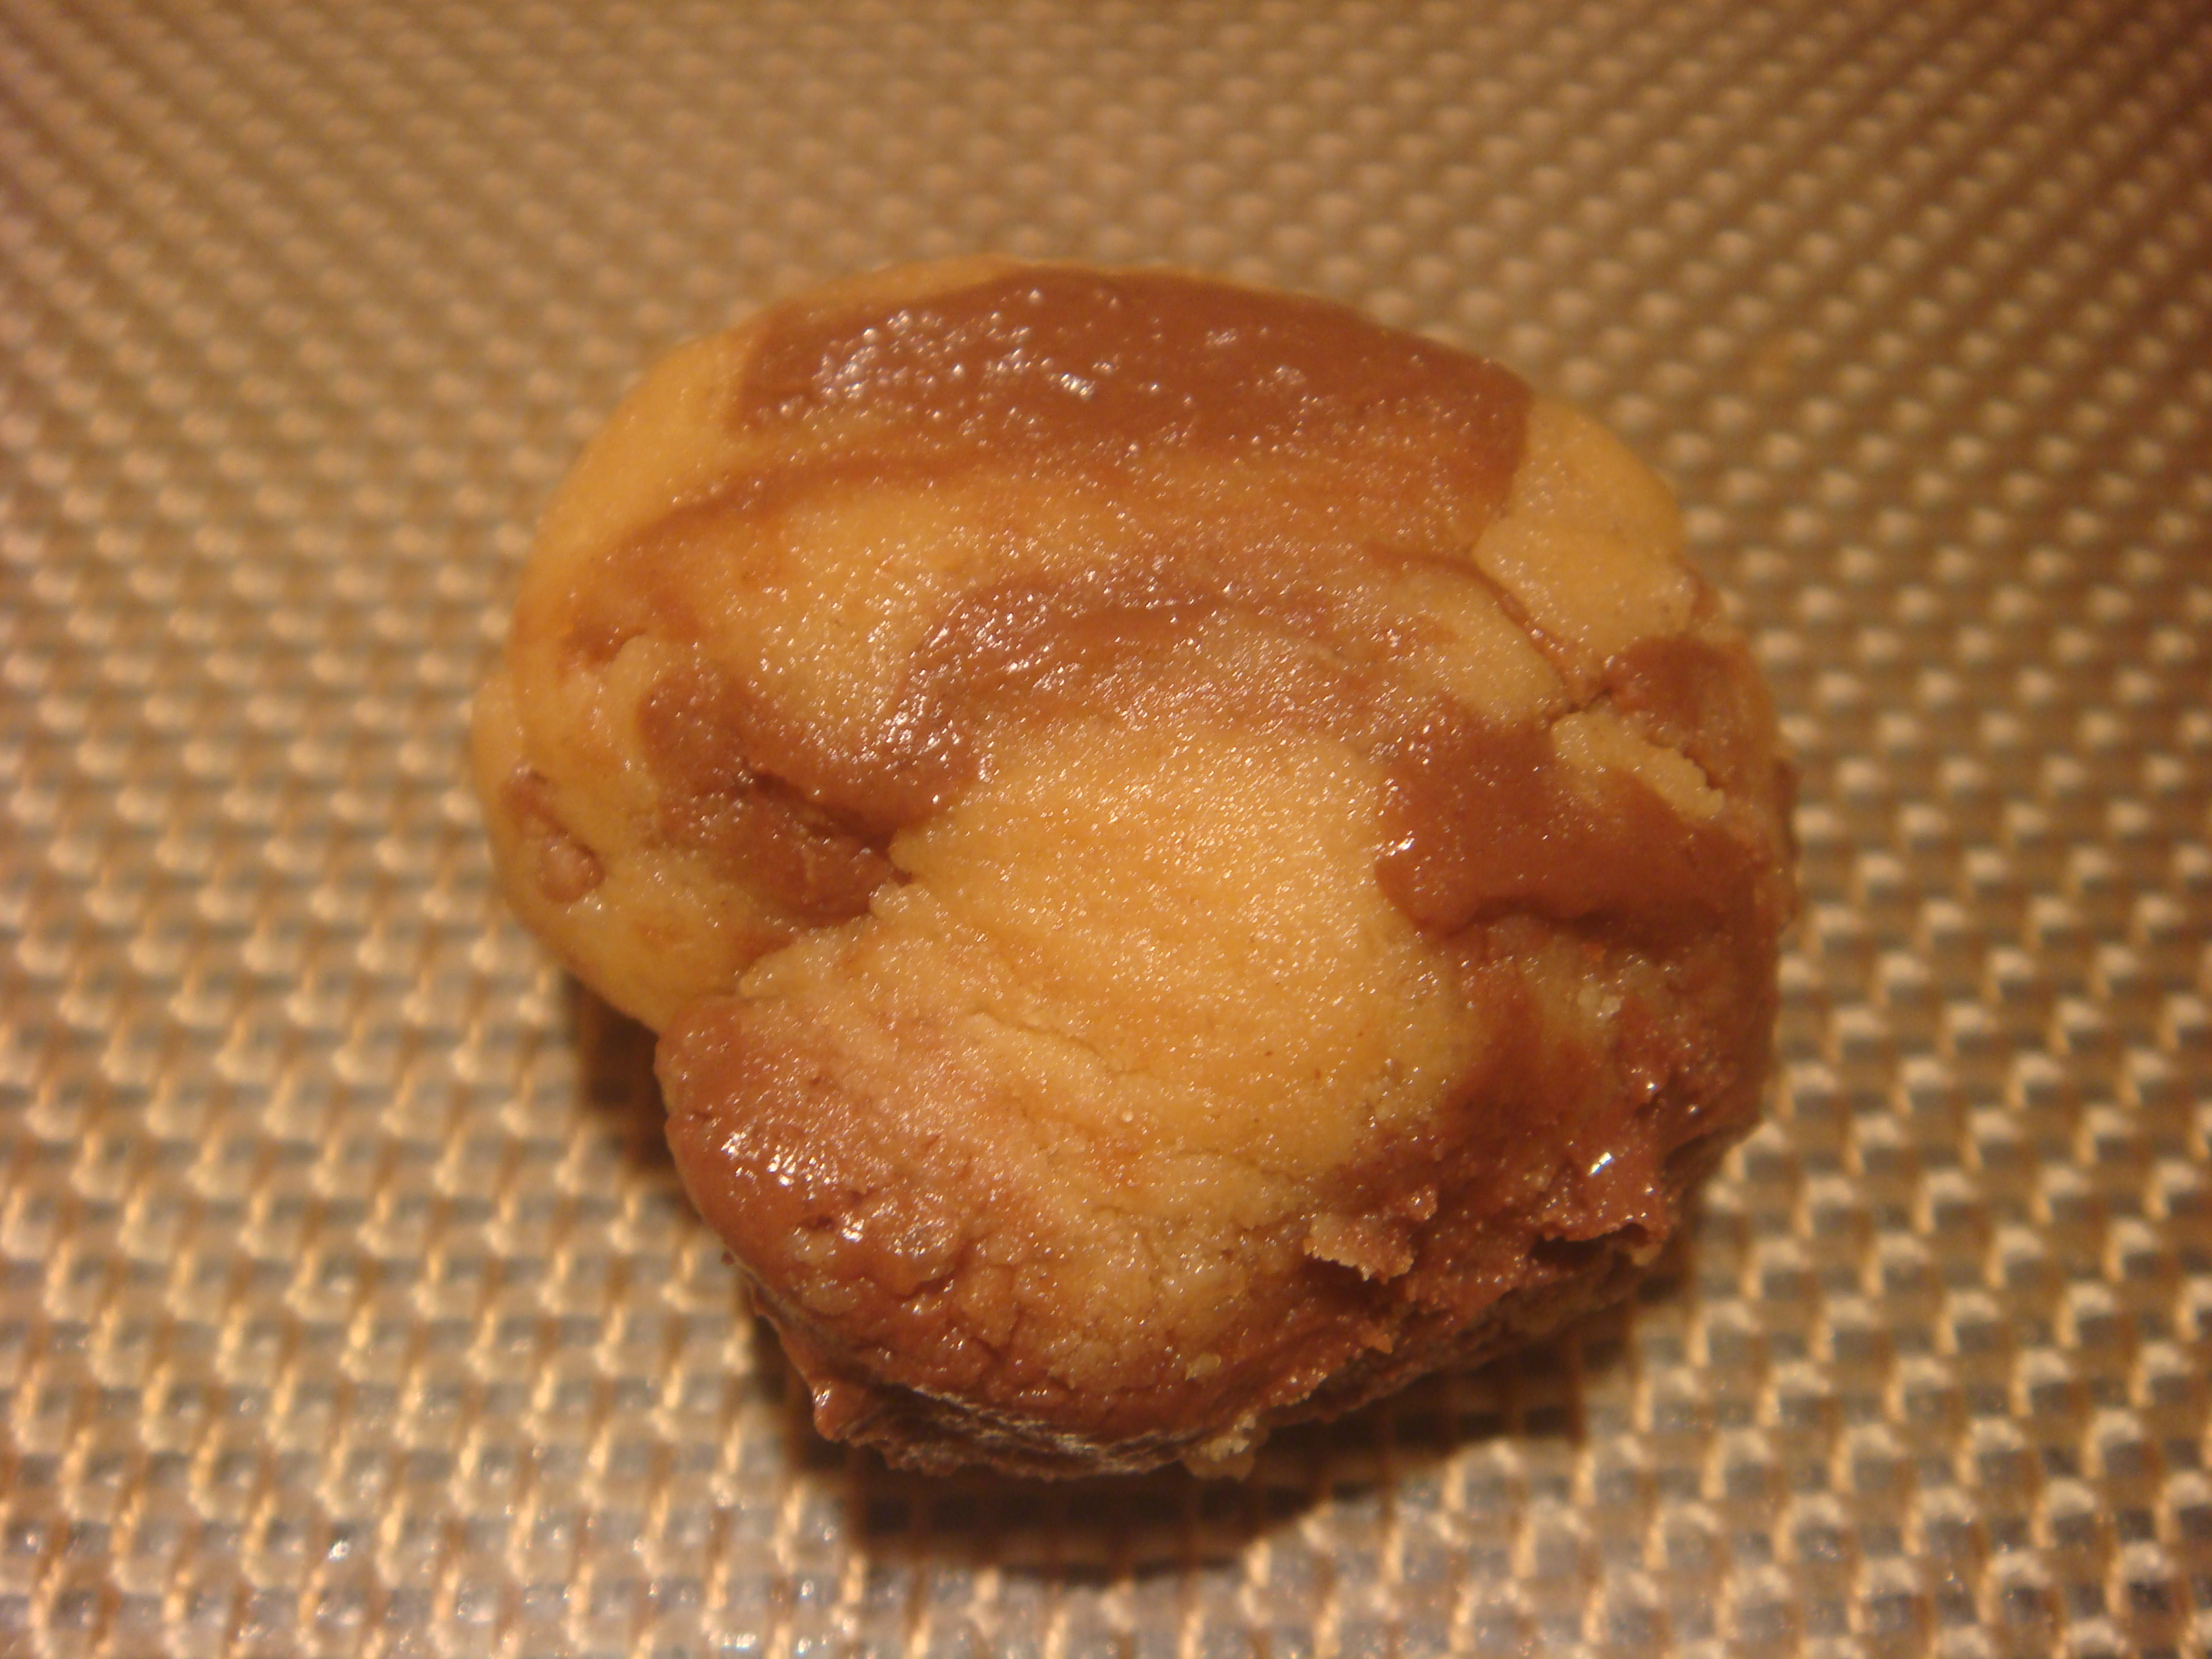
Using a fork (also sprayed with Pam) press down the cookies in the center creating a criss-cross pattern and flattening out the cookies.
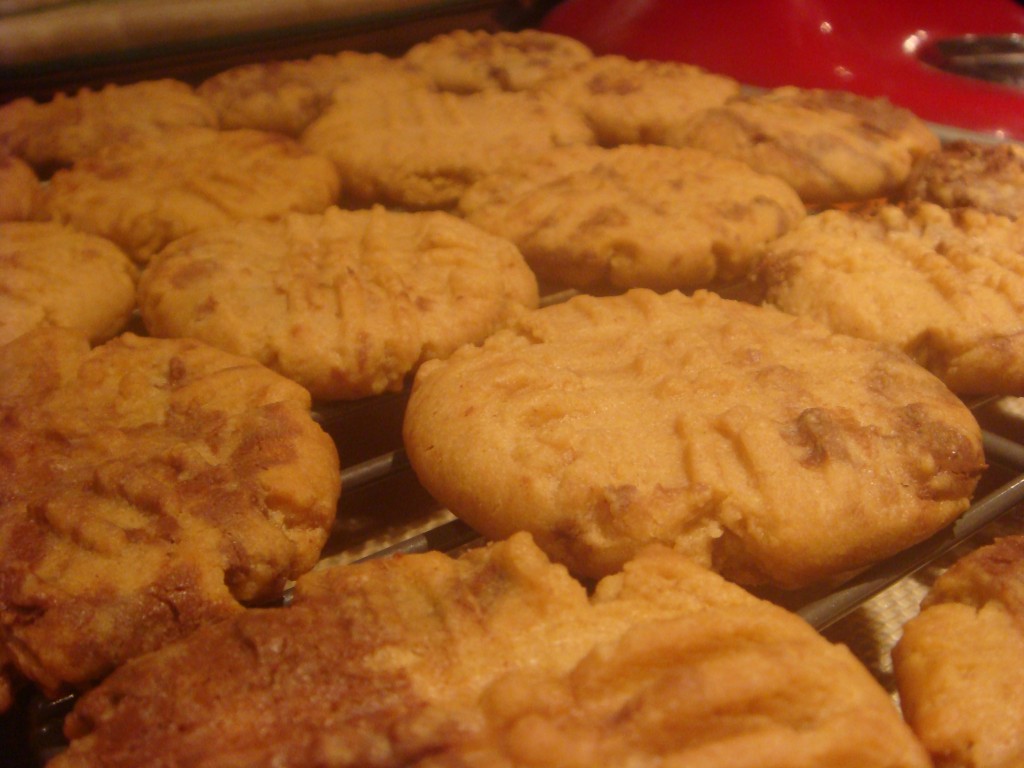
Bake for 10-12 minutes (rotating oven position half way through) until cookies are just golden brown and slightly firm. When you take them out of the oven they might seem under-baked but don’t be fooled by them! Just let them rest for a few minutes on the cookie sheet and they’ll become the perfect consistency. Move to a cooling rack (if you have the self-discipline). These are DELICIOUS when they’re hot with a nice glass of milk (or soy milk!).
Aside from the slight increase on the Nutella and couple of additional minutes of bake time (original recipe called for 7-10 minutes) I didn’t modify the recipe. These are an excellent indulgence and its hard to eat just 1, so I would recommend sharing them with friends or co-workers. The recipe made 3 dozen cookies. Fun cookies to make with kids and perfect for beginners! Even my mom, who burns break and bake cookies could handle these! What a great tribute to a classic combo 🙂
 Peanut Butter and Nutella is one of those classic combinations that you’d be crazy not to like. The sweet, nuttiness of the Nutella combined with the richness of peanut butter– it’s just heaven. In fact, one of my favorite indulgences is to put this combo on a spoon and eat it as a lollipop (you know you’ve done it too!). So tomorrow is a peanut butter cookie bake-off at my office so I decided that my submission would be a cookie that highlights this classic combo.


