ANZAC Biscuits (also amazing oatmeal cookies)

Food has an amazing ability to transport you back to a certain time, a specific memory. There are certain tastes you’ll always associate with mom’s kitchen, that perfect date night, or that amazing trip.

I spent my first semester of junior year abroad in Melbourne, Australia. Many of my memories have to do with friends, and just as many have to do with food (most of the time it’s the two combined). I remember family dinners prepared in the dorm kitchen, sticky date pudding from blue train cafe on the Yarra River, and ANZAC biscuits. ANZAC stands for Australia New Zealand Army Corps and I first learned about these cookies from my contemporary Australia course. They were created to be sent to soldiers fighting overseas during World War 1. They have no eggs in them so that they wouldn’t spoil. They’re also one of my favorite cookie– a delicious blend of coconut and oatmeal and though traditionally they’re a hard cookie, I’ve always made them soft and gooey because who doesn’t love a soft cookie?

Though the ingredients are few and simple, they can be tricky to find in the US so I’ve had to substitute… that is until one day about a month ago I went into a fancy food shop in Hoboken and found golden syrup and unsweetened desiccated coconut (finely shredded). Right then I knew I was making ANZAC biscuits.

Ok so here’s what you’ll need (easier to find substitutions in parenthesis as usual)

  • 1 cup rolled oats
  • 1 cup flour
  • 1 cup unsweetened desiccated coconut (shredded coconut is fine, unsweetened shredded coconut is better)
  • 1 cup granulated sugar (if you have sweetened coconut, cut this back to 1/2 cup)
  • 1 stick of butter
  • 1 Tbsp golden syrup (or honey)
  • 4 Tbsp boiling water
  • 1 tsp baking soda

The prep is quick and simple as well! Melt butter and golden syrup in a small pot over medium heat. Don’t melt it in the microwave… you’ll see why later. sort me! 017
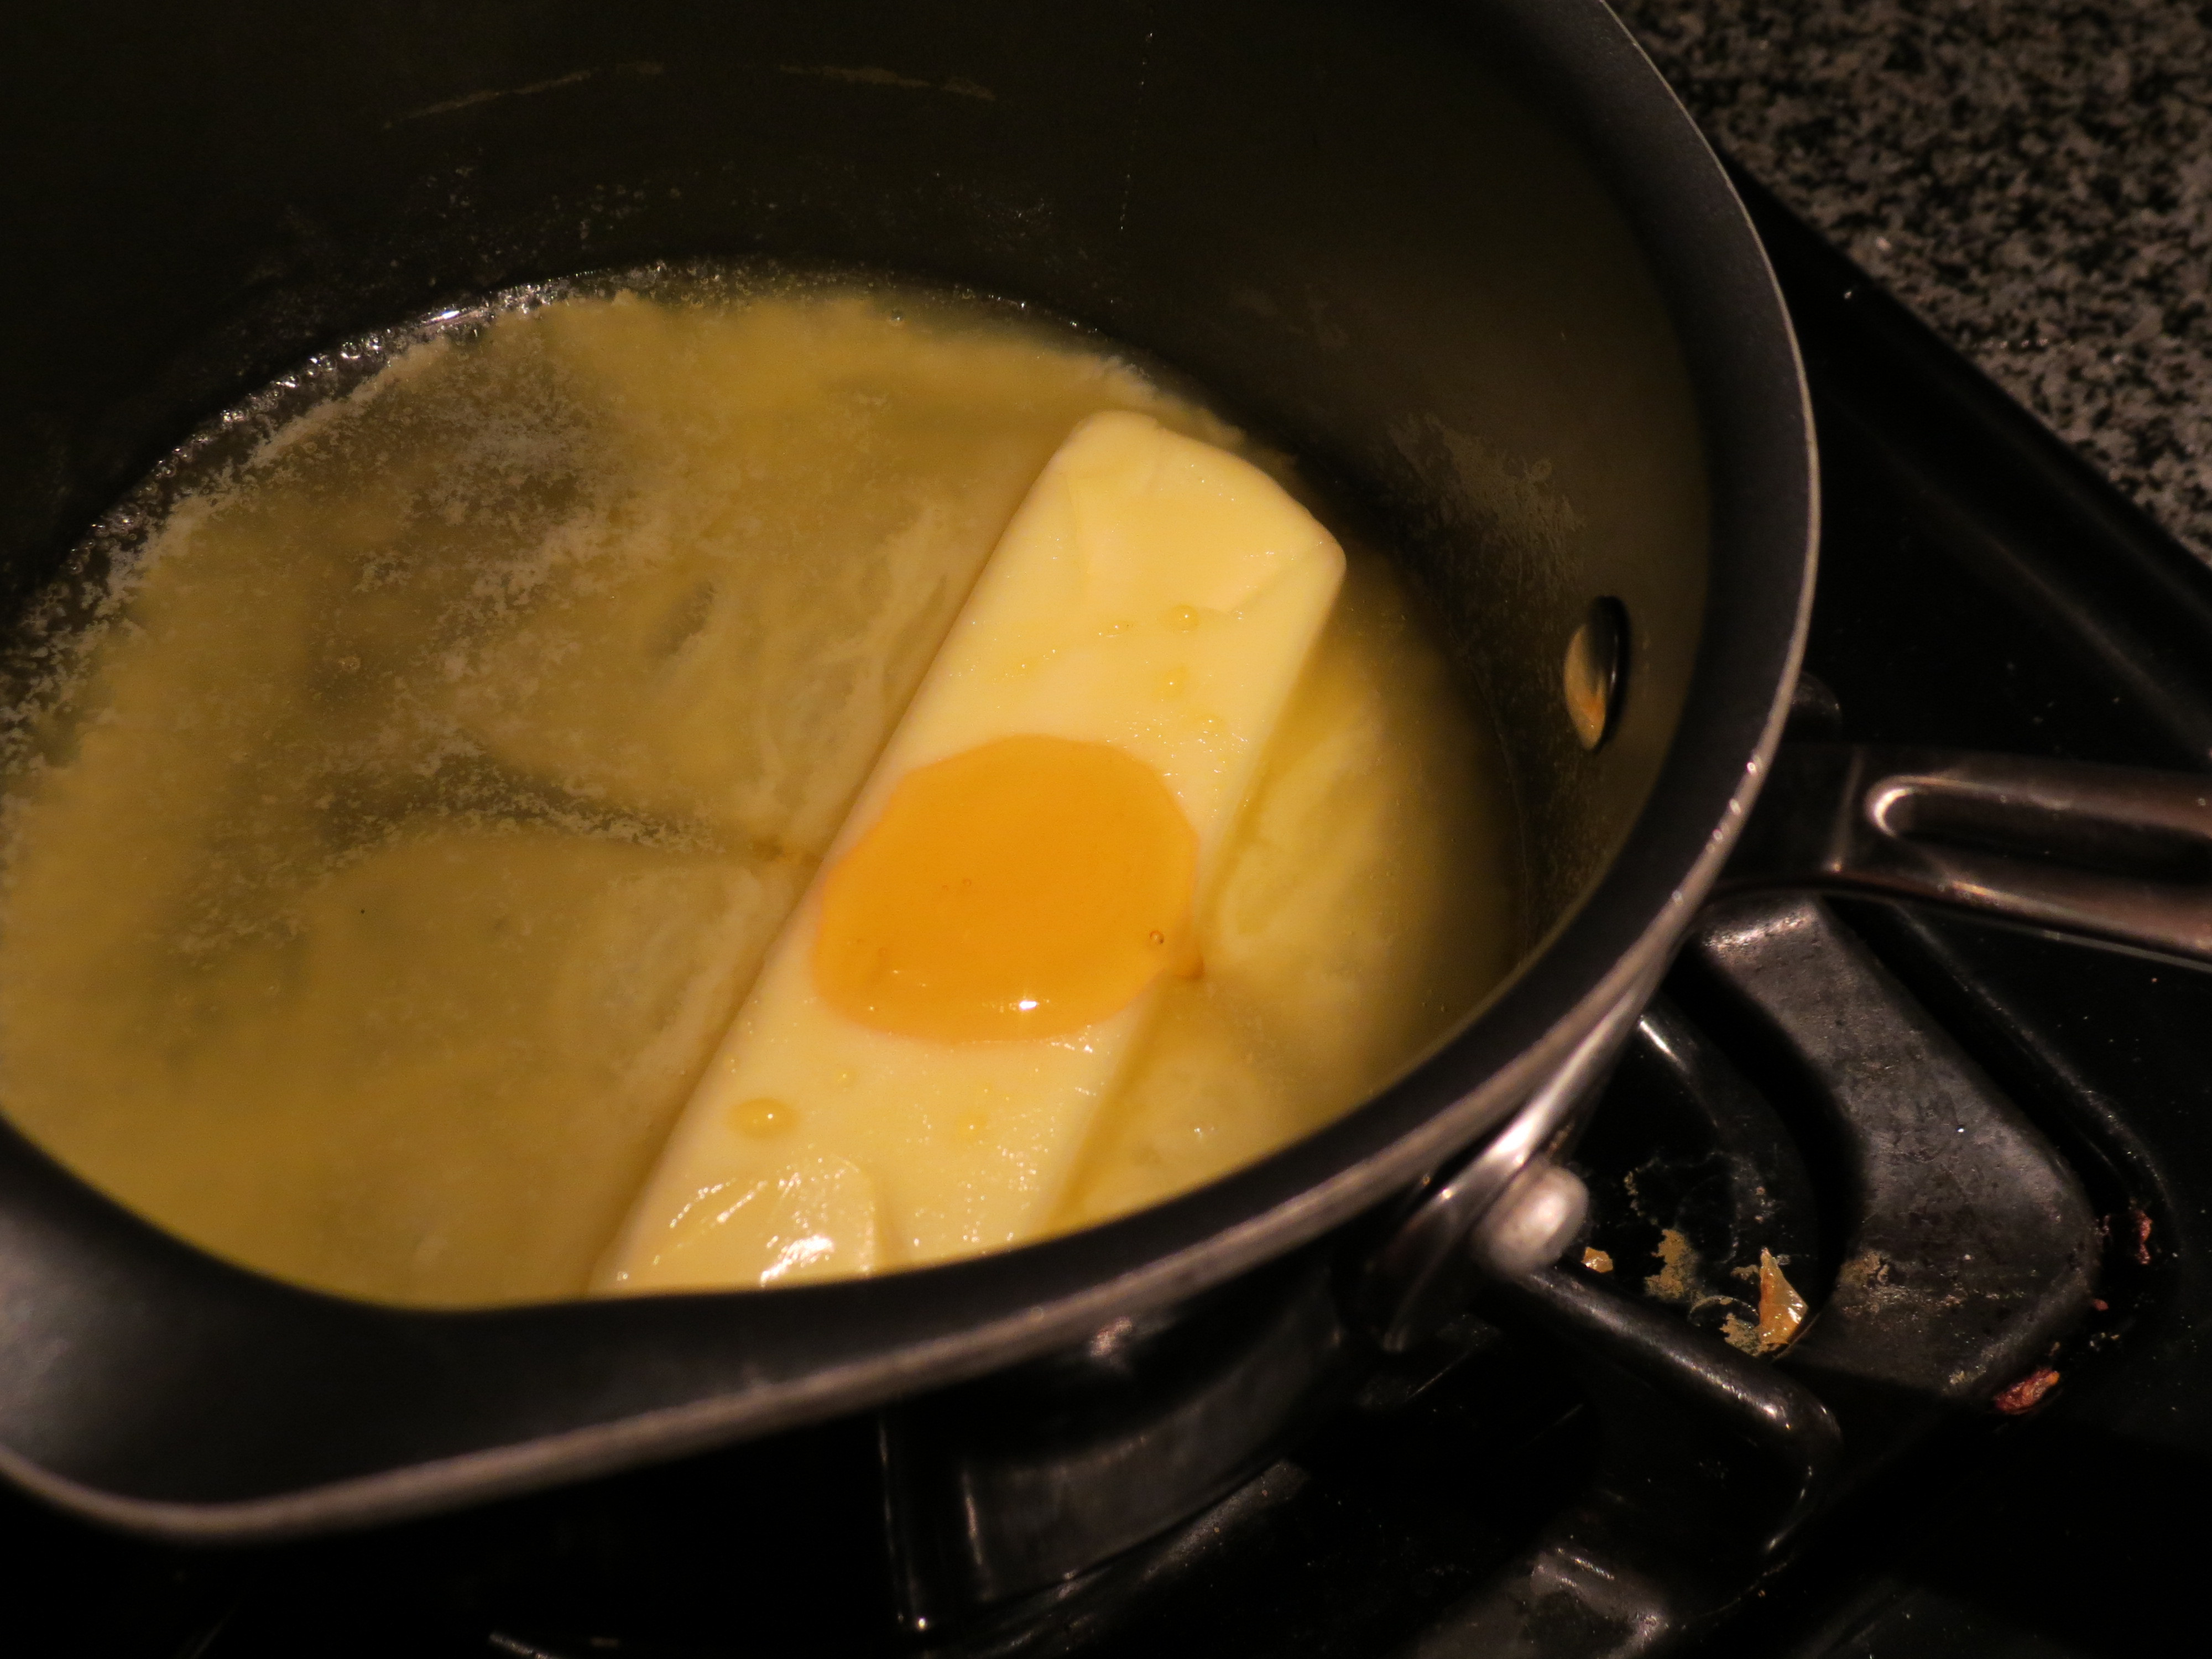
In a mixing bowl, combine oats, flour, sugar, and coconut. sort me! 018
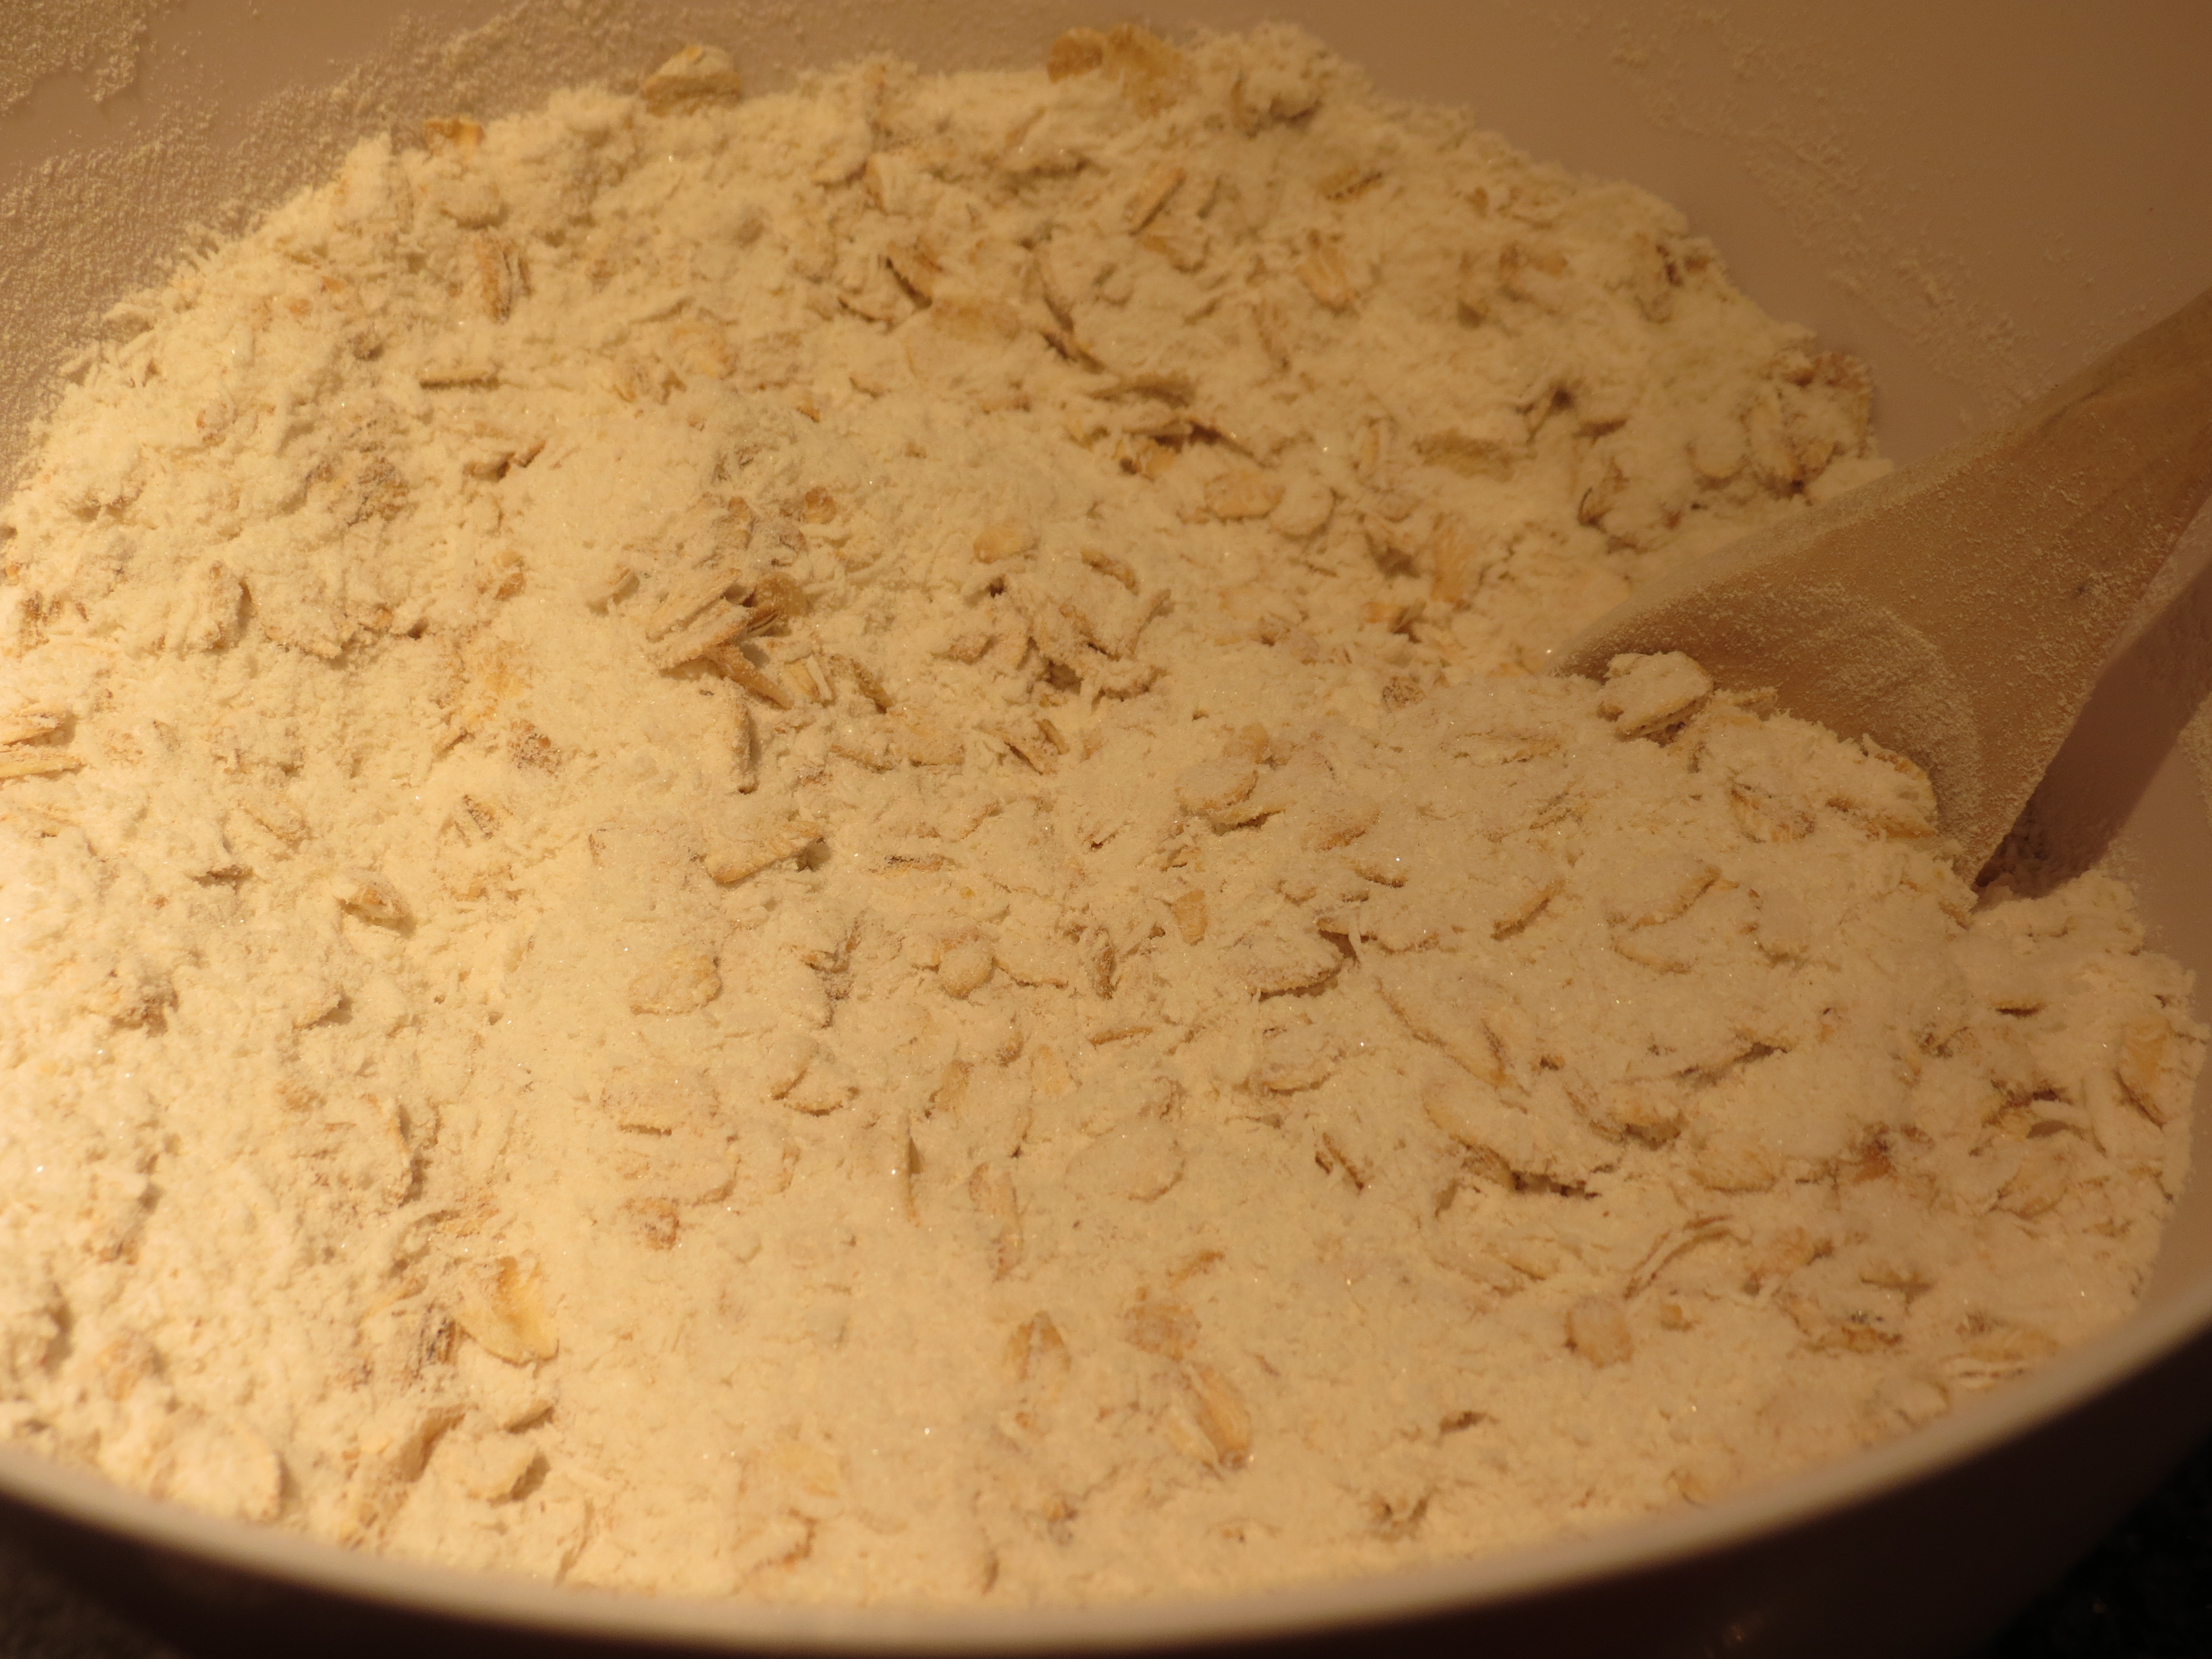
Dissolve baking soda in boiling water and pour into melted butter mixture. This is why you shouldn’t use the microwave… because awesomeness ensues! sort me! 019
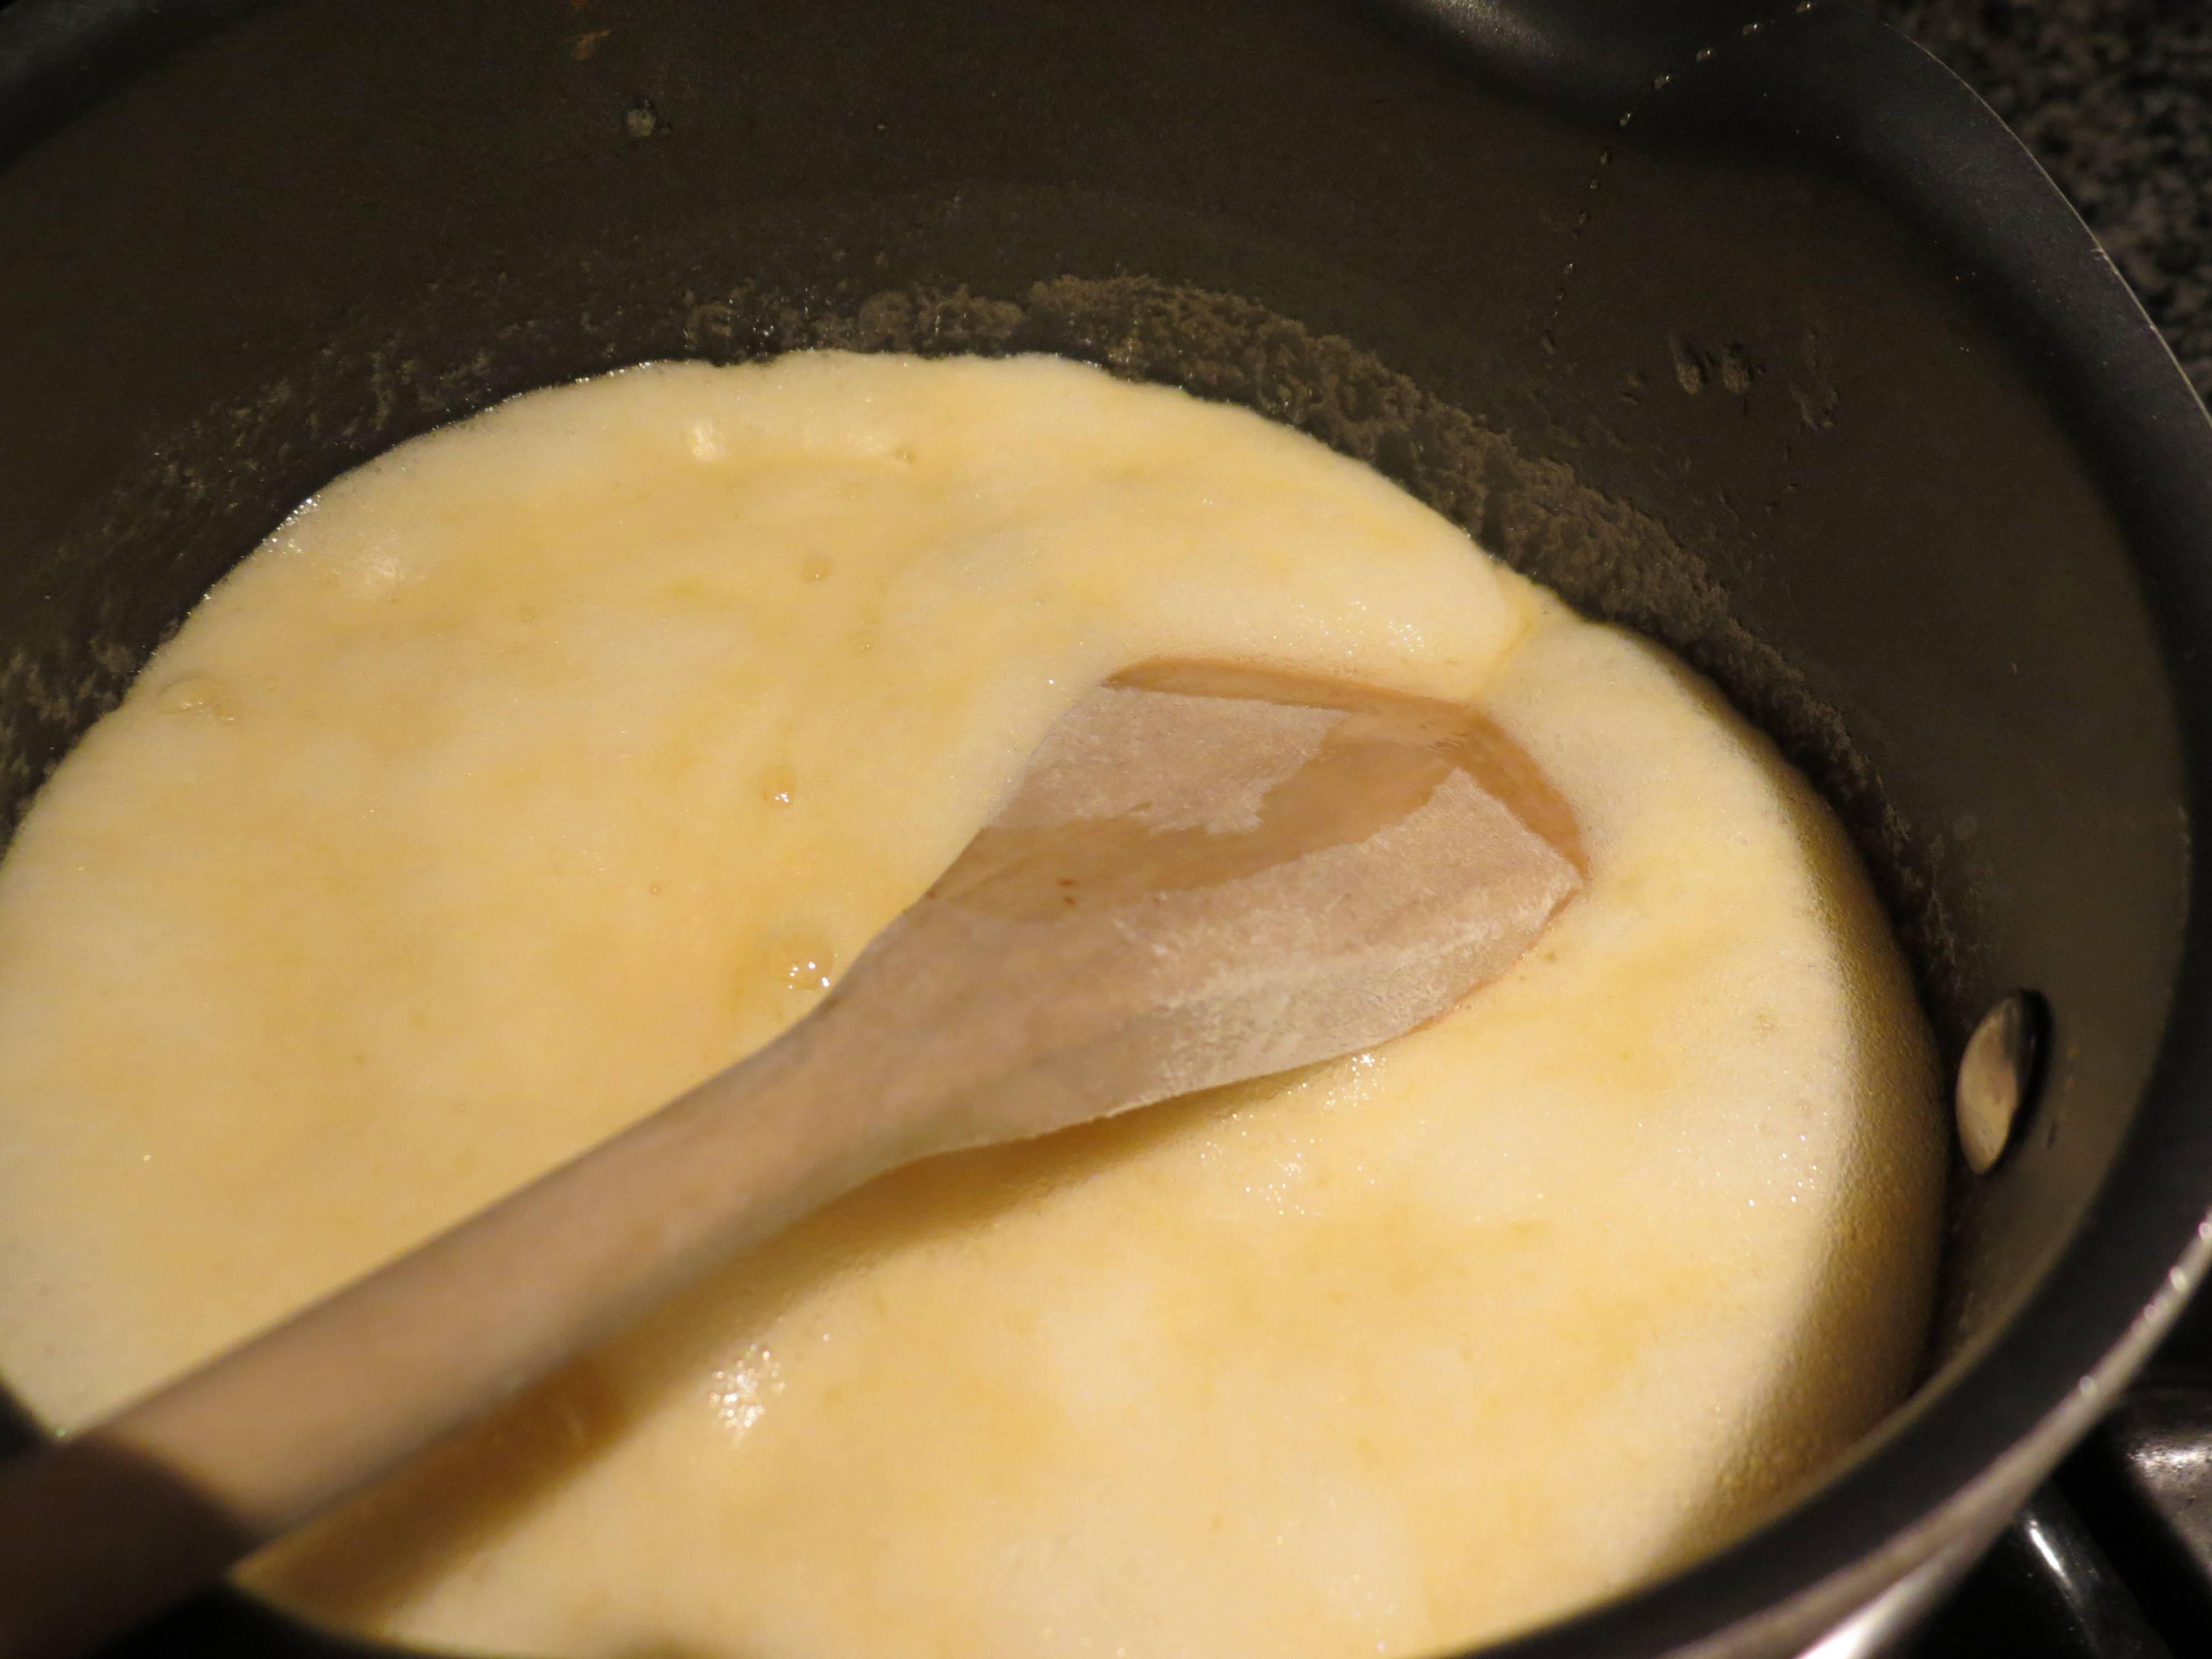
Add the butter mixture to the dry ingredients and mix. sort me! 020
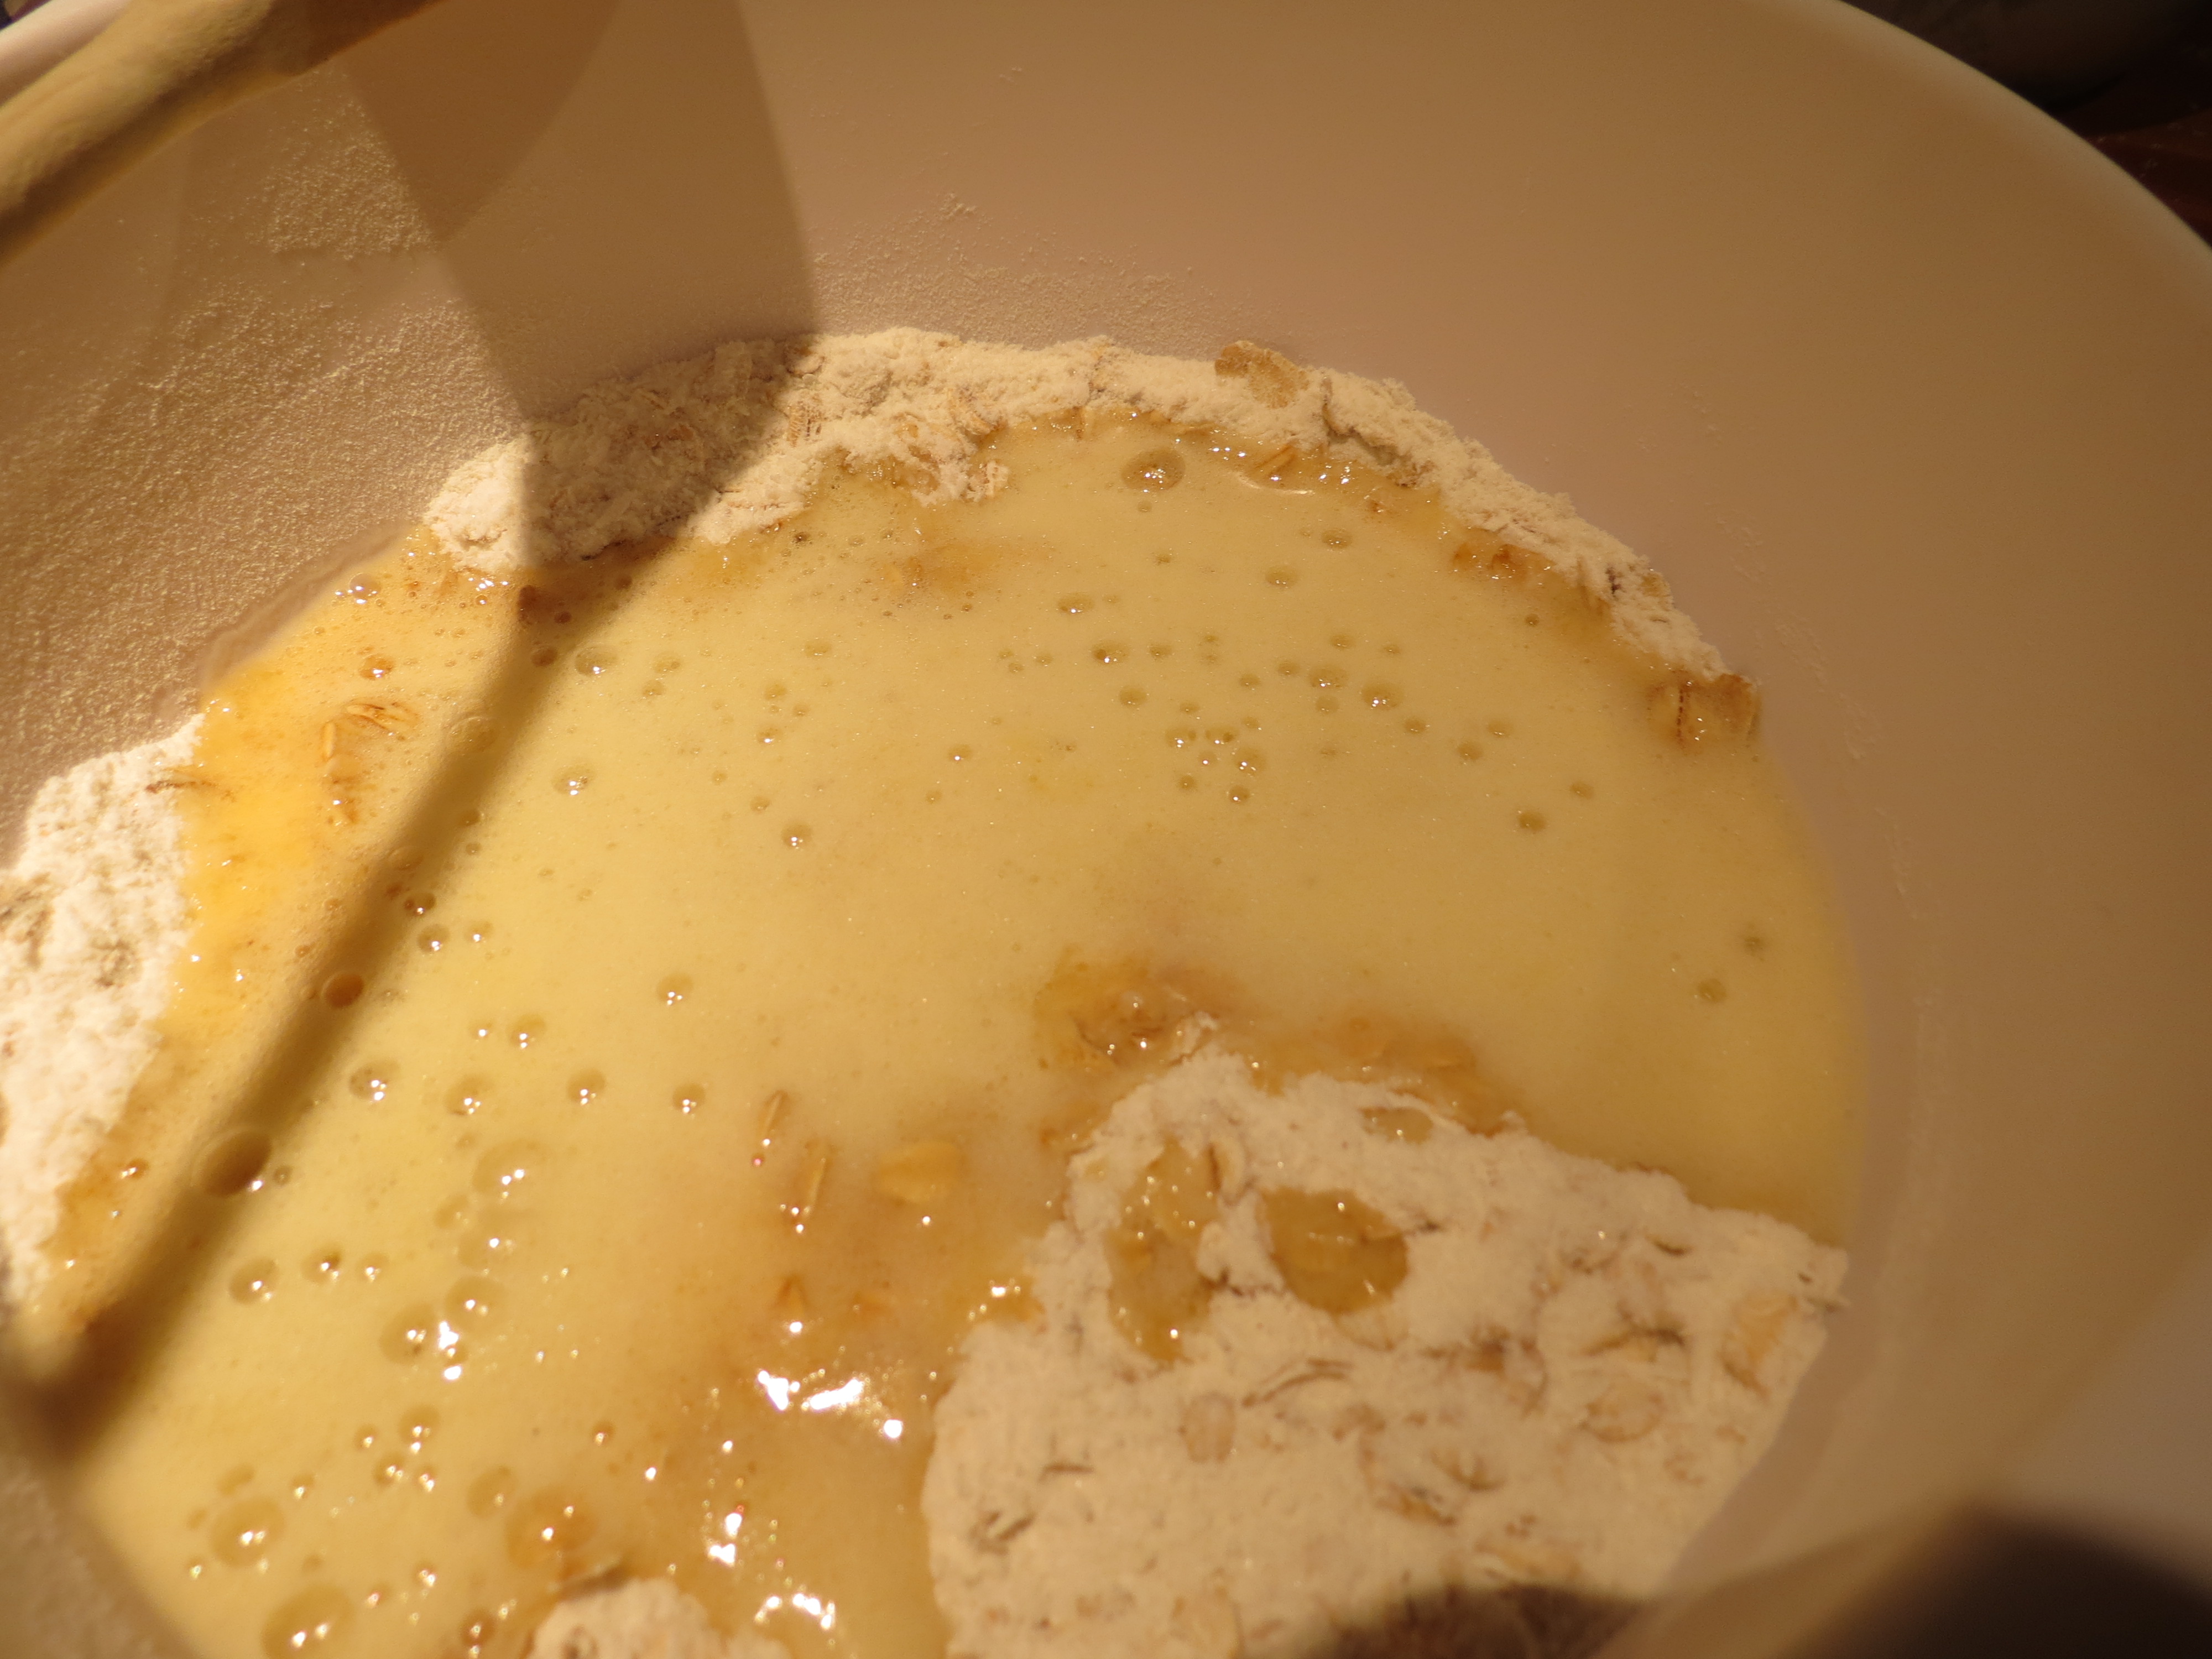
The mix will likely be a bit dry, but 4 Tbsp of water should get you the right consistency (you can add a bit more if you want). sort me! 021Picking up a small amount of dough, roll it into a ball between your hands, this will help bind everything together and keep the cookie from crumbling.sort me! 022 
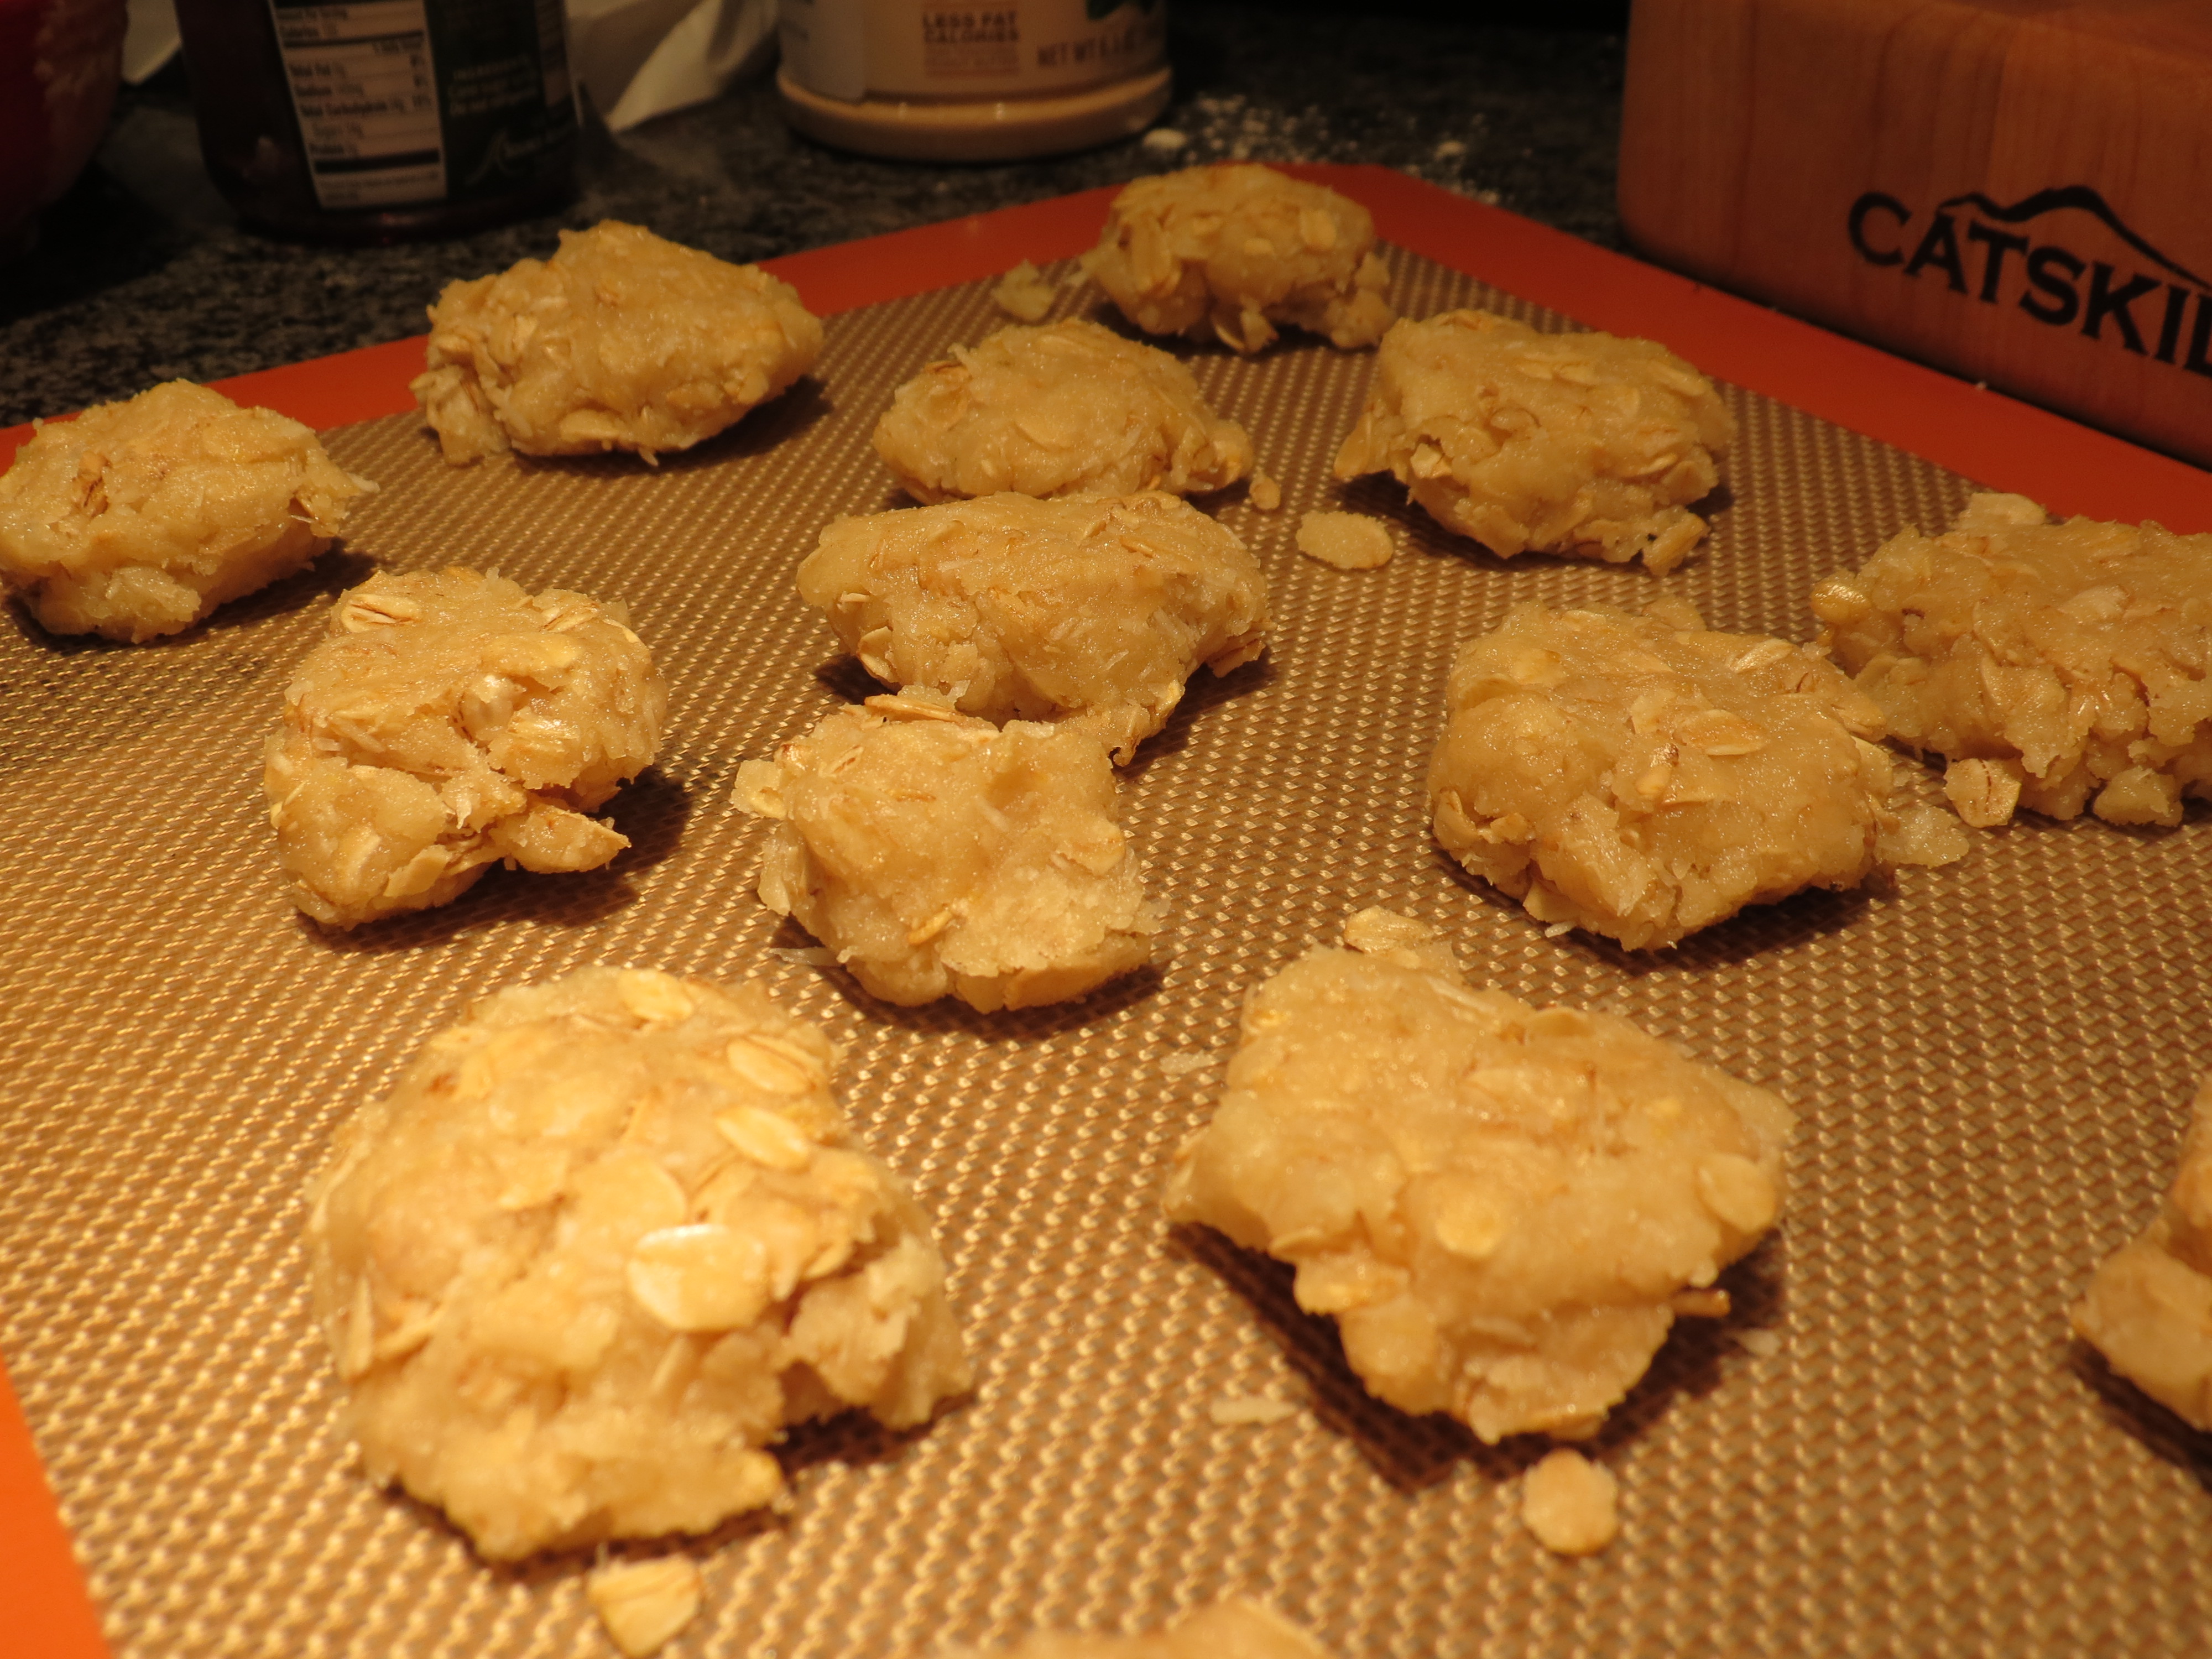
Place on lined baking sheet and bake at 350*F for about 12-15 minutes (I like to rotate the cookie sheet from the bottom to the top shelf halfway through). 12-15 minutes should let the cookies be crispy on the outside and deliciously soft in the middle. You can adjust the baking time to your taste. Let the cookies cool on the sheet or on a cooling rack and enjoy!Finished ANZAC biscuit

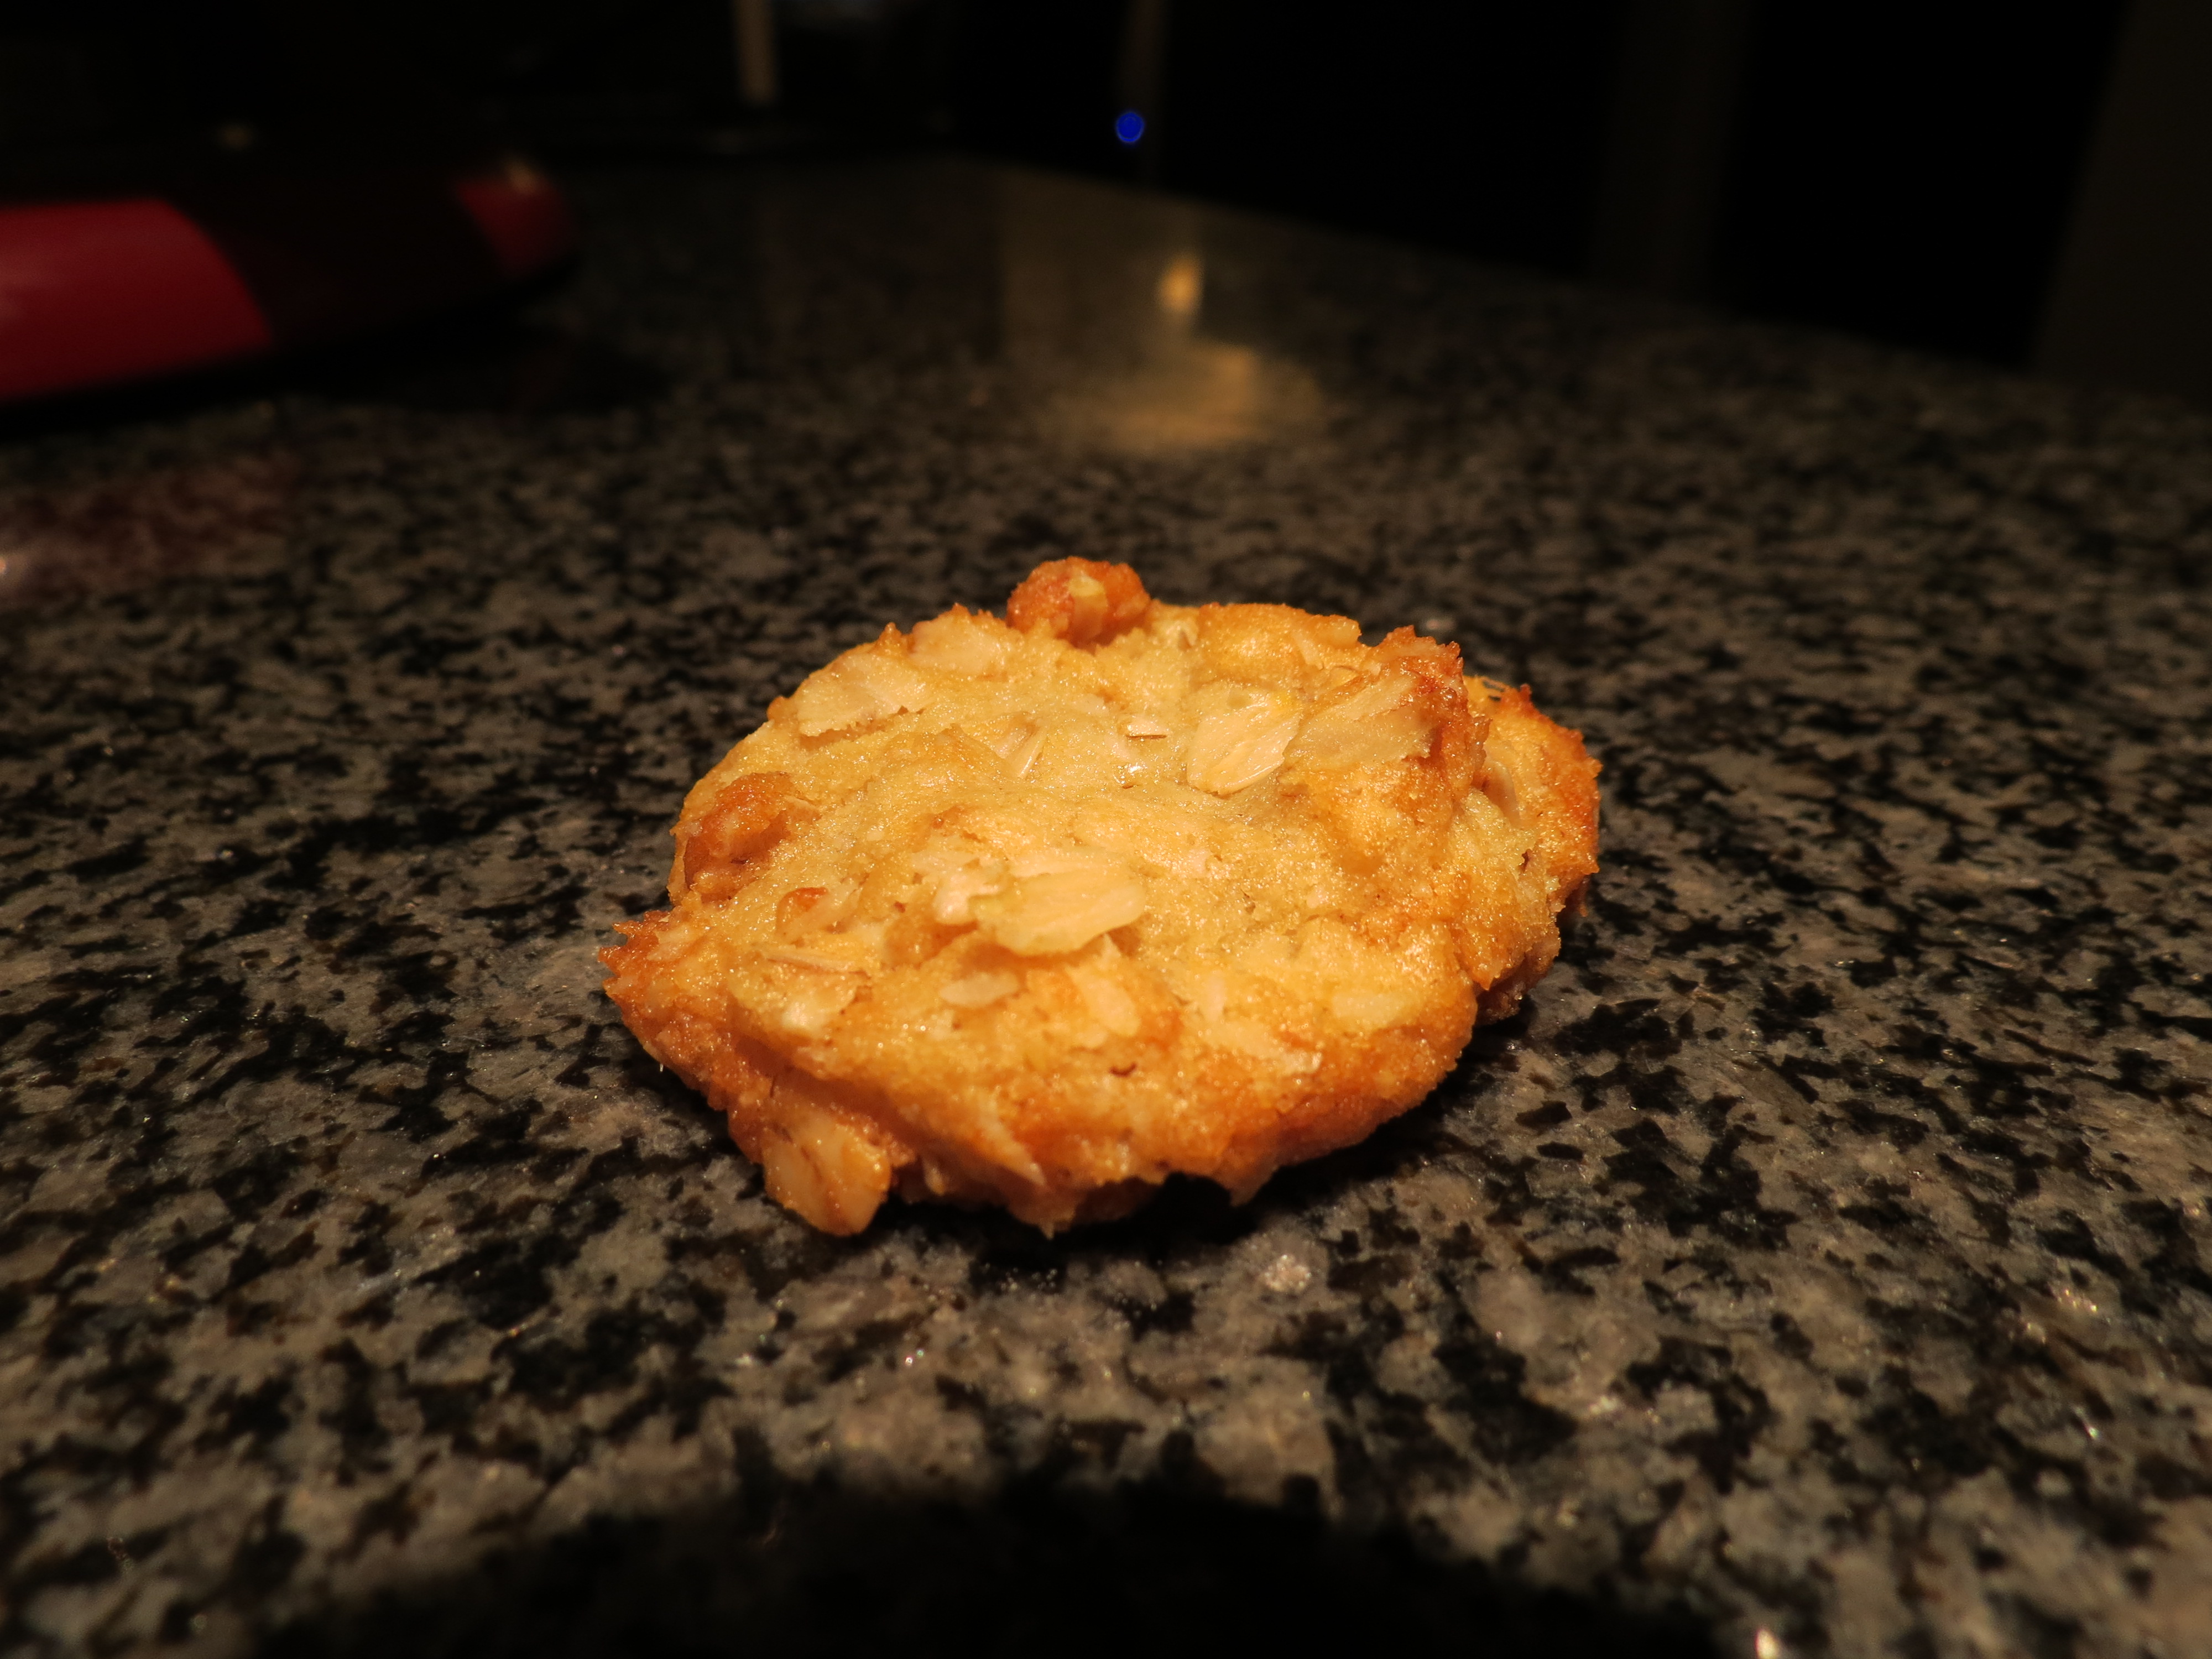
I made smallish cookies and ended up with about 3 dozen which happily fed 2 offices and let us have a few at home for about 1 day. These cookies were a huge hit and I’ve had the recipe requested twice so far. So here it is! A small taste of Australia in the form of a delicious cookie. They’re a fun spin on an oatmeal cookie and if you use unsweetened coconut it’s not overly coconut-ty (though I dont understand people who don’t like coconut). Let me know what you think!

Cinnamon Roll Cookies

Every year we attend a holiday cookie exchange party. In case you don’t know what that is, basically every one bakes A LOT of one type of cookie, brings them to the exchange and leaves with 6 of every type of cookie. It’s a fun tradition and for the last few years I had always made cookies that I knew. This year I decided to try a new cookie!

While using StumbleUpon to browse the web (a wonderful way to discover new content!) I came across these Cinnamon Roll Cookies. When Geoff saw them he demanded that we make them and I obliged.

Now, I feel that I have a reputation to maintain, so I don’t think I will repeat my experience of having the first time I make a cookie be when 15 people will be eating it that night… so let’s say these were not my prettiest cookies. But they were pretty tasty! And I think I figured out the tricks to making them better for when you make them!

The recipe itself was pretty simple, it was the technique of shaping the cookies that was where my weakness was yesterday. The first thing you want to do is make the dough. You will need:

  • 2 tsp vanilla (you’ll need more later)
  • 1 tsp active dry yeast
  • 2 1/2 sticks of butter (remember I was making 6 dozen cookies)
  • 1/2 c (4oz) softened cream cheese (I used reduced fat cream cheese)
  • 1 c granulated sugar
  • 1/2 tsp salt
  • 3 3/4 c all purpose flour

According to the initial recipe , the idea behind the yeast is that you add it to cold vanilla and it doesn’t activate, but gives the dough a hint of breadiness… I can’t say that I remembered there was yeast in the dough or that I noticed anything from it. What was more noticeable and wonderful was the addition of the cream cheese to the dough. It gave it this wonderful tang that just elevated this simple dough to a new level.

Start by combining the yeast and vanilla. The yeast won’t activate, so don’t worry. Next, add this mixture to a mixing bowl with the butter, sugar, and cream cheese and cream it all together. Now I want to pause here to talk about the term “cream” as it relates to butter. Something I learned pretty recently was that cream doesn’t just mean mix well. It’s actually a different state that the butter needs to get to. It’s really pretty amazing and for so many years I had not been mixing nearly long enough when recipes told me to cream butter and sugar together. If you already knew that, you’re awesome! And if not, hopefully this picture will help you understand the texture and look of “creamed” butter and sugar. 

Turn the mixer to low speed (stir on the Kitchen Aid stand mixer) and add the salt and the flour. It’s important to add the flour slowly so that you don’t lose half of it in the flour cloud (you know what I’m talking about!) Once the flour is all combined dump the dough out onto a few long pieces of saran wrap, pat it out into a disk, wrap it up and refrigerate for 30 minutes. 

At some point during those 30 minutes, you’ll need to mix the filling together. This is very simple. It’s 1/2 cup light brown sugar  and 1 1/2 Tbsp cinnamon

Now is where the tricky part comes in. Remove the dough from the fridge and divide it into 4 equal pieces. Leave one piece out and wrap and put the rest back in the fridge. Throughout my time with this cookie, I had some more and successful and some less successful rolling tactics. This is my most successful: Place a piece of saran wrap on the counter (maybe 2 pieces) and place the ball of dough in the center. Place another piece on top and roll the dough into a rectangle about 1/2 inch thick. The rectangle should be not super wide (maybe 5 inches wide). The original recipe called for a wider base, but I think that lead to very thin dough that had too many rolls in it and it was very fragile. This tactic should be better. Remove top layer of saran wrap. Sprinkle the cinnamon sugar mixture over the dough, leaving 1/2 inch on the left long edge free to be the seam. Using the bottom layer of saran wrap ,tightly roll the dough towards the bare edge.

Using a dough cutter or a very sharp knife divide the roll in half and you should be able to get 5-6 cookies from each half. They should be about 1/3 to 1/2 inch each. Arrange the rolls on a cookie sheet with the cinnamon sugar center facing up. They don’t expand so you can pack them pretty tightly. Bake at 375 for 11 minutes. It’s ok if they feel a little doughy once you take them out. They will set as they cool.

This next part is optional. I think the cookies are great as is, but the recipe calls for a glaze and Geoff’s theory is “there’s no such thing as a cookie that’s too sweet.” So for the first try of these cookies I made the glaze using 1 cup powdered sugar, 1 tsp vanilla and 3 Tbsp skim milk (though the recipe calls for whole milk, I didn”t think it was worth it to buy a container for 3 Tbsp). Mix this together and once the cookies have cooled completely, dip the face of each cookie in the glaze and let them set.

Overall, these cookies were a taste success, but looked a little off in my opinion. They had great texture though and take a lot shorter than making cinnamon buns… which is an adventure for another day. 

Happy start to the holiday season!


Ginger Pumpkin Muffins

So if you read the last post you probably know that I have an abundance of pumpkin in my fridge. I used half of it to create a spiced pumpkin and tahini soup, which was delicious fresh and and days after. Last night, I used most of the other half (apparently roasting 1 pumpkin makes A LOT of pumpkin puree) to make ginger pumpkin muffins. I adapted this recipe from a weight watchers one that called for butternut squash and though I have never tried the original, I really think pumpkin is the way to go on these– they don’t call it pumpkin pie spice because it should be used with butternut squash…

Now, before you think “oh no, healthy pumpkin muffins,” rest assured that I would never post a Mich Dish that wasn’t delicious. Also, I can honestly say that I have very rarely found a weight watchers recipe that wasn’t a crowd pleaser. So bottom line– you’re in good hands!

This recipe has a lot of ingredients, but overall it is pretty simple and straightforward.

First, whisk together the dry ingredients and set aside:

  • 1 1/2 cups flour
  • 2 tsp pumpkin pie spice (or a combination of nutmeg, allspice, and ginger)
  • 1 tsp ground ginger
  • 1 tsp baking soda
  • 1/4 tsp salt

Then, combine wet ingredients and mix for 2-3 minutes:
  • 1/2 cup packed brown sugar (I used light, because that’s what I had on hand, but the recipe asks for dark)
  • 1 cup pumpkin puree
  • 3 Tbsp canola oil
  • 1/3 cup fat free yogurt (I used Greek yogurt, but you can use any kind)
  • 3 Tbsp molasses
  • 1 egg

Make a well in the middle of the dry ingredients and pour the wet mixture into the center. Stir until just combined (meaning until you don’t see any more flour).
Depending on the size of your bowl, you may not be able to fit all the wet ingredients in one batch, so just pour half and then pour the rest in while stirring. If you are like me and you find that you have flour that hides on the bottom of the bowl and refuses to mix in no matter what, you might want to pour the mixture back into the wet ingredient bowl, putting the rogue flour at the top and making it easier to mix in. If you have no idea what I’m talking about… ignore that!
Grease or line a muffin pan and fill each cup 2/3 full.
Bake at 350 for 22 minutes or until a knife or toothpick comes out clean. As is, these muffins great for breakfast with a hot cup of tea. They’re nice and spiced without being overwhelming or overly sweet. If you are more of a dessert/sweets lover, you can easily put a cream cheese frosting on these and they’d be delicious too.  This recipe makes 12 muffins. I doubled the recipe since I was planning to bring them into the office (and because I wanted to use more pumpkin puree).
Post baking thoughts:
  • Though these muffins are called ginger pumpkin, the ginger flavor can easily be confused for pumpkin pie spice. I love ginger, so next time I make these, I will chop up about 1/2 cup crystallized ginger and mix it into the batter right before baking. I think that will help these muffins be more accurately named.
  • I was reading some other food blogs, and I saw someone who sprinkled cinnamon and sugar on top of the muffins before baking them to give a nice sweet crunch on top. I might try this next time as well.