Balsamic Chicken Bruschetta

michdish 065e


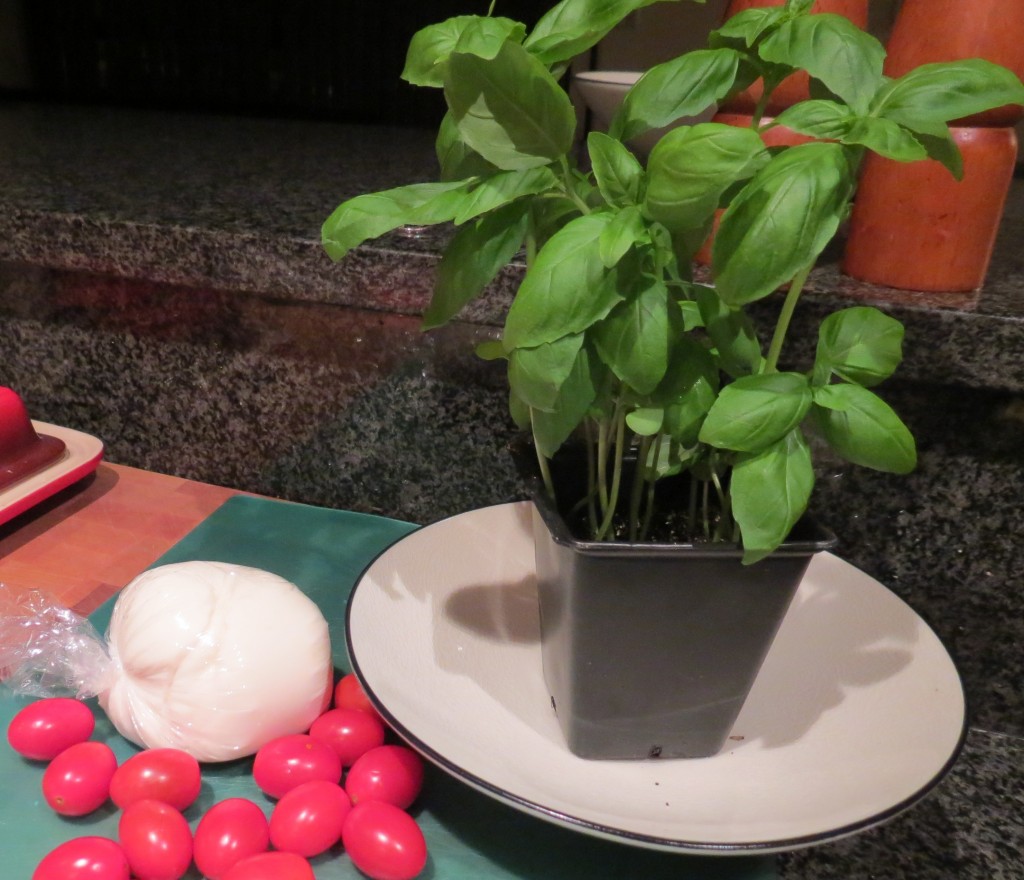
Fresh mozzarella. Tomato. Basil. Such a classic and delicious combination. Usually when I have these ingredients I’ll make a classic caprese salad with a nice balsamic dressing. But we had that for dinner last night, so tonight I needed to be a little creative while the mozzarella was still fresh.


So tonight, I decided to take the classic a step further and turn it into a main course by adding some balsamic chicken to the mix. This is a super easy and quick weeknight meal that only takes about 15 minutes start to finish.

Here’s what you’ll need:

  • 2 boneless skinless chicken breasts (I always have these in the freezer)
  • 1 Tbsp spicy mustard
  • 2 Tbsp balsamic vinegar
  • 1/2 Tbsp olive oil
  • 1/4 tsp garlic salt
  • 1/2 tsp bouquet garni (or other italian style herbs– rosemary, basil, oregano)
  • 1/2 lb fresh mozzarella
  • 1 cup quartered cherry tomatoes
  • 6 basil leaves, finely chopped

This served 2 people with extra bruschetta topping which I added to a salad. If you needed 4 servings, the only thing you’d need to increase was the number of chicken breasts.

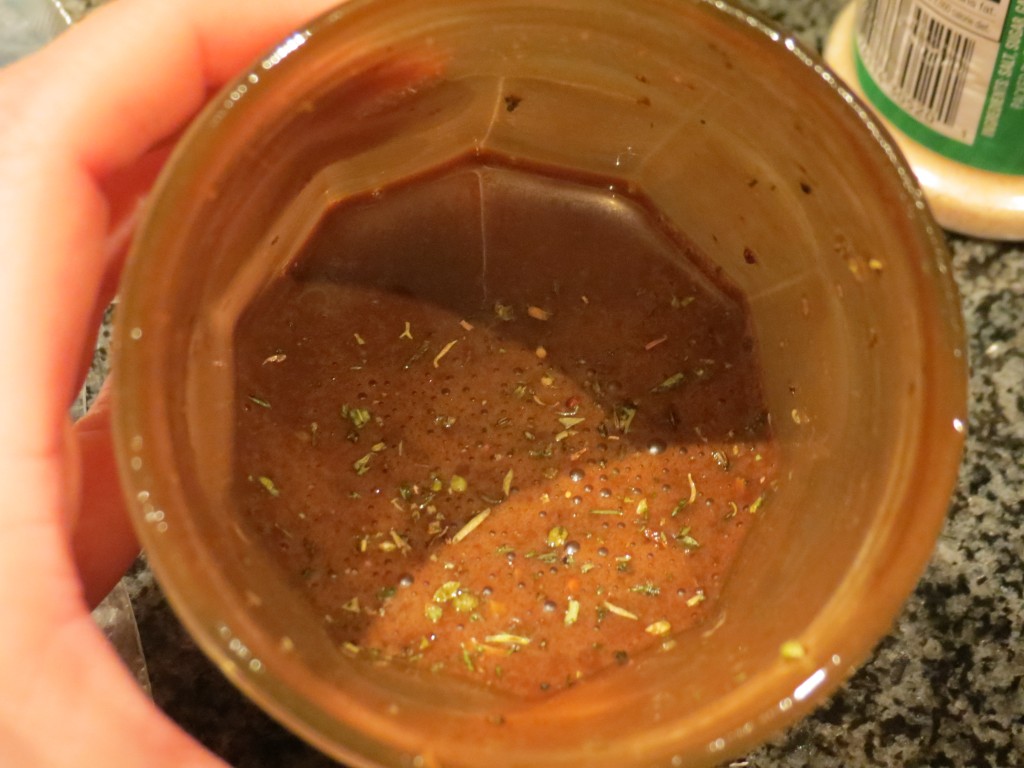
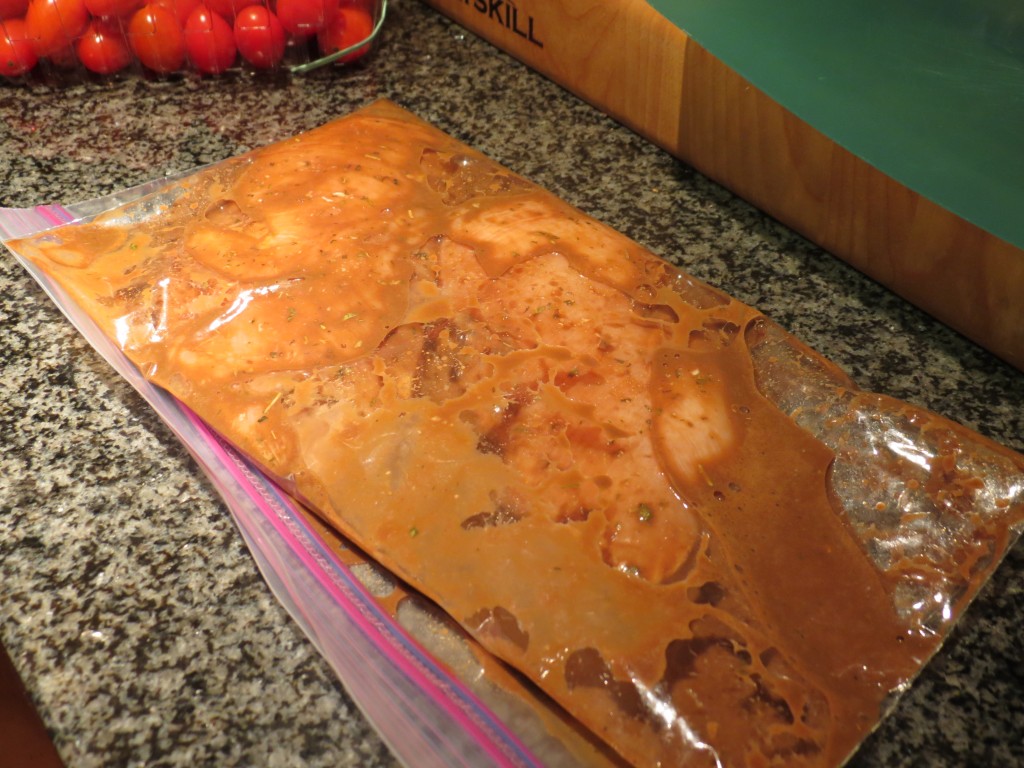
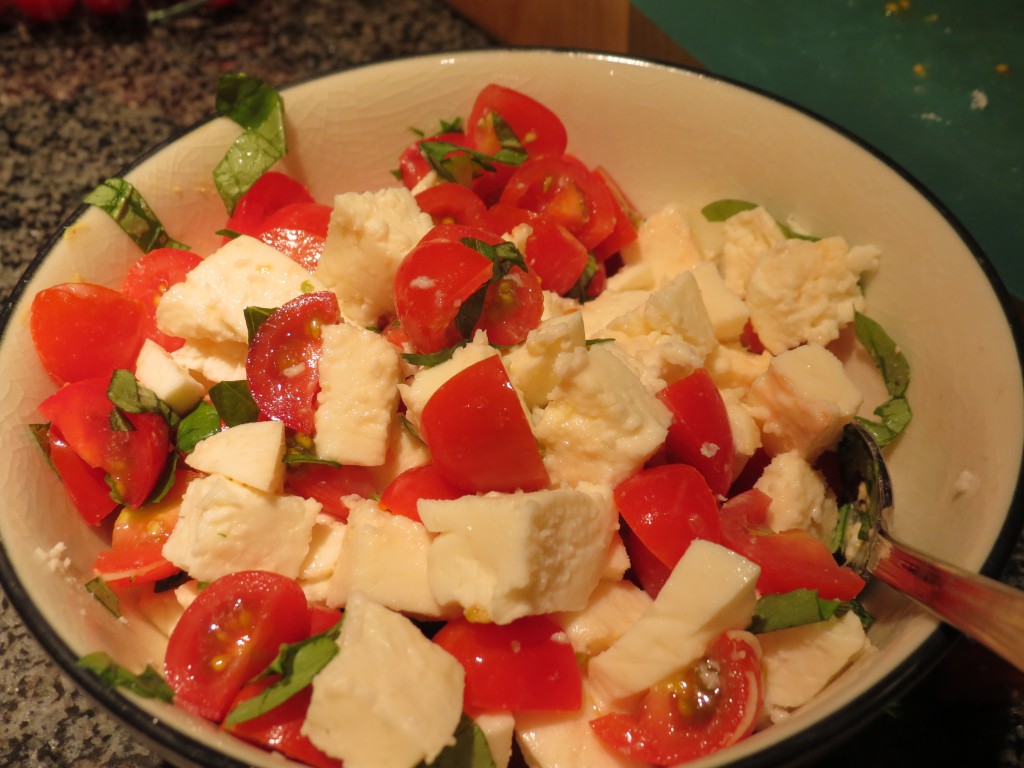
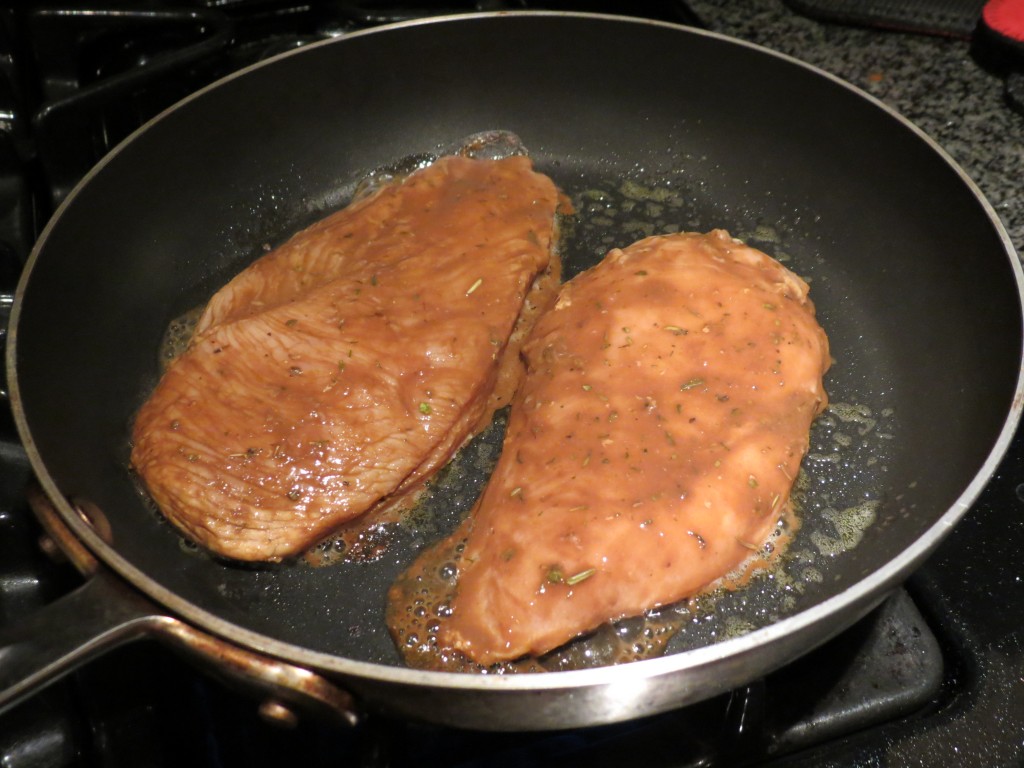
The preparation is super easy. First you want to mix a balsamic marinade for the chicken. The trick to a nice thick marinade is either a lot of olive oil or a lot of mustard. Since I am a life long weight watcher, I opt for the mustard, but still added some olive oil to add some richness. In a jar (or however you mix your salad dressing or marinades) combine mustard, balsamic, olive oil, garlic salt and bouquet garni.michdish 066 Add chicken and marinade in a gallon bag, seal and shake well until chicken is fully coated. michdish 067This is one of my favorite ways to marinade chicken because the clean up is super easy.  Let this rest for a few minutes while you prepare the bruschetta topping. To prepare the bruschetta cube fresh mozzarella, slice cherry tomatoes into quarters and finely chop the basil. Mix gently to combine. michdish 068So simple and so beautiful. If you have larger tomatoes, you can thinly slice both the mozzarella and the tomatoes and layer them onto the chicken.  Cook the chicken covered over medium heat until cooked through. michdish 069My chicken cooked in 9 minutes (4.5 on each side). Now, the balsamic will make your pan look like things are burning and not going well, but that’s just the sugars caramelizing. As long as you cover your chicken and cook it over medium heat it will stay really moist, I promise!michdish 070
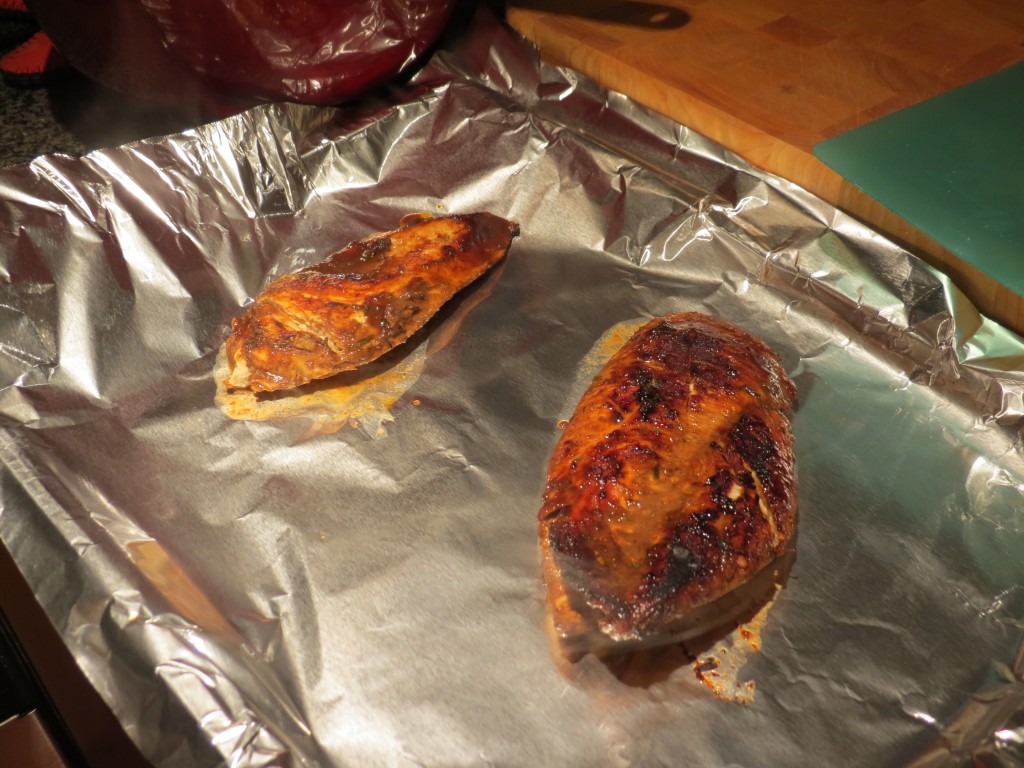
Once the chicken is cooked through, you have 2 options: you could either add the bruschetta as a cold topping and let the heat of the chicken slightly melt the mozzarella cheese. This would be nice on a warm summer day.michdish 071 Since it’s a bit colder, I went with option 2 which is to top the chicken with the bruschetta and stick it under the broiler for for about 90 seconds to let the cheese melt without overcooking the chicken. michdish 073
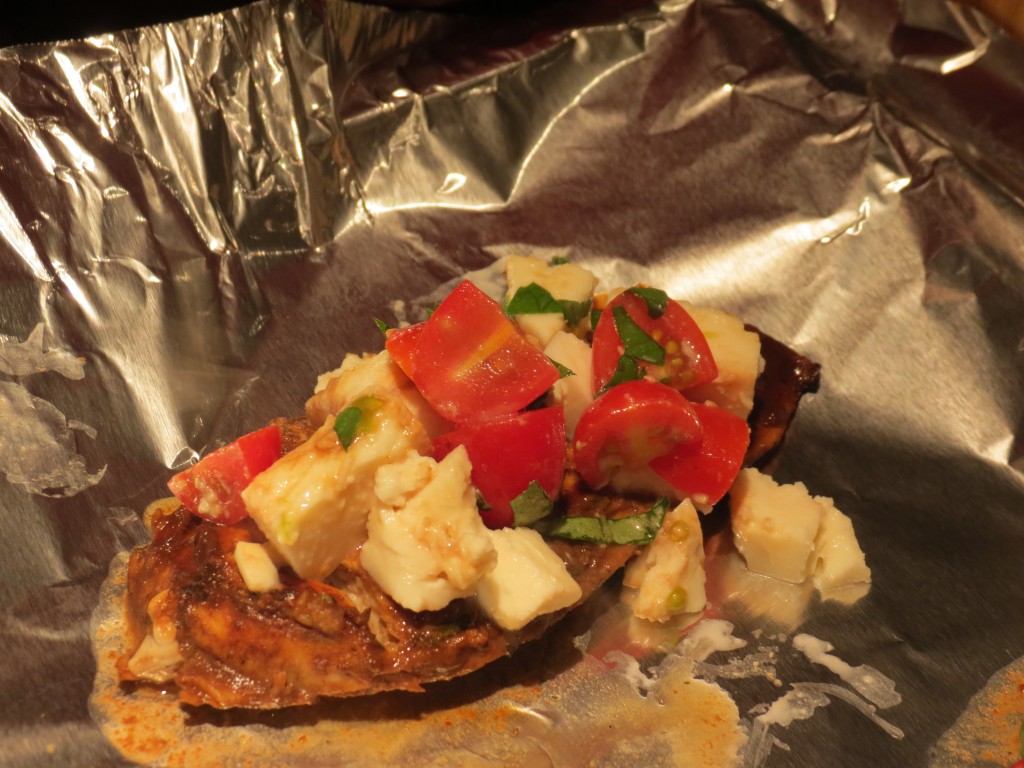
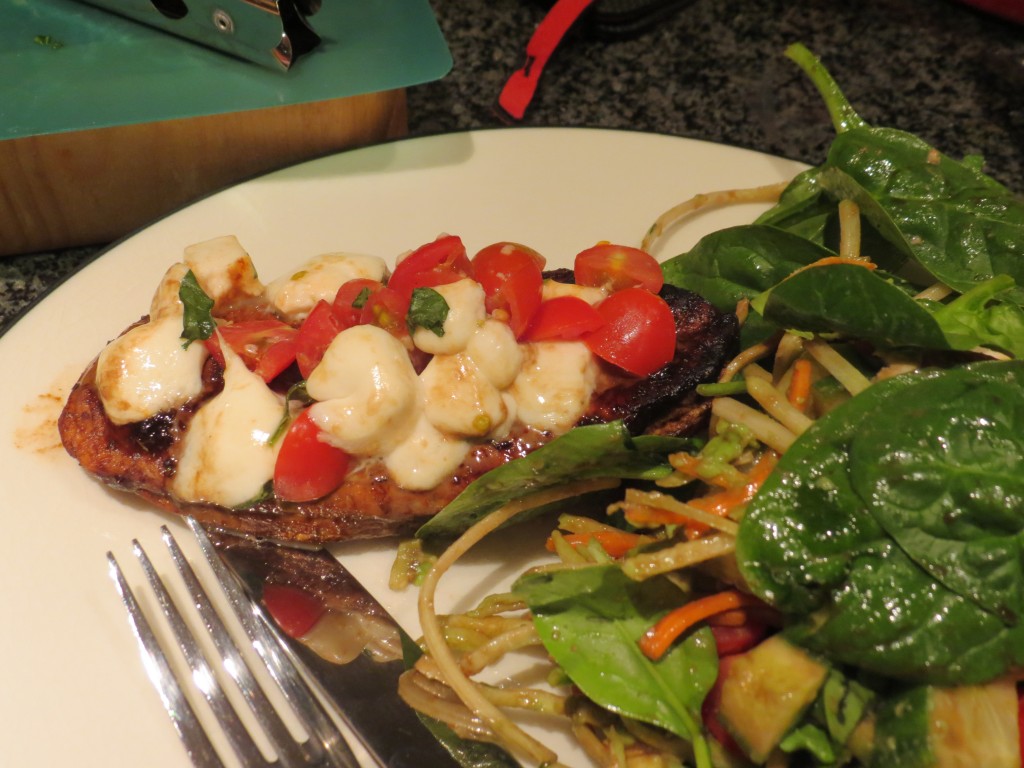
I served this with a salad, but you could also serve it as a sandwich or with some steamed veggies. Either way it’s a beautiful and super versatile meal that’s perfect for a weeknight dinner.

Creamy Veggie Pasta (+ lots of tips!)

Usually when I do my grocery shopping I do it with some specific meals in mind. This means I have all the ingredients picked out and there’s very little room for improvisation. But then other nights (towards the end of the week) I end up with some random ingredients and have the challenge of bringing them together into a delicious meal. These nights are usually the fun nights. We’ve already talked about one option– vegetable fried rice.

This recipe is actually from about 6 weeks ago, but in looking back through the archive of photos (whenever I cook I take them… it’s actually taking the time to post that throws me off) this recipe for creamy veggie pasta has some fun tips in it that are worth sharing. Since some produce is out of season we can also talk about substitutions.

The star tip in this dish is how to make a healthier version of creamy sauce. If I’m feeling like I need a bit of indulgence this is my go to base sauce. It’s super easy and fun to modify as well!

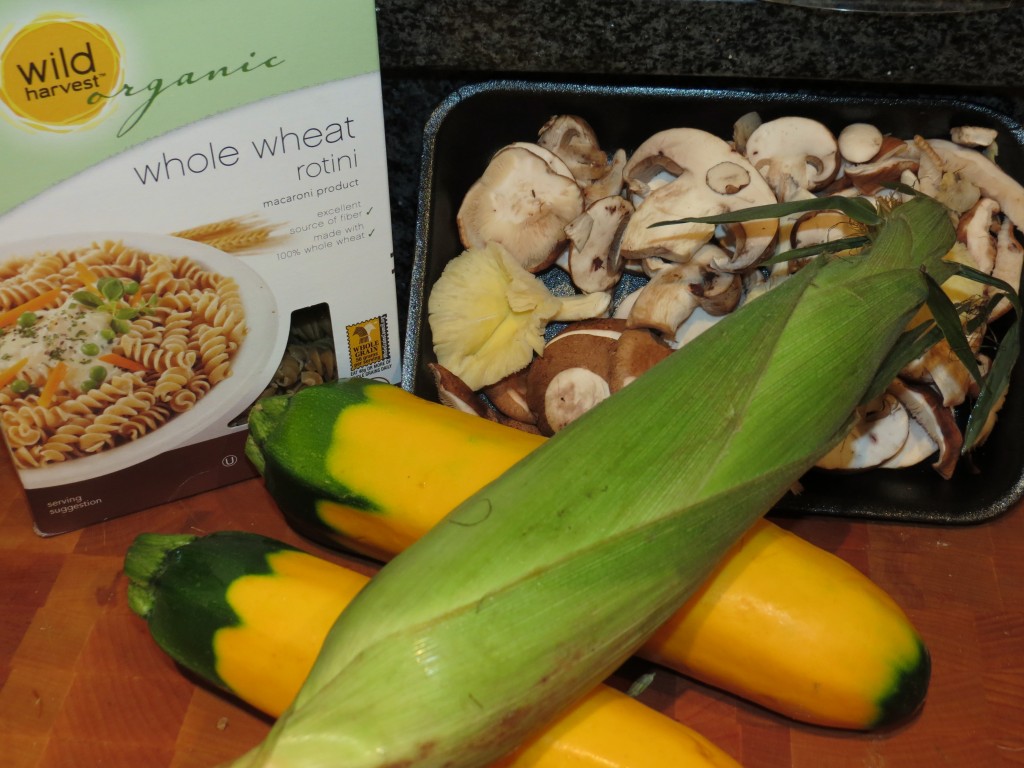
First, gather your leftover ingredients from the fridge. I had this on hand: michdish 013

  • 2 medium yellow squash (you can still find zucchini or you can use any winter squash except spaghetti squash)
  • kernels from 1 ear of corn ( 1 cup frozen corn works better than canned to best imitate fresh corn)
  • 4 oz mixed mushrooms
  • 2 cups spinach
  • 1 cup cherry tomatoes (any small tomato is fine, don’t chop up a large one though).
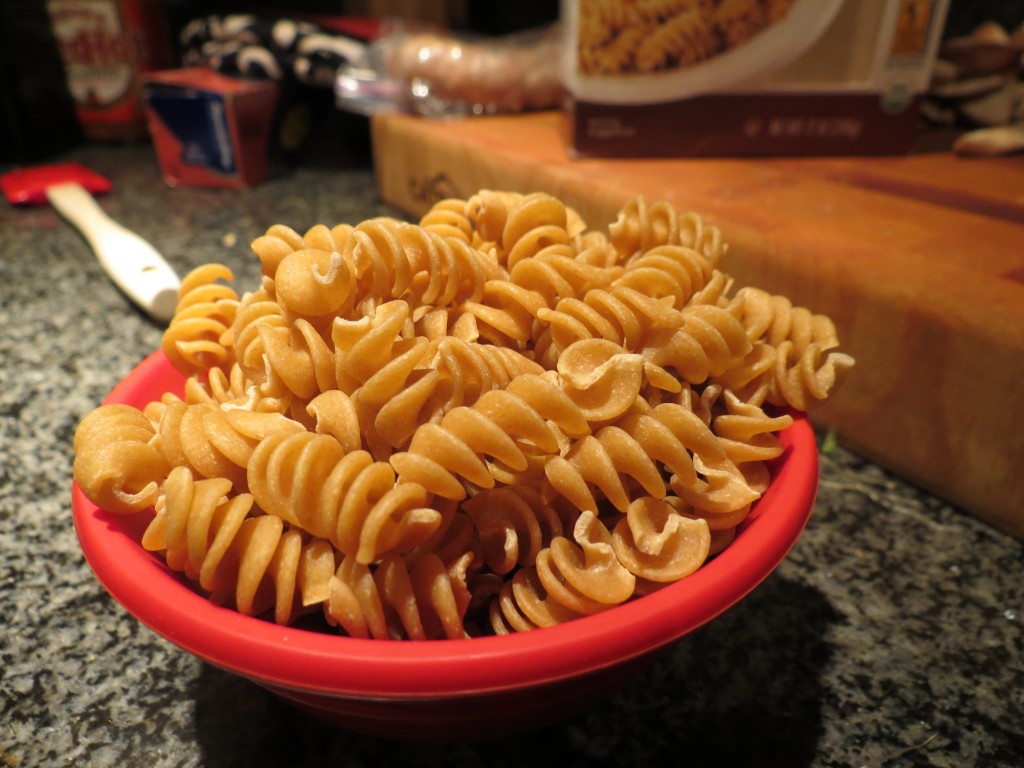
  • Slightly more than 1 cup pasta (I used whole wheat rotini, which is what I had on hand, but you can use any pasta that is good for holding sauces).

michdish 019Cook pasta according to package directions and to your desired consistency. My trick for whole wheat pasta is to cook it a few minutes longer than recommended to get rid of that extra bite that it has.

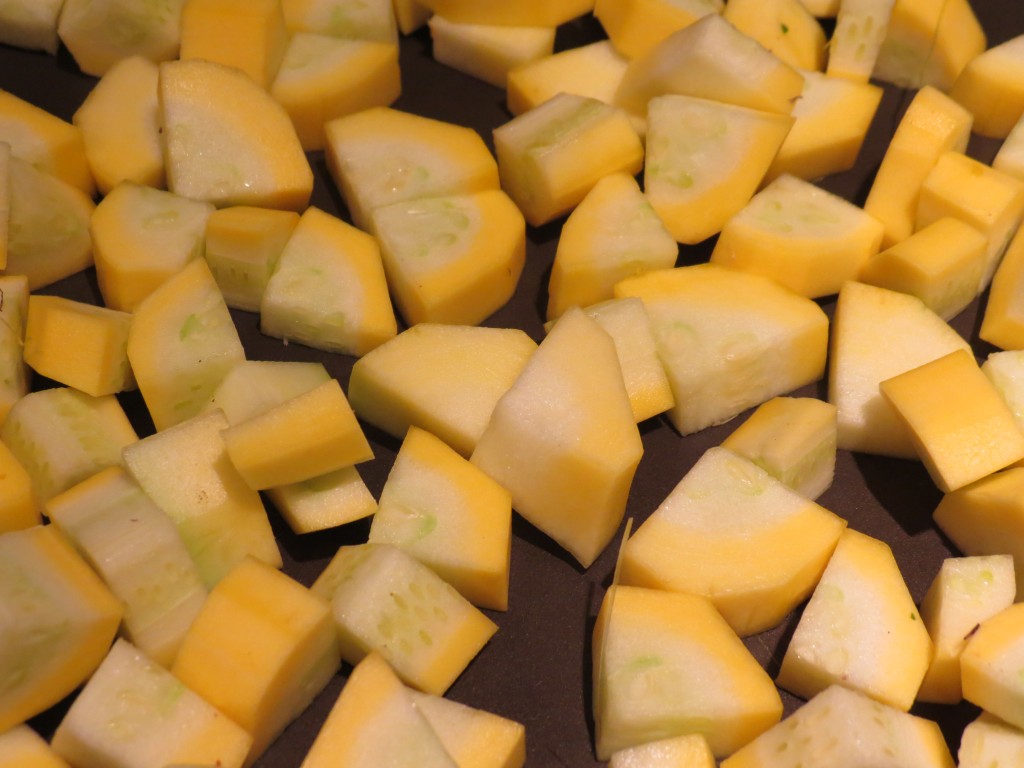
At the same time you put on the pot of water, cut up the squash into small cubes. (If you are using a winter squash, peel it first) and add to a dry pan. michdish 015Add about 2 Tbsp water to the pan so the squash doesn’t stick. Cover and cook until the squash are mostly soft (this will take longer for winter squash, and you may need more water). I like to use water whenever I can to save on how much oil or butter goes into a dish. The trick here is to have enough to help cook the squash, but not too much that the dish gets watery.

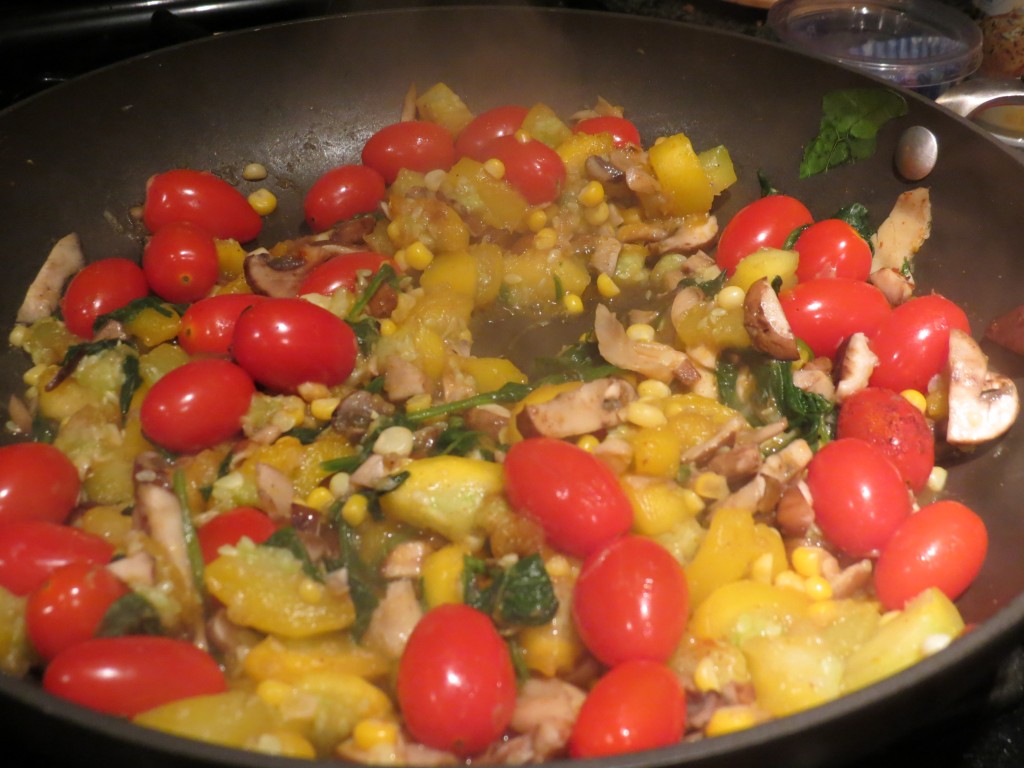
Next, slice the mushrooms to the size that you like and add them to the pan with about 1/2 tsp of garlic salt. The salt will help draw water out of the mushrooms and continue to help the ingredients not stick to the pan. After a few minutes, the mushrooms should be browned. Add in the spinach  and cook until wilted. Add in the corn and cherry tomatoes and cook until just heated through. You can see that by this point, the squash has almost melted and started to create it’s own creamy sauce.michdish 020

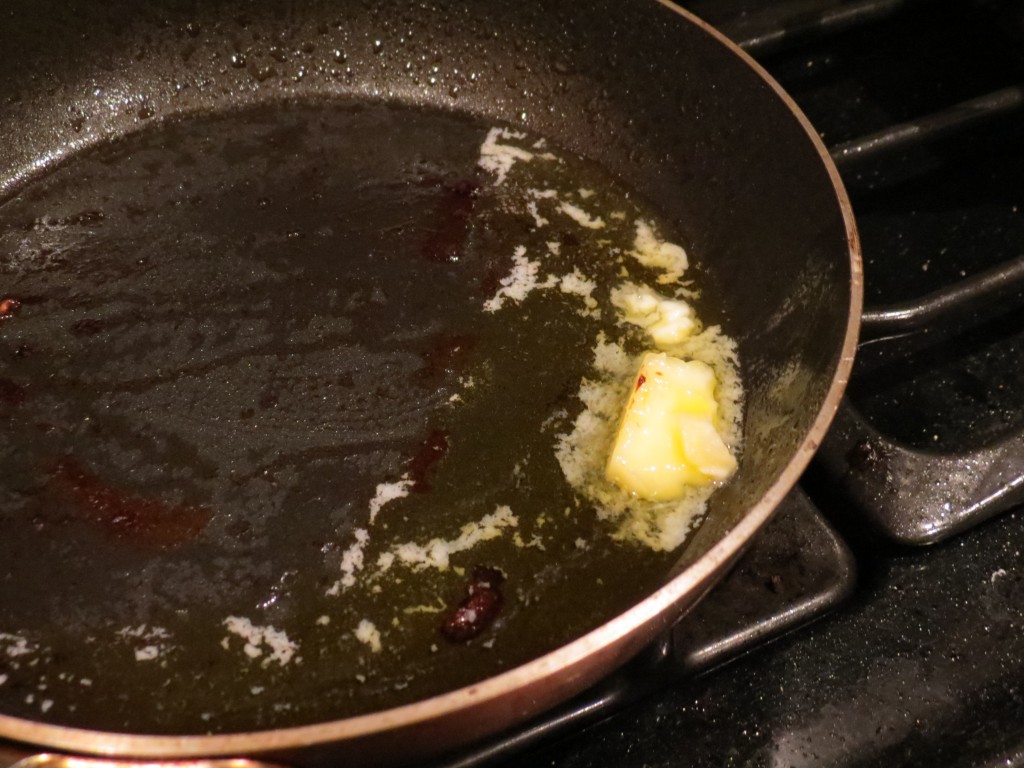
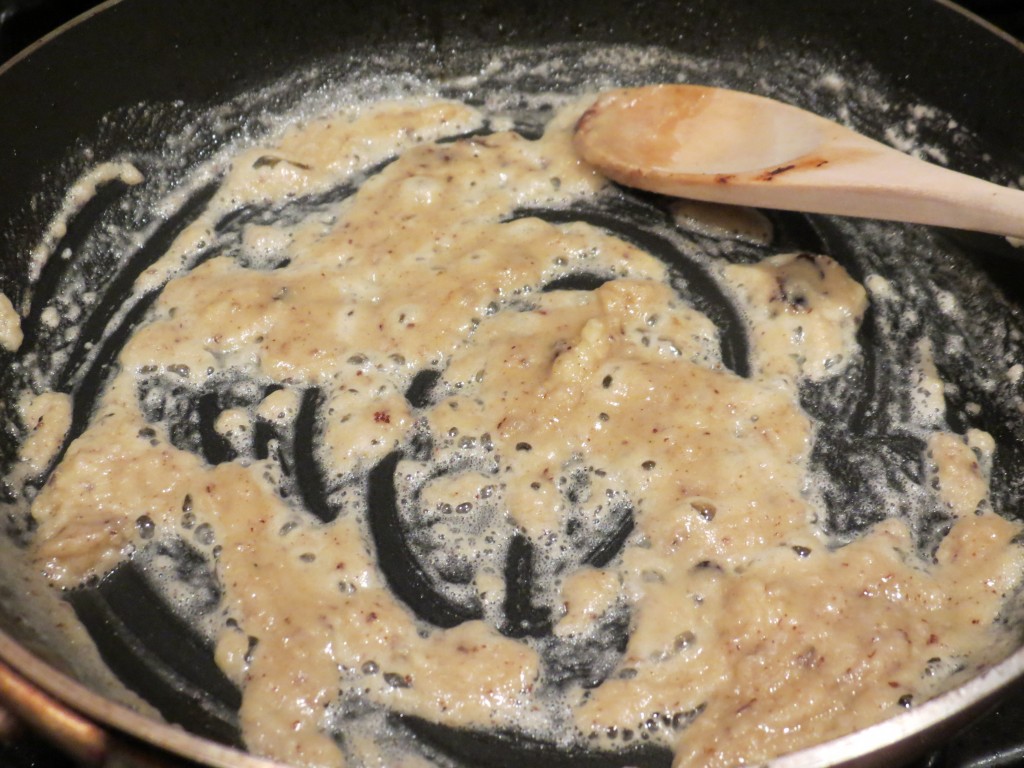
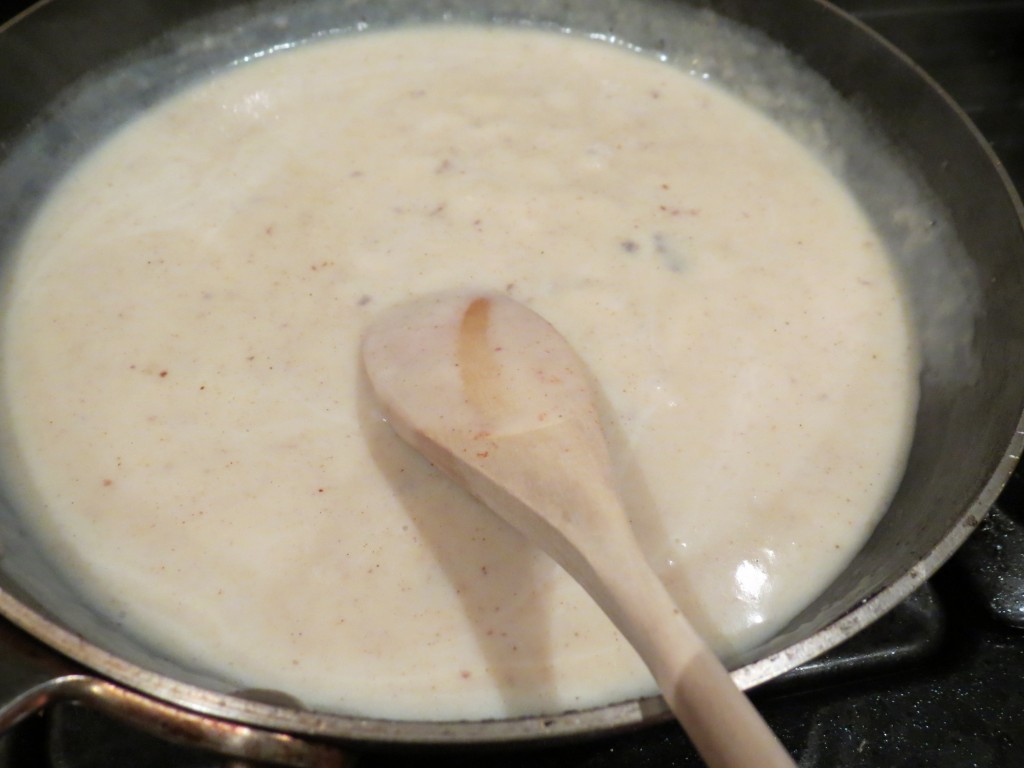
Once the vegetables are ready, remove from pan and set aside. Here is the part where you make the fanciest quick sauce you’ve ever made. Chances are you will say to yourself “how did I never make this before! I’m going to use it all the time!” It’s seriously that easy and that impressive. Add 1 Tbsp butter to the pan where you had the vegetables (no need to rinse it) and set it over medium heat. michdish 021Once the butter has melted add 1 Tbsp flour and stir with a wooden spoon. The mixture will be bubbly and light brown. michdish 022Once you’ve gotten the clumps out and the butter and flour have come together, add 1 cup skim milk and stir with spoon or whisk to make the mixture as smooth as possible. You can use a different type of milk if you don’t like skim. The heavier your milk, the quicker the next step will take. If you are using skim milk just be patient. I promise this will come together! Stir constantly (you can take a few breaks now and then) until sauce has thickened. You can tell it’s the right consistency when you can draw a line on the back of your spoon and it will hold (the bits you see in the photo are the remnants of the vegetables from earlier, whose flavor is now in the sauce!)michdish 024 At this point you can add Parmesan cheese or even a few dashes of hot pepper or hot sauce to taste. That’s it!!

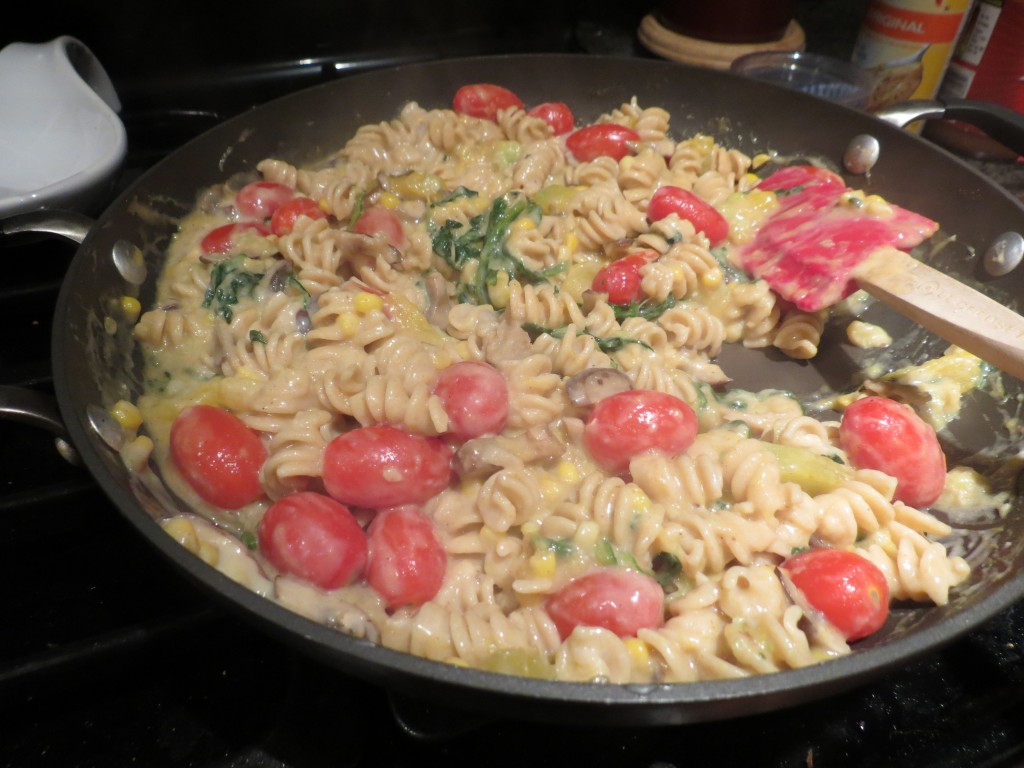
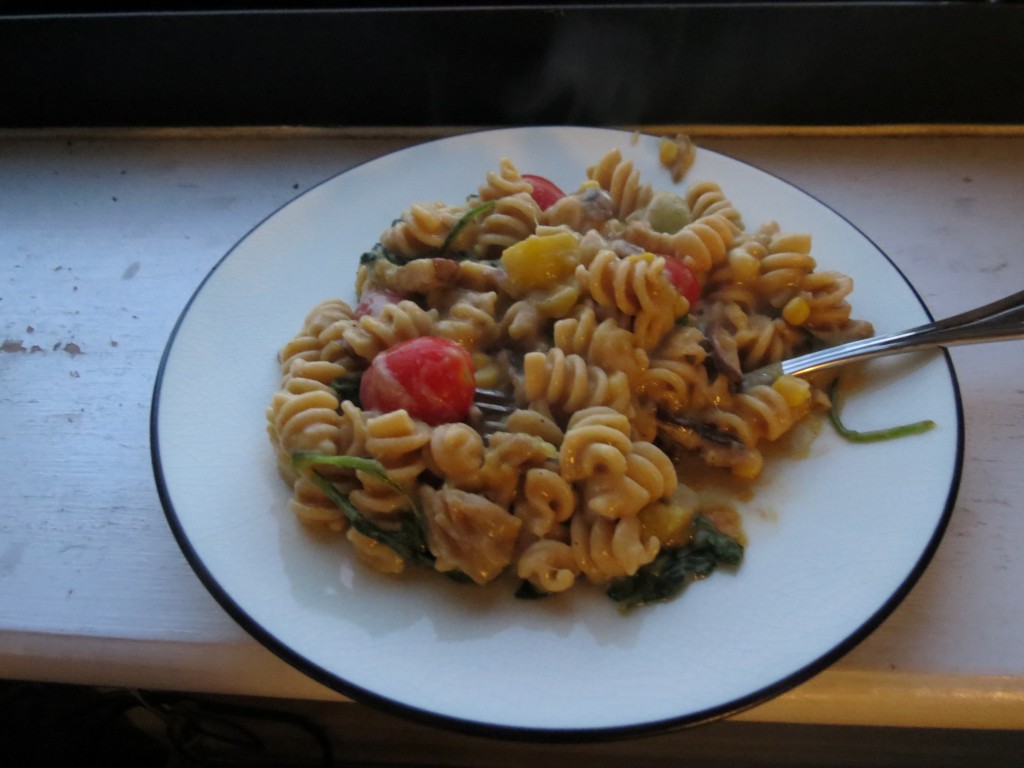
Then just throw the rest of your ingredients back in and toss to coat. michdish 025What you end up with is this beautiful pasta that has freshness from the corn and tomatoes and richness from the squash and mushrooms. When eating this dish, my husband (who is not a foodie but may be becoming one) said “the burst of the cherry tomatoes adds a pop of brightness to the dish.” This dish is light enough for a late summer dinner and warm enough for a fall night.michdish 027

What did you think of that creamy sauce? Super easy right? You can use that base of 1 part butter, 1 part flour, and milk as a base for mac and cheese as well. Once the sauce has thickened you can throw in some shredded cheese and mix. The cheese will melt really quickly and then toss that with the pasta!

Summer Side: Lemon and Balsamic Rainbow Chard

When it comes to summer, the last thing you want to spend too much time doing is standing in front of a hot stove or oven. Sadly, this can lead to a lack of cooking during the hot summer months. But it can also lead to the creation of some delicious and quick recipes that take advantage of fresh produce that is in abundance this time of year.

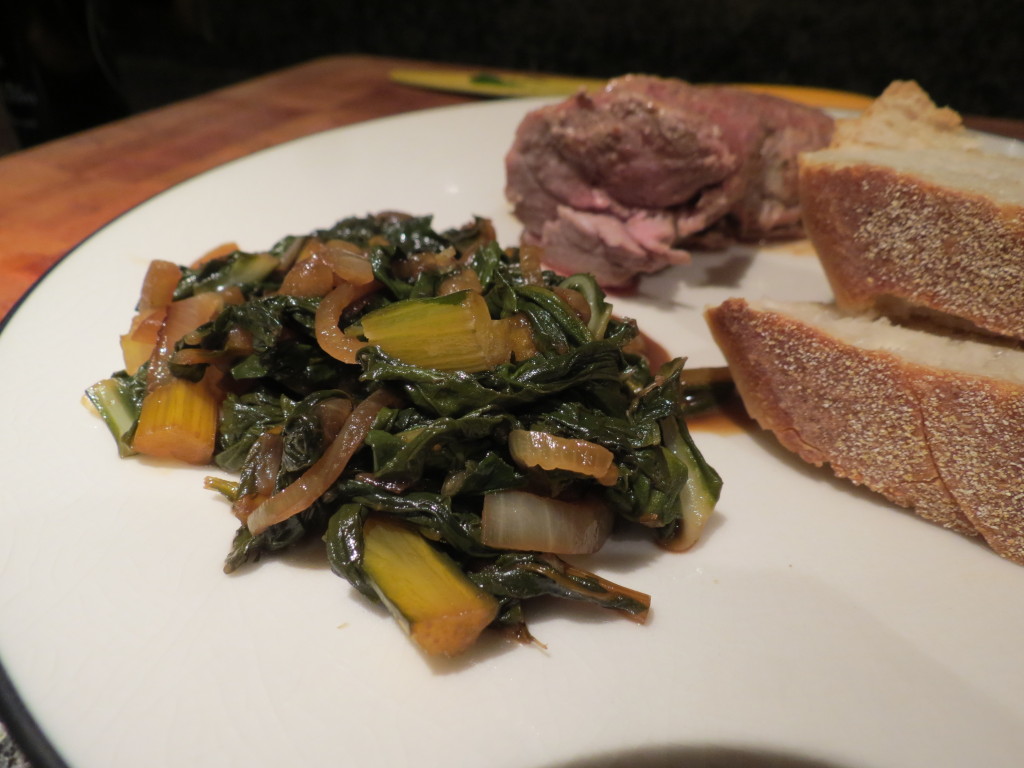
This week I bought some rainbow chard and took a pretty big risk: creating a recipe that highlights the vegetable as opposed to hiding it (my normal MO for getting my husband to eat healthily). I had bought some maple mustard pork and some bread so needed a pretty simple recipe to compliment the meal.

Here’s what I came up with:

  • 1 Tbsp olive oil
  • 1/2 Tbsp butter
  • 1 onion thinly sliced
  • 1 bunch of rainbow chard, stems and leaves chopped roughly
  • 1/4 tsp garlic salt
  • 1 tsp bouquet garni (or italian seasoning)
  • 2 Tbsp water
  • 1 Tbsp fig balsamic vinegar (or balsamic vinegar and honey)
  • 1/2 Tbsp lemon olive oil (or 1/2 tsp lemon zest)

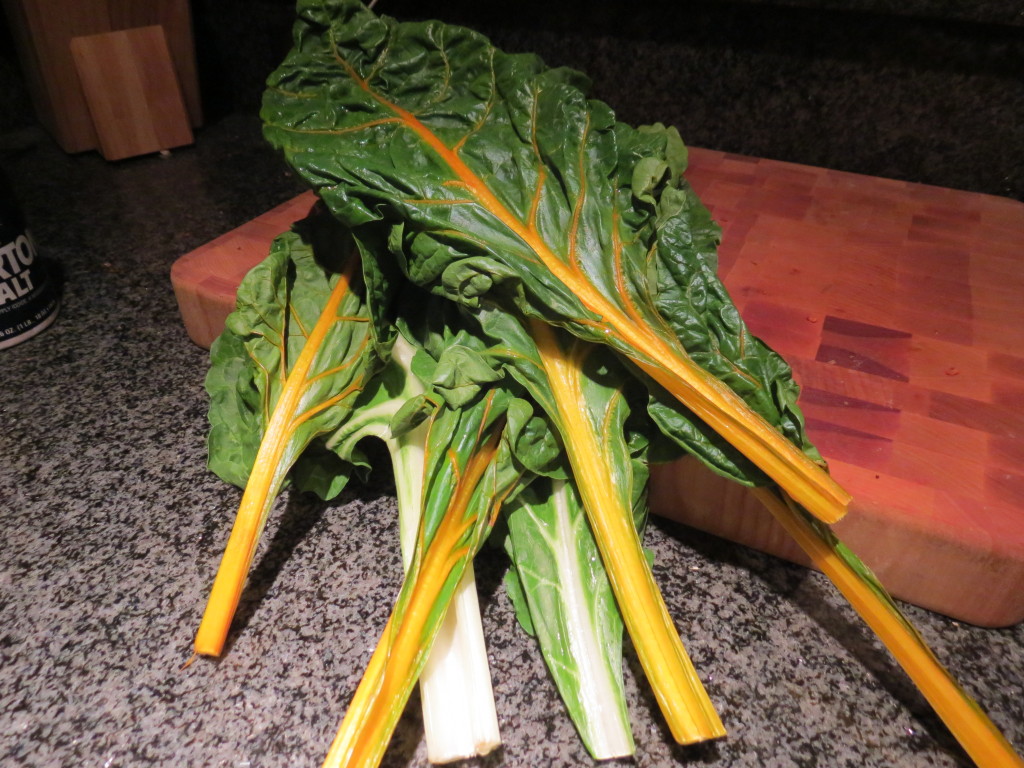
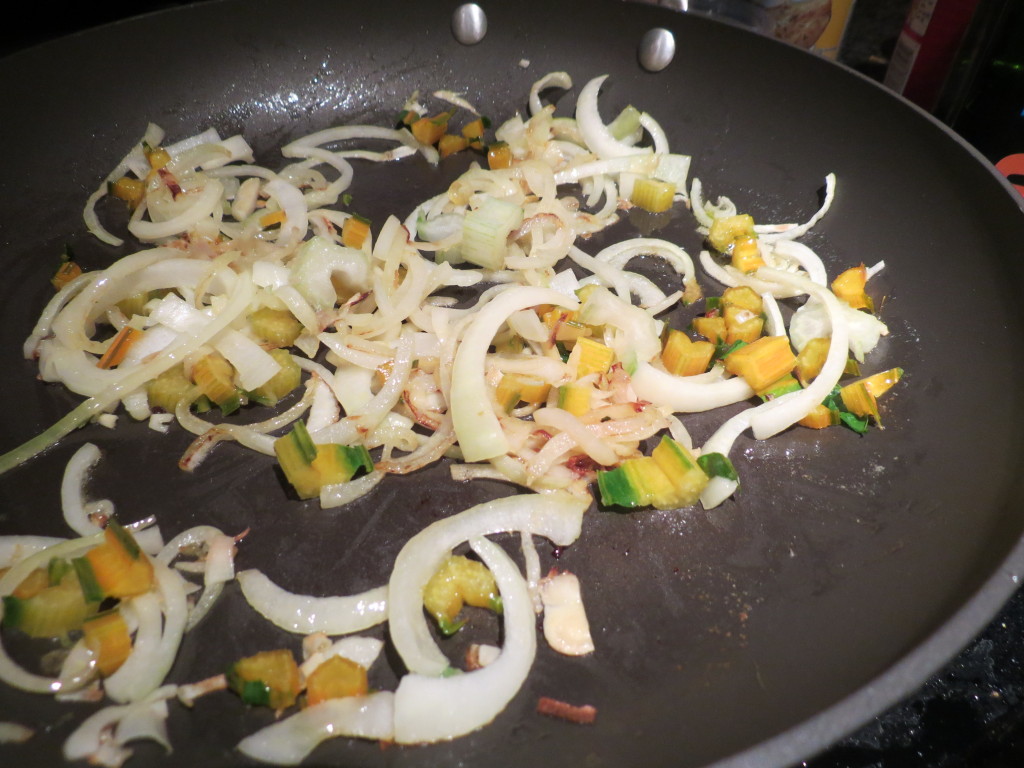
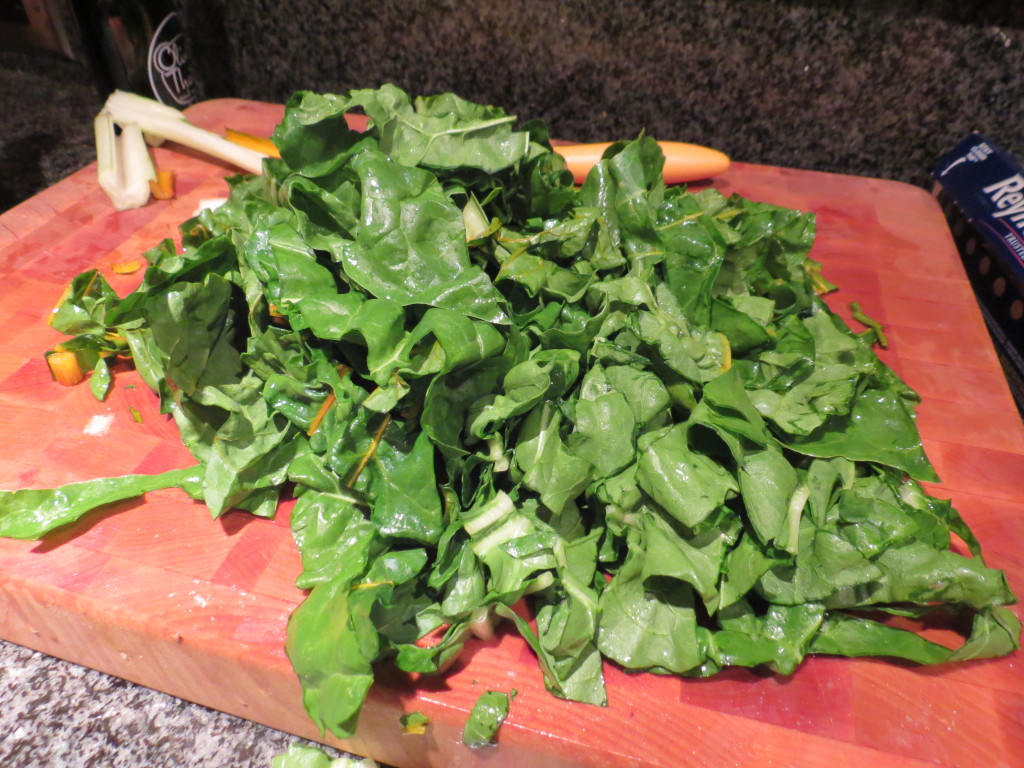
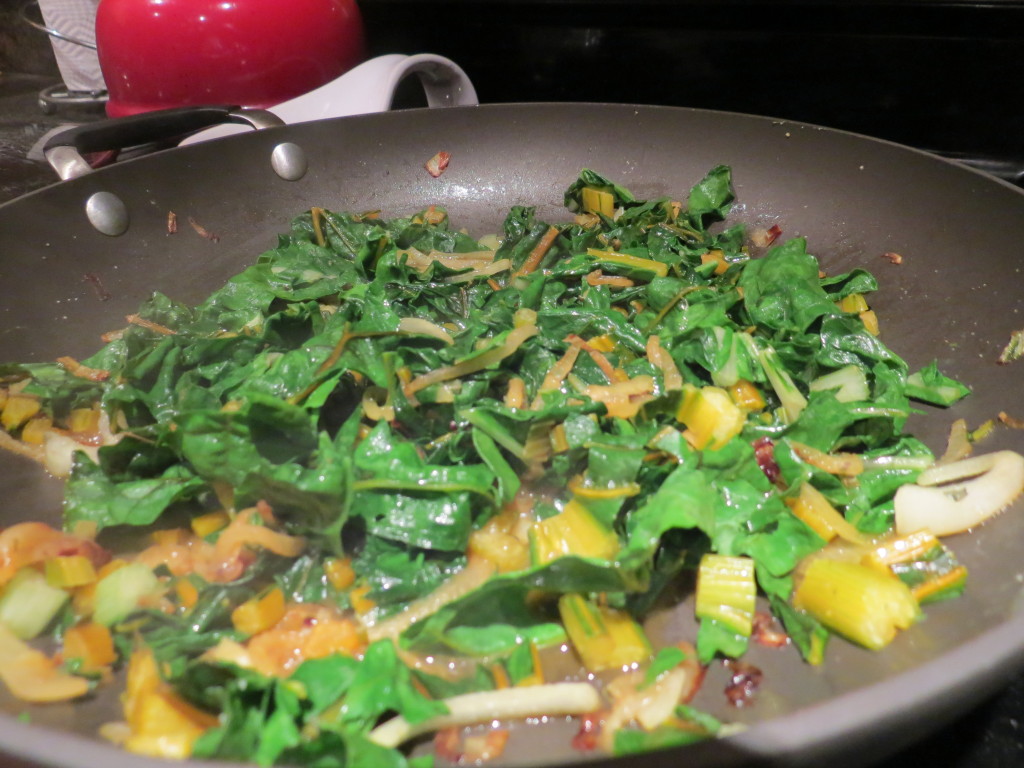
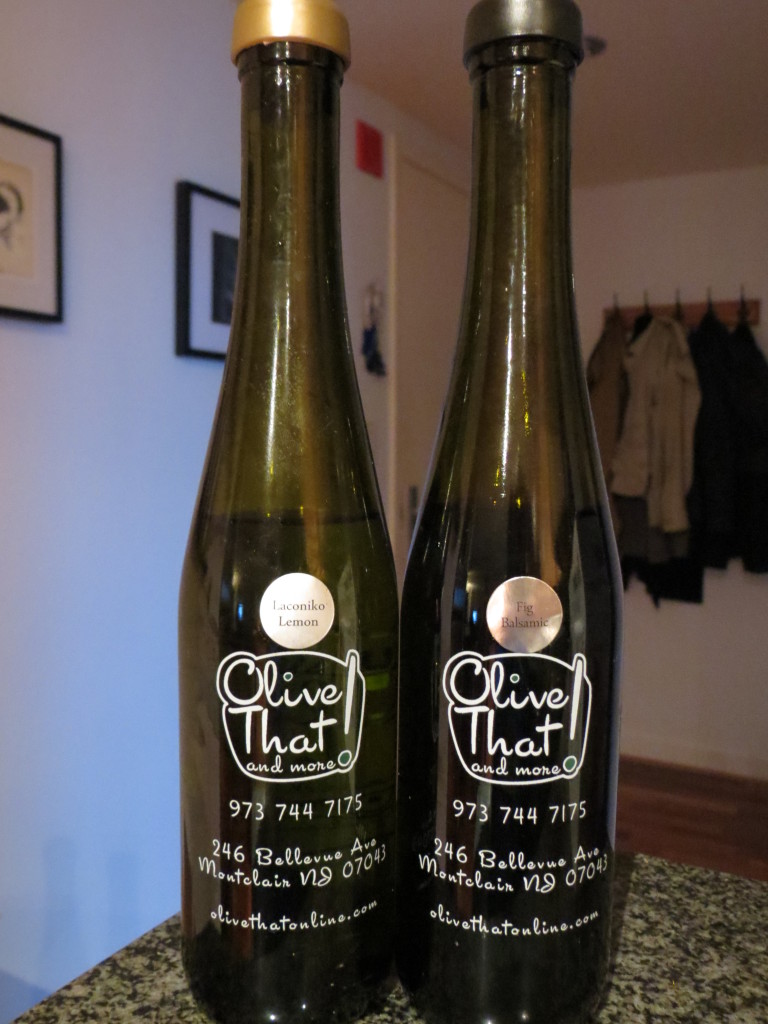
Heat a large skillet over medium high heat and add butter and olive oil. The combination of both is one of my favorite tricks for really deep and robust flavor that makes your dish feel guiltier than it is. Add the onions and saute until golden brown. In the mean time, prep the rainbow chard. Rainbow chard is so fun and colorful– it’s almost too pretty to eat! I was a little sad that my batch only had yellow and white stems– I think the red ones are really awesome too! sort me! 119In order to prep the chard, wash well and then trim the bottom of the stem (about as much as you would cut off from the top of celery). Slice the rest of the stalk thinly and rough chop the leaves. You can eat most of the stem, I just usually cut off the parts that are too thick, but they add a nice crunch to the dish! If you don’t like the stem, you can just cut the leaves off and discard it. Once the onions have been cooking for about 3-5 minutes, add thinly sliced chard stems (these will need a little more time to cook than the leaves). sort me! 122The chopped chard will look like a giant amount, but like all other greens it will really shrink down once cooked. sort me! 123Once the stems and onions have been cooking about 3 more minutes, add the greens, garlic salt and bouquet garni. Let the greens sautee for about a minute and then add water and cover. This will help the greens cook down faster and will help soften them up a bit and chard is a bit thicker than spinach. You can skip this step if you like the texture of raw chard. The chard should only need about 5 minutes or so, but you can taste along the way and cook until you get the texture that makes you (or your picky eaters) happy. sort me! 125To finish off the dish and add some sweetness and lightness I turned to my birthday present: fancy oil and vinegar. Those oil and vinegar specialty shops are really popping up everywhere and are really fun to visit– maybe you even have some in your house! One of our favorite snacks is fresh bread dipped in thick balsamic vinegar. My latest purchase includes a lemon olive oil and a fig balsamic.sort me! 120 If you don’t have these you can easily use regular balsamic with a bit of honey for sweetness and lemon juice or lemon zest to mimic the brightness of the lemon olive oil. But if you have some fancy flavors I’d encourage you to try them out! I added 1 1/2 tsps of balsamic before the last minute of cooking and then the other 1 1/2 tsps of vinegar and lemon oil right before you serve it. Stir quickly to combine and serve immediately. sort me! 126

This dish had a great balance of flavor and really complimented the meat and bread. It would be a great side dish for chicken or even red meat. During the winter you could make it more hearty by adding some beans and if you wanted to give it a more asian twist you could add some ginger and soy sauce in place of the oil and vinegar.

Hope you’re having a great summer full of fresh produce and experiments in cooking!