Pesto Pasta with Sausage and Veggies

As many of you know, this is the time of year when there are holiday baskets galore. Most of the ones I receive are filled with desserts or other treats that are easy to share with the office. This year, I received a really nice change of pace from one of my research partners– a bottle of wine and gourmet pastas and sauces. Since it’s tricky to share dried pasta with the office, I left the bottle of wine there and took home the loot for some fun dinners.

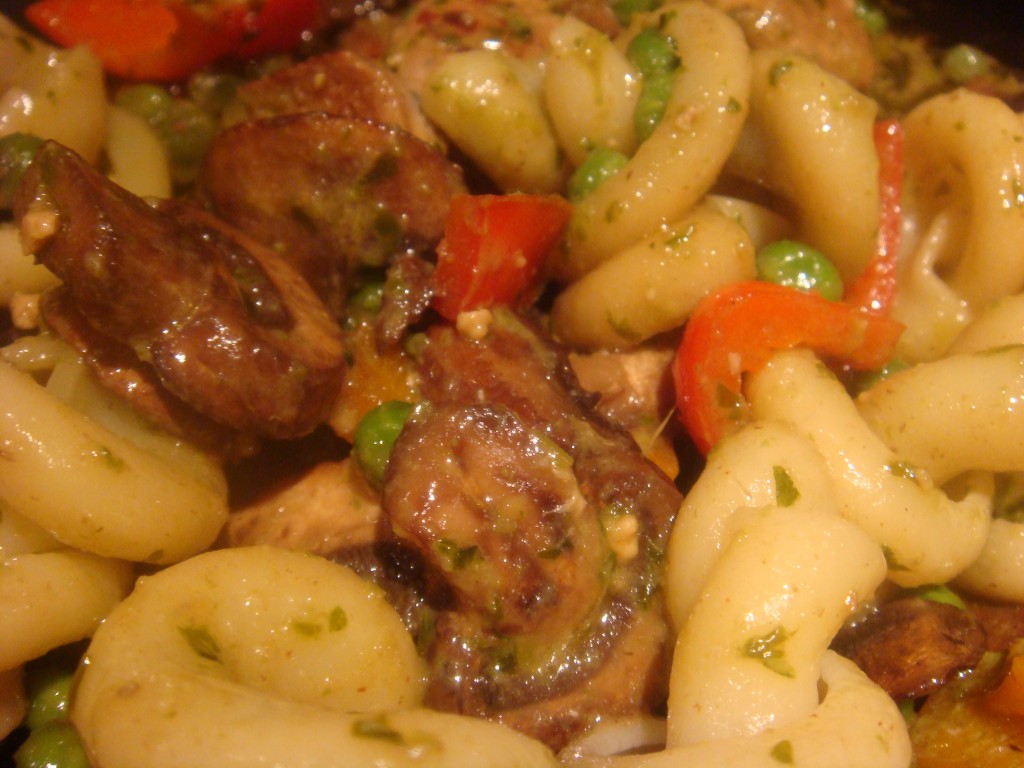
As you know from previous posts, veggie and protein filled pastas are one of my favorite quick meals. Two ingredients from this gift basket helped me make Thursday night’s dinner a more special version of a one pot meal: pesto and Trottoloni Pugiese Pasta. I had no idea what kind of pasta that was, so here’s a picture: 

You probably will not have this pasta, so just use something that will hold sauce well like orchiette, fusilli, or anything that’s not spaghetti basically.The pasta was a great fun shape so I was excited for this meal before I figured out what else to put in the dish.  Here’s what I came up with:

  • 6 oz dry pasta (3 servings)
  • 1 package baby bella mushrooms (sliced)
  • 3 mini bell peppers (or 1 large one)
  • 2 links of chicken and apple sausage (you can also use grilled chicken, veggie, or Italian sausage)
  • 1/2 cup frozen peas
  • 1 cup jarred pesto sauce
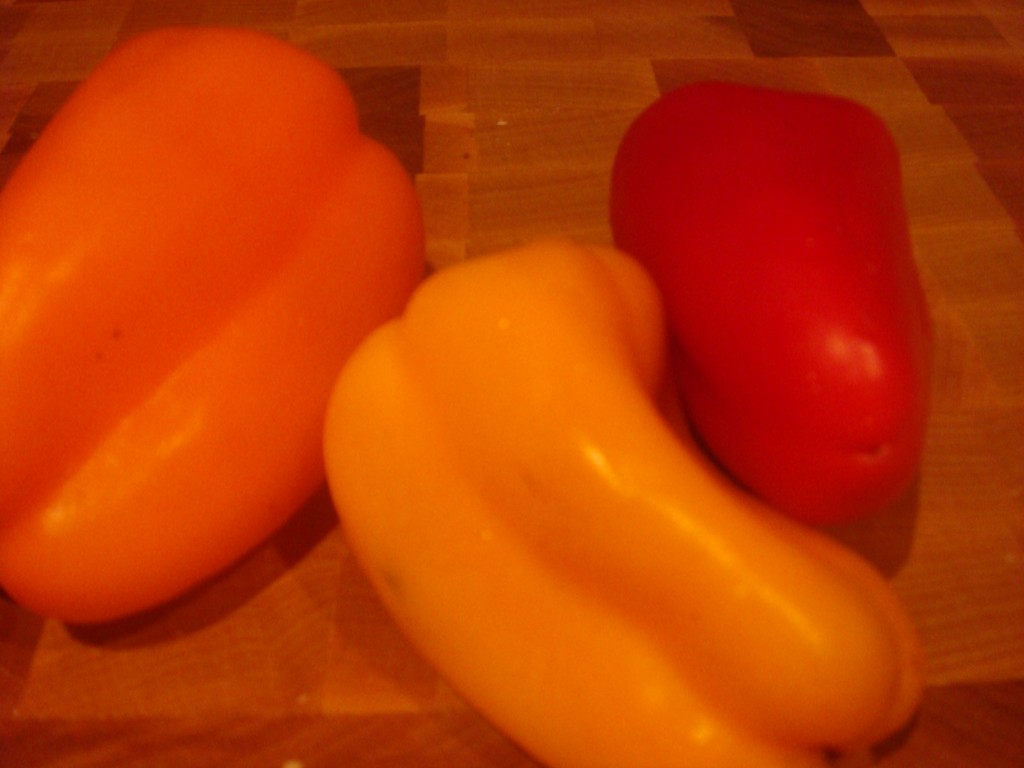
A couple quick notes. First of all mini bell peppers are something I’ve discovered recently and they’re great because you can put 3 colors in your dish without having to store a bunch of partially used peppers (I don’t know if you have this issue… but I often need less than 1 pepper for dinner for 2). 

Second thing I want to talk about is the sausage. I had some chicken and apple sausage from Fresh Direct. I thought it would go well with the pesto because it was a little sweet without being too overpowering a flavor. My alternate suggestions are basically other proteins whose flavors would not overpower the pesto.

This dish is pretty interesting because unlike most of my other recipes, the only spice I added was garlic salt. The rest of the dish is flavored by the sausage and the pesto.

I’ve heard from many people that the trickiest thing about cooking is getting the timing right. This is a great recipe to start with because you don’t have to worry about timing, it just works out!

Fill a medium size pot about half full with water and bring to a boil. While that’s coming to a boil heat some olive oil in a large skillet and brown the mushrooms. Sprinkle them with 1/2 tsp garlic salt to help them brown and release their water. Once mushrooms are browned and cooked (about 10 minutes) remove them from the pan and set aside. Around this time the water will be boiling. Add the pasta and cook according to package directions. Slice the sausage into 1 inch coins and cook them, covered, in the pan for about 3 minutes. Flip, re-cover, and let them finish cooking for another 2-3 minutes. Remove them from the pan. Add the mushrooms back to the pan with the diced mini bell peppers and frozen peas and let them heat through. Add sausage along with 1/2 cup of starchy water from the pasta pot. Starchy water is a great trick when building sauces. First of all it helps less sauce stretch out over more food (which saves calories), and it also helps the sauce stick to the pasta so that all the flavors blend together well. Add about 1/2 cup of pesto and stir until the veggies and sausage are well covered. The pasta should be about done now. Drain it and add it directly to the large pan with the rest of the pesto. Mix until all ingredients are well incorporated and pesto is evenly distributed. 
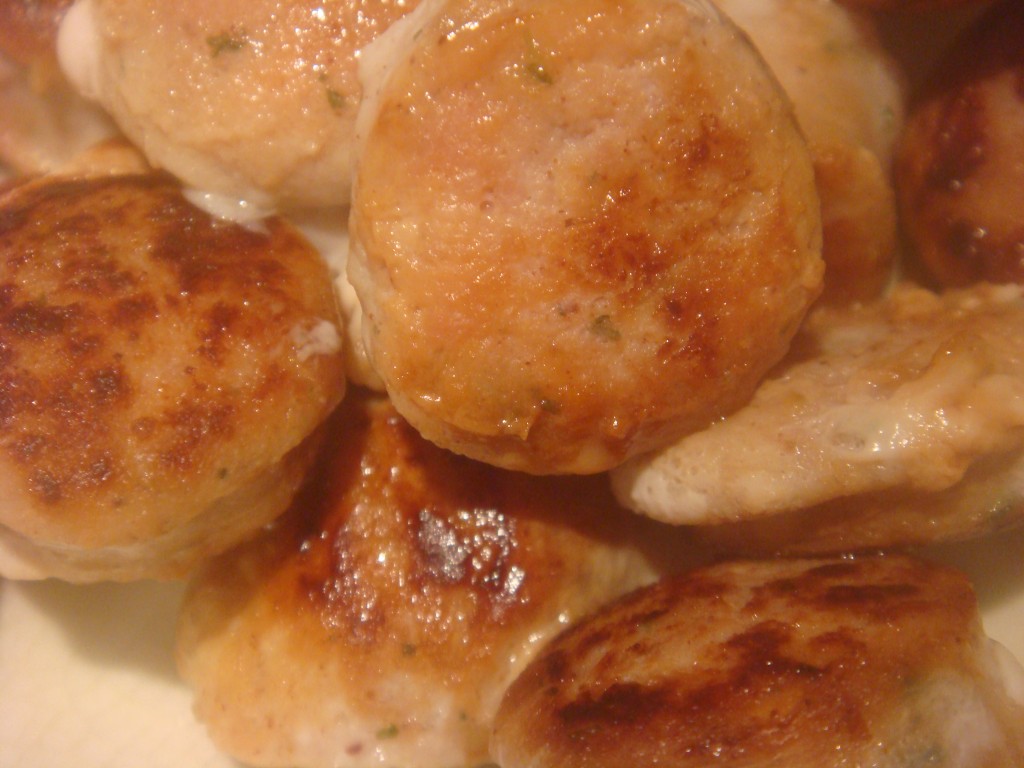
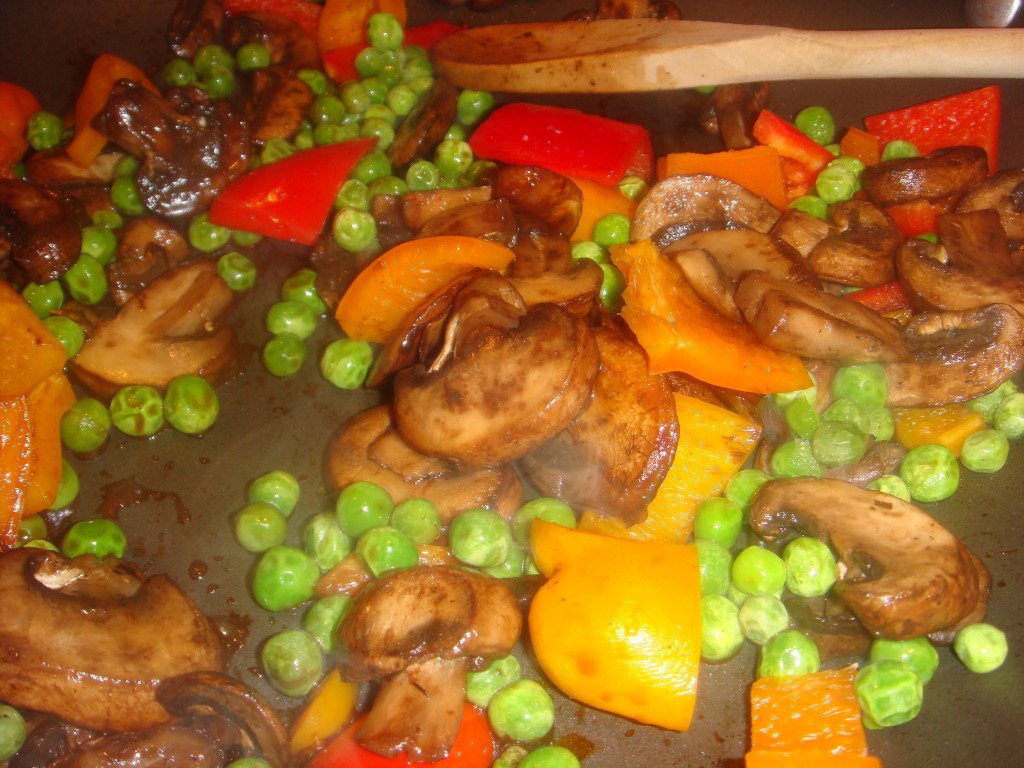
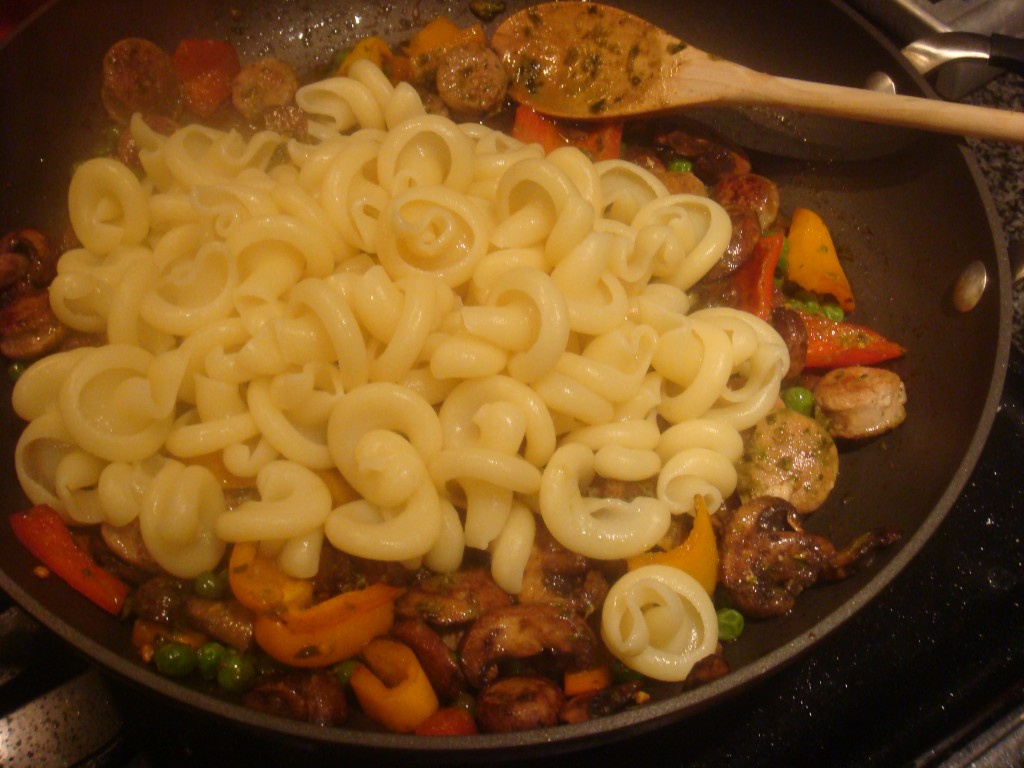
This dish made 3 heaping servings. I just can’t get over how much I love bulking out pasta with veggies. 6 oz of dry pasta is not very much at all, but each serving is about 2 cups of food.

Cinnamon Roll Cookies

Every year we attend a holiday cookie exchange party. In case you don’t know what that is, basically every one bakes A LOT of one type of cookie, brings them to the exchange and leaves with 6 of every type of cookie. It’s a fun tradition and for the last few years I had always made cookies that I knew. This year I decided to try a new cookie!

While using StumbleUpon to browse the web (a wonderful way to discover new content!) I came across these Cinnamon Roll Cookies. When Geoff saw them he demanded that we make them and I obliged.

Now, I feel that I have a reputation to maintain, so I don’t think I will repeat my experience of having the first time I make a cookie be when 15 people will be eating it that night… so let’s say these were not my prettiest cookies. But they were pretty tasty! And I think I figured out the tricks to making them better for when you make them!

The recipe itself was pretty simple, it was the technique of shaping the cookies that was where my weakness was yesterday. The first thing you want to do is make the dough. You will need:

  • 2 tsp vanilla (you’ll need more later)
  • 1 tsp active dry yeast
  • 2 1/2 sticks of butter (remember I was making 6 dozen cookies)
  • 1/2 c (4oz) softened cream cheese (I used reduced fat cream cheese)
  • 1 c granulated sugar
  • 1/2 tsp salt
  • 3 3/4 c all purpose flour

According to the initial recipe , the idea behind the yeast is that you add it to cold vanilla and it doesn’t activate, but gives the dough a hint of breadiness… I can’t say that I remembered there was yeast in the dough or that I noticed anything from it. What was more noticeable and wonderful was the addition of the cream cheese to the dough. It gave it this wonderful tang that just elevated this simple dough to a new level.

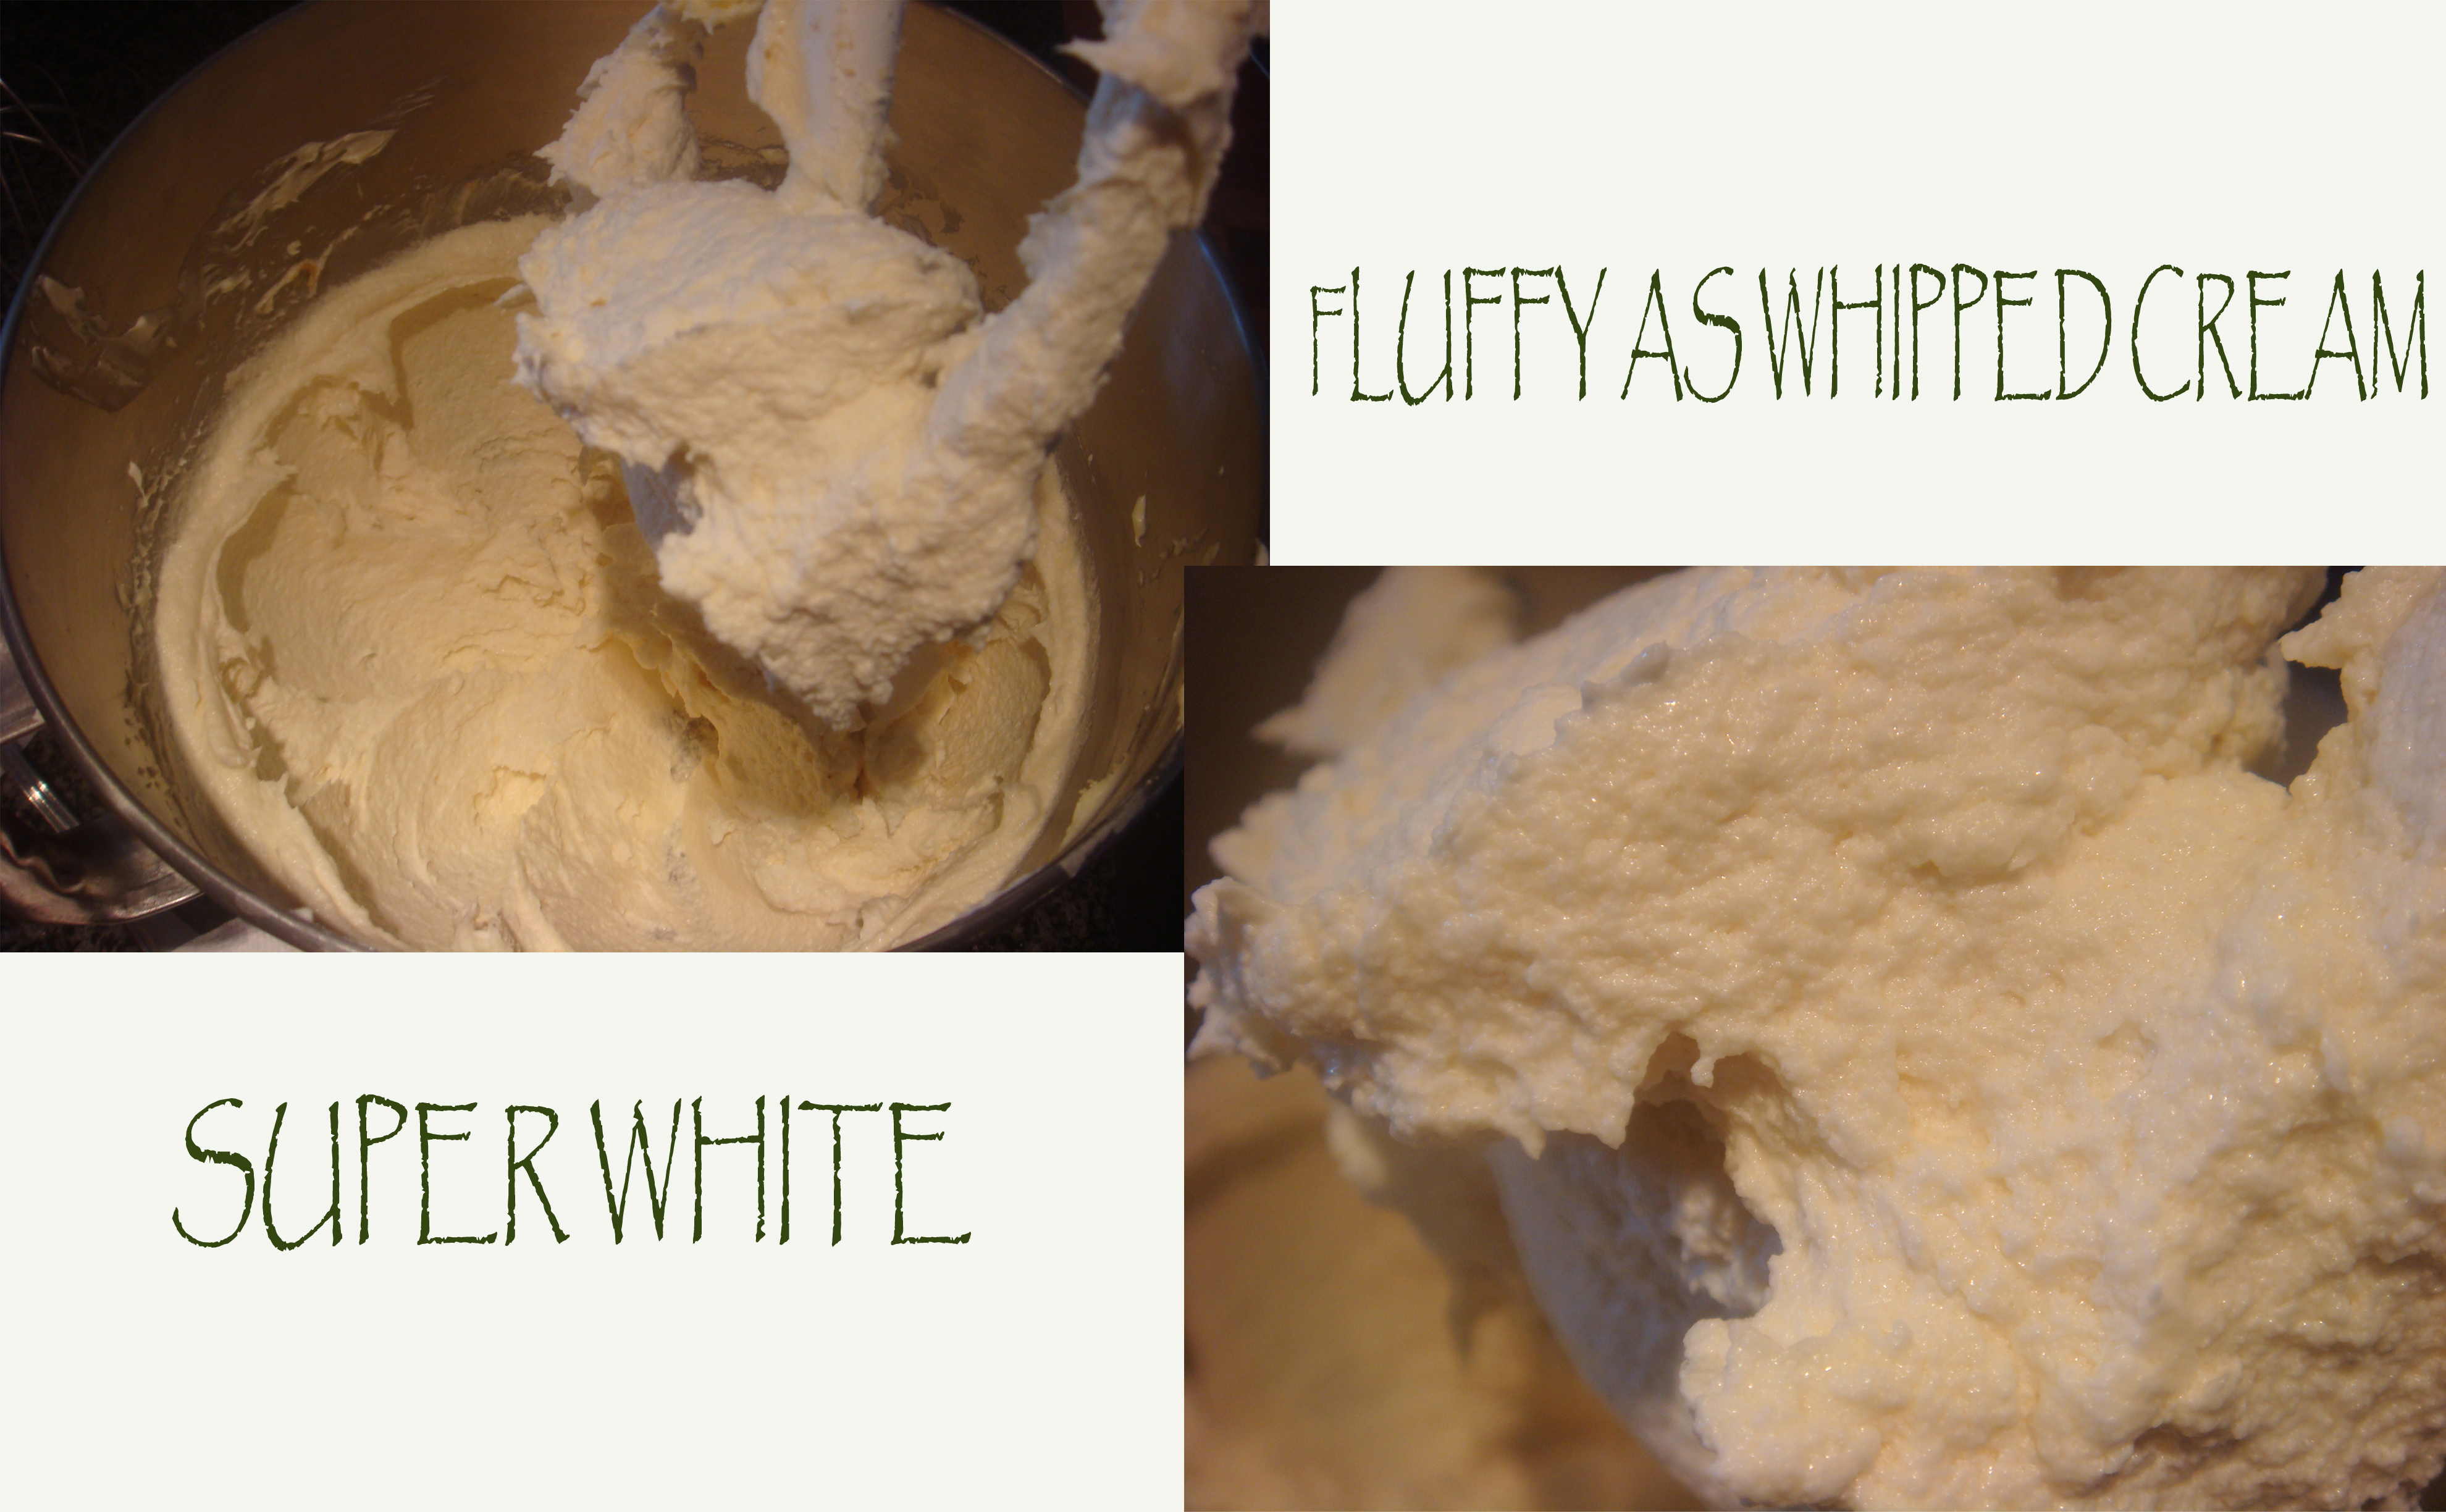
Start by combining the yeast and vanilla. The yeast won’t activate, so don’t worry. Next, add this mixture to a mixing bowl with the butter, sugar, and cream cheese and cream it all together. Now I want to pause here to talk about the term “cream” as it relates to butter. Something I learned pretty recently was that cream doesn’t just mean mix well. It’s actually a different state that the butter needs to get to. It’s really pretty amazing and for so many years I had not been mixing nearly long enough when recipes told me to cream butter and sugar together. If you already knew that, you’re awesome! And if not, hopefully this picture will help you understand the texture and look of “creamed” butter and sugar. 

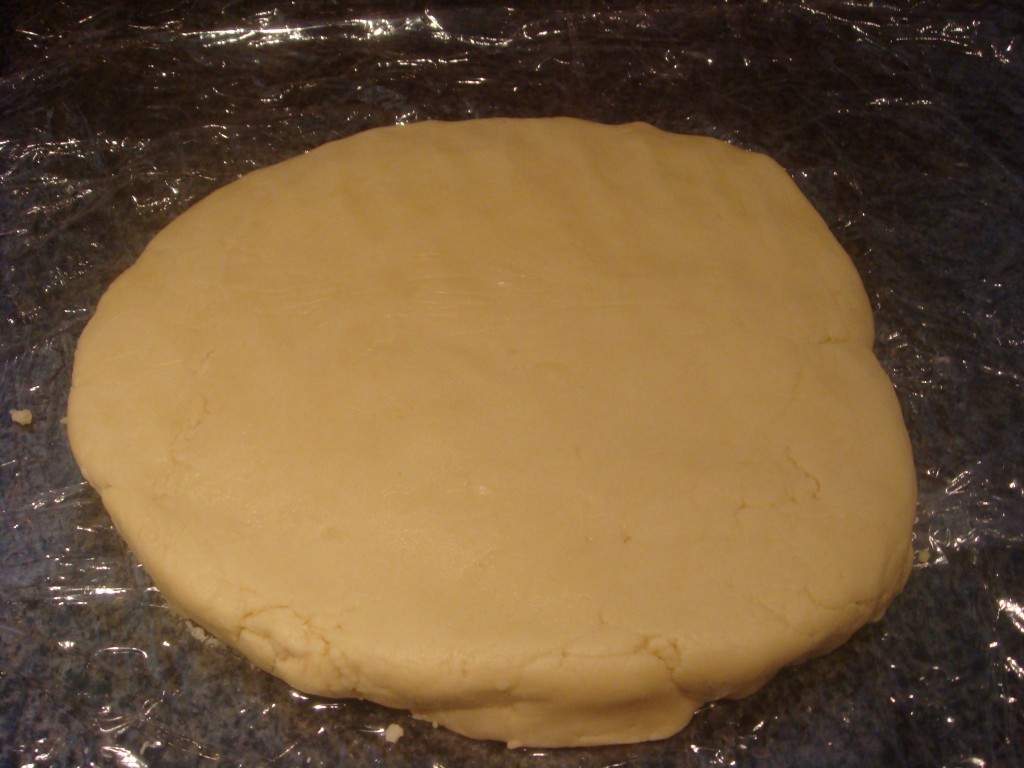
Turn the mixer to low speed (stir on the Kitchen Aid stand mixer) and add the salt and the flour. It’s important to add the flour slowly so that you don’t lose half of it in the flour cloud (you know what I’m talking about!) Once the flour is all combined dump the dough out onto a few long pieces of saran wrap, pat it out into a disk, wrap it up and refrigerate for 30 minutes. 

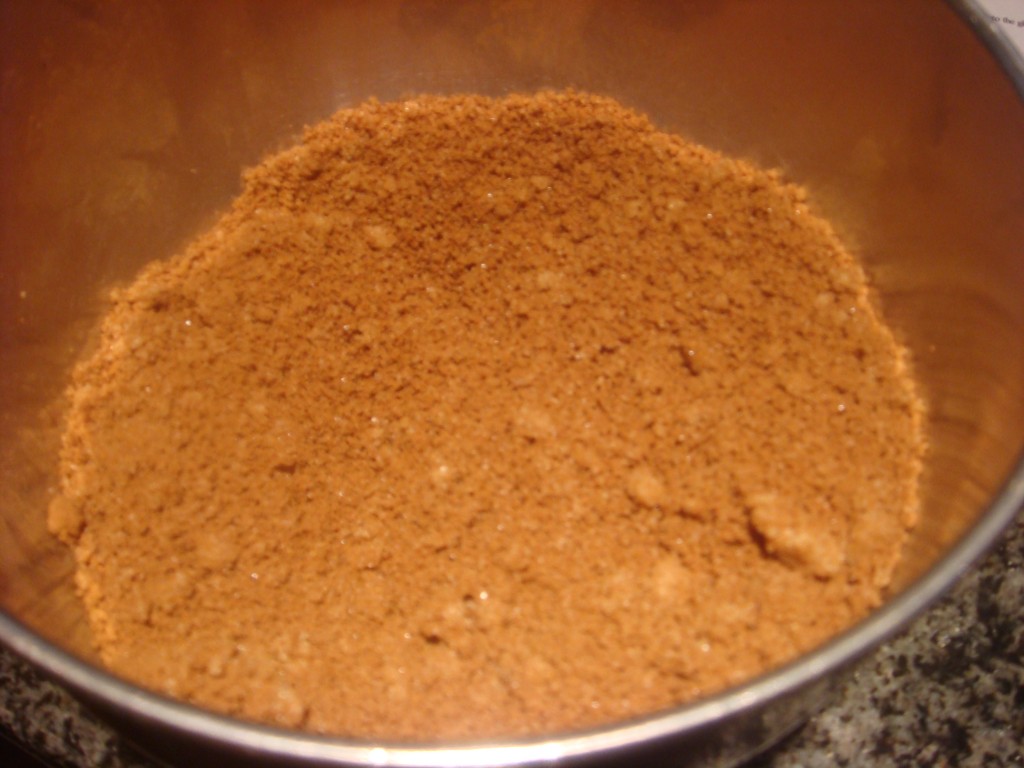
At some point during those 30 minutes, you’ll need to mix the filling together. This is very simple. It’s 1/2 cup light brown sugar  and 1 1/2 Tbsp cinnamon

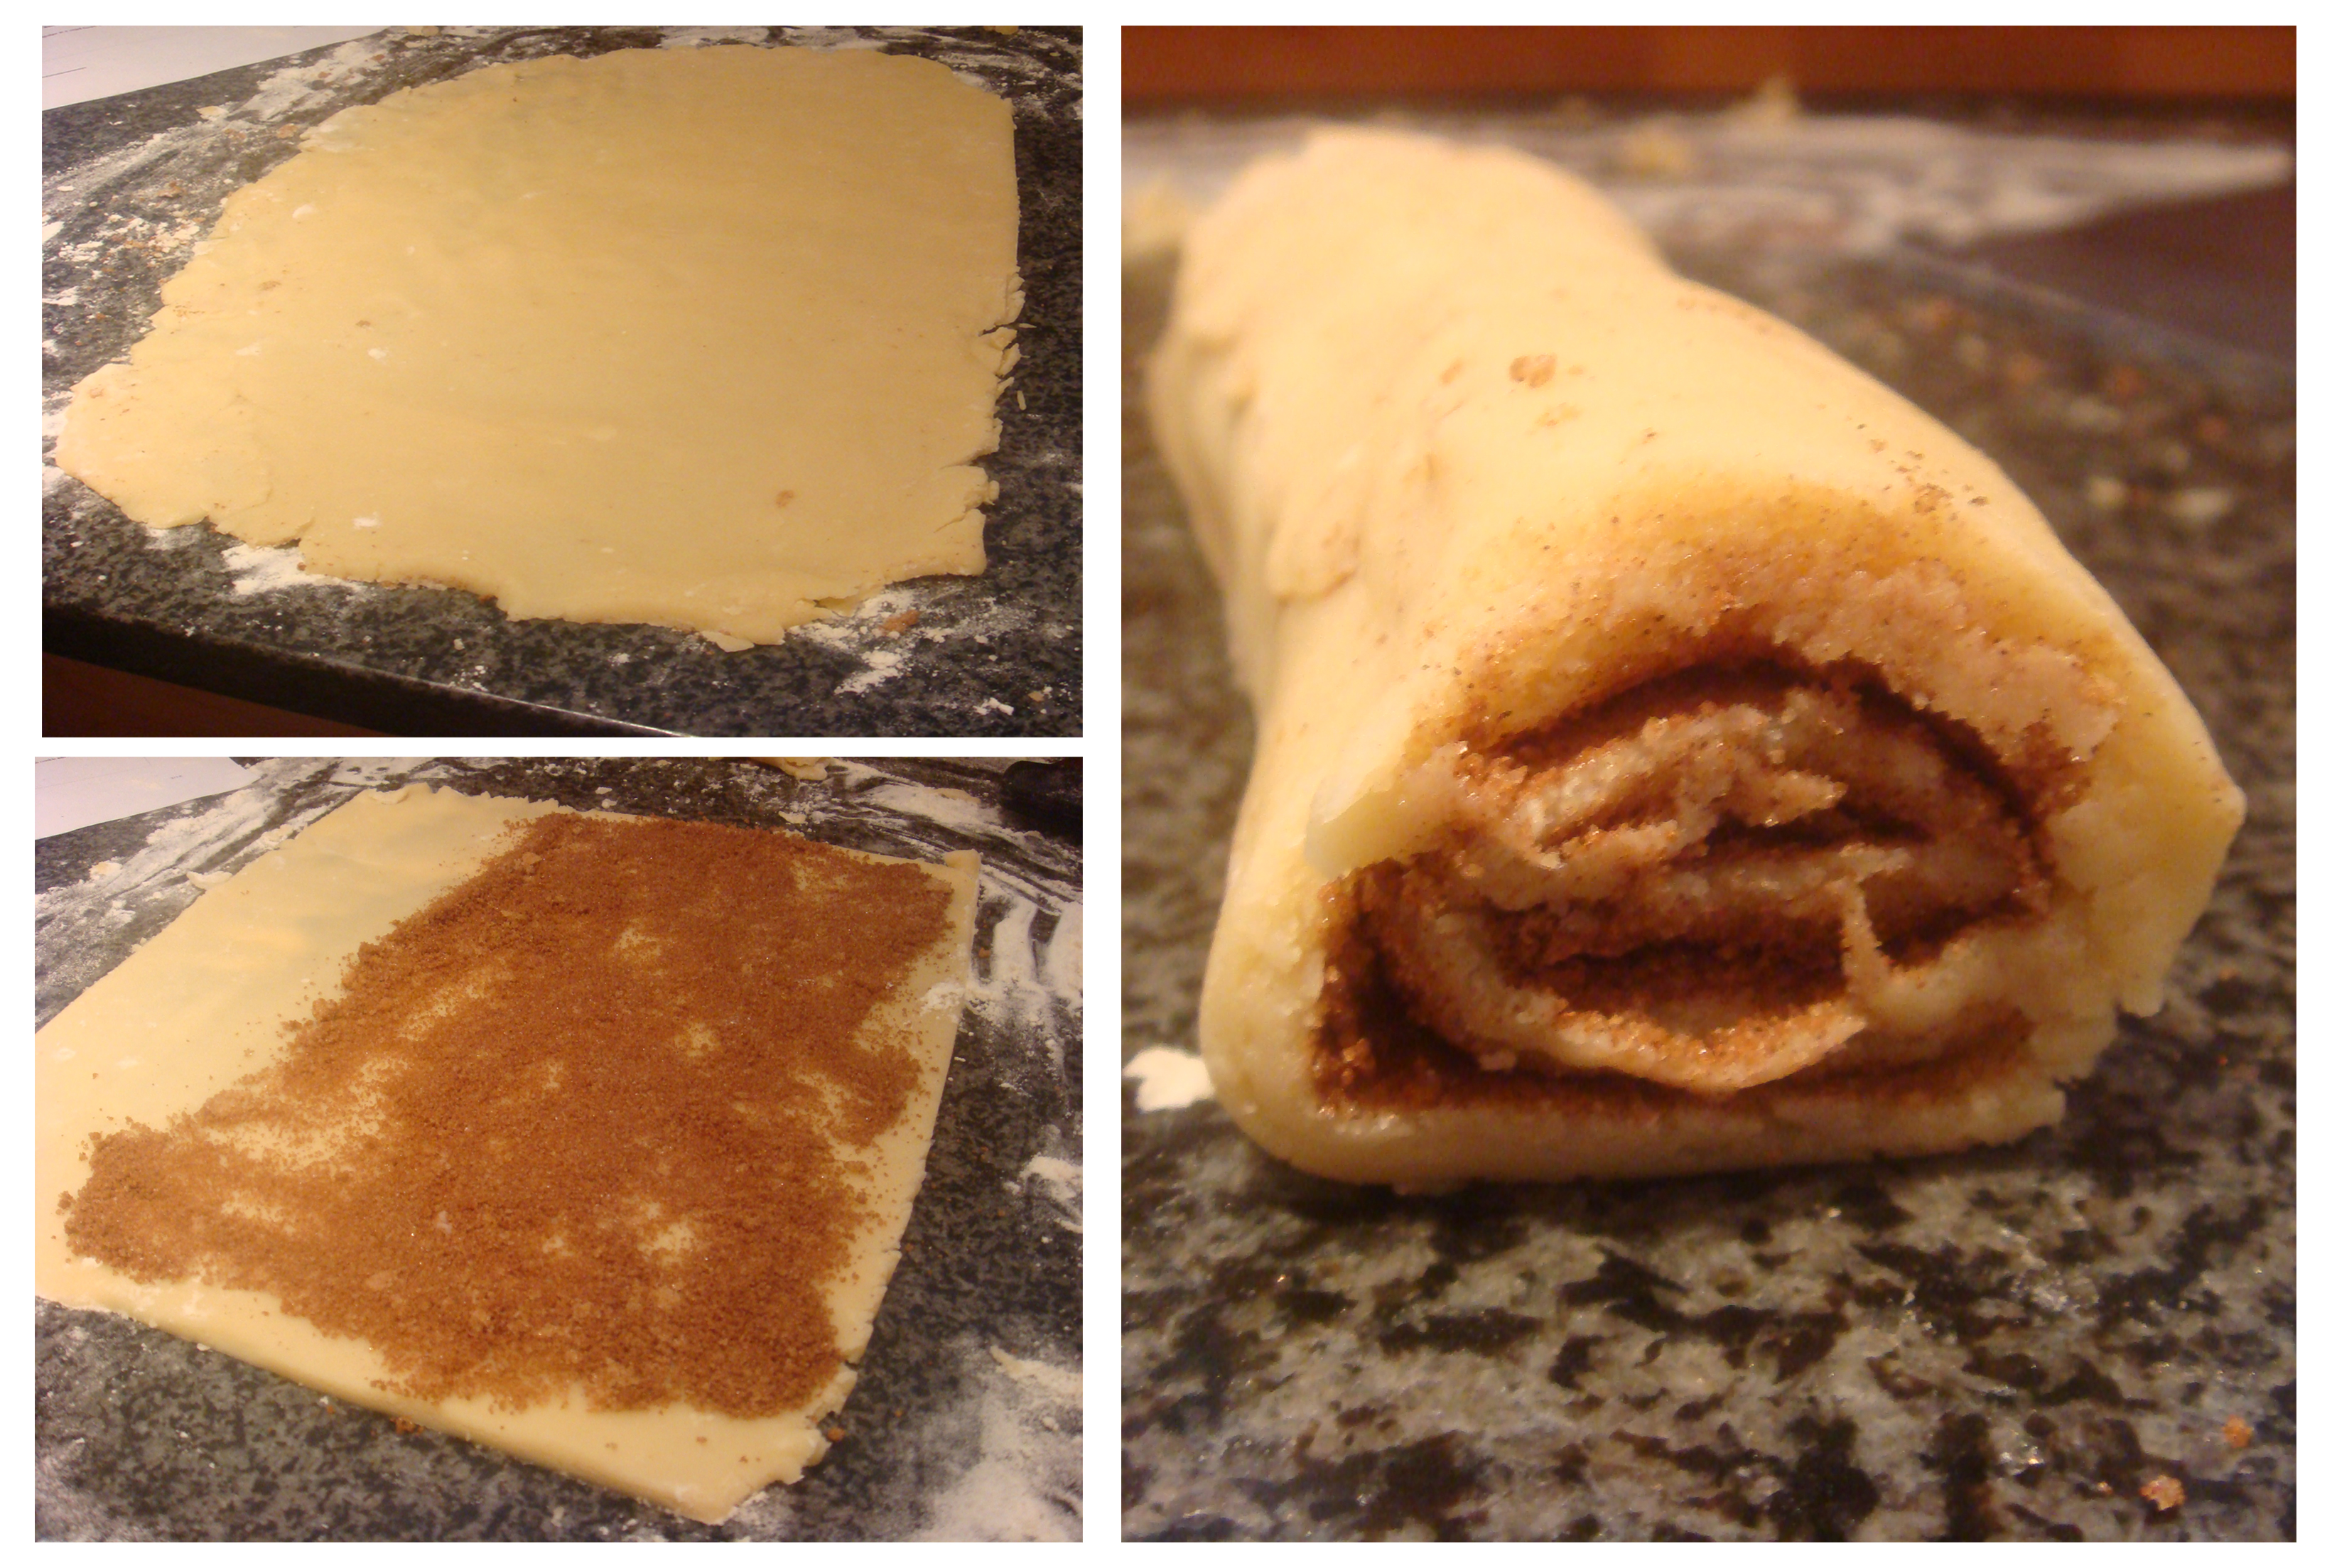
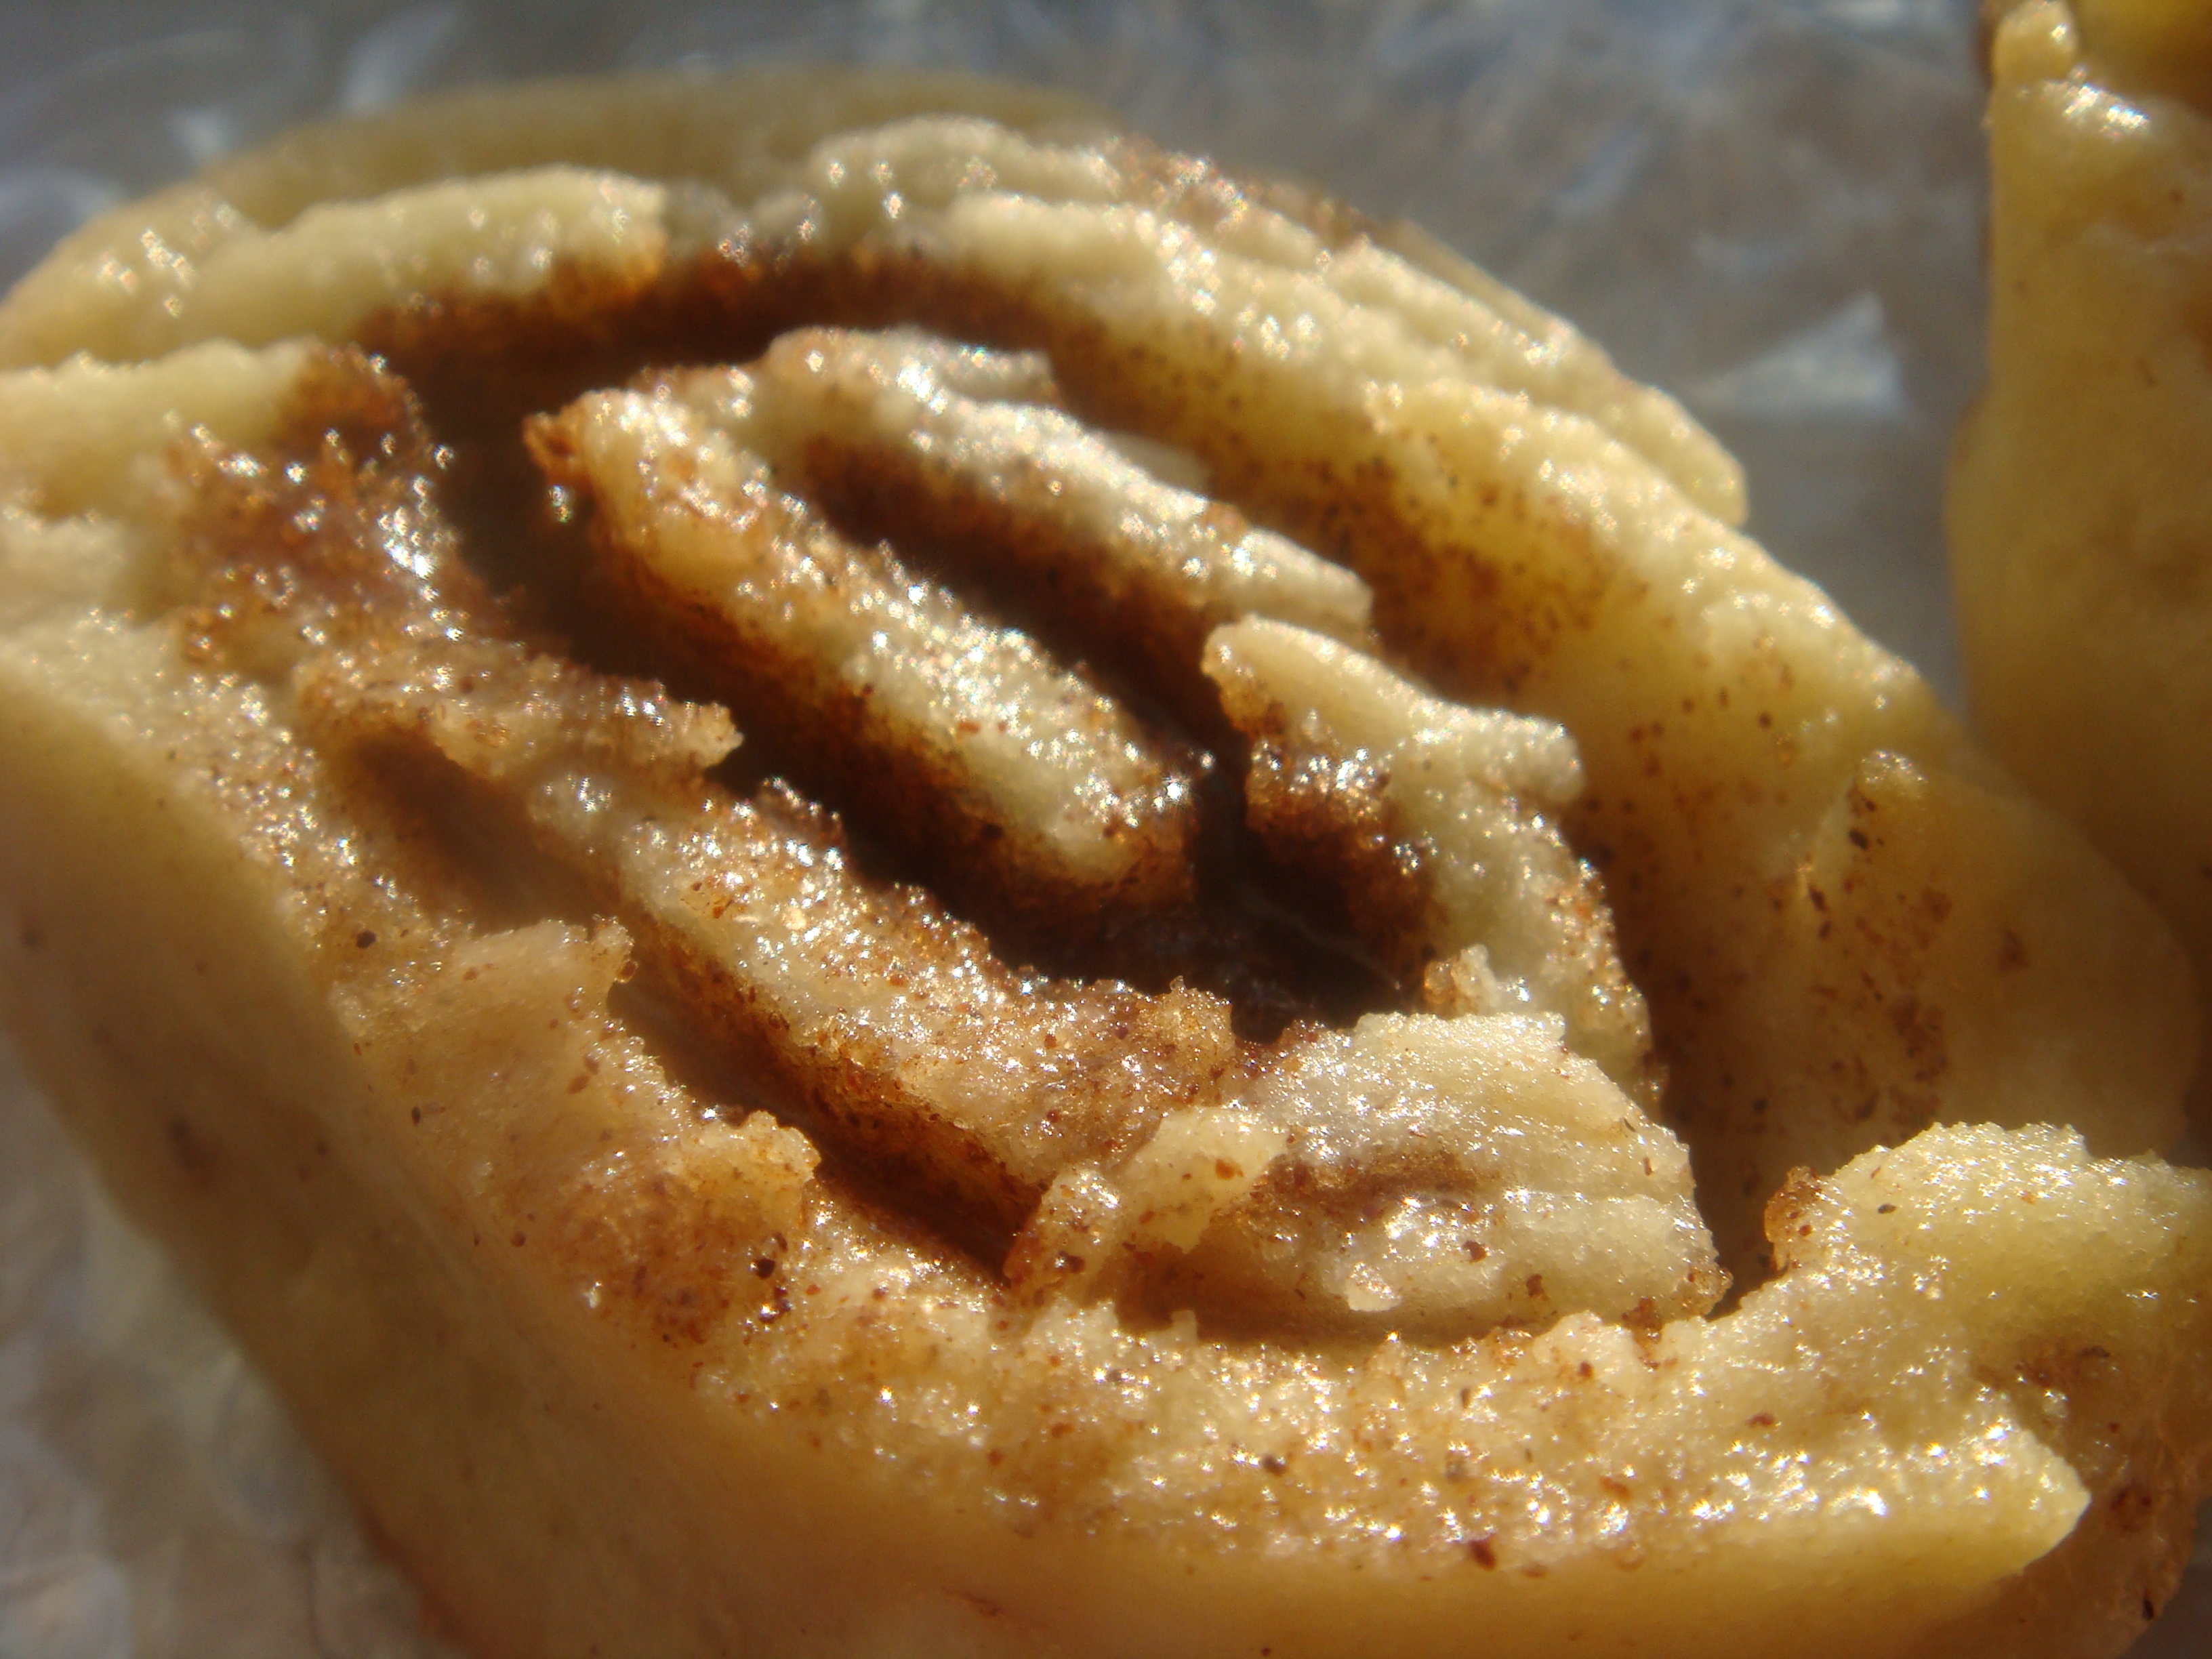
Now is where the tricky part comes in. Remove the dough from the fridge and divide it into 4 equal pieces. Leave one piece out and wrap and put the rest back in the fridge. Throughout my time with this cookie, I had some more and successful and some less successful rolling tactics. This is my most successful: Place a piece of saran wrap on the counter (maybe 2 pieces) and place the ball of dough in the center. Place another piece on top and roll the dough into a rectangle about 1/2 inch thick. The rectangle should be not super wide (maybe 5 inches wide). The original recipe called for a wider base, but I think that lead to very thin dough that had too many rolls in it and it was very fragile. This tactic should be better. Remove top layer of saran wrap. Sprinkle the cinnamon sugar mixture over the dough, leaving 1/2 inch on the left long edge free to be the seam. Using the bottom layer of saran wrap ,tightly roll the dough towards the bare edge.

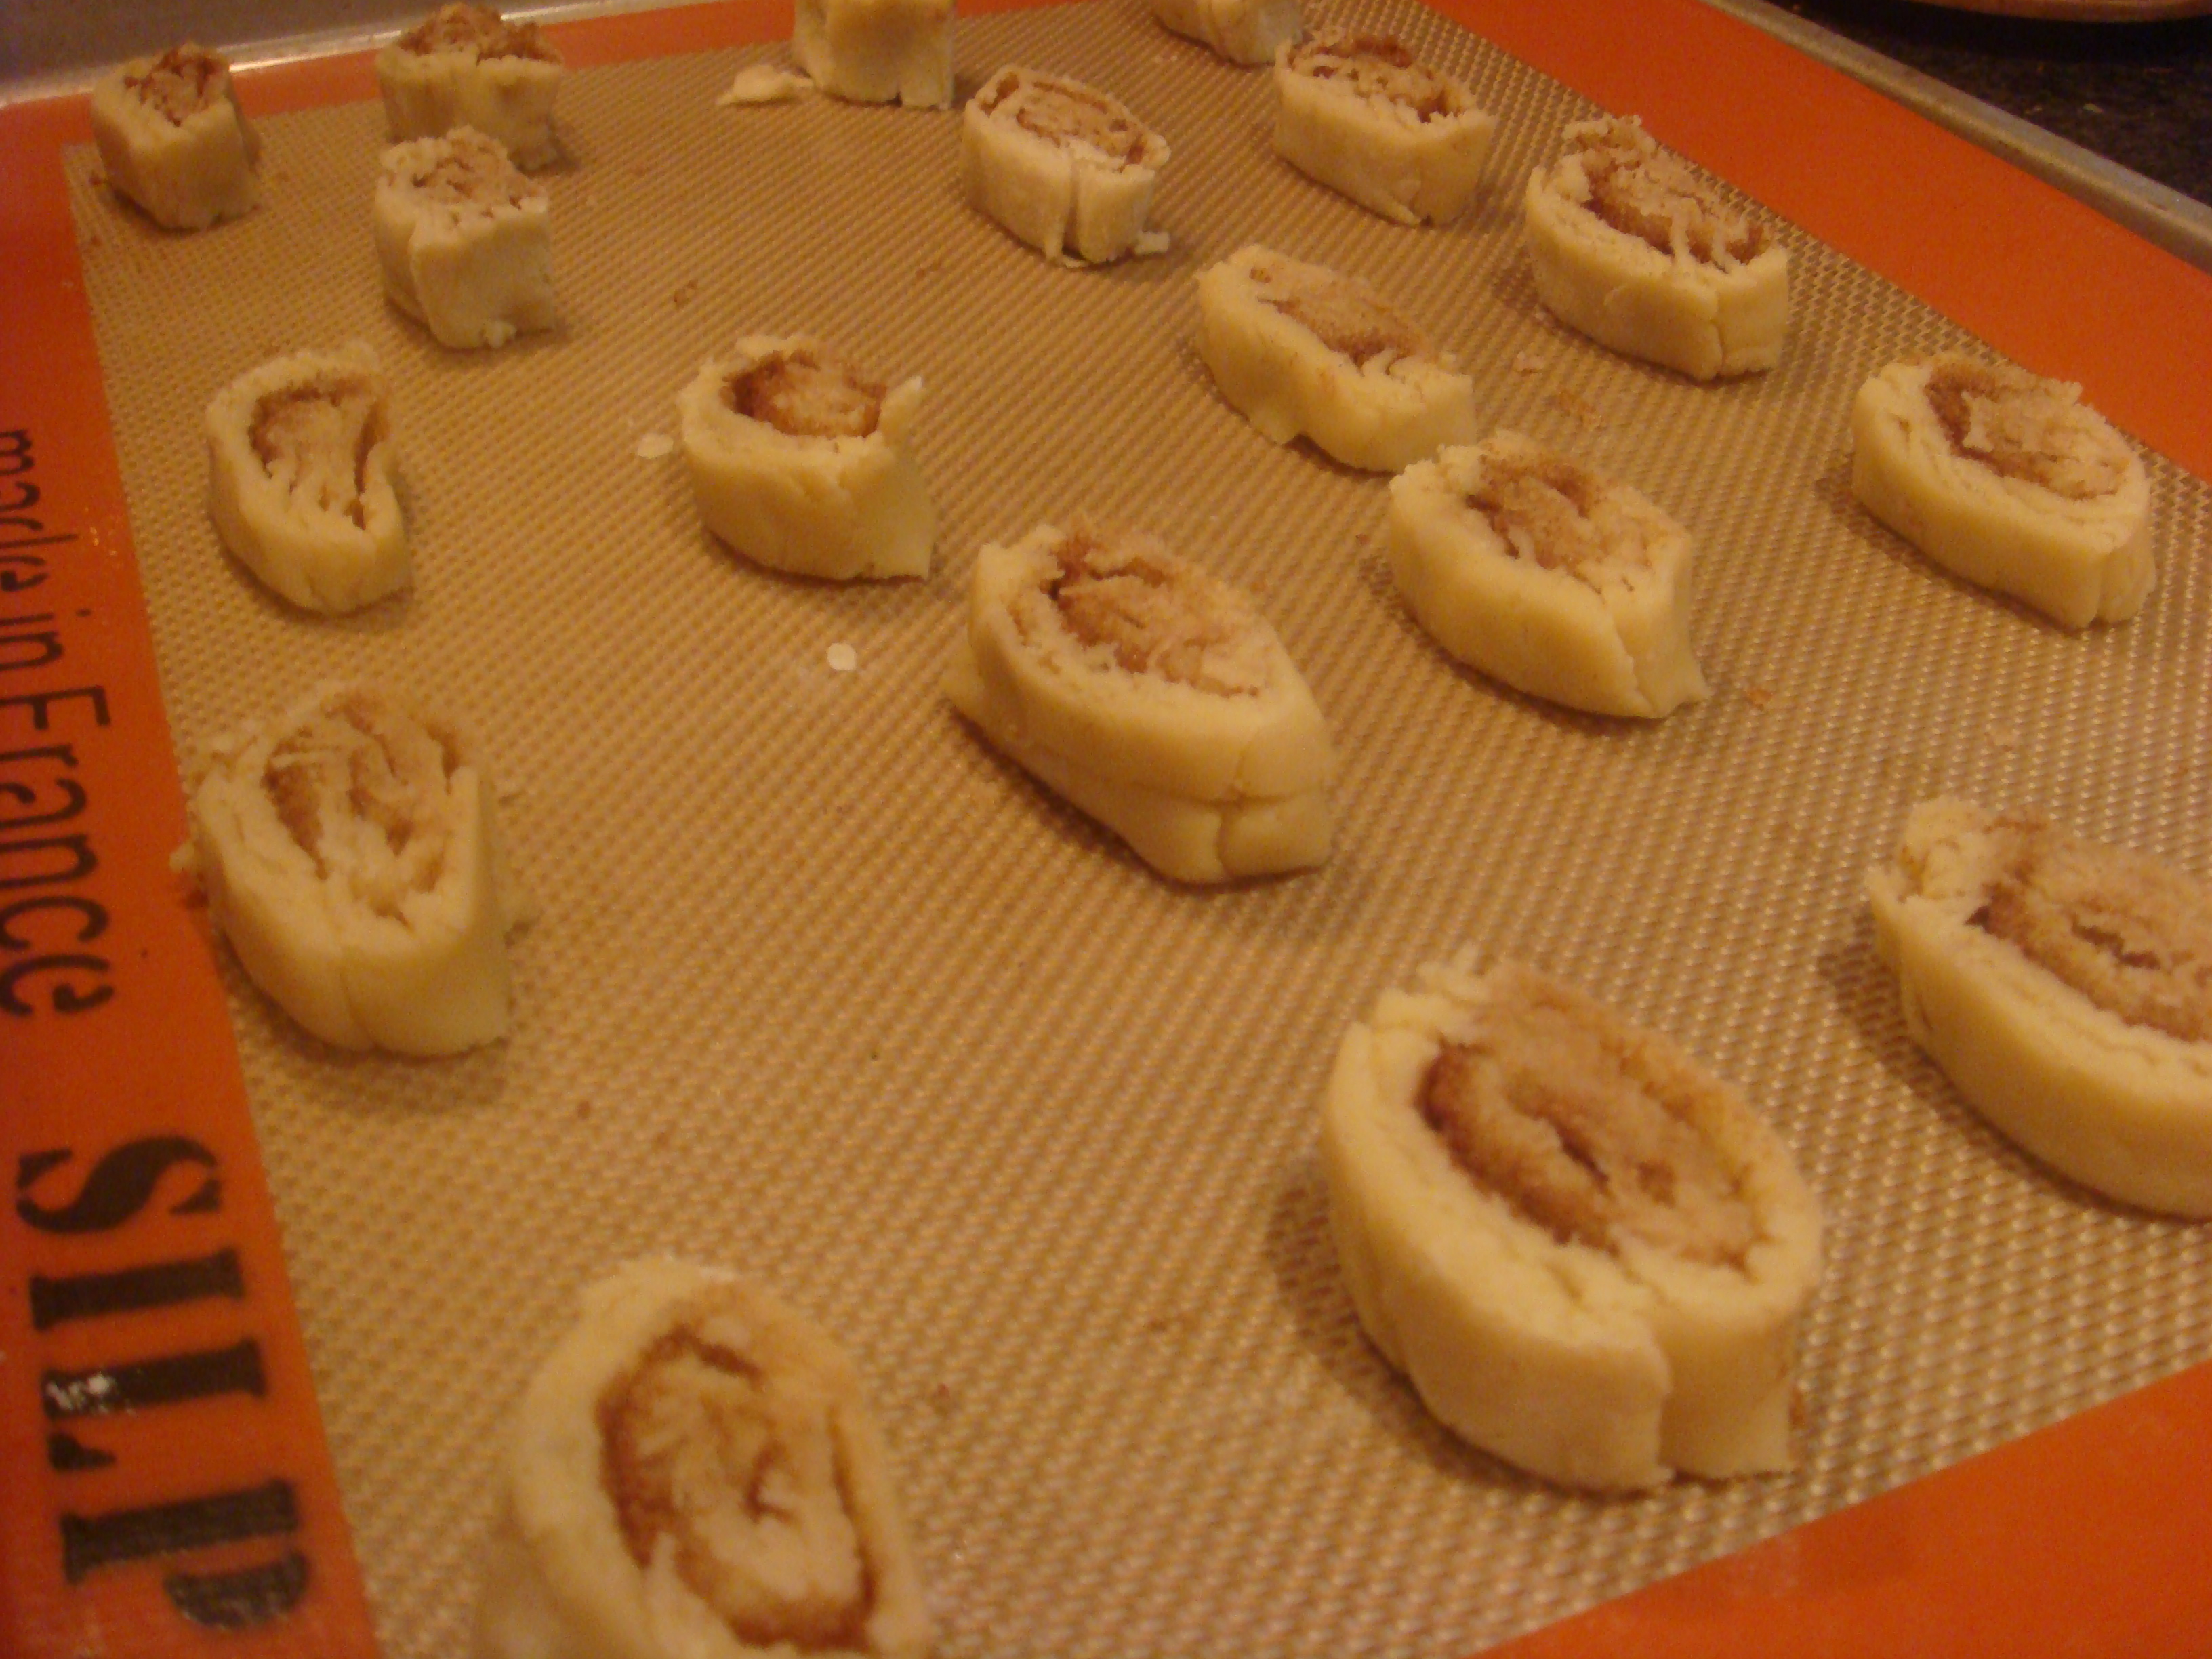
Using a dough cutter or a very sharp knife divide the roll in half and you should be able to get 5-6 cookies from each half. They should be about 1/3 to 1/2 inch each. Arrange the rolls on a cookie sheet with the cinnamon sugar center facing up. They don’t expand so you can pack them pretty tightly. Bake at 375 for 11 minutes. It’s ok if they feel a little doughy once you take them out. They will set as they cool.

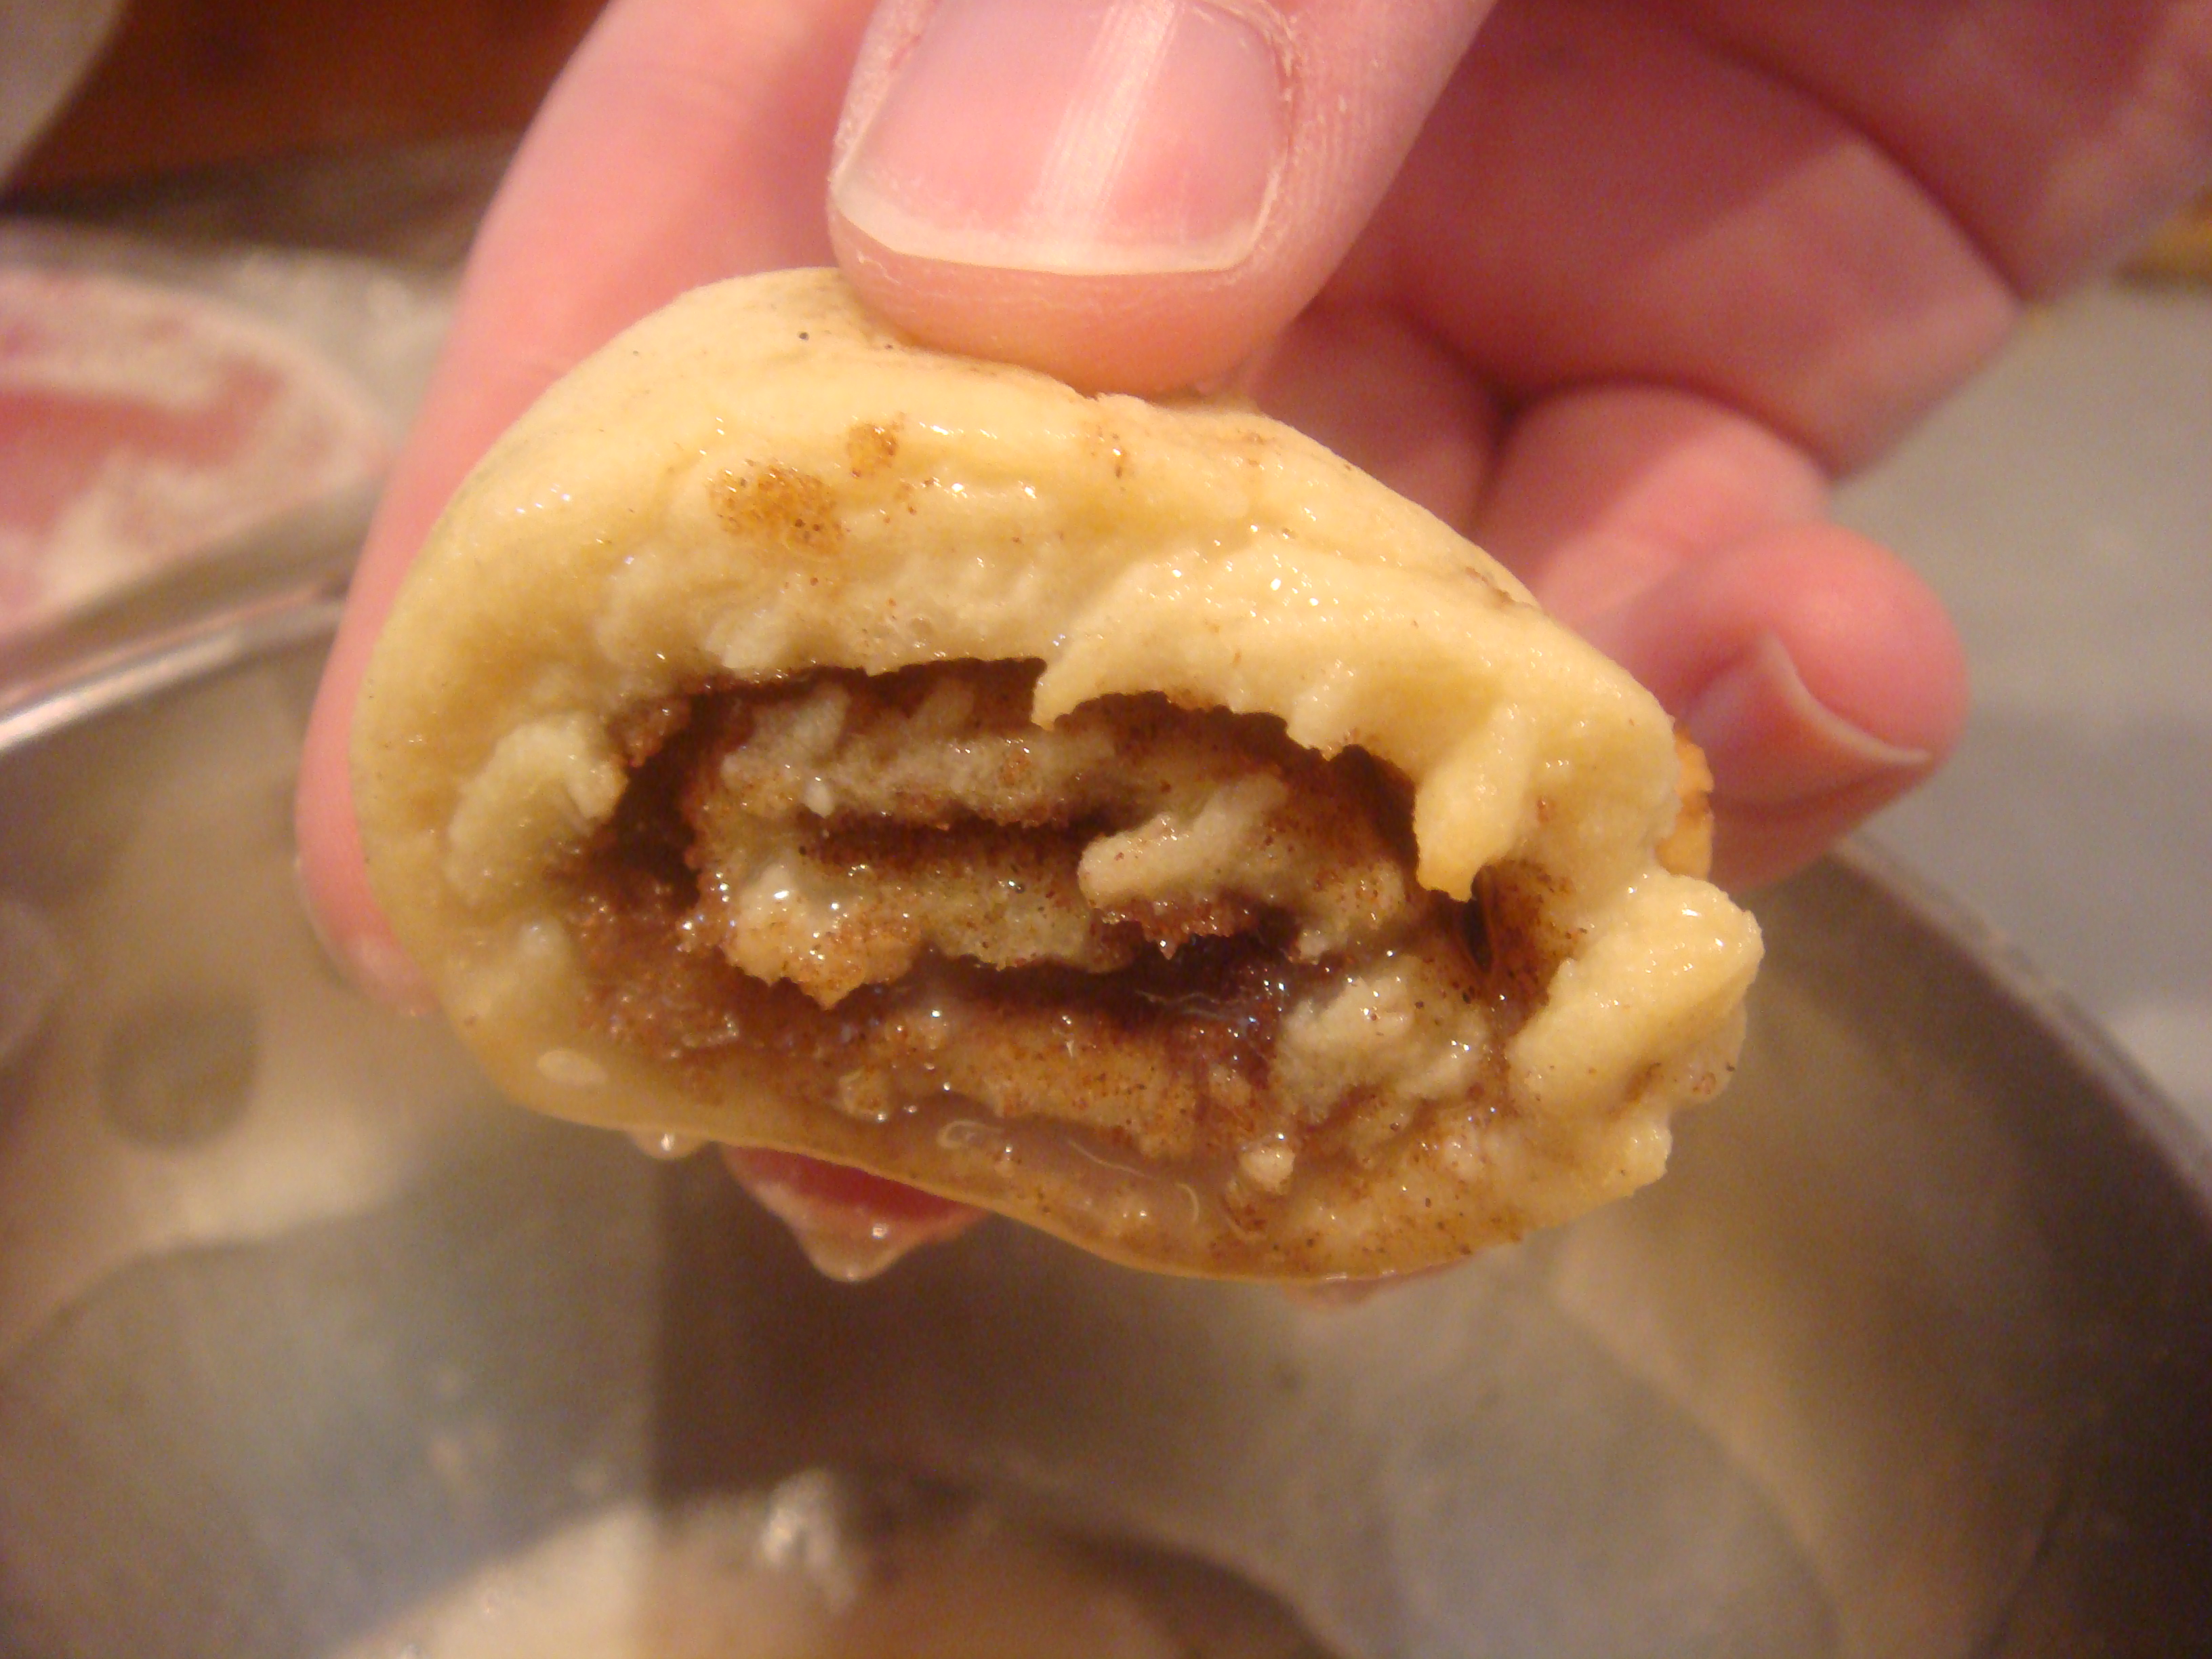
This next part is optional. I think the cookies are great as is, but the recipe calls for a glaze and Geoff’s theory is “there’s no such thing as a cookie that’s too sweet.” So for the first try of these cookies I made the glaze using 1 cup powdered sugar, 1 tsp vanilla and 3 Tbsp skim milk (though the recipe calls for whole milk, I didn”t think it was worth it to buy a container for 3 Tbsp). Mix this together and once the cookies have cooled completely, dip the face of each cookie in the glaze and let them set.

Overall, these cookies were a taste success, but looked a little off in my opinion. They had great texture though and take a lot shorter than making cinnamon buns… which is an adventure for another day. 

Happy start to the holiday season!


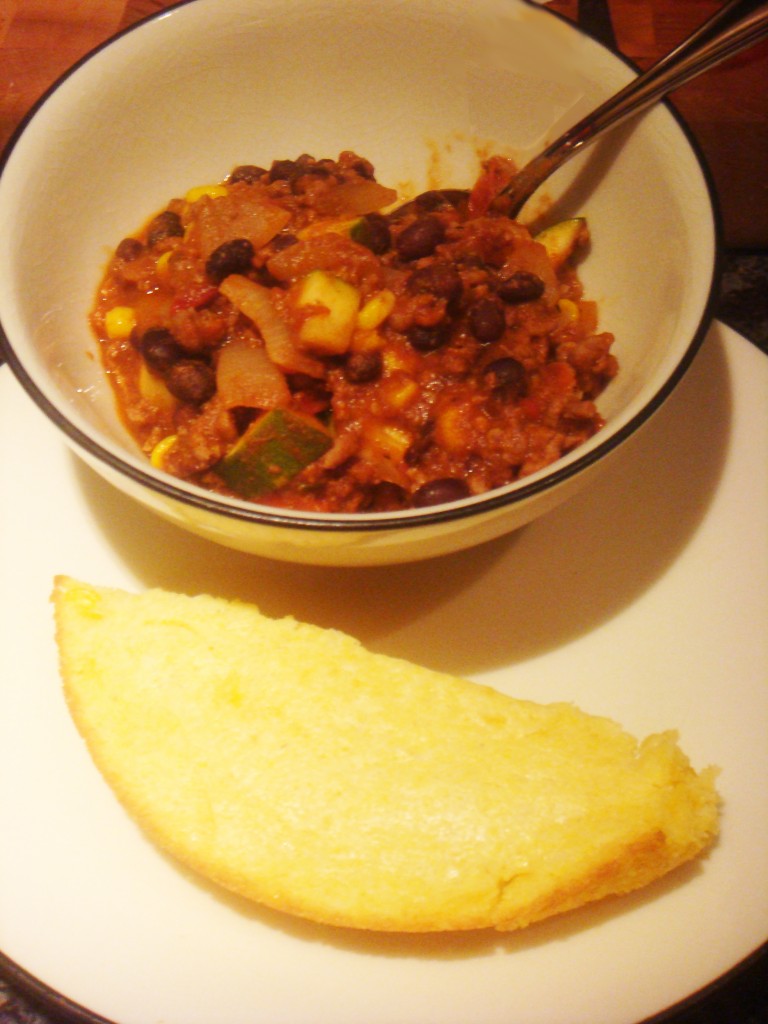
Spicy Beef and Vegetable Chili

With winter in the air (on the days when it’s not 60 degrees at the end of November) and a pound of ground beef in the freezer, last night’s dinner was a clean out the fridge chili. Chili is great because it’s a hearty and comforting one-pot meal that is super versatile. I also love that it can be ready in 30 minutes but the longer it sits the better it tastes.

All you need for a great chili is ground meat, vegetables, and some sort of tomato product. And really, you only sort of need the meat!

You also need a little creativity and the confidence to know that most vegetables would be good in chili if you add the right spices.

So for last night’s chili I used:

ground meat: 1 lb 90% lean sirloin

vegetables: 1 onion, 1 diced zucchini, 1 14 oz can of black beans, 10 cherry tomatoes quartered,1/3 cup frozen corn, 1 chipotle and 1 Tbsp of adobo

tomato product: 1/3 cup roasted garlic tomato sauce 

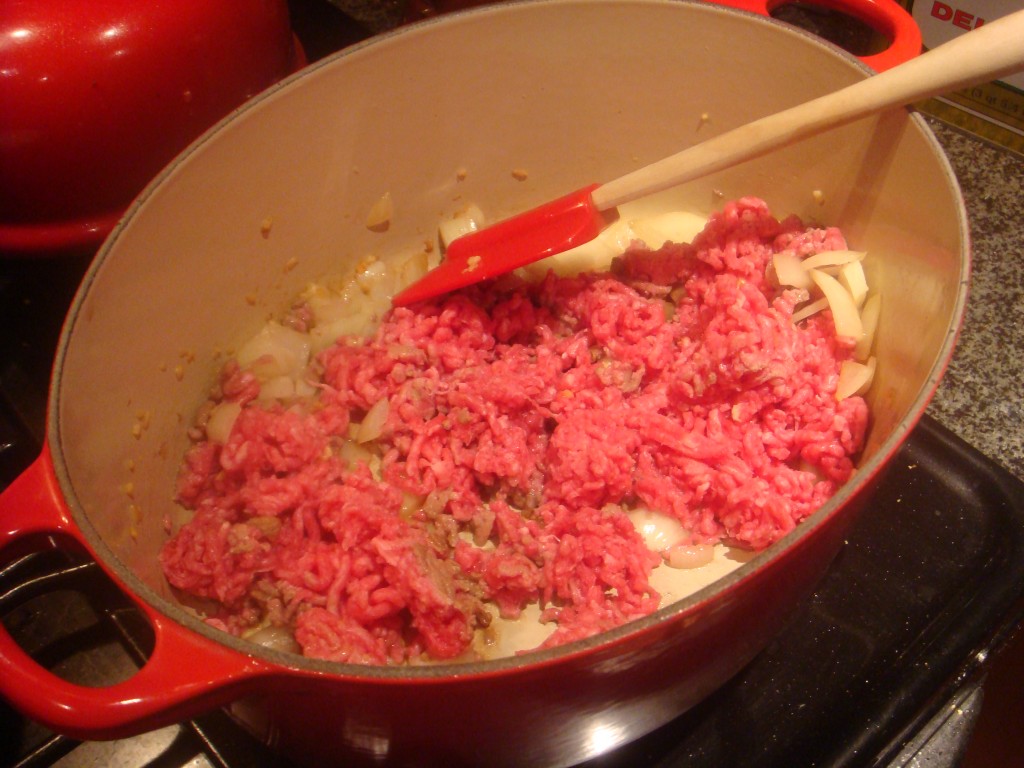
The rest is a story about seasoning and building flavors. I started this recipe the way I start most of them, with some olive oil, garlic, and a diced onion. Once the onion becomes translucent, add in the ground beef and mix every 30 seconds or so so the beef cooks evenly without drying out. 

This is where you want to start building flavor. I had some leftover taco seasoning from Trader Joe’s. It’s awesome and super cheap, but if you don’t have any on hand, these are the spices I would suggest using (the amounts are how I would suggest starting, but it’s important to keep tasting as you add ingredients and adjust accordingly)

  • 1/2 tsp garlic salt
  • 1 tsp cumin
  • 1/4 tsp cayenne pepper
  • 1 tsp paprika
  • 1/2 tsp black pepper
  • 1/4 tsp chili flakes (or red pepper flakes)
  • 1/2 tsp chili powder
  • 1 Tbsp adobo

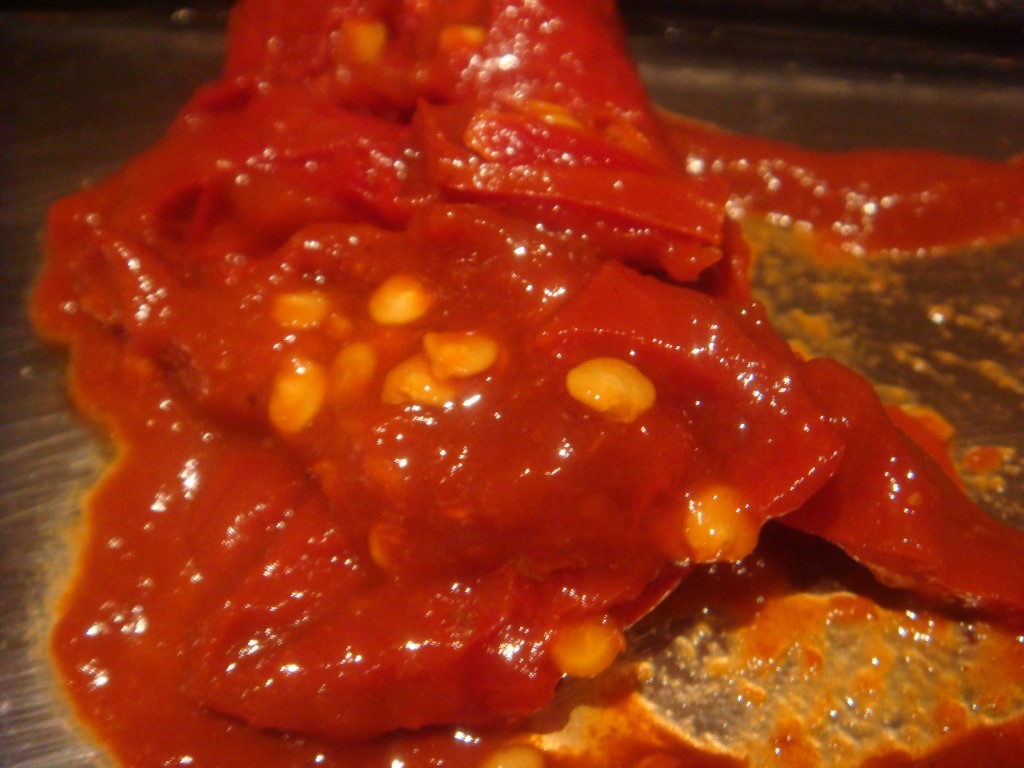
Now, if you don’t have all those ingredients that’s fine! Just try to add heat and smokiness using whatever you have in the spice cabinet. I think the most important are chili powder, salt, pepper, and cumin. One ingredient that I want to call out is adobo. It was listed earlier in the form of “chipotle in adobo” which is a newer secret ingredient that my coworker taught me. You can buy it in a can in the Latin food aisle (Goya makes one version). It adds a depth of flavor and heat that is wonderful and different. One thing to keep in mind is that the chipotle chilies vary in heat depending on the soil and a bunch of other factors, so taste the adobo sauce for its heat level and start with a little to make sure you don’t make your chili too spicy! For last night’s chili I used one pepper and 1 Tbsp of adobo and it was perfect for me, a little too spicy for normal people.

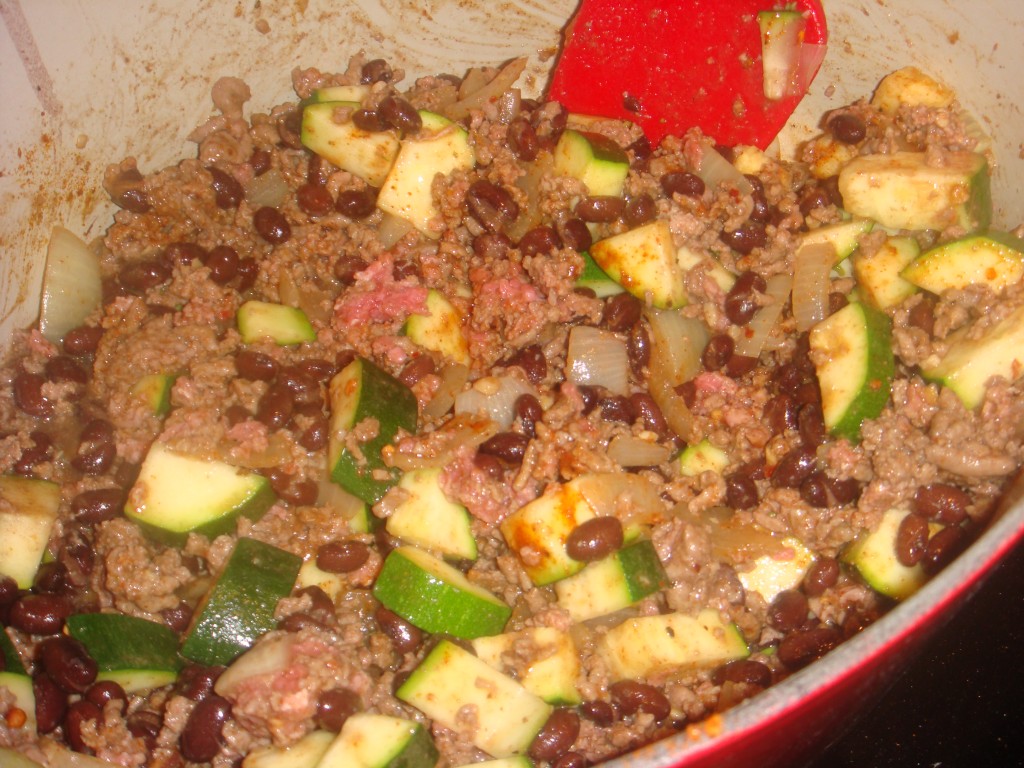
Ok, so now you are well on your way to building a great flavor base! Once the meat is mostly cooked, add in the rest of the vegetables and the pasta sauce. I would add the zucchini and black beans first since they are the heartiest and can stand up to being cooked the longest.  The corn and tomatoes can wait until the flavor is where you want it to be. 

That’s really all there is to it. Once everything is cooked, reduce the heat to low, cover, and simmer for at least 10 minutes. This recipe made about 5 servings. I served corn bread on the side and some shredded mexican cheese on top. Sour cream, salsa, any other usual chili condiments would also work!

Embrace winter! Make chili!