 Sushi is one of those dishes that is a little intimidating. How many people think to make it at home when you can order it so easily and have it made by experts? Most people wouldn’t even know where to start. That was my mindset until high-school. One of my best friends decided to have a make-your-own sushi party for her birthday. Ever since I saw how easy it was, I’ve been working on my sushi skills.
This weekend, one of my oldest friends came over with her boyfriend and we made some sushi combos of our own. I want to share the tricks and tips with you so that you might feel confident and tackle sushi making on your own. It’s fun, easy, and the combinations are pretty endless.
In order to make sushi, you need a few basic ingredients:
- A pack of nori sheets (can be found in the asian aisle in most grocery stores)
- 1 1/2 cups sushi rice (found in the same aisle as the nori)
- 1/3 cup rice vinegar
- 3 Tbsp sugar
- 1 tsp salt
The first thing you want to do is prepare the sushi rice. Combine the rice with 2 cups of water and bring to a soft boil. Immediately turn down to a simmer, cover, and let cook for 20 minutes. The most important lesson I’ve learned when it comes to cooking rice is DO NOT STIR IT! EVER! Just put the water in and then stay away. This will seriously cook the rice perfectly. After 20 minutes turn off the heat, put a paper towel on top of the pot and cover with the lid. Let rice cool for 20 minutes (again, don’t touch the rice). While the rice is cooling combine rice vinegar, sugar, and salt in a small sauce pan and heat until sugar and salt have dissolved (about 3 minutes). Transfer rice to a large bowl and add vinegar mixture. Using a flat wooden spoon fold the vinegar into the rice. Set aside and let the rice mixture come to room temperature.
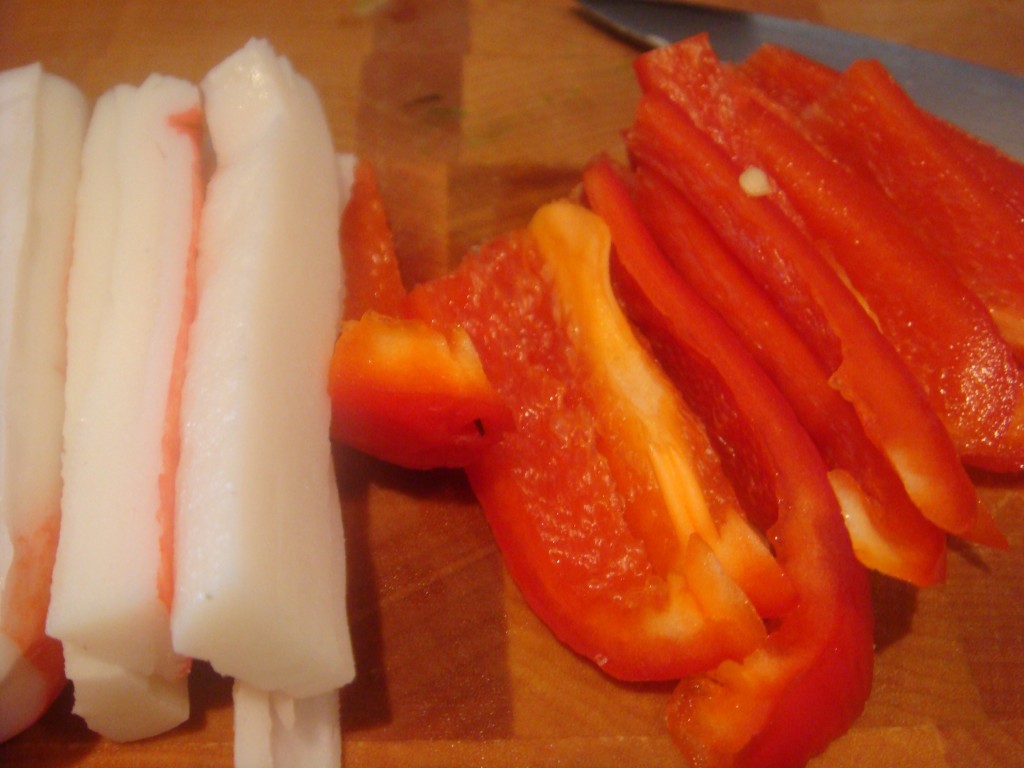
The next step is to prepare your sushi fillings. Here is where your preferences, fridge, and creativity come into play. I don’t have a good market to buy sushi-grade fish so my combinations are either vegetarian or made with pre-cooked seafood (like frozen shrimp and imitation crab meat). This weekend I had:
- cucumber
- avocado
- imitation crab meat
- cream cheese
- smoked salmon
- bell peppers
- crunch (AKA Panko bread crumbs)
- spicy mayo (2 Tbsp light mayo + sriracha to taste)
In order to prepare the fillings, you want to julienne them into thin matchstick size pieces.
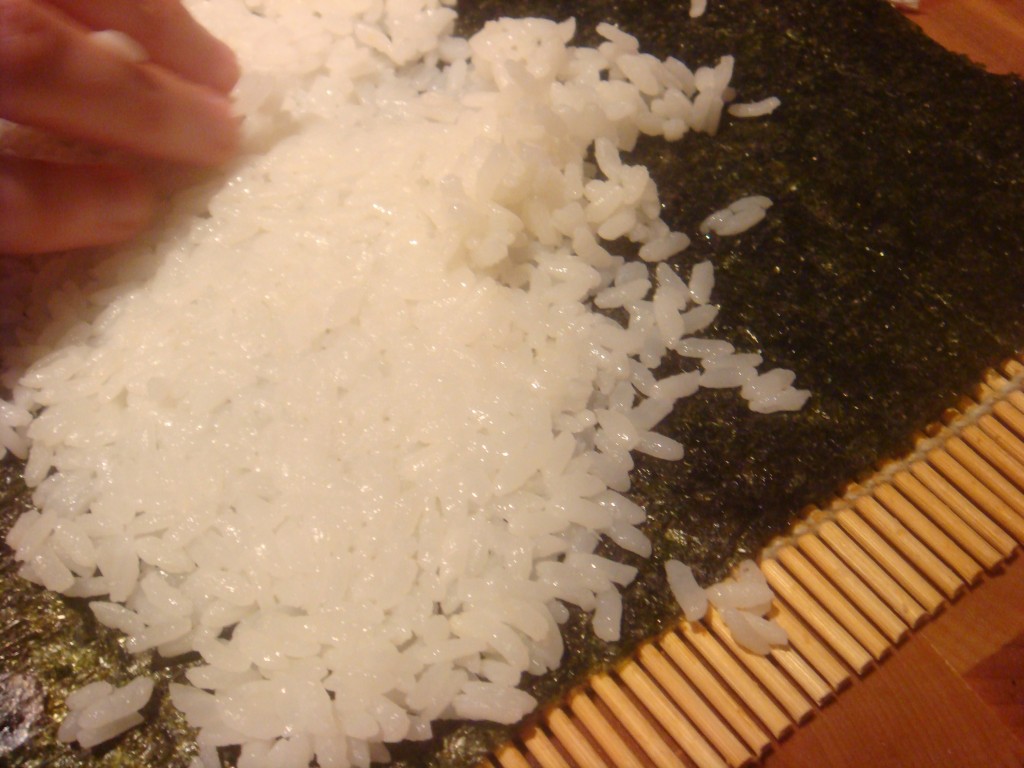
Third step is assembling the sushi. Lay a piece of nori shiny side down onto a sushi mat. If you don’t have a sushi mat, you can use a piece of saran wrap. If you think you might make sushi more than once, though, you might want to purchase a mat. They’re pretty inexpensive and don’t take up much room in your kitchen (I know the annoyance of owning a one trick kitchen gadget that takes up more room than it’s worth…this is not one of them!) The next thing you want to do is to spread the rice THINLY onto the nori, covering most all of it, except about 1/2 an inch furthest away from you.
 This is probably the trickiest part of the whole process. You want to make sure the rice is spread thinly, otherwise you end up with sushi that is 99% rice and 1% filling, which is no fun. My trick is to spray my hands with Pam. This might sound odd, and you’re probably not seeing the pro sushi chefs use this trick, but it’s the only way that works for me. It allows you to spread the rice super thin without it all ending up stuck to your hand. Don’t be afraid to smush the rice down and to use more Pam if you need it.
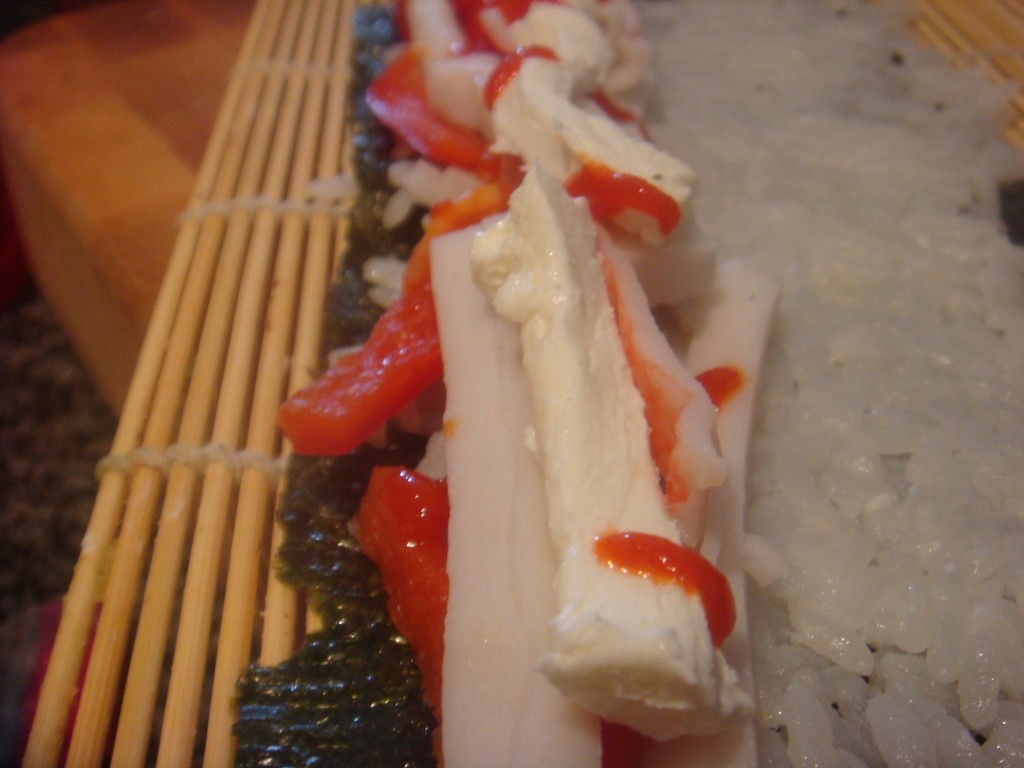
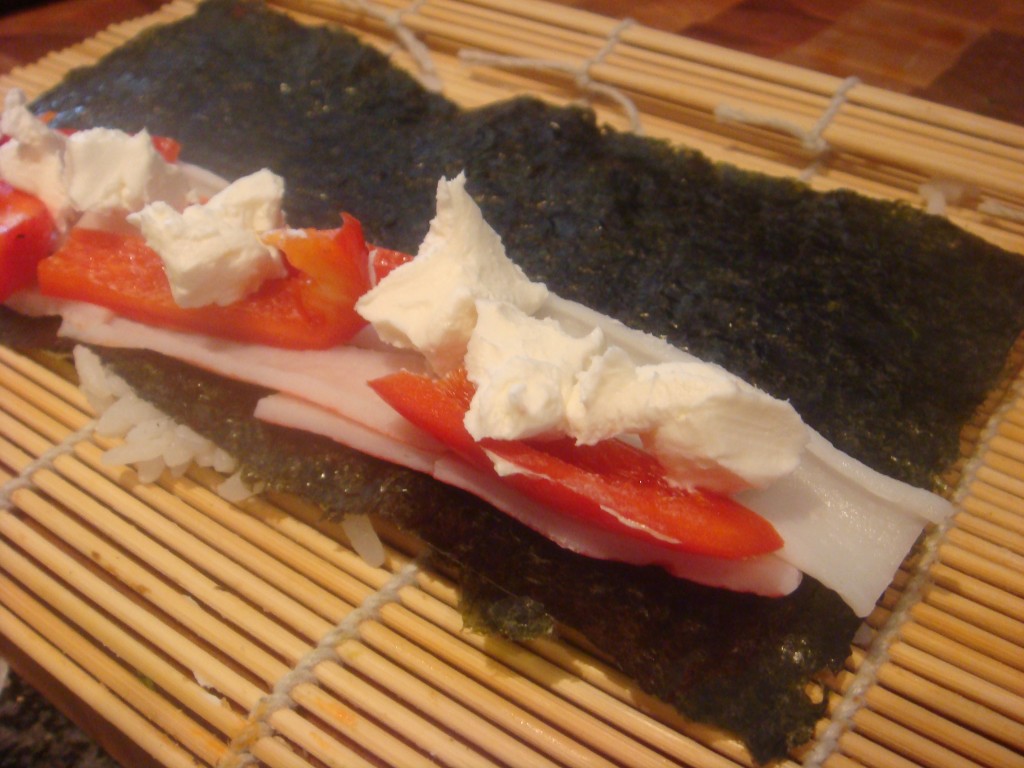
Once you decide what filling you want to put into your sushi, lay it down along the edge closest to you*. Be careful not to overfill. This will take some trial and error, but usually 1-2 layers of each filling should be enough.
Using your sushi mat, begin to roll the sushi away from you (towards the uncovered rice part. My trick is to use the sushi mat for the first roll and the last roll and to do the rest by hand. In the first roll, you want to make sure you get all the filling in and then use the mat to squeeze and shape the sushi. Depending on the size of your sushi, you can do 1-2 more rolls until you run out of nori. Place the mat over the roll and squeeze again to shape it. You’ll end up with a long sushi log. Set it aside and repeat the filling and rolling process until you’re satisfied (about 1 nori roll per person).
The last step before enjoying your creation is to cut the sushi. This is trickier than you might think If you have saran wrap, you might want to cover the sushi with saran wrap to help it keep it’s shape while you’re cutting it. Use a very sharp knife and don’t make the pieces too thin otherwise they’ll fall apart. It’s ok if it’s messy. You’ll get better with practice and hey, you just made sushi! Display it on a lovely plate with all the fixin’s (wasabi, ginger, soy sauce, spicy mayo) and enjoy!
*If you want to try inside out sushi, turn the nori over after you’ve spread the rice. Also put a piece of saran wrap in between the rice and the sushi mat to prevent sticking. Put the fillings directly onto the nori.


